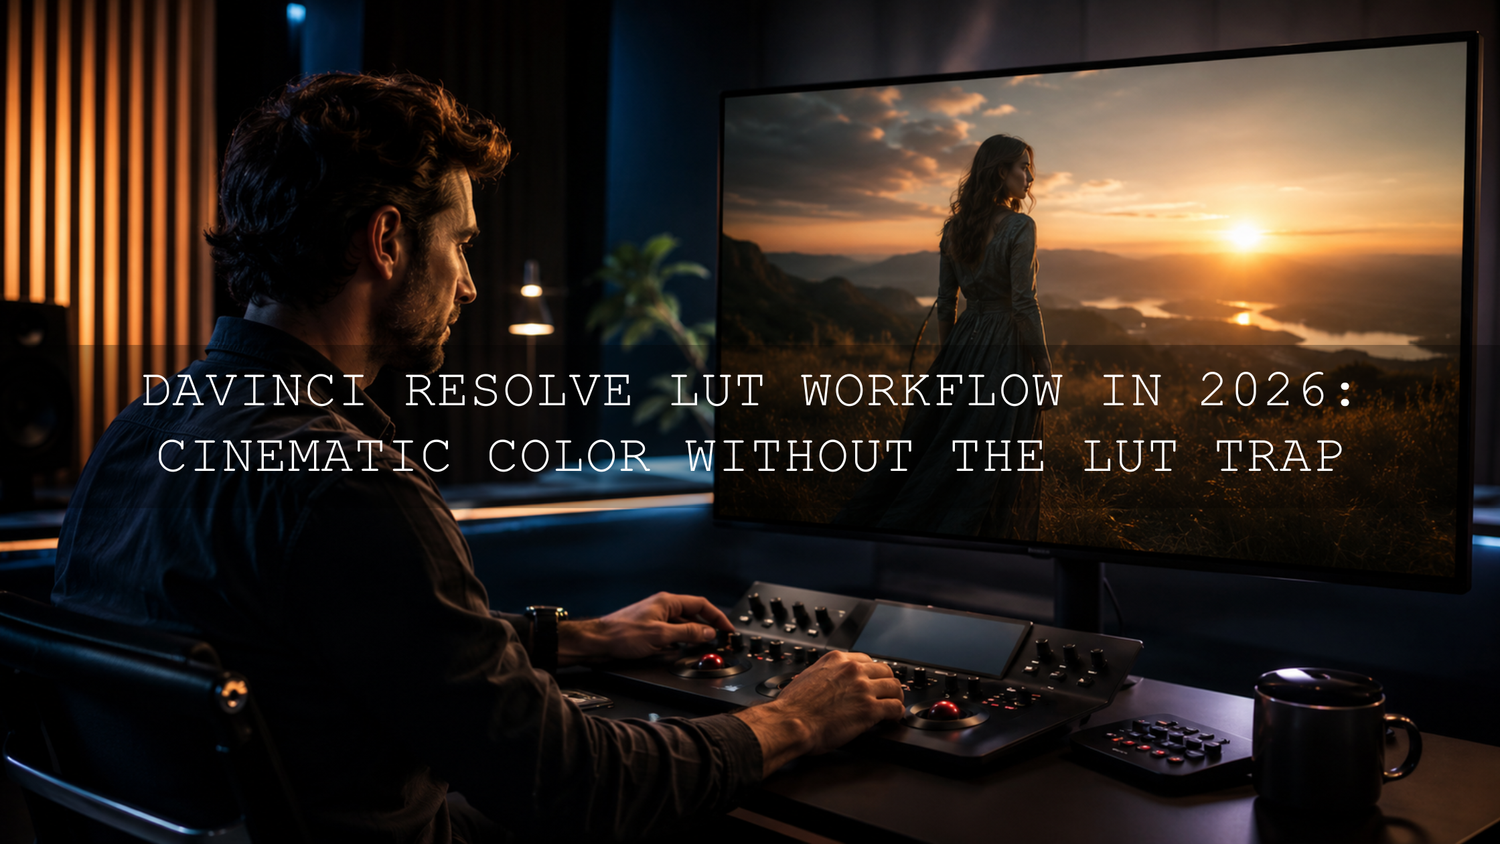
DaVinci Resolve LUT Workflow in 2026: Cinematic Color Without the LUT Trap
A reliable DaVinci Resolve LUT workflow does more than place a cinematic filter over flat footage. It prepares the image, applies the correct color-space transformation, adds a creative look, and then refines important details such as skin tones, highlights, and saturation. When you follow that order, LUTs can make color grading faster without sacrificing control.
Here’s why this matters: a LUT remaps the color values it receives. It cannot properly repair incorrect exposure, mixed white balance, clipped highlights, or the wrong input color space. If the image entering the LUT is unbalanced, the LUT usually exaggerates the problem.
Ready to experiment after balancing your footage? Start with the 700+ Cinematic Video LUTs bundle or explore the complete cinematic LUT collection for DaVinci Resolve. You can try different moods, film-inspired colors, and modern cinematic styles with the Buy 3, Get 9 FREE offer.
What a LUT Actually Does
A LUT, or Look-Up Table, is a file that converts one set of color and brightness values into another. It can make an image warmer, cooler, softer, darker, more contrasty, less saturated, or completely stylized.
It helps to separate LUTs into two practical categories.
Technical LUTs
A technical LUT is designed to perform a predictable conversion. A common example is transforming Log footage into a standard display space such as Rec.709.
The technical transformation should match the camera profile used during recording. A LUT made for Sony S-Log3 should not be treated as an interchangeable conversion for Canon Log, Panasonic V-Log, DJI D-Log, or another profile.
In a color-managed DaVinci Resolve project, an input transform may already be handled by the project settings or a Color Space Transform node. Applying an additional Log-to-Rec.709 LUT can therefore create excessive contrast, oversaturation, or clipped highlights.
Creative LUTs
A creative LUT shapes the artistic appearance of an already normalized image. It may create warm wedding colors, faded film tones, dramatic blockbuster contrast, cool urban shadows, vintage colors, or a soft commercial finish.
Creative LUTs are generally intended to establish a direction rather than complete the entire grade. You still need to adjust the image around the LUT so it works with the lighting, camera, subject, and story.
For a deeper explanation of how input colors are remapped, read this guide to the difference between 1D and 3D LUTs.
The Correct Order for Applying LUTs in DaVinci Resolve
A repeatable workflow keeps each adjustment separate and makes revisions much easier. Let’s break it down step by step.
- Confirm the camera profile and project color-management settings.
- Apply noise reduction if it is needed and available in your version of Resolve.
- Normalize Log footage with the correct input transform.
- Correct white balance and exposure.
- Set the overall contrast and saturation.
- Match the shot with surrounding clips.
- Apply the creative LUT on its own node.
- Reduce or refine the LUT strength.
- Protect skin tones, highlights, and important colors.
- Add final finishing adjustments before export.
Step 1: Check Color Management Before Grading
Before touching the color wheels, determine how DaVinci Resolve is interpreting your footage. Identify the camera, gamma profile, color space, and intended delivery format.
You can work with a manually managed node tree or use a color-managed project. Both approaches can produce professional results. The important point is to avoid transforming the footage twice.
For example, imagine that Resolve is already converting S-Log3 footage into the project’s working color space. Adding another S-Log3-to-Rec.709 LUT may make the image look finished at first glance, but highlights can become harsh and saturated colors may lose detail.
The same principle applies in other professional editing applications. Adobe’s explanation of video color management provides a useful overview of why camera color spaces, working spaces, and output spaces must be handled deliberately.
Step 2: Correct Exposure and White Balance
Do not judge exposure from the viewer alone. The brightness of your monitor, room lighting, and interface can influence what your eyes perceive. Use DaVinci Resolve’s waveform, RGB parade, and vectorscope alongside the image.
- Waveform: Check the distribution of shadows, midtones, and highlights.
- RGB parade: Look for unwanted color-channel imbalances, especially in neutral areas.
- Vectorscope: Monitor saturation and evaluate the direction of skin-tone colors.
Start with broad corrections. Adjust temperature and tint, place the exposure in a sensible range, and recover distracting highlights before applying the creative look.
I often find that a LUT appearing “too strong” is actually reacting to an exposure or white-balance problem underneath it. Correcting the base image first usually produces a cleaner result than endlessly changing LUTs.
Although the interface is different, Adobe’s guide to color-wheel correction explains the same essential principle: separate corrections in the shadows, midtones, and highlights instead of pushing the entire image in one direction.
Step 3: Build a Clean Node Tree
Nodes are one of DaVinci Resolve’s biggest advantages. Each node can handle a specific stage of the grade, allowing you to modify, compare, disable, or replace an adjustment without rebuilding the entire look.
A practical starting node tree might include:
- Noise reduction: Clean distracting sensor noise before contrast-heavy processing.
- Input transform: Normalize the camera profile when the project is not already handling it.
- White balance and exposure: Create a clean technical foundation.
- Contrast and saturation: Shape the base image before styling.
- Creative LUT: Apply the selected cinematic look separately.
- Skin-tone correction: Protect faces from unwanted color shifts.
- Finishing: Add subtle curves, vignetting, texture, or output-safe adjustments.
This is not the only valid node structure. Documentary footage, music videos, commercials, weddings, and multi-camera projects may need different arrangements. What matters is that technical corrections, creative styling, and final refinements remain clearly separated.
For installation instructions and application methods across popular editors, see the complete guide on how to install and use LUTs in DaVinci Resolve and other software.
Step 4: Apply the LUT to Its Own Node
On the Color page, create a new serial node for the creative LUT. Apply the LUT from the LUT browser or by right-clicking the selected node and choosing the appropriate LUT from your library.
Keeping the LUT isolated makes it easier to:
- Compare the corrected image with the styled version.
- Replace the LUT without affecting other corrections.
- Reduce its influence independently.
- Add skin-tone or highlight corrections after the transformation.
- Copy the look across similar clips while preserving clip-level corrections.
If you are still learning the terminology, this beginner-to-pro guide to LUTs explains how LUTs differ from ordinary filters and manual color adjustments.
Step 5: Reduce the LUT Strength
Many creative LUTs are designed to demonstrate a clear transformation, so applying them at full intensity may be too aggressive for a particular shot.
In DaVinci Resolve, select the LUT node, open the Key controls, and reduce the node’s output gain until the look blends naturally with the corrected footage. There is no universal percentage. Some clips may suit a strong transformation, while skin-focused footage may need a much lighter application.
A good test is to look away from the screen for a few seconds and then return to the image. If the color treatment is the first thing you notice instead of the subject or story, the LUT may be too strong.
Pro tip: Adjust the image while viewing it at normal playback size. A grade that looks subtle in a small viewer may appear much heavier on a large television or cinema display.
Step 6: Refine the Image After the LUT
A creative LUT can shift specific hues even when the original correction is accurate. After applying it, inspect the following areas carefully:
- Natural skin color and facial highlights.
- Bright skies, windows, lamps, and reflective surfaces.
- Highly saturated red, blue, green, or orange objects.
- Shadow detail in hair, clothing, and dark backgrounds.
- Color consistency between adjacent shots.
Use qualifiers, windows, curves, or secondary nodes only where they are genuinely needed. Avoid creating complicated corrections for problems that can be solved by reducing LUT strength or improving the base grade.
Adobe’s official LUT application guide also treats a LUT as part of a wider grading process rather than a replacement for exposure, contrast, and color controls.
A Practical Before-and-After Example
Imagine a wedding ceremony filmed in Log during late afternoon. The ungraded footage looks flat, the bride’s dress is slightly warm, and the groom’s dark suit has limited separation from the background.
Applying a warm wedding LUT immediately may make the sunset attractive, but it can also turn the skin too orange, push the dress toward yellow, and crush detail in the suit.
A stronger workflow would be:
- Normalize the camera’s Log profile correctly.
- Cool the white balance slightly until the dress looks neutral.
- Raise the midtones without clipping the bright fabric.
- Add controlled contrast while preserving detail in the suit.
- Apply the creative wedding LUT on a separate node.
- Reduce the LUT output until skin remains believable.
- Use a small secondary correction to refine the sunset and faces independently.
The result still feels warm and romantic, but it no longer looks like a strong filter was placed over the entire shot. For projects like this, the 150+ Wedding Video LUTs bundle provides a broad selection of soft, cinematic, bright, moody, and romantic starting points.
LUTs vs Manual Color Grading
LUTs and manual grading are not competing methods. The most reliable workflow combines them.
When LUTs Are Most Useful
- Previewing several visual directions quickly.
- Creating consistency across a series of videos.
- Establishing a recognizable brand style.
- Speeding up wedding, travel, social-media, and commercial edits.
- Giving beginners a practical starting point for learning color.
When Manual Grading Is Essential
- Correcting exposure and white balance.
- Matching footage from different cameras.
- Protecting skin tones and product colors.
- Handling mixed or changing lighting.
- Recovering highlights and shadow detail.
- Creating precise shot-by-shot continuity.
A LUT can establish the mood in seconds, but manual controls make that mood fit the actual footage. For dramatic films, trailers, travel videos, and action sequences, the 120+ Cinematic Blockbuster LUTs pack can provide the visual direction while your node adjustments preserve natural detail and consistency.
How to Match LUTs Across Multiple Cameras
A LUT does not automatically make two cameras match. Different sensors, lenses, white-balance settings, picture profiles, and exposure choices can produce noticeably different results even when the same LUT is applied.
Use this order for a multi-camera project:
- Assign the correct input profile to each camera.
- Correct exposure and white balance for every angle.
- Choose one camera as the visual reference.
- Match the other cameras using scopes and neutral objects.
- Apply the shared creative LUT after the technical match.
- Make small shot-level adjustments after the LUT.
For a more detailed workflow, read how to use LUTs when matching footage from different cameras.
How to Organize a Large LUT Library
A large collection is only useful when you can find the right look quickly. Avoid placing hundreds of unrelated files in a single folder.
Create clear categories such as:
- Technical camera conversions.
- Natural and clean looks.
- Film emulation.
- Wedding and romantic tones.
- Blockbuster and dramatic looks.
- Travel and landscape styles.
- Music-video color grades.
- Vintage, faded, and retro looks.
- Brand or client-specific LUTs.
Keep technical LUTs completely separate from creative LUTs. You can also add the camera profile or intended input space to technical LUT folder names to reduce the risk of applying the wrong conversion.
After changing the LUT folders, refresh the LUT list in Resolve and test several files on representative footage. Keep a backup copy of purchased LUTs and any custom looks you create.
Common DaVinci Resolve LUT Mistakes
Applying a Creative LUT Directly to Uncorrected Log Footage
This often creates weak contrast, unusual colors, or an unpredictable result unless that specific LUT was designed for the exact Log profile. Confirm the expected input before applying it.
Using Two Technical Transformations
If project color management has already normalized the footage, adding another conversion LUT can create excessive contrast and saturation. Check the pipeline rather than assuming every flat-looking clip needs another transform.
Grading Only by Eye
Your eyes adapt quickly to color casts. Use scopes to confirm what you are seeing, especially during long editing sessions.
Keeping Every LUT at Full Strength
A LUT should support the footage, not dominate it. Reduce the output of the LUT node and compare the result with the corrected base image.
Ignoring Skin Tones
A cinematic palette can still contain natural-looking people. Use the vectorscope and targeted secondary corrections to keep skin believable.
Trying to Repair Everything After the LUT
Large post-LUT corrections may fight against the transformation. Return to the nodes before the LUT and improve the image entering it.
Using the Same LUT Without Shot Matching
The same LUT can react differently to every clip. Match exposure, color balance, and contrast before expecting visual consistency.
You can find additional solutions in this guide to common LUT mistakes and how to correct them.
Beyond LUTs: Color-Managed Workflows in 2026
LUTs remain valuable because they are fast, portable, and compatible with many applications. However, modern color workflows increasingly combine LUTs with color management, wide-gamut working spaces, and output-specific transforms.
A managed pipeline can preserve more color information while you grade and make it easier to prepare versions for Rec.709, HDR, web platforms, and other delivery requirements. The creative LUT can then be treated as one controlled stage inside that larger pipeline.
This does not make LUTs obsolete. It simply gives them a clearer role:
- Color management handles how footage moves between color spaces.
- Primary corrections balance the image.
- The creative LUT establishes the visual direction.
- Secondary corrections protect important subjects and colors.
- The output transform prepares the grade for delivery.
The more clearly you separate these stages, the easier it becomes to troubleshoot a grade and reproduce the same style across future projects.
Related Reading
- How to install and use LUTs in DaVinci Resolve, Premiere Pro, and Final Cut Pro
- What LUTs are and how they fit into a professional workflow
- 3D LUTs vs 1D LUTs and when to use each type
- How LUT color transformations influence visual storytelling
- Common LUT mistakes that can damage an otherwise good grade
A strong DaVinci Resolve LUT workflow begins with accurate color management and correction, not with the creative look. Once your footage is balanced, explore the 700+ Cinematic Video LUTs bundle, try the focused styles in Cinematic Mastery: 20 LUTs for Film and Video Makers, or browse the wider cinematic LUT collection for DaVinci Resolve, Premiere Pro, Final Cut Pro, and more. Try these LUTs today with the Buy 3, Get 9 FREE offer.
Frequently Asked Questions
Should I apply a LUT before or after color correction in DaVinci Resolve?
Complete the main technical corrections before applying a creative LUT. Correct the input color space, exposure, white balance, and basic contrast first. You can then apply the LUT and perform smaller refinements afterward.
Why does my LUT look too dark or saturated?
The footage may have incorrect exposure, the wrong input transform, or two color-space conversions applied at once. Check the nodes before the LUT, confirm the camera profile, and reduce the LUT node’s output gain.
Can I apply the same LUT to every clip?
You can use the same creative LUT to create consistency, but each clip should be corrected and matched first. Changes in lighting, exposure, camera settings, and white balance affect how the LUT responds.
Do I need a technical LUT and a creative LUT?
You need a correct input transformation and an optional creative look. The input transformation may come from a technical LUT, a Color Space Transform node, or project-level color management. Do not use multiple methods for the same conversion.
How strong should a cinematic LUT be?
There is no fixed strength that works for every shot. Reduce the LUT node’s output until the image feels intentional while skin tones, highlights, and important colors remain natural and detailed.
Written by Asanka — creator of AAAPresets (10,000+ customers).

Leave a comment
This site is protected by hCaptcha and the hCaptcha Privacy Policy and Terms of Service apply.