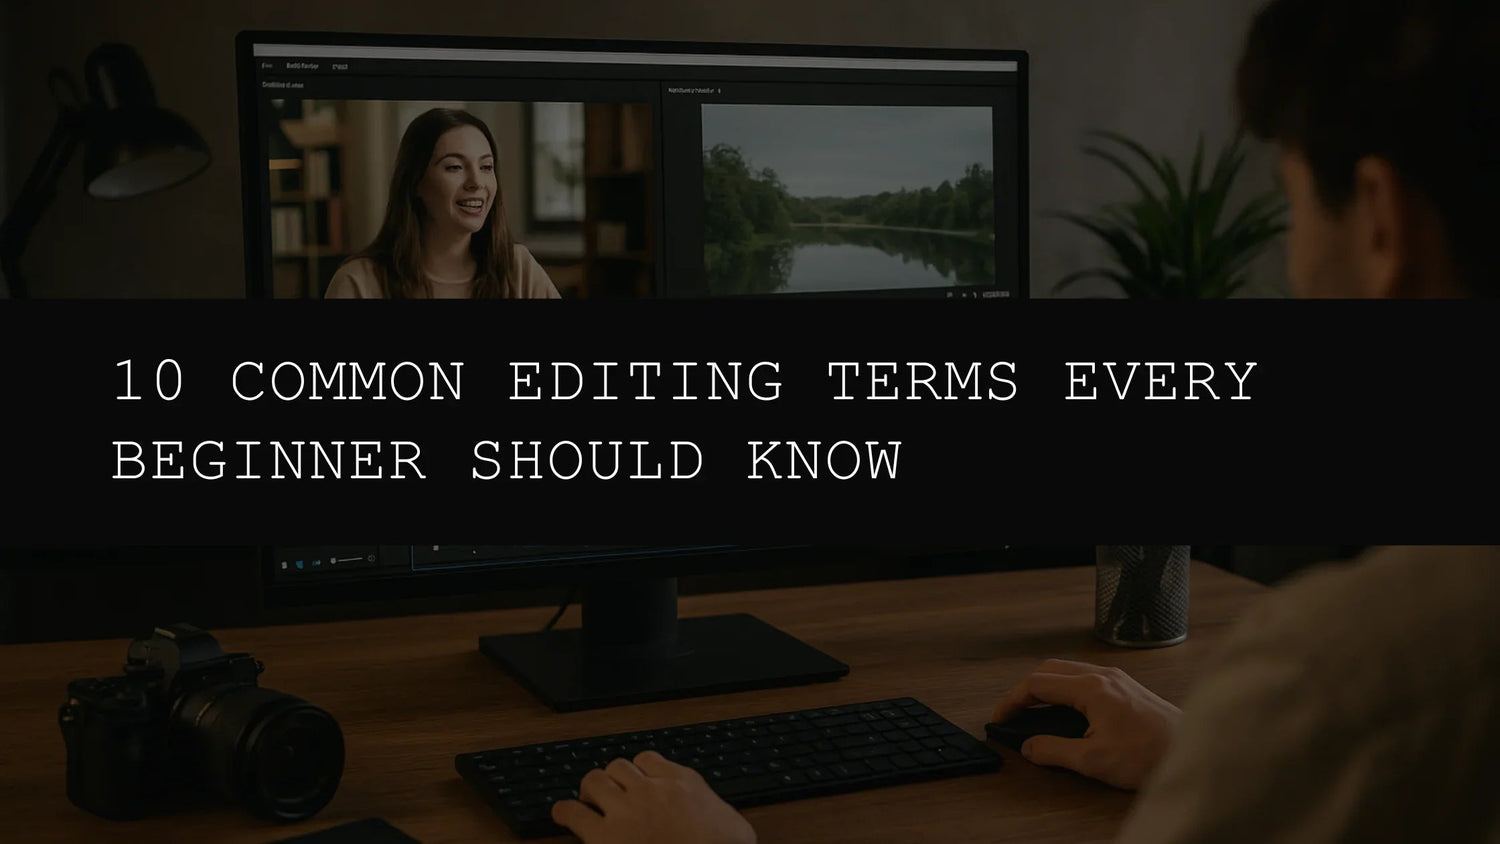
10 Common Editing Terms Every Beginner Should Know
In the world of photo and video editing, a strong grasp of terminology is paramount. Effective communication and a streamlined workflow depend heavily on understanding the language of editing. Whether you're a Lightroom aficionado or exploring other editing software, mastering these terms will significantly enhance your experience and elevate your editing skills. This comprehensive guide delves into 10 common editing terms that every beginner should familiarize themselves with, ensuring a smoother and more rewarding editing journey. We'll explore each term in detail, providing practical examples and illustrating how these concepts work together to create compelling visuals. This deeper understanding will allow you to fully utilize tools like the AI-powered presets available today, such as those offered by [Your Company Name], maximizing your creative potential.
-
Exposure: This fundamental term refers to the overall brightness of your image. Proper exposure is the key to unlocking detail in both the highlights (brightest areas) and shadows (darkest areas) of your photo or video. Underexposed images appear too dark, lacking detail in the brighter regions, while overexposed images appear too bright, losing detail in the shadows. Striking the right balance is crucial. When working with presets such as the AI-Optimized Cinematic Dark Street Lightroom Presets, mastering exposure becomes even more critical. These presets, designed to create dramatic mood and cinematic style in low-light scenes, demand a nuanced understanding of exposure to achieve the desired effect. Proper exposure allows you to fully leverage the deep shadows, rich tones, and moody atmosphere that these presets deliver. Understanding exposure allows for a more intuitive use of the preset's capabilities, leading to more finely tuned and professional results. Imagine capturing the essence of a rain-soaked city street at night; achieving the proper exposure before applying the preset makes the difference between a somewhat dark image and a truly captivating, cinematic scene. The preset enhances, but a solid understanding of exposure forms the foundation.

-
Contrast: Contrast refers to the difference in brightness between the darkest and lightest areas of your image. High contrast images feature stark differences between light and shadow, creating a dramatic and visually striking effect. Low contrast images, on the other hand, exhibit a more subtle and muted tonal range. The AI-Optimized Cinematic Photo Shoot Lightroom Presets provide a powerful tool for adjusting contrast, enabling you to fine-tune the balance between light and shadow to achieve a polished, cinematic look. These presets are designed for portrait photographers and visual storytellers, and expertly managing contrast is key to creating rich tones, balanced depth, and that sought-after professional finish. Think about a portrait photoshoot; a balanced contrast can enhance the subject's features and create a visually appealing image, preventing any areas from becoming overly dark or bright. The AI-optimized presets provide a starting point, but understanding contrast allows for fine-tuning, creating a unique and polished result each time.

-
White Balance: White balance is the process of adjusting the color temperature of your image, ensuring that whites appear truly white and colors are accurately represented. An incorrect white balance can lead to images that look too warm (yellowish) or too cool (bluish). Achieving accurate white balance is essential for creating realistic and visually appealing images. The AI-Optimized Cinematic Vintage Lightroom Presets elegantly handle white balance, allowing you to seamlessly adjust the color temperature to evoke the specific mood of vintage film photography. These presets blend classic film aesthetics with modern AI enhancements, and mastering white balance ensures that the warm tones, soft fades, and rich cinematic depth intended by the presets are accurately reproduced in your images. Consider a travel photograph; accurate white balance can subtly shift the mood from a cool, crisp mountain scene to a warmer, more inviting coastal sunset. The presets offer a foundational white balance, but your understanding allows for adjustments that transform the photograph's overall feel.

-
Saturation: Saturation refers to the intensity or richness of the colors in your image. High saturation results in vibrant, bold colors, while low saturation produces muted, desaturated tones. The level of saturation you choose significantly impacts the overall mood and feel of your image. Experimenting with saturation is a key aspect of creative image editing. The AI-Optimized Dark Aesthetic Lightroom Presets offer a fantastic opportunity to explore the impact of saturation in creating a dark, moody aesthetic. These presets excel at producing dramatic edits with deep contrasts and muted tones, and a thoughtful approach to saturation is key to achieving the desired dramatic effect. Consider a moody portrait; adjusting saturation can subtly shift the emotion from a vibrant, energetic image to a more pensive and introspective one. The preset provides a base, but a nuanced understanding of saturation gives you the tools to fine-tune and customize the result to your specific creative vision.

-
Highlights: Highlights represent the brightest areas of your image. Properly managing highlights is crucial to preventing blown-out areas where detail is lost due to overexposure. By carefully adjusting highlights, you can preserve detail and maintain a natural, pleasing look. The AI-Optimized Golden Hour Lightroom Presets are carefully designed to handle highlights effectively, enhancing the warm glow of the golden hour while preserving crucial details. These presets are ideal for capturing the magic of sunrise and sunset, and understanding how to manage highlights allows you to fully utilize their capabilities to create stunning images rich in warmth and detail. Imagine a landscape bathed in the golden light of sunset; managing highlights prevents the sky from losing detail and ensures a balanced composition that captures the richness of the moment. The preset provides a beautiful foundation, but your understanding of highlights allows you to refine it and ensure that every detail is preserved, resulting in a truly professional-looking image.

- Shadows: Shadows constitute the darkest areas of your image. Just as with highlights, managing shadows correctly ensures that detail is preserved in these areas, preventing them from becoming crushed or completely black. By carefully adjusting shadows, you can reveal hidden details and add depth and dimension to your images. Utilizing the AI-Optimized Cinematic Dark Street Lightroom Presets, you can master shadow manipulation to create dramatic and moody effects. These presets offer unparalleled control over shadows, allowing for the creation of intense, cinematic visuals. Consider a night portrait; manipulating shadows allows you to highlight the subject while creating a dramatic and moody ambiance. The preset helps establish this base, but your understanding allows you to refine the shadows and ensure a perfect balance between light and dark, transforming an ordinary image into a truly memorable work of art.
- Sharpness: Sharpness refers to the clarity and definition of detail within your image. Adjusting sharpness can significantly impact the overall perceived quality of your image, making it appear crisper and more focused. However, excessive sharpening can introduce unwanted artifacts, so a delicate touch is essential. Sharpness is a subtle but powerful tool, and understanding how to apply it correctly can make a dramatic difference in the overall quality of your images. Too much sharpness results in a harsh and unnatural look, while too little results in a soft and blurry image. Finding the right balance is key.
- Noise: Noise appears as grain or speckles in an image, often more prevalent in low-light photos or high ISO settings. Noise reduction tools help minimize the appearance of this unwanted artifact, enhancing the overall cleanness and clarity of your images. Noise reduction is particularly crucial when working with low-light photos, as it helps to remove unwanted artifacts that can detract from the overall quality of the image. However, overdoing noise reduction can result in a loss of fine detail, so it's important to strike a balance.
- Vibrance: Vibrance is similar to saturation but offers a more nuanced approach. While saturation affects all colors equally, vibrance selectively boosts the intensity of less saturated colors, preserving more natural-looking tones and preventing overly vibrant or artificial colors. Vibrance is a more subtle adjustment that helps to enhance the vibrancy of an image without making it look overly saturated or unnatural. This is particularly useful for images that already have a good level of saturation but could benefit from a slight boost in certain colors.
- Layers: Layers are a cornerstone of non-destructive editing. Many editing programs allow you to work with different elements of an image independently, on separate layers. This makes it easier to experiment and edit complex images without affecting other parts of the composition. Changes made to one layer don't affect others, ensuring that your original image remains untouched, providing flexibility and facilitating creative freedom. Layers provide non-destructive editing allowing for easy adjustments, experimentation and refinement without permanently altering the original image. Experimentation is encouraged! Layers ensure the ability to easily undo changes and try different approaches to achieve the perfect result.
Understanding these 10 common editing terms is not simply about knowing definitions; it’s about developing a vocabulary that allows you to effectively communicate your creative vision and execute your edits with precision and intention. By combining your understanding of these terms with the power of high-quality presets such as the AI-Optimized Cinematic series, you can elevate your editing workflow and consistently produce professional-grade results. Experiment with different settings and combinations of these techniques to master the art of digital image and video editing and to express your unique creative vision. With practice and knowledge, you’ll transform your editing from a technical process into a seamless creative journey, effortlessly bringing your artistic vision to life.


Leave a comment
This site is protected by hCaptcha and the hCaptcha Privacy Policy and Terms of Service apply.