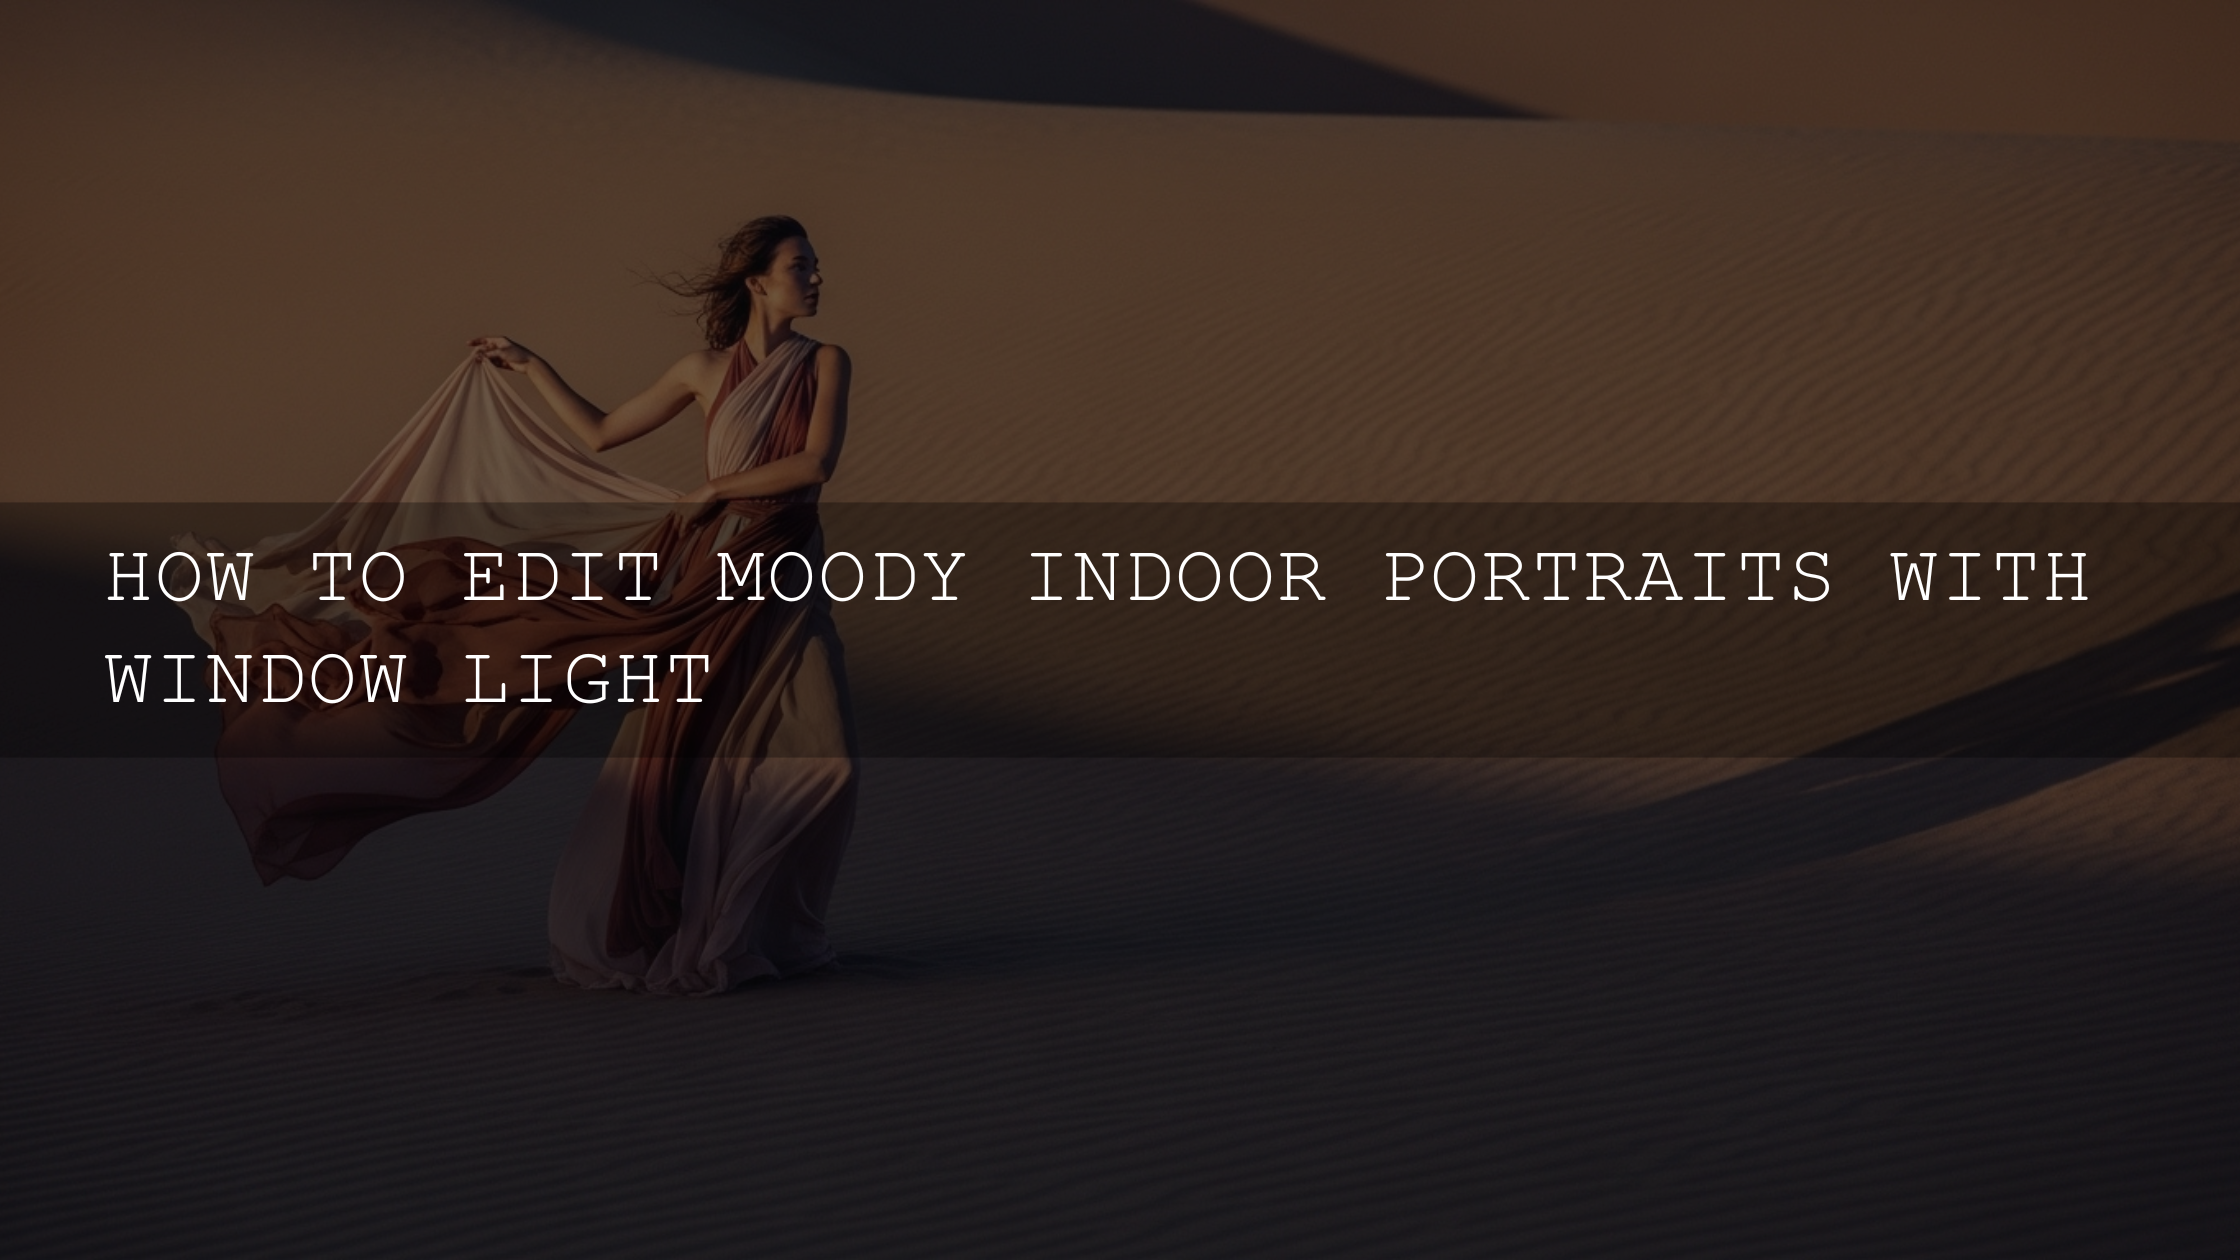
Cinematic Close-Up Portraits in 2026: How to Use Contrast and Grain for a Film Look
If you’re chasing cinematic close-up portraits that feel like a real film still, the fastest path is mastering two tools that shape emotion instantly: portrait contrast and film grain. When you control contrast, you sculpt the face with light and shadow. When you add grain the right way, you give your digital image texture and “soul” instead of that overly-clean, plastic look.
Here’s the practical goal: create a close-up portrait that feels intimate, dramatic, and believable—like a frame from a movie—using a repeatable Lightroom portrait editing workflow (plus an optional Photoshop pass if you want extra control).
If you want a ready-to-use starting point for this look, try the AI-Optimized Film Portrait Cinematic Lightroom Presets Pack and browse the full Cinematic Film Lightroom Presets collection. And if you’re building your toolkit, you can Buy 3, Get 9 FREE when you add 12 items to your cart—so you can test multiple moods without overthinking it.
Why Close-Ups Feel So Powerful (and Why the “Film Look” Works)
Close-ups remove distractions. The viewer can’t escape the eyes, the skin texture, the micro-expression, the tiny shadow under the cheekbone. That’s why cinematic close-up portraits hit harder than wide shots: they force connection.
Film aesthetics amplify that connection because film is rarely “perfect.” It has texture. It has a gentle roll-off in highlights. It often has deeper shadows. That imperfection makes the image feel human and story-driven.
I learned this the hard way after editing a low-light wedding close-up: I pushed contrast too far, crushed the shadows, and suddenly the portrait looked harsh instead of emotional. The fix wasn’t “less cinematic”—it was better control of contrast and grain, especially in the midtones.
Shoot for the Edit: The Camera Choices That Make Contrast Easier
You can create cinematic contrast in post—but it’s much easier when your capture supports it. Before you touch sliders, set yourself up for success:
- Use directional light: Window light from the side, a single softbox, or a hard light with controlled falloff creates natural shadow shape.
- Protect highlights: Slightly underexpose if needed (especially with bright skin highlights). Film-style contrast falls apart if highlights clip.
- Watch mixed lighting: Warm indoor light + cool window light can shift skin tones when you increase contrast.
- Choose a flattering focal length: 50mm–85mm (full-frame equivalent) keeps faces natural and avoids distortion in close-ups.
- Shoot RAW: You’ll get more flexibility for tone curve and shadow recovery.
Quick test: If the brightest part of the face (forehead/cheek highlight) is already blown out, your “cinematic” edit will look crunchy fast. Pull exposure down slightly in-camera or recover highlights in RAW before adding punch.
Contrast: Sculpting the Face Without Destroying Skin
Contrast is not just “make it darker and brighter.” For portraits, contrast is about shape: cheekbones, jawline, eye sockets, and the gentle falloff from highlight to shadow. The most cinematic portraits usually lean into stronger contrast—but with controlled transitions and protected skin.
High contrast vs midtone contrast (what actually matters)
- High contrast: Bigger difference between bright highlights and deep shadows. Great for drama, noir, grit—dangerous if you crush blacks.
- Midtone contrast: The “punch” in the face without nuking highlights/shadows. This is the secret to strong close-ups that still look premium.
- Local contrast: Contrast applied only where needed (eyes, jawline, background). This is what separates “cinematic” from “over-edited.”
A Lightroom portrait editing contrast workflow (repeatable)
- Neutralize first: Set White Balance, Exposure, Highlights, and Shadows so the face looks “real” before you stylize.
- Set black/white points carefully: Nudge Whites/Blacks until you see separation, but don’t clip skin highlights or crush hair detail.
- Use the tone curve for cinematic control: A gentle S-curve adds film-like punch. Keep the bottom-left lifted slightly if you want softer “film blacks.”
- Build local contrast with masking: Lighten the eyes subtly, darken the background slightly, shape cheekbones—small moves, big cinematic impact.
If you want official references for the exact tools, start with Adobe’s guide to masking in Lightroom Classic and Adobe’s Lightroom Curves learning guide.
Dodging and burning without making it obvious
Think like a cinematographer: guide the viewer’s eye. In close-ups, that usually means:
- Dodge (lighten): catchlights, iris edge, center of forehead (tiny), top of cheek highlight.
- Burn (darken): jawline underside, outer cheek shadow, background corners, hairline (subtle).
Rule: If the viewer notices your dodge & burn, it’s too much. Aim for “felt, not seen.”
Grain: The Texture That Makes Digital Feel Like Film
Grain is not “noise.” In a cinematic portrait, grain is a controlled texture layer that adds realism and mood. Done well, it can make skin look less plastic, unify tones, and give your close-up a tactile, analog character.
How to choose the right film grain
- Fine grain: elegant, editorial, premium—great for beauty and fashion close-ups.
- Medium grain: classic film vibe—great for lifestyle portraits and warm cinematic moods.
- Coarse grain: gritty, raw, dramatic—great for noir, street-inspired portraits, and intense storytelling.
Apply grain the smart way (so it doesn’t look like a filter)
- Add grain after contrast: contrast changes how grain appears in shadows and midtones.
- Zoom to 100% briefly: check skin, eyes, and shadow areas for ugly clumps or banding.
- Keep grain consistent: avoid adding heavy grain to a super-clean image unless it matches the mood.
- Don’t over-sharpen: too much sharpening + grain = sandpaper skin.
If you want extra control beyond Lightroom, Photoshop has a dedicated grain adjustment that’s easy to tweak: Adobe’s guide to adding grain non-destructively in Photoshop.
The 7-Minute Cinematic Recipe: Contrast + Grain Step by Step
Here’s a practical workflow you can run on any close-up portrait (RAW recommended). This is the “fast but pro” method I use when I want a consistent cinematic result.
Step 1: Build a clean base (1–2 minutes)
- Set White Balance so skin looks believable.
- Adjust Exposure for face brightness (not the background).
- Pull Highlights down if skin is shiny; lift Shadows slightly if they’re blocked.
Step 2: Shape contrast with intention (2 minutes)
- Set Whites/Blacks gently for separation.
- Add a soft S-curve for cinematic punch.
- Use Texture/Clarity sparingly (skin can turn gritty fast).
Step 3: Local “cinema lighting” with masks (2 minutes)
- Mask the face: lift midtones slightly if the portrait feels heavy.
- Mask the background: darken a touch to increase subject separation.
- Mask the eyes: tiny lift to exposure/clarity for presence (don’t overdo it).
Step 4: Add film grain (1 minute)
- Start low, increase slowly.
- Choose grain size based on mood (fine for premium, coarse for gritty).
Step 5: Final polish (30 seconds)
- Check skin tone: if it goes too orange/magenta, reduce saturation in the skin range slightly.
- Check shadows: if they turn muddy, lift the lowest blacks a tiny bit on the curve.
Presets vs Manual Editing: Which Gives a Better Cinematic Portrait?
This is the real question: should you build every film look from scratch, or use presets?
- Presets: best for speed, consistency, and repeatable cinematic color. Ideal when you’re editing a full portrait session and want the same mood across the gallery.
- Manual editing: best for absolute control—especially when lighting is tricky or you want a very specific contrast-and-grain texture.
My approach is simple: use presets as a starting point, then manually refine contrast, masks, and grain for the face. That’s how you get speed and quality.
If you want a cinematic starting point designed specifically for portraits, begin with AI-Optimized Film Portrait Cinematic Lightroom Presets Pack. If you want a huge range of styles for different moods and lighting, download the 1000+ Master Lightroom Presets Bundle.
Helpful reads if you’re refining your workflow: how to stack presets for unique results and Lightroom vs Photoshop (when to use each).
Three Cinematic Close-Up Styles You Can Copy Today
1) Noir close-up (high drama)
- Directional hard light from the side
- Stronger S-curve, deeper shadows
- Medium-to-coarse grain for grit
2) Editorial film portrait (premium)
- Soft directional light (window/softbox)
- Midtone contrast focus (not crushed blacks)
- Fine grain, subtle texture
3) Gritty cinematic character (raw storytelling)
- Backlight or rim light + shadow depth
- Controlled highlights, strong local contrast
- Noticeable grain + slightly muted color
Common Problems (and Fast Fixes)
“My preset made the portrait too dark.”
Lift Exposure slightly, then recover highlights. If shadows look crushed, lift Blacks a touch or raise the shadow point on the curve. This guide helps when that happens: why presets make photos too dark (and how to recover detail).
“My presets look different on mobile vs desktop.”
That’s usually a screen and brightness reality, not your skills. Test on both, then adjust your base exposure and contrast slightly for consistency: why presets look different on desktop vs mobile (and how to fix it).
“I switched cameras and now my cinematic look feels off.”
Camera profiles and sensor color can shift your whole grade. Run a small test set and tweak your base profile/white balance before judging the preset: how to fix presets after switching camera bodies.
Related Reading (to level up your cinematic workflow)
- Mastering Lightroom: how to stack presets for unique, cinematic edits
- Why presets make photos too dark (and the detail recovery fix)
- Desktop vs mobile preset differences (and how to correct them)
- Camera body change: how to get your cinematic look back
- Lightroom vs Photoshop: choosing the right tool for portraits
Bring the Film Look to Your Own Portraits
Cinematic close-up portraits aren’t about “more editing.” They’re about smarter editing: contrast that sculpts without destroying skin, and film grain that adds texture without turning your image into noise. Start with a clean base, shape midtones with intention, then apply grain as a finishing layer—not a shortcut.
If you want a cinematic portrait look you can apply fast and refine with your own style, explore the AI-Optimized Film Portrait Cinematic Lightroom Presets Pack and browse the full Cinematic Film Lightroom Presets collection. Or grab the all-in-one option: 1000+ Master Lightroom Presets Bundle. Remember—you can Buy 3, Get 9 FREE when you add 12 items to your cart, so you can test multiple cinematic moods and find “your” signature look.
If you ever need help with setup or questions about your download, you can reach us here: Contact AAAPresets support.
FAQ
How much contrast is “too much” for cinematic close-up portraits?
If skin starts looking crunchy, pores look harsh, or highlights on the forehead/cheeks clip, you’ve gone too far. Pull back the global contrast and use local masking to shape only what matters.
Should I add film grain before or after sharpening?
Add grain near the end, then sharpen carefully. Heavy sharpening can turn grain into sandpaper, especially on skin.
Can I get a cinematic look using presets only?
You can get close, but the best cinematic portraits usually need small manual refinements—especially masks for the face and a controlled grain finish.
Why do my portraits look “flat” even after a tone curve?
It’s often lighting and midtones. Add a little midtone contrast and use dodging/burning masks to shape the cheekbones and eyes, then darken the background slightly for separation.
Is Lightroom or Photoshop better for cinematic portrait editing?
Lightroom is faster for building the overall look (tone curve, color, masks). Photoshop is great when you want extra control over texture, grain layers, or advanced retouching.
Written by Asanka — creator of AAAPresets (10,000+ customers).
Leave a comment
This site is protected by hCaptcha and the hCaptcha Privacy Policy and Terms of Service apply.