
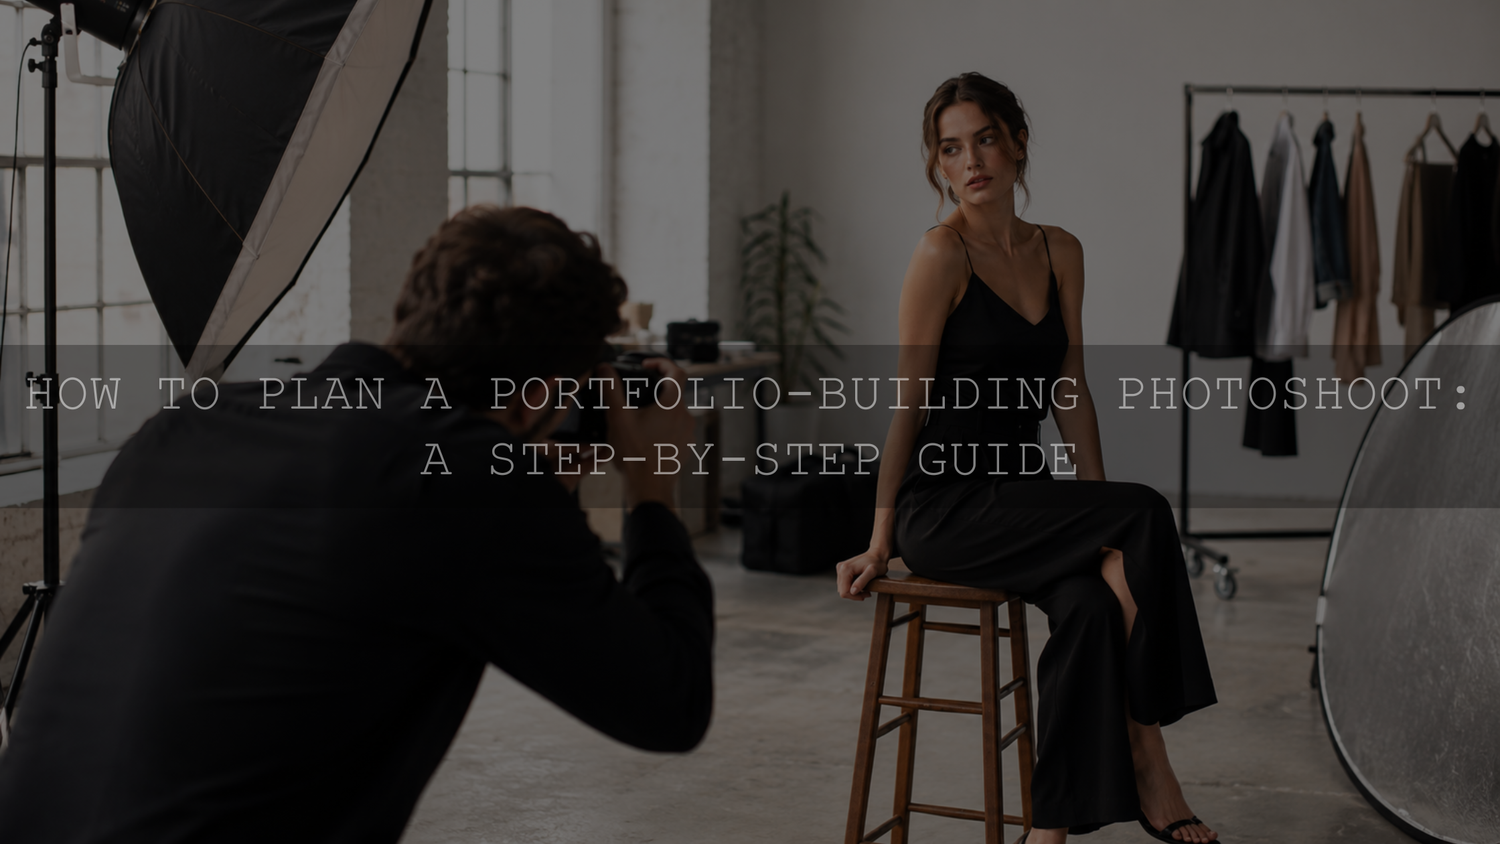
A portfolio-building photoshoot should do more than produce attractive images. It should create clear evidence that you can make the type of work you want future clients, agencies or collaborators to hire you for.
The most useful way to plan one is to work backward. Identify what your current portfolio is missing, define what the new images need to prove, and then build the concept, team, location, shot list and schedule around that objective. This keeps the shoot focused and makes it easier to decide what deserves a place in the final portfolio.
If you are still building your first body of work, the same principle applies when starting a photography business without clients: self-assigned and collaborative shoots are most useful when they represent the assignments you actually want to book.
Start With the Portfolio Gap, Not the Mood Board
Before opening Pinterest, contacting models or reserving a studio, audit the work you already have. The question is not simply, "What would be fun to photograph?" It is, "What does someone considering me for this type of work still need to see?"
Look at your portfolio from the perspective of the client or opportunity you want. Identify gaps in subject matter, lighting, environment, styling, framing or consistency.
A simple portfolio-gap statement can keep the project focused:
I want to be hired for [type of work] by [type of client]. This shoot needs to prove that I can create [specific result] in [relevant conditions or use case].
For example, a photographer targeting independent fashion brands might need to show full outfits, fabric details, movement and clean portrait frames within one coherent editorial direction. A photographer targeting local business owners may need polished headshots plus wider environmental portraits that work on websites, press pages and social profiles. These are hypothetical examples, but the decision process is the same.
Once the gap is clear, you can reject ideas that are visually interesting but do not strengthen the portfolio you are trying to build.
Turn the Goal Into a One-Page Creative Brief
A useful creative brief converts the portfolio objective into decisions the entire team can understand. It does not need to be complicated. One page is often enough if it answers the important questions.
- Target work: What service or assignment should these images help you demonstrate?
- Audience: Who needs to be convinced by the finished photographs?
- Intended use: Will the images appear on a portfolio homepage, niche gallery, social profile, pitch deck or printed book?
- Visual direction: What should the lighting, color, styling, environment and overall mood communicate?
- Required proof: Which skills, subjects or situations must appear in the final selection?
- Constraints: What limits exist around budget, time, weather, location, wardrobe or equipment?
- Non-negotiables: Which frames or details must be completed before the shoot can be considered successful?
Make the Mood Board Explain Decisions
Create the mood board after the brief rather than using unrelated inspiration to decide the entire shoot. Choose references that help communicate specific decisions about lighting, pose, framing, color, styling, texture or environment.
Add a short note when the reason for including a reference is not obvious. For example, you might save one photograph for its window-light direction, another for its restrained wardrobe palette and another for the amount of negative space around the subject.
The objective is not to reproduce another photographer's finished image. References should help the team understand the direction while leaving room to create original work.
Create a Proof Map Before the Shot List
One useful step between the creative brief and the shot list is to decide what each important photograph needs to prove.
For every portfolio gap, define three things:
- The proof: The skill, result or type of assignment the image should demonstrate.
- The frame: The photograph or setup capable of showing that evidence.
- The success check: What must be visible or technically successful before you move on.
For a hypothetical lifestyle campaign, one proof requirement might be the ability to photograph a subject naturally in a real environment. The corresponding frame could be a medium environmental portrait with controlled window light. The success check might include believable expression, clean background separation, usable highlight detail and both horizontal and vertical compositions.
This prevents a common portfolio problem: returning from a visually enjoyable shoot with many similar photographs but still missing the exact evidence you needed.
Choose Collaborators Because the Brief Needs Them
You do not need the largest possible creative team. Add collaborators when they help execute an important part of the brief.
- Models or subjects: Choose people whose look, age range, energy and comfort in front of the camera suit the work you are trying to demonstrate.
- Hair and makeup artists: Consider professional hair or makeup when grooming, beauty work or close portrait detail is important to the intended result.
- Wardrobe stylists: A stylist can be valuable when clothing is central to the concept or when the portfolio needs to demonstrate stronger fashion or commercial art direction.
- Assistants: An assistant may be useful when the lighting setup, equipment movement, location or schedule would be difficult to manage safely alone.
Follower count is a poor substitute for suitability. Reliability, communication and fit with the brief usually matter more to the finished portfolio.
Put TFP and Collaboration Terms in Writing
If the shoot is TFP, trade or another unpaid collaboration, agree on the exchange before the shoot. Written terms can cover the expected deliverables, approximate number of final images, delivery timing, permitted uses, expenses, credits, cancellation or rescheduling, and whether collaborators may alter or re-edit delivered files.
Also determine whether model, property or other permissions are appropriate for the way the photographs will be displayed. Laws and requirements differ by location and intended use, so do not assume that one generic release covers every situation. Professional Photographers of America provides photography contract and release guidance that can be a useful starting point, but local requirements may still need professional legal advice.
Copyright and permission to use a person's likeness are also separate considerations. For photographers working in the United States, the U.S. Copyright Office explains photographer copyright basics, including the general rule that the photographer is initially the copyright owner unless an exception such as a qualifying work made for hire applies.
Scout the Location Like a Production Test
A visually attractive location can still be a poor production choice. Scout it according to the actual shots you need to make.
When possible, visit at approximately the same time of day as the planned shoot. Check:
- Where direct sun and open shade fall.
- How the light changes during your scheduled shooting window.
- Which backgrounds work at the focal lengths you expect to use.
- Whether reflective surfaces create unwanted color or glare.
- Where wardrobe changes, hair and makeup or equipment setup can happen.
- Power availability if your equipment requires it.
- Parking, load-in access and accessibility for the team.
- Noise or interruptions if you also plan to record video.
- A realistic weather or location backup.
Confirm permits, commercial photography rules and property permission where they apply. Booking a room, accommodation or other private property does not automatically mean commercial photography is permitted, so confirm the intended use with the property owner or venue before production day.
Build a Shot List Around Portfolio Value
Your shot list should not be a random collection of poses copied from the mood board. It should translate the proof map into photographs you can execute.
A useful way to prioritize it is:
- Priority A: Essential portfolio frames. The shoot has not achieved its main objective until these are complete.
- Priority B: Valuable variations that add range, additional crops or another useful interpretation of the concept.
- Priority C: Experiments that are worth attempting after the required work is safely captured.
For each important setup, record the subject or action, framing, orientation, lighting approach, wardrobe or props, and intended use. This makes the shot list actionable rather than inspirational.
Capture Useful Range Without Creating Random Work
Range does not have to mean changing the entire aesthetic. One strong setup can often produce several useful portfolio roles:
- A hero frame.
- A medium or environmental view.
- A close portrait or detail.
- A horizontal composition.
- A vertical composition.
- A clean frame with useful negative space when the intended client work may require copy placement.
- A controlled movement or candid variation when it supports the assignment type.
The variations should still feel as if they belong to the same project. The purpose is to prove repeatability and versatility, not to make one photoshoot imitate five unrelated genres.
Schedule Backward From the Hard Stop
Do not choose a shoot duration first and then attempt to squeeze every idea into it. Estimate the time required for the essential setups, styling changes, lighting changes, travel between locations, breaks, setup and teardown. Then remove lower-priority ideas if the schedule is unrealistic.
A simple call sheet or production schedule can include:
- Location and access information.
- Contact details for key collaborators.
- Arrival and call times.
- Hair, makeup and wardrobe preparation time.
- Approximate start and finish for each major setup.
- Priority shots.
- Breaks and a small recovery buffer.
- Weather or location contingency information.
- Wrap, cleanup and equipment load-out.
A little unused buffer is more valuable than a schedule that works only if every part of the day goes perfectly.
Prepare Gear From the Shot List, Not From Anxiety
Use the planned frames to decide what equipment needs to come with you. The goal is not to bring everything you own. It is to remove obvious points of failure without making the setup unnecessarily complicated.
Depending on the shoot, preparation might include:
- Camera body and the lenses required for the planned compositions.
- Charged batteries and adequate memory cards.
- Lights, modifiers, triggers and stands required by the lighting plan.
- Safe weighting or support for stands where appropriate.
- Reflectors or flags when they solve a known lighting problem.
- Tethering equipment if larger-screen review is important.
- Cables, adapters and extension leads required by the location.
- Lens and sensor-cleaning supplies.
- A small wardrobe or styling repair kit.
- A backup for equipment that would otherwise stop the shoot completely if it failed.
Only format or reuse memory cards after previous work has been safely backed up. Test the equipment combination you intend to use before production day rather than discovering an incompatible cable, trigger or accessory on set.
Use On-Set Checkpoints Before Moving On
Creativity is easier when the essential frame is already secure. Before experimenting heavily with a setup, capture a technically sound version that satisfies its original purpose.
Before changing the lighting, wardrobe or location, review:
- Critical focus.
- Exposure and important highlight or shadow detail.
- Skin tone or product-color contamination from nearby surfaces.
- Hair, makeup, wardrobe and unwanted wrinkles or distractions.
- Background edges, reflections and objects entering the frame.
- The required horizontal and vertical compositions.
- Whether the Priority A frame is actually complete.
- Whether you are creating useful variation rather than near-duplicates.
If you are tethering, use the larger display for checks that are difficult to judge on the camera screen. If you are not tethering, zoom into important frames periodically instead of relying only on the small preview.
Back Up and Cull Against the Original Goal
Once the shoot finishes, protect the files before concentrating on the portfolio edit. Create a second verified copy before erasing or reusing the capture card, and keep the originals intact while the selection process is underway.
Then return to the creative brief. The first question is not which photographs feel most exciting after a long production day. It is which ones most convincingly satisfy the reason the shoot existed.
Reject technical misses and weak expressions, compare similar frames, remove near-duplicates and then evaluate the remaining photographs for relevance, range and consistency. A more detailed photo selection workflow can help separate shoot-day culling from final portfolio curation.
Edit the Shoot as One Body of Work
A portfolio project generally feels stronger when color, contrast and tonal direction are coherent across the final selection. That does not mean applying identical settings to every photograph.
Exposure, white balance, lighting conditions, camera profiles, subject color and background color can all affect how the same preset or editing recipe looks from frame to frame. Correct those image-specific differences before forcing every photograph toward identical slider values.
If the project contains several lighting environments, group similar images and establish a representative edit for each group. Then compare the entire selection together. The guide to creating a consistent editing style for your portfolio covers this stage in more detail.
If a cinematic portrait, fashion or lifestyle direction suits the brief, the AI-Optimized Cinematic Photo Shoot Lightroom Presets provide eight presets supplied in both DNG and XMP formats for Lightroom Mobile, Lightroom desktop, Lightroom Classic and Adobe Camera Raw. Treat a preset as a starting point and still review exposure, white balance, skin tones and contrast on each image. AAAPresets also offers Buy 3, Get 9 FREE when 12 eligible products are added to the cart and only three are paid for.
Curate for the Work You Want Next
Do not publish every successful image from the session. A portfolio is a selection, not a complete client gallery or contact sheet.
Choose the frames that best prove the target service, remove repetitions that do the same job less effectively, and check the sequence as a whole. A strong project might contain fewer images than expected if those photographs communicate the assignment more clearly.
When the final selection is ready, prepare files appropriately for the destination rather than uploading full working files without consideration for presentation and web use. The AAAPresets guide to preparing edited photos for a portfolio website covers the next stage.
Common Portfolio Photoshoot Planning Mistakes
- Starting with a mood board instead of a portfolio objective: The images can look cohesive yet still fail to strengthen the work you want to sell.
- Trying to photograph too many concepts: Extra themes usually consume time that should have gone toward refining the strongest idea.
- Choosing collaborators only for audience size: Fit with the concept, reliability and communication are more important to the production itself.
- Leaving TFP terms vague: Unclear deliverables, usage and deadlines can create disagreements after the shoot.
- Assuming a location automatically allows photography: Confirm permissions and commercial-use rules when relevant.
- Giving every planned frame equal priority: Must-have images should be completed before optional experiments.
- Scheduling without a buffer: Styling, lighting and location changes can take significantly longer than making the exposure itself.
- Capturing only one orientation: The intended portfolio or client use may require both horizontal and vertical compositions.
- Moving on without checking the files: A preventable focus, styling or background problem is much harder to fix after everyone leaves.
- Publishing too many finished photographs: More images do not automatically make a stronger portfolio.
Portfolio Photoshoot Checklist
Before the Shoot
- Define the work you want the portfolio to help you book.
- Identify the specific gap the shoot must fill.
- Create a one-page creative brief.
- Build a focused mood board.
- Convert portfolio requirements into a proof map.
- Confirm collaborators and written terms.
- Scout the location and verify relevant permissions.
- Create Priority A, B and C shots.
- Build a realistic schedule or call sheet.
- Prepare and test the required equipment.
- Plan backups for important points of failure.
During the Shoot
- Secure the must-have frame before extensive experimentation.
- Check focus and exposure at each major setup.
- Inspect styling, backgrounds and reflections.
- Capture the orientations required by the intended use.
- Compare new photographs with the original brief.
- Confirm Priority A shots before changing setup.
After the Shoot
- Create and verify another copy of the files.
- Cull technical misses and near-duplicates.
- Select photographs according to the portfolio objective.
- Edit similar lighting groups consistently.
- Review the final images together rather than individually.
- Deliver agreed collaborator files.
- Publish only the frames that strengthen the portfolio.
Plan the Shoot Around the Evidence You Need
The strongest portfolio-building photoshoots begin with a hiring objective rather than a collection of attractive references. Define what is missing, turn that gap into a brief, identify the photographs that will prove the required skills and organize the production around getting those frames successfully.
That approach leaves room for experimentation without depending on it. You can still respond to unexpected light, expressions and ideas on set, but the essential work is protected first. The result is not simply more photographs. It is a more relevant body of evidence for the assignments you want next.
Written by Asanka — creator of AAAPresets, serving 10,000+ customers.


Leave a comment
This site is protected by hCaptcha and the hCaptcha Privacy Policy and Terms of Service apply.