
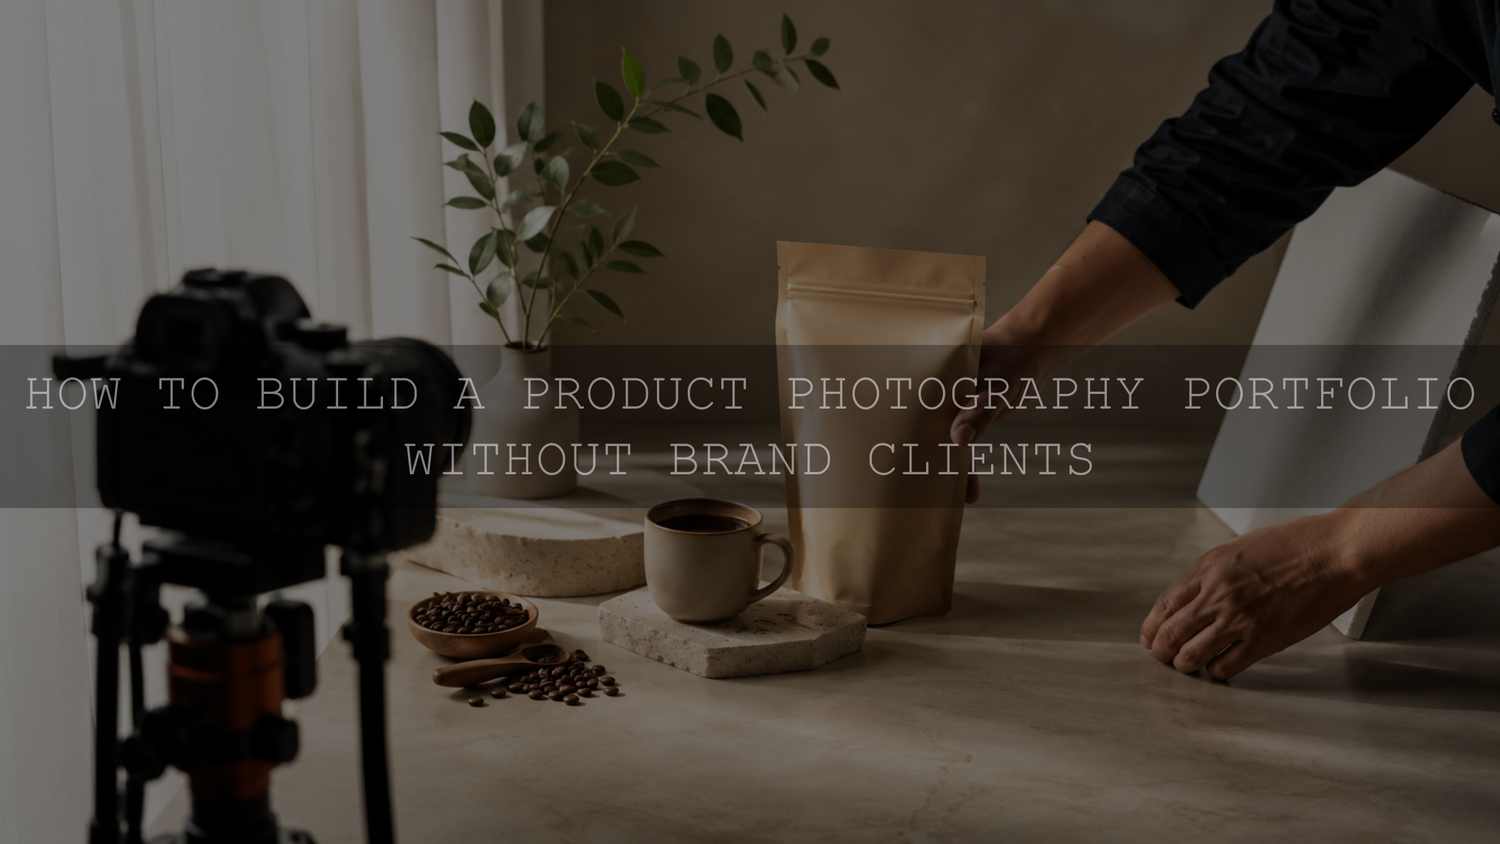
You can build a strong product photography portfolio before booking your first paid product shoot. The key is not to make a collection of random photographs look like client work. Instead, create self-initiated projects that demonstrate the same skills a real commercial assignment would require: understanding a brief, controlling light, handling different materials, styling a scene, protecting product color and delivering a consistent set of useful images.
Start with products you already own or can access inexpensively, but approach each shoot as a small campaign rather than a practice snapshot. Your portfolio should make it easy for a potential client to understand what you photograph, how consistently you can execute an idea and what kinds of images you could create for their brand.
Build the Portfolio Around the Work You Want to Book
Before photographing anything, decide what kind of product work you want the portfolio to attract. A portfolio aimed at skincare brands should demonstrate different skills from one aimed at restaurants, jewelry companies or technology brands.
If your direction is still broad, start by identifying two or three categories you would genuinely be willing to photograph repeatedly. The AAAPresets guide to choosing a photography niche can help you evaluate a specialty using interest, market demand, workflow and practical requirements.
Your portfolio does not have to lock you into one category forever. It does need enough focus that a visitor can quickly understand the type of work you want to create.
Treat Every Self-Initiated Shoot Like a Real Brief
One of the most useful ways to make practice work more commercially relevant is to write a short creative brief before setting up the camera. This forces you to solve a communication problem rather than simply trying to make an attractive photograph.
For example, imagine you are creating a self-initiated campaign for a coffee product. Your brief might specify:
- A clean hero photograph that clearly shows the packaging.
- A detail image emphasizing the product texture or ingredients.
- A warm lifestyle image suggesting a morning routine.
- A horizontal composition with clear negative space for possible website copy.
- A vertical image suitable for social media.
This is only a hypothetical exercise. If a real brand did not commission the work, do not describe it as a client campaign or imply that the company hired or endorsed you. Label it clearly as a self-initiated project, personal concept or portfolio study where appropriate.
Writing the brief first also helps you evaluate the finished work. Instead of asking only, “Does this photograph look good?” you can ask, “Did I make every image the project needed?”
Show a Complete Commercial Skill Set
A portfolio containing only dramatic hero photographs can demonstrate taste, but it may reveal very little about how you handle a complete product assignment. Build projects that show different image purposes.
Clean product images
Create at least some photographs where the product itself is the clear priority. Pay attention to shape, readable labels, edge definition, accurate color and distracting reflections. Adobe’s product photography guide distinguishes straightforward product-only imagery from contextual lifestyle work and recommends planning required angles and views before the shoot.
Detail and material photographs
Move closer and demonstrate texture, finish, packaging details, controls, ingredients or construction. A useful detail photograph should reveal something about the product rather than existing only because shallow depth of field looks attractive.
Lifestyle images
Show how the product exists in a believable environment. Props, hands or surrounding objects can provide scale and context, but they should support the product rather than compete with it.
Campaign-style creative images
Use one or two photographs to demonstrate stronger art direction through color, shadows, unusual composition, motion or conceptual styling. These images can express your creative identity while the cleaner photographs prove that you can also work within practical commercial requirements.
Different crops and formats
A client may need the same campaign to work across a website, email, advertisements and social media. During a portfolio project, intentionally capture compositions with different orientations and useful negative space. Do not simply crop one photograph into every possible format if the composition becomes weaker.
Choose Products That Give You Different Problems to Solve
Do not build the entire portfolio from objects that are equally easy to light. Different materials reveal different technical abilities.
- Matte packaging: useful for learning shape, label readability and simple lighting.
- Glossy or reflective products: useful for practicing reflection placement, diffusion and edge definition.
- Glass or transparent objects: useful for learning separation, background control and highlight placement.
- Dark products: useful for controlling edges without flattening the subject into the background.
- Light products on light backgrounds: useful for maintaining separation while keeping a clean visual style.
- Textured products: useful for learning how light direction reveals or hides surface detail.
You do not need to master every category before publishing anything. The point is to demonstrate more than one easy lighting situation. A portfolio becomes more convincing when it shows that you can make deliberate decisions as the material, shape and purpose of the photograph change.
Use Window Light Strategically
You can begin product photography without immediately buying a complete studio-lighting system. A large window, a stable shooting surface and white or black foam board can teach you a great deal about light direction, fill, contrast and shadow shape.
Window light does have an important limitation: it changes. Cloud movement, time of day and weather can alter brightness, color and shadow quality during a sequence. Adobe specifically notes that rapidly changing natural light can make product-only photographs difficult to reproduce and recommends controlled artificial lighting when consistency across multiple product views matters.
For a beginner portfolio, use both approaches when possible. Window light is useful for learning and for natural lifestyle imagery. A simple controlled light setup is useful for demonstrating repeatability and precision.
Study Advertising Without Copying the Campaign
Professional advertising can be an excellent lighting and art-direction reference. Instead of attempting to reproduce a campaign as closely as possible, study why it works.
Ask questions such as:
- Is the main light hard or diffused?
- Where do the shadows fall?
- How is the product separated from the background?
- Which surfaces create the reflections?
- How much negative space is being preserved?
- Which colors belong to the product and which belong to the creative treatment?
- What information can the viewer understand immediately?
Then apply the underlying technique to an original brief, different composition, different prop system and your own visual direction. The objective is to learn the lighting logic without building a portfolio around copies of another photographer’s creative execution.
Style on a Budget Without Hiding the Product
You can build useful sets from inexpensive materials. Foam board can work as fill or negative fill. Paper rolls can create seamless backgrounds. Tiles, fabric, wood, acrylic and simple household surfaces can provide different textures. Relevant ingredients or everyday objects can add context to food, beverage, beauty and lifestyle images.
The important question is not how many props you can fit into the frame. Ask what each element contributes. If removing a prop makes the product easier to understand without weakening the concept, the simpler version may be stronger.
Create a small collection of reusable neutral surfaces before buying highly specific props. This gives you more combinations while keeping the cost of each personal project under control.
Edit for Product Accuracy Before Creative Style
Product photography often needs two different types of editing: technical correction and creative styling. Do the technical work first.
- Correct obvious exposure problems.
- Set or refine white balance.
- Check whether whites, blacks and neutral surfaces have unwanted color casts.
- Remove distracting dust, marks or temporary setup imperfections when appropriate.
- Compare the edited product with the real item or a reliable reference so creative grading does not unintentionally distort important product colors.
- Refine contrast, highlights and shadows while preserving useful surface detail.
- Apply the creative look required by the project.
- Review the entire series together and make image-specific corrections where needed.
Adobe’s product-photography workflow also identifies brightness and exposure, white balance, color, contrast, highlights and shadows as core post-production adjustments.
A preset can be useful for establishing a repeatable visual direction, but it should remain an editable starting point. Different photographs can begin with different exposure, white balance, lighting, camera profiles and subject colors, so identical settings do not automatically create identical-looking results. Adobe describes Lightroom presets as reusable predefined editing settings, and the AAAPresets guide to creating a consistent editing style for your portfolio explains how to keep the style recognizable while adapting technical corrections to each file.
If you are building bright indoor, desk-setup, flat-lay or home-studio product work, the AI-Optimized Aesthetic Home Studio Clean Lightroom Presets pack is one relevant editing option. The current pack includes 8 DNG presets for Lightroom Mobile and 8 XMP presets for Lightroom Classic, Lightroom Desktop and Adobe Camera Raw, with RAW and JPEG support. Apply a look as a base, then refine exposure, contrast and white balance for the actual photograph. You can also browse the broader product photography Lightroom presets collection. Eligible products can be combined through the Buy 3, Get 9 FREE offer by adding 12 qualifying items to the cart and paying for three.
Curate Projects Instead of Chasing an Image Count
There is no universal number of photographs that automatically makes a portfolio professional. A smaller collection of purposeful, related work can communicate more than a much larger gallery filled with repeated angles or weaker experiments.
Think in complete mini-projects. One project might contain a clean hero image, a detail photograph, a lifestyle frame, a more conceptual campaign image and an alternate composition. Another product may require a completely different combination.
During curation, ask of every image:
- Does this demonstrate something the other images do not?
- Does it represent the kind of assignment I want?
- Is the technical quality consistent with the rest of the project?
- Does the product remain believable?
- Would removing this photograph make the project weaker?
If the answer to the last question is no, the image may not need to stay.
Build Portfolio Pages That Explain the Project
Do not make potential clients reverse-engineer your role from a gallery of unexplained images. A short amount of context can make a self-initiated project easier to evaluate.
For each major project, consider including:
- The type of project, clearly identified as self-initiated when appropriate.
- The creative objective or mock brief.
- The product category.
- The types of deliverables you created.
- Your role in photography, styling and retouching.
- A concise explanation of an interesting lighting or production challenge when it adds useful context.
- An occasional behind-the-scenes setup photograph when it genuinely helps explain the process.
Keep the visual presentation simple and allow the finished images to remain the focus. Before uploading files, use the AAAPresets guide to preparing edited photos for your portfolio website to review consistency and web delivery.
Build a Repeatable Workflow While You Practice
A portfolio is not only evidence of your best individual photographs. It can also be a training ground for the workflow you will eventually need when someone is paying for the work.
For every self-initiated project, repeat the basic production sequence:
- Define the brief and required images.
- Prepare and clean the product.
- Choose the background and props.
- Build and test the lighting.
- Lock repeatable camera positions where consistency matters.
- Capture the planned shot list.
- Cull before spending time on detailed retouching.
- Correct color and exposure.
- Apply the creative treatment.
- Review the project as one complete set before exporting.
If you want a deeper production system, the product photography workflow for small online stores covers repeatability, capture and editing in more detail.
Common Portfolio Mistakes to Avoid
- Showing every experiment: your portfolio should be a selection, not an archive of everything you have photographed.
- Using only one easy product type: demonstrate that you can adapt to different materials and lighting problems.
- Copying a recognizable advertisement too closely: study techniques, then create an original concept.
- Over-styling the frame: props should support the product rather than bury it.
- Making every photograph a different editing style: variation is useful, but the portfolio should still communicate a deliberate visual direction.
- Applying one preset without reviewing individual files: exposure, white balance and product color still require image-specific judgment.
- Implying a personal project was commissioned: describe self-initiated work transparently.
- Showing only finished hero images: demonstrate details, clean product work, contextual imagery and practical deliverables as well.
Turn the Finished Portfolio Into Targeted Outreach
Once you have several projects that represent the work you want to repeat, use them to approach businesses that actually fit that direction. A skincare-focused portfolio is more useful when shown to skincare and beauty brands than when sent indiscriminately to every business you can find.
Personalize the outreach around a real need you can see. The objective is not to tell a company that its current photography is bad. Show what you specialize in, provide a relevant example and make it easy to view your work and contact you.
If you are building the wider business at the same time, continue with the guide to starting a photography business with no clients.
Build Evidence Before You Have Clients
A useful product photography portfolio does not need to pretend that you already have a long commercial career. It needs to show what you can reliably create now. Start with focused self-initiated briefs, photograph products that challenge different skills, edit for accuracy before style and curate complete projects that resemble the deliverables you want to be hired to produce.
As paid assignments arrive, you can gradually add commissioned work while keeping strong personal projects that still represent your best direction. The goal is not to hide that you started without clients. It is to give future clients clear evidence of how you think, shoot, solve problems and deliver a consistent body of product imagery.
For current Lightroom preset guidance, see Adobe’s guide to editing photos with presets in Lightroom.
Written by Asanka — creator of AAAPresets, serving 10,000+ customers.

Leave a comment
This site is protected by hCaptcha and the hCaptcha Privacy Policy and Terms of Service apply.