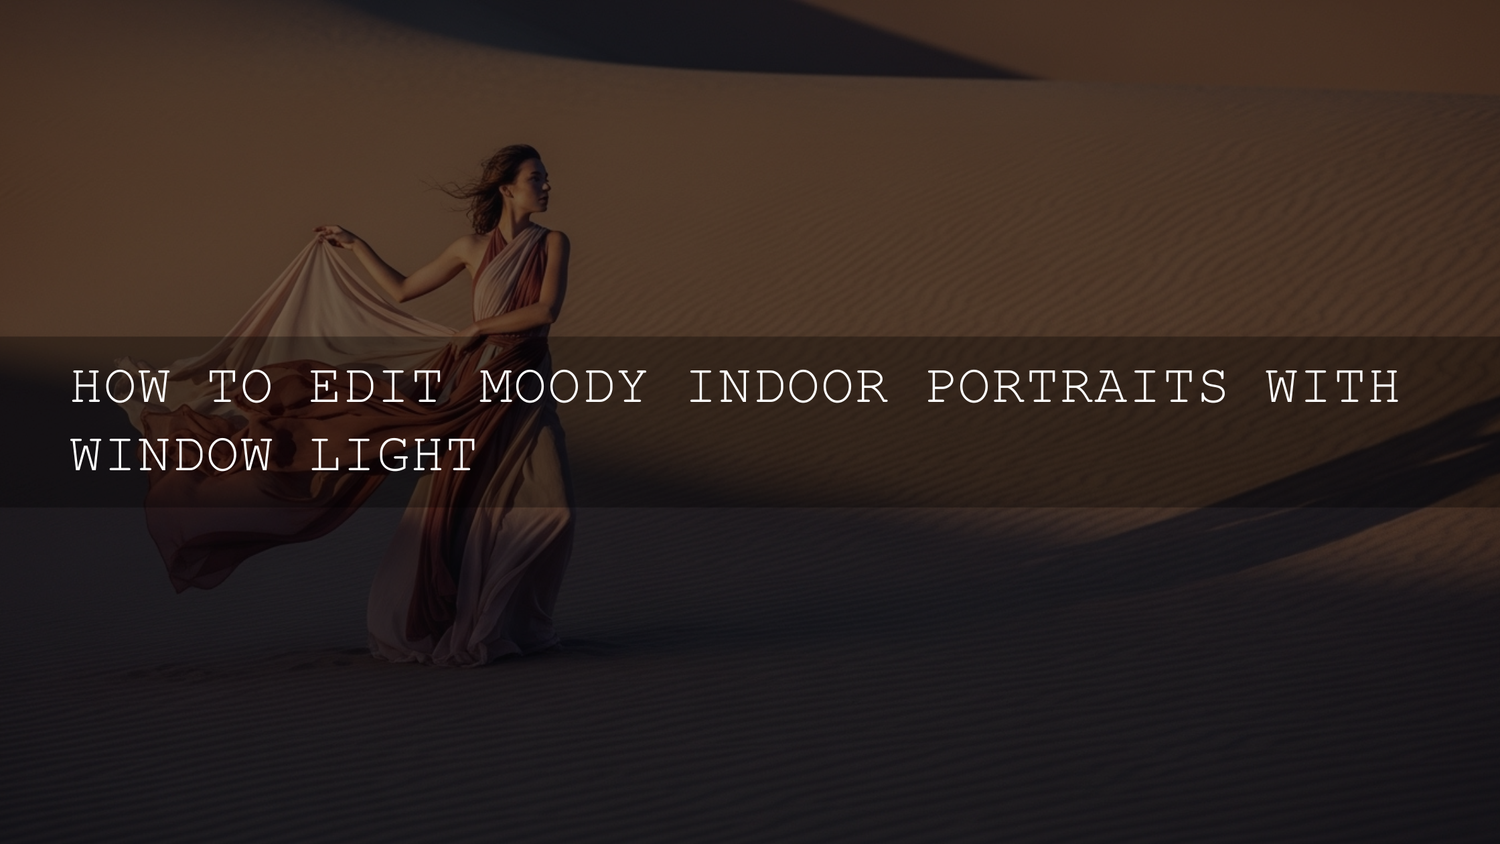
Moody Window Light Portrait Editing in 2026: A Practical Lightroom Workflow
Moody window light portrait editing is still one of the cleanest ways to turn simple indoor shots into images that feel cinematic and emotional. If you’re chasing that “soft highlight + deep shadow” vibe, this guide will help you edit moody indoor portraits with a repeatable Lightroom portrait editing workflow—without muddy blacks, weird skin tones, or overcooked contrast.
Here’s why this matters: window light already sculpts your subject for you. Your job in post is to protect highlights, shape shadows, and color grade with intention—so the portrait feels like a story, not just a dark photo.
If you want a fast starting point for this look, try a window-light-ready preset and then refine it with masks. A lot of creators start with AI-Optimized Bridal Window Glow Lightroom Presets and then browse the wider look options in Lightroom Presets for Moody Photography. If you’re building a bigger editing library, you can also download the 1000+ Master Lightroom Presets Bundle—and if you add 12 items to your cart, you can Buy 3, Get 9 FREE.
The Essence of “Moody” (It’s Not Just Dark)
A moody portrait is an emotional decision, not an exposure accident. The look usually comes from a few deliberate choices working together:
- Directional light: window light creates natural falloff from highlight to shadow, which gives faces depth.
- Strong but controlled contrast: deep blacks, protected highlights, and midtones that stay readable.
- A simplified color palette: fewer competing colors, more harmony (often cooler shadows + warmer highlights, or muted earthy tones).
- Intentional focus: sharp eyes, soft supporting details.
- Atmosphere: subtle grain, gentle vignetting, and tonal separation that feels “filmic.”
Moody rule: if your shadows feel “heavy” but still have shape, you’re on the right track. If they look gray and flat, you lifted too far.
Capture Checklist Before You Edit (Window Light Setup)
Editing is powerful, but your raw file decides how far you can push the look. When you shoot indoor portraits with window light, keep this simple checklist:
- Expose for highlights: protect the bright side of the face (especially forehead, cheek, nose). You can lift shadows later.
- Choose a clean background: darker walls, curtains, or negative space help the mood instantly.
- Place the subject with intention: side light for sculpted cheekbones, backlight for rim glow, front-side light for softer mood.
- Diffuse harsh windows: a sheer curtain turns crunchy sunlight into soft wrap.
- Watch color contamination: green walls, bright clothes, or colored curtains can tint skin.
The 10-Minute Moody Portrait Recipe (Lightroom Classic or Lightroom Desktop)
This is the workflow I use when I want consistency across a set. I tested a version of this on a low-light indoor portrait session where the only light was a north-facing window—deep shadows, clean highlights, and skin stayed natural with minimal correction.
Step 1: Build a clean base (tone first, not color)
- Exposure: set overall brightness so the face reads well (don’t chase a “dark” look yet).
- Highlights down: pull highlights until bright skin retains texture.
- Shadows slightly up: lift only enough to reveal shape (avoid gray haze).
- Whites/Blacks: set true white points and deeper blacks for punch.
If you want Adobe’s official guidance on getting these tone moves right, this is a solid reference: Adobe’s tone control adjustments in Lightroom Classic.
Step 2: Add contrast the “filmic” way (curve over slider)
- Curve: add a gentle S-curve for contrast.
- Lift blacks slightly (optional): if you want a softer film fade, raise the deepest blacks just a touch (don’t overdo it).
- Protect highlights: keep the top end smooth so skin doesn’t look crunchy.
Step 3: Fix white balance for skin (then stylize)
- Neutral first: get skin close to realistic.
- Stylize second: shift slightly cooler for melancholy, slightly warmer for intimacy.
- Quick check: if skin turns green/gray, correct tint before adding “mood.”
Step 4: Color grade for emotion (simple palette wins)
- Desaturate distractions: reduce overly loud greens/yellows.
- Shadow tint: add a subtle cool tone (blue/teal) to shadows.
- Highlight warmth: add a gentle warm tone to highlights for human skin.
Step 5: Sculpt with masks (this is where “moody” becomes premium)
Masking is the difference between “dark photo” and “cinematic portrait.” If you need a refresher on the tools, this is the official reference: Adobe’s guide to the Masking tool in Lightroom Classic.
- Subject mask: lift exposure slightly and add a touch of texture/clarity to the face only.
- Background mask: darken and desaturate gently to keep attention on the subject.
- Eyes: tiny dodge on the whites (very subtle), sharpen iris slightly, boost catchlight carefully.
Step 6: Finish (grain, vignette, sharpening)
- Grain: add a little for texture and smoother shadow transitions.
- Vignette: soft, wide, and subtle—like natural falloff.
- Sharpening: sharpen details (eyes/brows), not pores.
Color Grading That Feels Like a Story (Window Light Edition)
Moody portraits usually look best when the colors feel “edited on purpose.” Here are a few reliable directions:
- Classic cinematic: slightly cool shadows + warm highlights (skin stays alive).
- Earthy moody: muted greens, warm browns, gentle contrast.
- Monochrome drama: black & white with strong tonal separation (great for window light).
Pro tip you can test right now: desaturate greens and yellows before you add any stylized shadow tint. That single order-of-operations change often stops skin from going muddy.
If you’re bouncing between Lightroom and Camera Raw, this is a useful official reference for tonal/color controls: Adobe Camera Raw guide to color and tonal adjustments.
Dodging & Burning Without Overdoing It
Dodging and burning is the most “invisible” way to make a portrait feel expensive. The key is to work with the existing window light pattern—not fight it.
- Dodge (lighten): cheekbone highlight, bridge of nose (tiny), center forehead (tiny), catchlights, and the “triangle” under the eye on the lit side.
- Burn (darken): jawline shadow, hair edges, background corners, and any bright distractions.
- Feather everything: hard edges look like obvious editing.
When I pushed this approach on a bridal window portrait, the biggest improvement came from burning the background edges and slightly dodging the face—suddenly the viewer’s eye stayed locked on expression instead of wandering around the frame.
Presets vs Manual Editing: What’s Better for Moody Indoor Portraits?
You don’t have to “pick a side.” The cleanest workflow is usually preset-first, manual-second.
When presets win
- You need consistency across 30–300 photos (weddings, events, brand shoots).
- You already like a specific mood and want a reliable starting point.
- You want speed, then you refine with masks.
When manual editing wins
- Tricky mixed lighting (window + warm bulbs).
- Strong color casts from walls/curtains.
- Extreme contrast scenes that need careful highlight recovery.
A strong hybrid setup is: start with a window-light preset like Bridal Window Glow (or a portrait-safe base like Skin Tone Safe Pro Portrait Presets), then refine shadows, skin, and focus using masks. If you want maximum variety for different rooms and window directions, the fastest library-builder is the 1000+ Master Lightroom Presets Bundle.
Three Real-World Window Light Scenarios (And Exactly What to Do)
1) Cloudy-day soft window light (the easiest moody look)
- Global: pull highlights, deepen blacks, add a gentle S-curve.
- Color: slightly warm highlights, slightly cool shadows.
- Masks: brighten the face by a small amount, darken background.
2) Harsh noon window light (the “crunchy highlight” trap)
- Global: reduce highlights first, then adjust exposure.
- Curve: soften the top end to avoid harsh skin transitions.
- Masks: lower highlights on forehead/cheek only; avoid global darkening.
3) Newborn or family portraits near a window (soft, clean, emotional)
- Keep skin gentle: less clarity/texture on baby skin, more on eyes/lashes.
- Background control: darken clutter; keep attention on faces.
- Preset starting point: if you shoot newborn sessions often, 150+ Newborn Lightroom Presets Bundle can speed up your base look dramatically.
Common Editing Traps (And Quick Fixes)
- Muddy shadows: you lifted shadows too much. Pull shadows down slightly, deepen blacks, and add local dodge only where needed.
- Gray skin: fix white balance/tint first, then reduce green/yellow saturation, then re-warm highlights gently.
- Over-contrast halos: back off clarity/dehaze, and use a softer curve instead of extreme contrast sliders.
- Orange highlights: reduce highlight warmth or lower orange saturation slightly (don’t nuke all orange—skin needs it).
- Preset looks “wrong” on one camera: start with a more neutral preset, then build mood with curve + masks.
If presets aren’t applying correctly (missing, duplicated, or “looks different than expected”), this guide helps: Fix Lightroom Preset Problems: Step-by-Step Troubleshooting.
How to Keep Your Moody Look Consistent Across a Full Gallery
- Create one hero edit: perfect one image first.
- Copy only the right settings: copy tone curve + global color, then re-do masks per image.
- Match the “black level”: consistency in blacks is what makes a set feel premium.
- Use reference points: compare skin tone and background darkness every 10–20 photos.
If you’re installing presets for the first time (or switching between Lightroom versions), this walkthrough is handy: How to Install Lightroom Presets in a Quick and Easy Way.
Related Reading (If You Want to Go Deeper)
- Quick Lightroom Hacks: 5-Minute Edits for Creators
- Mastering Lightroom Mobile Presets: Adapting to Any Lighting
- Master Your Mobile Editing Workflow: Fast & Consistent Preset Use
- Autumn & Fall Photo Editing Tips (Cinematic Lightroom Presets Guide)
Bring the Look Home (Without Losing Your Style)
The goal isn’t to make every portrait dark—it’s to make every portrait feel like something. Window light gives you the shape; your edit gives it meaning. Start clean, shape contrast with care, keep skin realistic, then sculpt attention with masks.
If you want a ready-to-go base for moody window light portraits, explore Bridal Window Glow for that soft highlight falloff, or browse the full Portrait Lightroom Presets collection for skin-friendly looks. And if you’re stocking up, remember you can Buy 3, Get 9 FREE when you add 12 items to your cart. If you need help choosing or matching a look to your camera, reach out here: Contact AAA Presets.
Do I need to underexpose in-camera to get a moody look?
No—protect highlights and expose so skin has detail. You can deepen shadows and shape contrast in editing more safely than trying to rescue blown highlights.
How do I keep skin tones natural in moody indoor portraits?
Get white balance/tint neutral first, then stylize. If skin turns gray/green, reduce green/yellow saturation slightly and warm highlights gently instead of pushing global warmth.
Should I use presets or edit manually for window light portraits?
Presets are best for speed and consistency, manual edits are best for tricky lighting. The most reliable approach is preset-first, then refine with masks and small curve tweaks.
What’s the easiest way to dodge and burn in Lightroom?
Use masks with very low strength and feathered edges. Dodge the face and catchlights subtly, then burn the background edges and distractions so the viewer’s eye stays on expression.
Can I do this workflow on Lightroom Mobile?
Yes—use global tone + color first, then masks for face and background. Keep moves subtle and rely on consistency (one hero edit, then match the rest).
Written by Asanka — creator of AAAPresets (10,000+ customers).


Leave a comment
This site is protected by hCaptcha and the hCaptcha Privacy Policy and Terms of Service apply.