
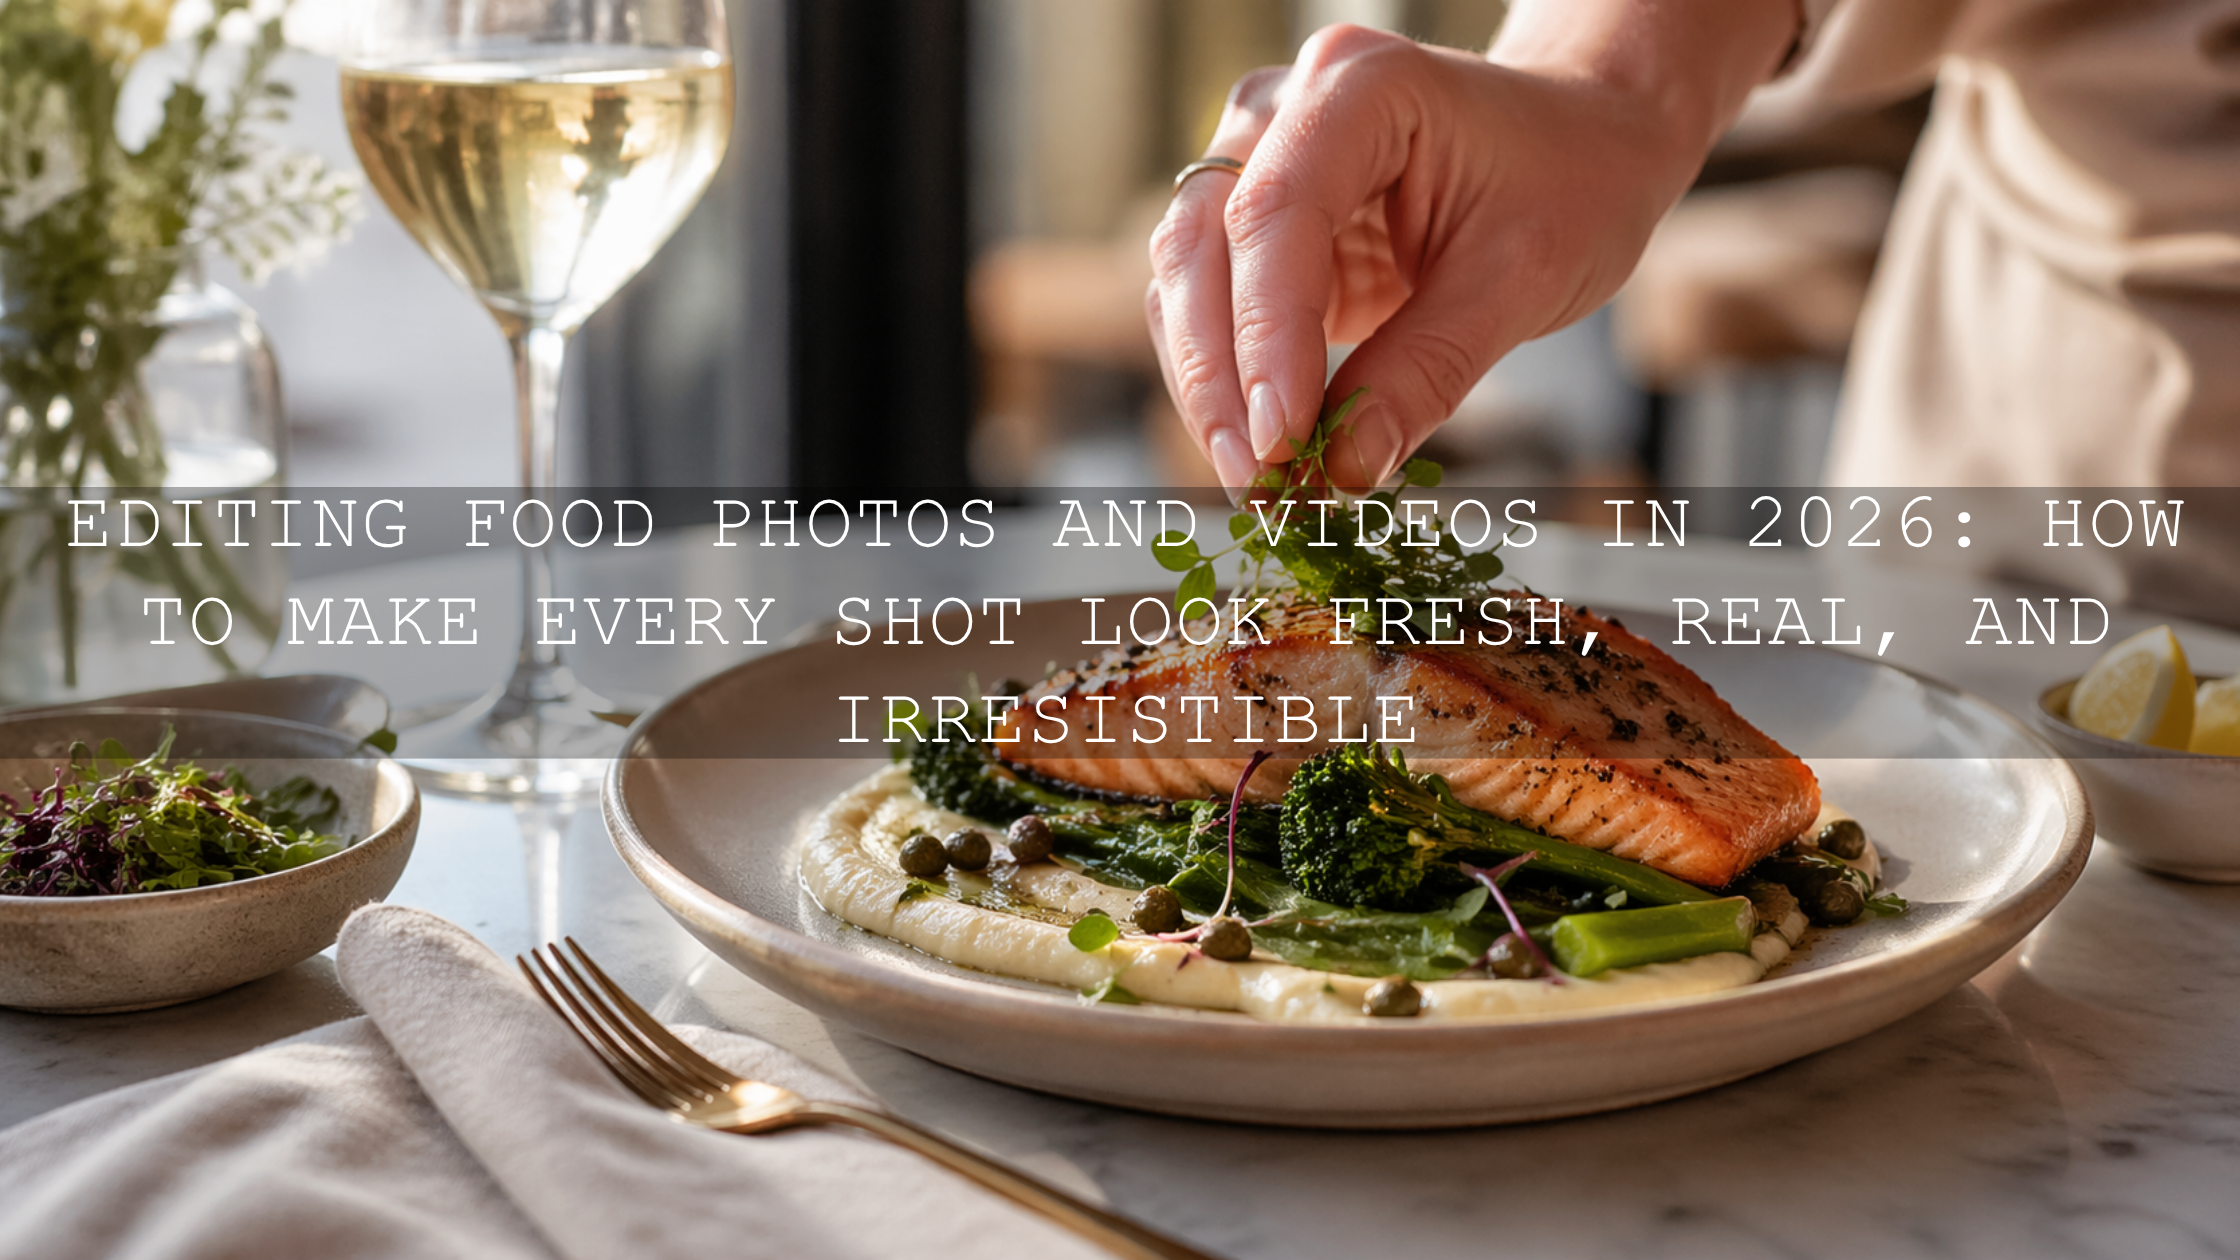
Editing Food Photos and Videos in 2026: How to Make Every Shot Look Fresh, Real, and Irresistible
Editing food photos and videos in 2026 is not about making food look fake or over-processed. It is about making great food look like its best real version. Whether you create recipe content, run a restaurant, shoot for a café, or build a food blog, strong food photo editing and thoughtful food video color grading can make your visuals feel cleaner, brighter, and far more appetizing from the first glance.
That matters because people decide fast. On Instagram, Pinterest, menus, websites, reels, and delivery apps, your image often sells the dish before the caption does. A great edit can bring back warmth in bread, make greens look fresh instead of dull, and help sauces, glazes, and textures feel rich without crossing into the plastic, oversaturated look that instantly kills trust.
If you want a faster starting point, try the Food Photography Presets For Lightroom and browse the Food Photography Lightroom Presets collection. For creators who want a smarter one-click starting point, the AI-Optimized Food Lightroom Presets are a strong option too. It is an easy way to speed up your workflow, keep your gallery consistent, and naturally build around the Buy 3, Get 9 FREE offer as you expand your toolkit.
Why Food Editing Matters More Than Ever
Food content is one of the most competitive visual categories online. Everyone is posting dishes, drinks, desserts, flat lays, kitchen clips, and restaurant reels. That means small differences in color, light, and texture matter more than people think. A plate of pasta can look premium and comforting in one edit, then flat and lifeless in another.
Good editing helps you control three things at once: appetite, accuracy, and consistency. Appetite makes the viewer stop. Accuracy helps the food still look believable. Consistency makes your brand feel professional over time.
I have tested food-focused presets on bright café scenes, darker restaurant interiors, and quick home-cooking setups, and the biggest difference was never extreme color. It was balance. The best edits kept whites clean, preserved texture, and made warm tones feel inviting without pushing the image too far.
If you want to go deeper into color storytelling, see Food Photography: Telling a Culinary Story Through Color. If you also post seasonal content, this warm autumn food photography guide is worth reading too.
Start With Light Before You Start Editing
The fastest way to improve food editing is to capture better light first. Editing works best when the file already has shape, softness, and believable color. Soft window light is still one of the best choices for food because it gives texture without harsh glare. It makes frosting, steam, crumbs, sauce shine, and glass reflections much easier to control later.
If you shoot indoors, place the dish near indirect window light and use a white reflector or foam board to open the shadow side. If direct sunlight is too strong, soften it with a thin curtain. In restaurants or night cafés, mixed lighting is common, so try to keep your subject under the cleanest light source you can find.
Once you are in Lightroom, Adobe’s guide to masking in Lightroom Classic is especially useful for food work because it lets you brighten only the dish, soften the background, or recover detail in one part of the frame without flattening the whole image.
What Makes Food Look Delicious in an Edit
Great food editing is usually built on restraint. You are not trying to create neon colors. You are trying to make the viewer imagine taste, texture, warmth, and freshness.
- Clean whites: Plates, napkins, and backgrounds should look fresh, not grey or yellow.
- Natural warmth: Warm tones often help food feel inviting, but too much orange makes everything look heavy.
- Texture that feels touchable: Bread crust, flaky pastry, glossy chocolate, herbs, and steam should feel real.
- Controlled contrast: Enough depth to shape the dish, but not so much that shadows swallow important detail.
- Believable color: Greens should feel fresh, reds should feel rich, and skin tones in hands or chef content should still look normal.
One trick that helps a lot is using Adobe Color harmony tools to think about the full palette of the scene. Food rarely exists alone. Plates, table surfaces, napkins, cutlery, garnishes, and background props all affect how appetizing the dish feels.
Presets vs Manual Editing for Food Photography
Both approaches work, but they serve different purposes.
Presets
Presets are ideal when you need speed, consistency, and a reliable base. If you are editing restaurant menus, weekly blog content, or a full batch of reels thumbnails, presets save a huge amount of time. They also help keep your feed visually consistent, which matters for branding.
Manual editing
Manual editing gives you full control when the lighting is difficult, the dish has unusual colors, or the scene needs precision. This is especially useful for mixed lighting, reflective plates, dark interiors, and shots where the preset gets you close but not all the way there.
Best approach
The smartest workflow is usually both. Start with a strong preset, then fine-tune exposure, white balance, highlights, shadows, and masks. That gives you speed without sacrificing accuracy. If you want a broader comparison of editing workflows, read Lightroom Presets vs Photoshop Actions and the step-by-step Lightroom workflow guide.
Best Presets for Faster Food Photo Editing
The Food Photography Presets For Lightroom are built for the kind of edits most food creators actually need: cleaner whites, brighter presentation, balanced warmth, and crisp texture. They work especially well for cafés, plated dishes, baked goods, drinks, overhead food photography, and product-style food images.

If you want a more adaptive workflow, the AI-Optimized Food Lightroom Presets can be a great shortcut. They are especially helpful when you need a quick professional result for home-cooked meals, restaurant content, desserts, and creator-style social posts without spending too long moving individual sliders.
For niche food content, it can also help to explore related options like AI-Optimized Street Food Photography Lightroom Presets or browse the full Lightroom Presets for Lightroom Mobile & Desktop collection when your brand covers more than one food style.
A Simple Step-by-Step Food Photo Editing Workflow
- Correct exposure first. Start by making sure the image is neither muddy nor washed out. Food usually looks best when it feels bright enough to read clearly but still keeps shape.
- Fix white balance. This is one of the biggest make-or-break steps. A wrong white balance can ruin cream, rice, bread, meat, and greens instantly.
- Recover highlights. Pull back shiny sauces, reflections on plates, and bright window spill so detail stays visible.
- Open shadows carefully. Lift dark areas enough to show texture, but keep some depth so the image still feels dimensional.
- Add texture with restraint. Use clarity or texture lightly. Food should look tactile, not crunchy in a digital way.
- Refine color selectively. Boost the colors that matter most instead of increasing global saturation too much.
- Use masking. Brighten the main dish, soften distractions, and guide the eye.
- Crop for appetite. Remove dead space and distractions so the frame feels intentional.
When I test edits on pastries and plated meals, I usually get the best result by protecting highlights first, then fixing white balance, then using local masks for the hero area of the food. That order keeps the image natural and saves time.
How to Make Food Videos Look Cinematic Without Losing Realism
Food video editing follows the same core principle as photo editing: make the dish look beautiful, but still believable. In motion, this becomes even more important because viewers notice bad grading faster. Overdone saturation, crushed blacks, or aggressive contrast can make footage feel cheap very quickly.
That is where LUTs help. A good LUT gives you a fast visual direction, then you fine-tune from there. Adobe’s official guide to adding LUTs in Premiere Pro is useful if you want a clean, professional workflow inside Lumetri Color.
For bright, inviting food content, the Cinematic Bright Food LUTs For Food Blogger are a strong fit. They work well for recipe videos, table reveals, cooking reels, restaurant promos, and creator-style food clips where you want energy, warmth, and polished color without making the footage look fake.

If your style is cleaner and lighter, the Minimal Bright Food Blogger Luts Pack is another strong option. It keeps the presentation fresh and modern, which works especially well for minimalist recipe content, healthy meal brands, cafés, and bright kitchen footage.

Common Food Editing Mistakes That Make Content Look Cheap
- Too much saturation: This makes ingredients look artificial and can destroy trust fast.
- Grey whites: Plates and table linens should support freshness, not make the scene feel dirty.
- Over-sharpening: Texture should feel edible, not harsh.
- Heavy orange casts: Warmth is good, but too much makes everything feel greasy.
- One edit for every lighting condition: A preset is a start, not an excuse to ignore the scene.
- Ignoring the background: Props, tables, and walls affect how the food color reads.
If you want more help building a repeatable editing habit, this guide to avoiding common preset mistakes and this Instagram presets guide both pair well with food content workflows.
How to Keep Your Food Brand Consistent Across Photos and Videos
Consistency is what makes a food page feel professional. Your audience should start recognizing your work before they even see your username. The easiest way to build that is to choose a visual direction and repeat it with intention.
- Choose a signature mood: bright and airy, cozy and warm, or rich and cinematic.
- Use the same base preset family: this keeps white balance, contrast, and color behavior more stable.
- Match photos and videos: do not let your stills feel light and fresh while your reels look muddy or overly teal.
- Create a small adjustment routine: exposure, white balance, texture, crop, and mask.
- Review your grid as a whole: each post should work alone and together.
If you want a shortcut, start with the Food Photography Presets For Lightroom for stills and pair them with the Cinematic Bright Food LUTs For Food Blogger for motion. Then keep exploring through the Food Photography Lightroom Presets collection or the Bundles collection if you want a larger toolkit at once.
Related Reading
- Food Photography: Telling a Culinary Story Through Color
- Mastering Cozy Vibes: Warm Autumn Food Photography
- Step-by-Step Lightroom Workflow for Faster Photo Edits
- Lightroom Presets vs Photoshop Actions
Final Thoughts on Editing Food Photos and Videos
The best food editing does not scream for attention. It quietly makes everything feel more delicious, more polished, and more trustworthy. It keeps whites clean, preserves detail, shapes light well, and helps every frame feel intentional. That is what turns a casual food post into a brand asset.
If you want to edit faster while keeping your food visuals consistent, start with the Food Photography Presets For Lightroom, explore the AI-Optimized Food Lightroom Presets, and pair your video work with the Minimal Bright Food Blogger Luts Pack or Cinematic Bright Food LUTs For Food Blogger. You can keep building from the Food Photography Lightroom Presets collection, and if you need help choosing the right fit, the FAQ page is a helpful place to start. Try these presets today and build your next food edit around the Buy 3, Get 9 FREE offer.
Frequently Asked Questions
What is the best way to edit food photos without making them look fake?
Start with good light, correct white balance first, keep whites clean, and increase texture and color gently. The goal is to make food look fresh and real, not oversaturated or plastic.
Are presets good for food photography?
Yes. Presets are excellent for speed and consistency, especially when editing batches for blogs, restaurant menus, or social media. The best results usually come from applying a preset first, then making a few manual adjustments.
What should I fix first in food photo editing?
Exposure and white balance should come first. If those are wrong, the food will usually look dull, yellow, grey, or unnatural no matter what else you adjust.
Do LUTs work well for food videos?
Yes. LUTs are a fast way to give food videos a polished visual style. They are especially useful for recipe clips, restaurant promos, and food reels, but they still work best when you fine-tune brightness, contrast, and color after applying them.
How do I keep my food content consistent across photos and videos?
Use a small set of presets and LUTs that match your brand mood, repeat the same core editing routine, and review your content as a full gallery instead of one post at a time.
Written by Asanka — creator of AAAPresets (10,000+ customers).

Leave a comment
This site is protected by hCaptcha and the hCaptcha Privacy Policy and Terms of Service apply.