
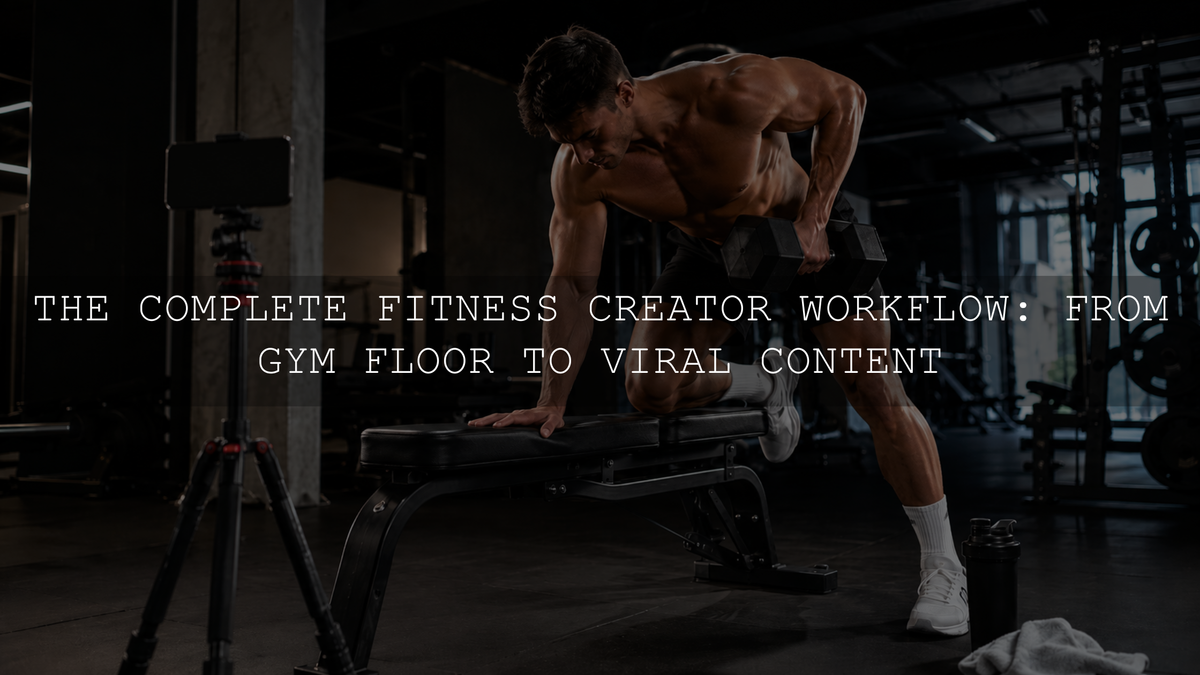
A reliable fitness content creation workflow begins before the first exercise. Decide what the finished content needs to communicate, prepare a small shot list, check the gym’s filming rules, capture a repeatable sequence around your most important sets and create one corrected master edit for each lighting setup before adding a creative style.
This approach helps you produce workout reels, physique photographs, exercise demonstrations, thumbnails and short educational clips during the same session without turning the entire workout into a production shoot.
Fitness Content Creation Workflow at a Glance
- Define the purpose and destination of the content.
- Check the gym’s filming rules and protect other members’ privacy.
- Prepare the camera, support equipment, storage and batteries.
- Create a short shot list around the workout plan.
- Capture wide shots, form angles, details and reactions.
- Organize the photographs, video, audio and project files.
- Correct exposure, white balance and audio before styling.
- Export separate versions for each platform and format.
Plan the Content Around the Workout
Your training plan should determine the production schedule, not the other way around. Choose one or two important exercises to film properly instead of trying to record every repetition of the entire session.
Start by deciding what the content needs to achieve. A workout reel may need to communicate intensity. A technique video needs a clear view of body position. A progress photograph needs accurate proportions and controlled lighting. A coaching clip needs clean dialogue and enough visual detail to support the explanation.
Create a short content brief before entering the gym:
- Audience: Who is the content intended to help or motivate?
- Purpose: Is it educational, promotional, motivational or personal?
- Main subject: Which exercise, result or idea must be clear?
- Required formats: Do you need vertical video, horizontal video, still photographs or all three?
- Next action: Should the viewer save the technique, follow the series, visit a program or respond to a question?
This planning prevents you from collecting attractive gym footage that does not support a clear post, video or campaign.
Confirm Filming Rules and Protect Privacy
Before placing a tripod on the gym floor, confirm that filming is allowed. Some gyms limit tripods, lights, commercial production or filming during busy hours. Even when filming is permitted, avoid placing other members clearly in the background without their agreement.
Keep tripods, bags and light stands away from walkways, emergency routes, racks and equipment that other members need to use. A dramatic low-angle shot is not worth creating a tripping hazard or preventing someone from completing a set safely.
When the gym is crowded, use a compact phone clamp, a small tripod or a training partner instead of building a large production setup. Choose a quiet corner or schedule the session during a less crowded period when possible.
Pack a Small Fitness Creator Kit
A useful creator kit should solve common production problems without becoming another heavy gym bag. Prepare it before the session so that you are not searching for batteries, storage or mounting equipment between sets.
- A fully charged phone or camera
- A stable tripod, clamp or magnetic mounting system
- Spare batteries or a portable charger
- Enough storage space or a clean memory card
- A microfiber lens cloth
- A small wireless microphone when spoken audio matters
- Headphones for checking dialogue and background noise
- A Bluetooth shutter remote when taking self-portraits
- A short extension arm when the camera needs more distance from the equipment
A very wide lens can include the full exercise in a small space, but it may stretch the body near the edges of the frame. Keep the athlete closer to the center or choose a less extreme focal length when accurate physique proportions matter.
Build a Repeatable Workout Shot Sequence
Instead of improvising every angle, capture a simple sequence that can be repeated for different exercises. One well-planned working set can provide several useful pieces of content.
- Establishing shot: Show the training area, equipment or athlete approaching the station.
- Preparation detail: Capture loading a plate, tightening straps, applying chalk or adjusting the machine.
- Wide movement shot: Show the complete exercise and keep the full body or relevant equipment inside the frame.
- Technique angle: Use a side or three-quarter view that makes the important movement pattern understandable.
- Energy detail: Capture the hands, shoes, plates, facial focus, muscle tension or equipment movement.
- Result or reaction: Record the final repetition, recovery, celebration or immediate explanation.
This sequence creates a beginning, middle and ending. It also gives the editor enough visual variety to cut around pauses, weak repetitions or distracting background movement.
Capture for More Than One Format
Choose the intended orientation before recording. Vertical framing is useful for Reels, Shorts and TikTok-style content, while horizontal footage may be needed for websites, YouTube videos, advertisements or longer training content.
When one session must support several destinations, record the most important exercise in both orientations or capture a wider master frame that allows careful cropping. Do not assume that every horizontal shot can be converted into a strong vertical clip later. The athlete, equipment or text may fall outside the usable crop.
For a broader platform-production process, use the Instagram content creation workflow.
Control Difficult Gym Lighting
Gym lighting is often inconsistent. Overhead LEDs may create bright highlights on skin, deep shadows around the eyes and green, yellow or magenta color casts. Mirrors, metal equipment and windows can introduce additional reflections and mixed color.
Before the working set begins:
- Clean the lens and check the frame for reflections.
- Protect bright skin highlights and illuminated equipment from clipping.
- Check whether the athlete’s face falls into a heavy overhead shadow.
- Move slightly when a mirror reflects the camera, tripod or another member.
- Record a short test clip and look for flickering lights.
- Keep exposure and white balance consistent when the lighting is not changing.
Avoid using a small direct light simply to make every muscle brighter. Hard frontal light can flatten shape, create distracting skin reflections and make the footage feel artificial. Existing directional gym light often looks stronger when the athlete is positioned carefully instead of being overpowered with another light.
Take Fitness Photos That Remain Useful
Still photographs are useful for progress updates, coaching posts, thumbnails, product campaigns, profile images and website content. Capture them deliberately rather than relying entirely on random video screenshots.
Leave enough room around the body for multiple crops, but do not leave so much empty space that the athlete becomes insignificant. Check the background for bags, bottles, signs, people and equipment that compete with the subject.
When possible, capture RAW files for photographs that may need significant highlight, shadow or white-balance correction. JPEG images can still be edited, but the camera or phone has already processed much of the color and tone. Whatever format you use, keep exposure and white balance reasonably consistent across photographs from the same setup.
For physique photographs, avoid placing the body close to the edge of a wide-angle frame. Perspective distortion can make the nearest body part appear disproportionately large. A moderate camera distance and a less extreme lens usually produce more natural proportions.
Create a Clear Story for Workout Reels
A strong workout reel does not require an arbitrary editing trick in its first few seconds. It needs to make the subject and value understandable quickly. Begin with the lift, result, problem or statement that gives the viewer a reason to continue.
A simple reel structure is:
- Opening: Show the main exercise, challenge or result.
- Context: Explain the goal, weight, technique issue or training situation.
- Process: Use wide shots, form angles and supporting details.
- Payoff: Show the final repetition, correction, result or lesson.
- Next step: Give a relevant conclusion, question or call to action.
B-roll should support the story rather than fill random gaps. Loading weights, preparing equipment, resting between sets and checking a training log can add useful context when those details relate to the workout.
Record Dialogue Separately When Necessary
A busy gym is rarely an ideal recording environment. Music, dropped weights, air conditioning and conversations can make live dialogue difficult to understand.
When the spoken message matters more than the atmosphere, record the visual demonstration during the workout and add the explanation as a voiceover later. This allows you to speak clearly without rushing between sets.
Review automatic captions carefully, especially for exercise names, technical terms and brand names. Adobe Premiere includes Speech to Text tools for transcription and captions. Premiere also provides Enhance Speech controls that can improve dialogue clarity and reduce distracting background sound.
Audio restoration has limits. A tool cannot fully recover speech that was recorded too quietly, heavily distorted or completely covered by loud music. Record the cleanest source possible before depending on software.
Organize the Session Before Editing
Create one project folder and separate the material before opening the editing software:
- Original video
- Original photos
- Voiceovers
- Music and sound effects
- Project files
- Photo masters
- Video masters
- Platform exports
Use filenames that identify the date, exercise, angle, orientation and version. A name such as squat-side-vertical-01.mp4 is more useful than final-video-new-3.mp4.
Keep the original files until the finished content has been reviewed, published and backed up. A platform-compressed download is not a replacement for the original camera file.
Correct Technical Problems Before Adding a Style
Begin post-production with exposure, white balance, highlight control, shadow detail, noise, cropping and audio. Apply the creative style only after the major technical problems have been corrected.
For each lighting setup, choose one representative photograph and one representative video clip. Correct those files first and use them as visual references for the related material. This creates a more dependable master than applying the same settings blindly across an entire workout.
Photo Editing Order
- Choose the appropriate camera profile when available.
- Correct exposure and white balance.
- Recover distracting highlights.
- Open shadows without removing all depth.
- Check skin tones and gym wall colors.
- Apply the creative preset or manual style.
- Adjust the effect for the individual photograph.
- Inspect sharpening, texture and noise at a closer view.
Adobe describes Lightroom presets as predefined combinations of adjustments such as exposure, contrast, saturation and color grading. They remain adjustable after application, so they should be treated as editable starting points rather than untouchable final results. See Adobe’s current Lightroom preset guide for the application workflow.
Video Editing Order
- Organize and select the strongest clips.
- Create the narrative and remove unnecessary pauses.
- Correct exposure and white balance between shots.
- Match clips captured under the same lighting.
- Apply a LUT or creative grade.
- Reduce the effect when skin or equipment colors look unnatural.
- Balance dialogue, gym sound and music.
- Add and review captions.
- Export and inspect the finished file on a phone.
Keep Fitness Photos and Videos Visually Connected
Your photographs and videos do not need to use mathematically identical settings. They should share recognizable characteristics such as contrast, highlight warmth, shadow depth, saturation and skin-tone treatment.
A Lightroom preset and a video LUT also do different jobs. A photo preset may include texture, sharpening, profiles, masks and other image-specific adjustments that a standard LUT cannot reproduce. Match the visible mood instead of trying to copy every Lightroom slider into the video editor.
For fitness photographs, the Gym Fitness Lightroom Presets include eight XMP preset files for compatible desktop workflows and eight DNG versions for Lightroom Mobile. Apply a look after correcting the main exposure and white-balance problems, then refine the strength for the athlete and lighting.
For workout video, the Cinematic Gym & Fitness LUTs Pack includes eight .CUBE files for compatible video-editing applications. A LUT can help establish a consistent direction, but the source footage may still require exposure, white-balance and shot-matching adjustments.
Create Better Fitness Thumbnails
A fitness thumbnail or reel cover should make the subject understandable at a small size. Choose a sharp image with one dominant subject, a clean silhouette and enough separation between the athlete and background.
- Use an expression that matches the content rather than an unrelated reaction.
- Keep the most important body position or equipment clearly visible.
- Remove unnecessary background distractions.
- Protect space for platform interface elements and optional text.
- Use minimal, readable wording only when the image cannot communicate the subject alone.
- Maintain a recognizable visual system without forcing every cover into the same layout.
When the cover comes from video, select the frame before adding heavy motion blur, transitions or effects. A dedicated still photograph will often provide more resolution and posing control than a random frame from the final edit.
Export Separate Versions for Each Destination
Do not rely on one finished file for every platform. Create separate exports when the aspect ratio, duration, thumbnail placement or caption-safe area changes.
Before publishing, check:
- The intended aspect ratio
- Frame rate consistency
- Readable captions on a phone screen
- Important details near interface overlays
- Audio clipping or sudden volume changes
- Blocky shadows or damaged gradients
- The selected thumbnail or cover frame
- Color and brightness on more than one screen when possible
Platform requirements can change, so review the current specifications for the destination rather than relying indefinitely on one old export preset.
Build a Reusable Fitness Content Library
Organize finished content by exercise, body part, content purpose, orientation and status. A well-labelled library makes it easier to reuse an establishing shot, equipment detail or training explanation without searching through an entire camera roll.
You can also group related posts into repeatable series:
- Exercise technique breakdowns
- Weekly training highlights
- Progress updates
- Common form mistakes
- Coach commentary
- Behind-the-scenes preparation
- Workout programming explanations
Batch the production process, but allow the message, examples, framing and pacing to change. Consistency should make the brand recognizable without making every post feel identical.
Common Fitness Content Workflow Mistakes
- Filming every set: This interrupts training and creates too much repetitive footage.
- Ignoring gym rules: A technically strong video is not useful if it violates the venue’s policy or another member’s privacy.
- Blocking the gym floor: Tripods and bags should never create a safety problem.
- Using only one angle: The edit may feel repetitive and the exercise may be difficult to understand.
- Using an extreme wide angle for physique shots: This can distort body proportions near the frame edges.
- Ignoring mixed lighting: Different clips may show inconsistent skin tones and gym colors.
- Crushing every shadow: Dark contrast can add intensity, but lost detail makes the image difficult to read.
- Overusing clarity or sharpening: Skin, clothing and noise can begin to look harsh.
- Applying presets or LUTs before correction: The style may exaggerate exposure and white-balance problems.
- Depending entirely on noisy live dialogue: A planned voiceover may communicate the message more clearly.
- Using one export everywhere: Cropping and interface overlays can hide important details.
Pre-Workout Content Checklist
- Is filming permitted in the gym?
- Do you know which exercises and sets will be recorded?
- Does every planned shot have a purpose?
- Are the batteries charged and storage cards ready?
- Is the camera support stable and safely positioned?
- Do you need vertical, horizontal or both orientations?
- Have you checked the background and other members’ privacy?
- Have you recorded a short exposure, focus and flicker test?
- Do you have enough supporting detail shots?
- Is spoken audio being recorded clearly or added later?
- Do the photos and video share a recognizable visual direction?
- Have the exported files been reviewed before publishing?
Frequently Asked Questions
Is a phone enough for professional fitness content?
Yes, when it is used carefully. Stable framing, appropriate lighting, clean audio and a clear story usually matter more than owning a large camera. A dedicated camera can provide additional lens options and image control, but it does not replace planning.
Should every workout clip be filmed vertically?
No. Choose the orientation according to the destination. Vertical video is useful for mobile-first short-form platforms, while horizontal footage may be needed for websites, YouTube videos and advertisements. Capture both when the same workout must support several channels.
Should every gym photo use the same preset?
Use a small family of related looks rather than forcing one unchanged preset onto every photograph. Exposure, white balance, camera profile, skin tone and lighting can vary between images, so the final adjustments should be refined individually.
Create a Workflow You Can Repeat
A strong fitness content creation workflow should protect the workout while making production easier. Plan the purpose, capture a short repeatable sequence, respect the gym environment, correct technical problems before styling and export separate files for each destination.
When you want a faster starting point for a consistent fitness aesthetic, explore the Gym Fitness Lightroom Presets and Cinematic Gym & Fitness LUTs Pack. AAAPresets also offers Buy 3, Get 9 FREE when 12 eligible products are added to the cart.
Written by Asanka — creator of AAAPresets.

Leave a comment
This site is protected by hCaptcha and the hCaptcha Privacy Policy and Terms of Service apply.