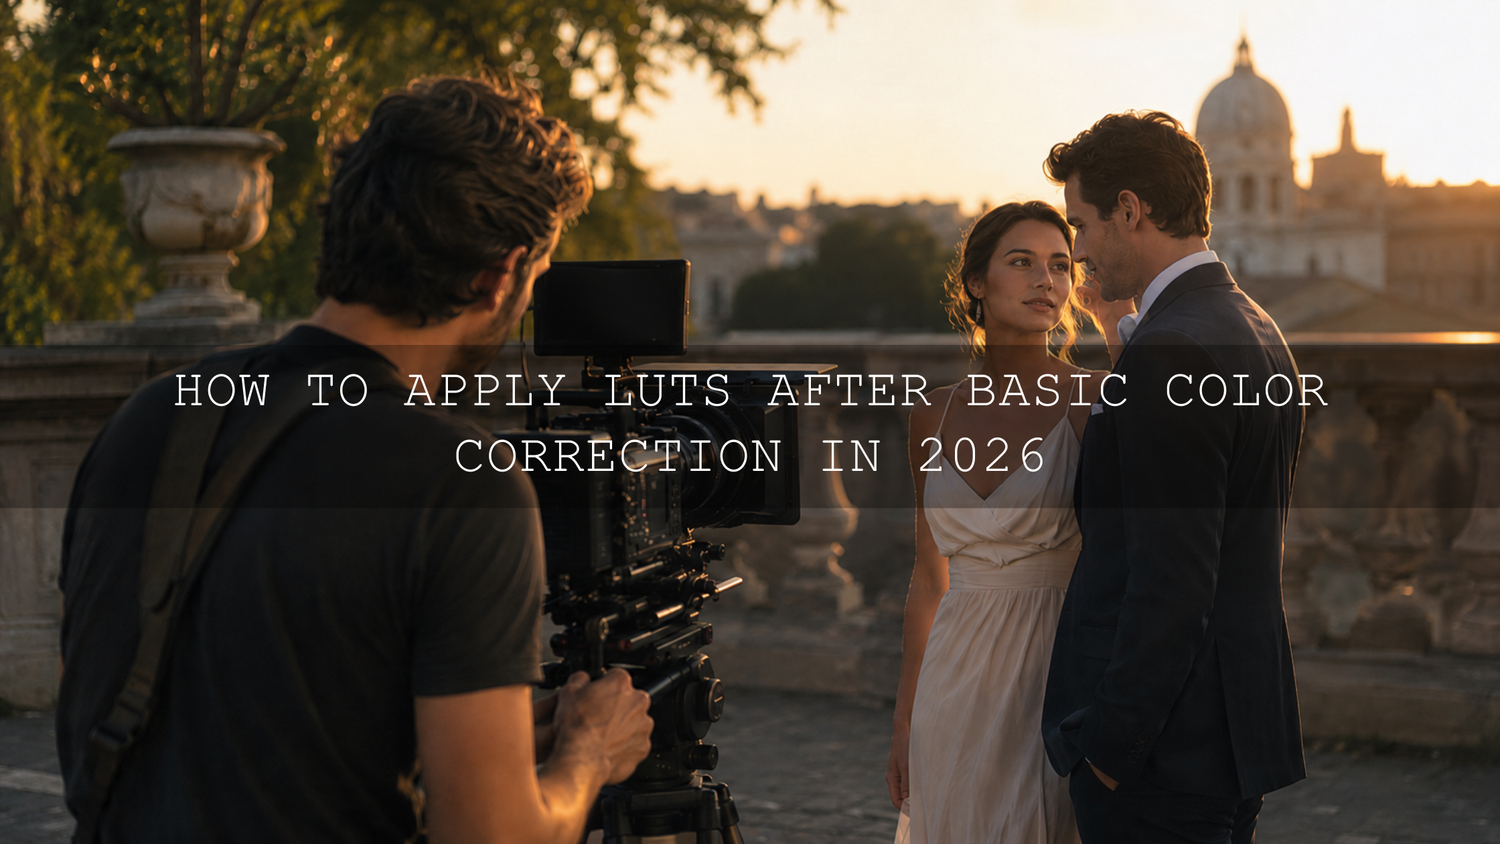
How to Apply LUTs After Basic Color Correction in 2026
Learning how to apply LUTs after basic color correction is key. It creates polished, cinematic video. You keep natural skin tones, highlight detail, and accurate colors. Basic correction gives footage a clean, balanced foundation. Creative LUTs then shape that foundation into a deliberate mood. Get a warm film look, or dramatic blockbuster contrast. Achieve soft wedding tones, or cool urban color grading.
Here is why this matters: a LUT cannot repair badly exposed, incorrectly balanced, or improperly transformed footage. It simply remaps the color information it receives. When you correct first and style second, the LUT works with your footage instead of exaggerating its problems.
Ready to explore different looks after balancing your footage? Start with the 700+ Cinematic Video LUTs bundle. Or browse the complete cinematic LUT collection. It works for Premiere Pro, DaVinci Resolve, Final Cut Pro, and more. Try these LUTs today with the Buy 3, Get 9 FREE offer.
Why Basic Color Correction Is Only the Warm-Up
Basic color correction is the technical stage of the editing process. Its purpose is not to make the footage look stylized. It is there to make every shot look accurate, balanced, and consistent before creative color grading begins.
A reliable base correction normally includes:
- Correcting exposure and recovering usable highlight and shadow detail
- Neutralizing unwanted white balance or tint shifts
- Setting appropriate black and white levels
- Matching shots captured under different lighting conditions
- Normalizing Log footage into the intended working color space
- Checking skin tones with scopes instead of relying only on your monitor
Adobe explains these foundational controls in its guide to Basic Correction in Premiere. You can also follow our detailed workflow. It covers fixing exposure and white balance in Premiere Pro. Do this before adding a creative look.
Once footage is technically clean, a creative LUT adds emotional character. It may cool shadows or soften highlights. It can shift greens toward olive or warm skin tones. Add a faded film curve or stronger contrast. Create better contrast between subject and background.
The Correct Order for a Professional LUT Workflow
A common beginner mistake is dropping a creative LUT directly onto Log footage. Then they try to repair the image underneath. This often produces crushed shadows and clipped highlights. It can cause unnatural saturation. Skin may appear too red, orange, or magenta.
A more dependable order of operations is:
- Confirm the footage profile and color space.
- Apply the correct technical transform when necessary.
- Correct exposure and white balance.
- Match the clips within the scene.
- Apply the creative LUT.
- Reduce or blend the LUT intensity.
- Protect skin tones and other important colors.
- Finish with targeted contrast, saturation, grain, or vignette adjustments.
- Check the finished grade on scopes and multiple displays.
This order separates technical correction from creative styling. It also makes troubleshooting much easier. If the image looks wrong before the creative LUT, the problem is correction. The issue could also be the color-management stage. If it looks wrong only after the LUT, adjust its intensity. Refine specific colors without rebuilding the entire grade.
Technical LUTs and Creative LUTs Are Not the Same
A technical LUT converts footage from one color response to another. Transforming Log footage into Rec.709 is a common example. A creative LUT adds an aesthetic treatment. Examples include cinematic teal shadows or warm highlights. Other options are vintage film contrast, or muted documentary colors.
The two LUT types can appear in the same project, but they serve different purposes:
- Technical LUT: Normalizes the source footage or performs a specific color-space conversion.
- Creative LUT: Adds the visual mood and stylistic color relationships.
Do not use a creative LUT as a substitute for correct camera transform. A LUT made for Rec.709 footage may receive Log. Then its contrast and color response become unpredictable. For a deeper explanation, read our guide. Learn combining LUTs with manual color grading.
Step-by-Step: Applying a LUT After Basic Correction
1. Identify the Camera Profile
Start by confirming whether the footage was recorded in Rec.709, S-Log, C-Log, V-Log, D-Log, Blackmagic Film, or another profile. Do not guess based only on how flat the clip appears. Check the camera settings, metadata, or information supplied by the person who recorded it.
Using the wrong input transform can alter contrast, saturation, and hue before you even begin grading. This becomes especially noticeable when matching footage from multiple camera brands.
2. Normalize Log Footage Correctly
If your editing application is not already managing the footage automatically, apply the appropriate technical LUT or color-space transform. The goal is to bring the image into a predictable working state before adding a creative look.
In Premiere, Adobe’s Premiere color-management guide explains how the software interprets source media and output color spaces. Review those settings before manually stacking conversion LUTs, because accidentally transforming the footage twice can create excessive contrast and saturation.
Pro tip: Switch the technical transform on and off while watching the waveform and RGB Parade. A proper conversion should create a usable image without instantly destroying highlight or shadow detail.
3. Correct Exposure Before Styling the Image
Adjust the image until important tonal information is healthy. Exact values depend on the scene and lighting. Delivery format and creative intent also matter. Avoid forcing every shot into identical numerical targets.
Use the waveform to check overall luminance. Protect important highlights, maintain enough separation in the shadows, and give faces sufficient brightness to remain readable. If a window or practical light is intentionally bright, it does not always need to be pulled down. Correct the shot according to its visual purpose.
4. Fix White Balance and Tint
A creative LUT will usually intensify an existing color cast. If the footage is already too warm, a warm film LUT may push skin into orange. If fluorescent lighting has introduced green, a moody LUT may make that contamination even more obvious.
Neutralize unwanted casts before applying the look. Use a known neutral object when available. Then refine temperature and tint. Observe skin, clothing, walls, and other familiar colors.
5. Match the Clips in the Scene
Before applying one look across multiple shots, make sure those shots already belong together. Match exposure, white balance, black levels, and general saturation first.
This is especially important for interviews, weddings, and events. It also applies to multicamera productions. A single creative LUT won't fix all differences. Issues include mixed lighting or changing cloud cover. Auto white balance or mismatched camera profiles also cause problems.
Use our guide to waveform, vectorscope, and RGB Parade scopes to make these comparisons more objective.
6. Apply the Creative LUT
Once footage is normalized, corrected, and matched, apply your creative LUT. In Premiere Pro, add the LUT to an individual clip. Or place it on an adjustment layer above several clips.
Adobe’s official instructions for adding LUTs in Premiere explain where to load compatible LUT files. For a complete practical walkthrough, see our step-by-step Premiere Pro LUT guide.
7. Blend the LUT Instead of Leaving It at Full Strength
A LUT at 100% is not automatically the correct result. Many creative LUTs are deliberately strong so editors have room to blend them according to the footage.
Begin at full strength so you can clearly see what the LUT changes. Then reduce its intensity until the style supports the image without overpowering it. Depending on the LUT and source footage, that may be 25%, 45%, 70%, or another value.
I tested strong cinematic looks on wedding and outdoor footage. The full LUT created beautiful background colors. However, it made skin too warm. Reducing intensity by half worked well. A small skin-tone correction helped further. This produced a more natural, professional result.
Pro tip: Look away from the monitor for a few seconds before reviewing the grade again. Your eyes quickly adapt to heavy color casts, making an excessive effect seem normal.
Using Adjustment Layers for Consistent Color Grading
An adjustment layer can apply one creative grade across several clips without placing the same effect on every shot. It is especially useful when a full scene needs a shared visual identity.
A clean Premiere Pro timeline might use:
- Clip-level corrections for exposure, white balance, and shot matching
- An adjustment layer for the scene’s creative LUT
- Another controlled layer or effect for finishing touches when needed
This structure keeps technical adjustments with individual clips. The shared look remains easy to replace. You can also trim, disable, or blend it easily.
Adjustment layers are useful for:
- Maintaining one look across an interview or dialogue scene
- Testing several LUTs without changing every clip
- Creating different grades for separate locations or time periods
- Reducing the effect across an entire sequence
- Comparing the corrected footage with the completed creative grade
Do not assume one adjustment layer will solve every shot. If one camera angle is underexposed or has a different white balance, correct that clip underneath the adjustment layer first.
LUTs vs Manual Color Grading
LUTs and manual editing are often presented as competing methods, but the strongest workflow normally combines both.
When LUTs Are the Better Starting Point
- You need a consistent visual style across many clips.
- You are working under a tight editing deadline.
- You want to preview several moods quickly.
- You need a repeatable look for a content series or brand.
- You want a professionally designed foundation that can still be customized.
When Manual Color Grading Is Essential
- The footage contains difficult mixed lighting.
- Skin tones need precise isolation and correction.
- Several cameras must be closely matched.
- The LUT creates undesirable shifts in one specific color.
- A shot requires local masks, tracking, or exposure shaping.
The Best Hybrid Approach
Use manual correction for technical problems. Apply a LUT to establish creative direction. Then return to manual tools for refinement. This gives you speed and consistency in grading. You keep control over the final image.
For projects requiring multiple styles, the 700+ Cinematic Video LUTs bundle provides a broad starting library. For dramatic narrative, trailer, and action footage, the 120+ Cinematic Blockbuster Movie Look LUTs Pack offers more focused film-inspired options.
How to Protect Natural Skin Tones
Skin often shows when a LUT is too strong. Viewers may not understand the technical problem. But they quickly notice faces. Appearances can be sunburned, grey, green, or unnaturally saturated.
After applying your LUT:
- Check the face on the vectorscope.
- Compare it with the corrected image before the creative look.
- Reduce the LUT intensity if the entire image feels excessive.
- Use HSL Secondary, curves, keys, or qualifiers for targeted correction.
- Track a mask when the correction should affect only the face or exposed skin.
- Review multiple skin areas rather than sampling one bright highlight.
Do not force every complexion to the same color or brightness. The skin-tone indicator assesses hue direction. It does not erase natural differences. These include people, lighting environments, or creative scenes.
Our guide helps achieve natural skin tones in Premiere Pro. It explains the vectorscope, HSL Secondary, and targeted adjustments. You can also use the Dark Skin Cinematic LUTs Pack. It is designed to preserve rich medium-to-deep skin tones.
Before-and-After Example: Correcting a Warm Wedding Clip
Imagine a wedding clip recorded during golden hour. The original image is slightly underexposed. The dress appears warm instead of neutral. The groom’s dark jacket has very little visible texture.
A weak workflow would apply a warm wedding LUT immediately. That would deepen the orange cast, reduce dress detail, and push both faces toward an unnatural red-orange hue.
A stronger workflow would look like this:
- Raise exposure carefully while watching the dress highlights.
- Cool the white balance slightly to restore a cleaner neutral reference.
- Lift the deepest shadows enough to recover jacket texture.
- Match the shot with the surrounding wedding clips.
- Apply a warm cinematic LUT at a moderate intensity.
- Reduce orange saturation in the skin range if necessary.
- Add a gentle finishing curve for depth.
The result still feels warm and romantic, but the warmth now looks intentional. The dress retains detail, the suit remains visible, and the couple’s skin looks believable.
This illustrates a central principle: correction protects the image, while the LUT shapes its emotional direction.
Advanced LUT Refinement Techniques
Use Luma-Based Control
A creative LUT may create attractive midtone colors while introducing unwanted color into deep shadows or bright highlights. Use luma keys, curves, or node-based mixing to reduce the look in those tonal regions.
This can help keep blacks cleaner, protect bright windows, and prevent highlight colors from becoming overly stylized.
Stack LUTs Carefully
LUT stacking can work when each LUT has a clearly defined purpose. For example, you might use a technical conversion, a low-intensity creative LUT, and a subtle film-emulation treatment.
However, every additional transform can increase the risk of clipping, banding, excessive saturation, or unexpected color shifts. Keep the strength of each creative layer controlled and inspect the image between stages.
Add Grain After the Main Color Transform
Film grain usually works best near the end of the effect chain. This allows the texture to sit on top. It avoids alteration by later contrast and saturation changes.
Keep grain subtle and scale it appropriately for the resolution and visual style. Heavy grain can quickly become distracting after online compression.
Check the Grade at Normal Viewing Size
Zooming in helps check noise, skin texture, and masks. But evaluate cinematic color at the viewer's size. A restrained grade on an editing monitor may feel heavy on a phone.
Common LUT Mistakes to Avoid in 2026
- Applying the wrong conversion LUT: Confirm the exact camera profile instead of choosing the closest-sounding option.
- Double-transforming footage: Check whether the editing software is already managing the media before adding another technical LUT.
- Correcting every problem after the creative LUT: Build a clean technical foundation first.
- Using one correction for every clip: Match individual shots before applying a shared look.
- Leaving every LUT at 100%: Blend according to the footage rather than accepting the default strength.
- Ignoring scopes: Your display, room lighting, and visual adaptation can mislead your eyes.
- Overcorrecting skin: Preserve natural variation instead of making every face identical.
- Judging one frozen frame: Review the grade through movement, lighting changes, and scene transitions.
- Forgetting the delivery format: Confirm the sequence and export color settings for the intended platform.
Related Reading
- How to fix exposure and white balance in Premiere Pro
- How to read waveform, vectorscope, and RGB Parade scopes
- How to apply and refine cinematic LUTs in Premiere Pro
- How to combine LUTs with manual color grading
- How to correct natural skin tones in Premiere Pro
Frequently Asked Questions
Should I apply a LUT before or after basic color correction?
Apply a creative LUT after normalizing the footage and correcting exposure, white balance, and major shot differences. This gives the LUT a clean, predictable image to work with.
What is the difference between a technical LUT and a creative LUT?
A technical LUT performs a defined conversion, such as Log to Rec.709. A creative LUT adds an aesthetic look, including stylized contrast, color separation, film tones, or a specific mood.
Should a creative LUT always be used at 100%?
No. Full intensity may work for some footage. Many grades look more natural at lower strength. Blend the LUT and refine with manual controls.
Can I apply one LUT to an entire video?
You can use one creative LUT to create consistency, but correct and match the individual clips first. Different lighting conditions and cameras may require separate adjustments beneath the shared look.
Why does my LUT make skin tones look orange?
The footage may be too warm. The LUT may be too strong. Or, it may expect a different input color space. Correct the base image, then verify the transform. Reduce the LUT intensity. Refine skin with targeted color tools.
Build a Faster and More Controlled Color Workflow
A LUT is most effective as a creative starting point. It's not a one-click repair tool. Correct the footage, apply the right technical transform. Match the shots, then introduce the creative LUT. Refine the result according to the story.
Explore the 700+ Cinematic Video LUTs bundle. It's a flexible library covering many projects. Films, travel videos, weddings, and music videos are included. Social content and commercial projects too. Browse cinematic LUTs for Premiere Pro for a focused look. Buy 3, Get 9 FREE. Spend less time building grades from scratch.
Written by Asanka — creator of AAAPresets (10,000+ customers).
Leave a comment
This site is protected by hCaptcha and the hCaptcha Privacy Policy and Terms of Service apply.