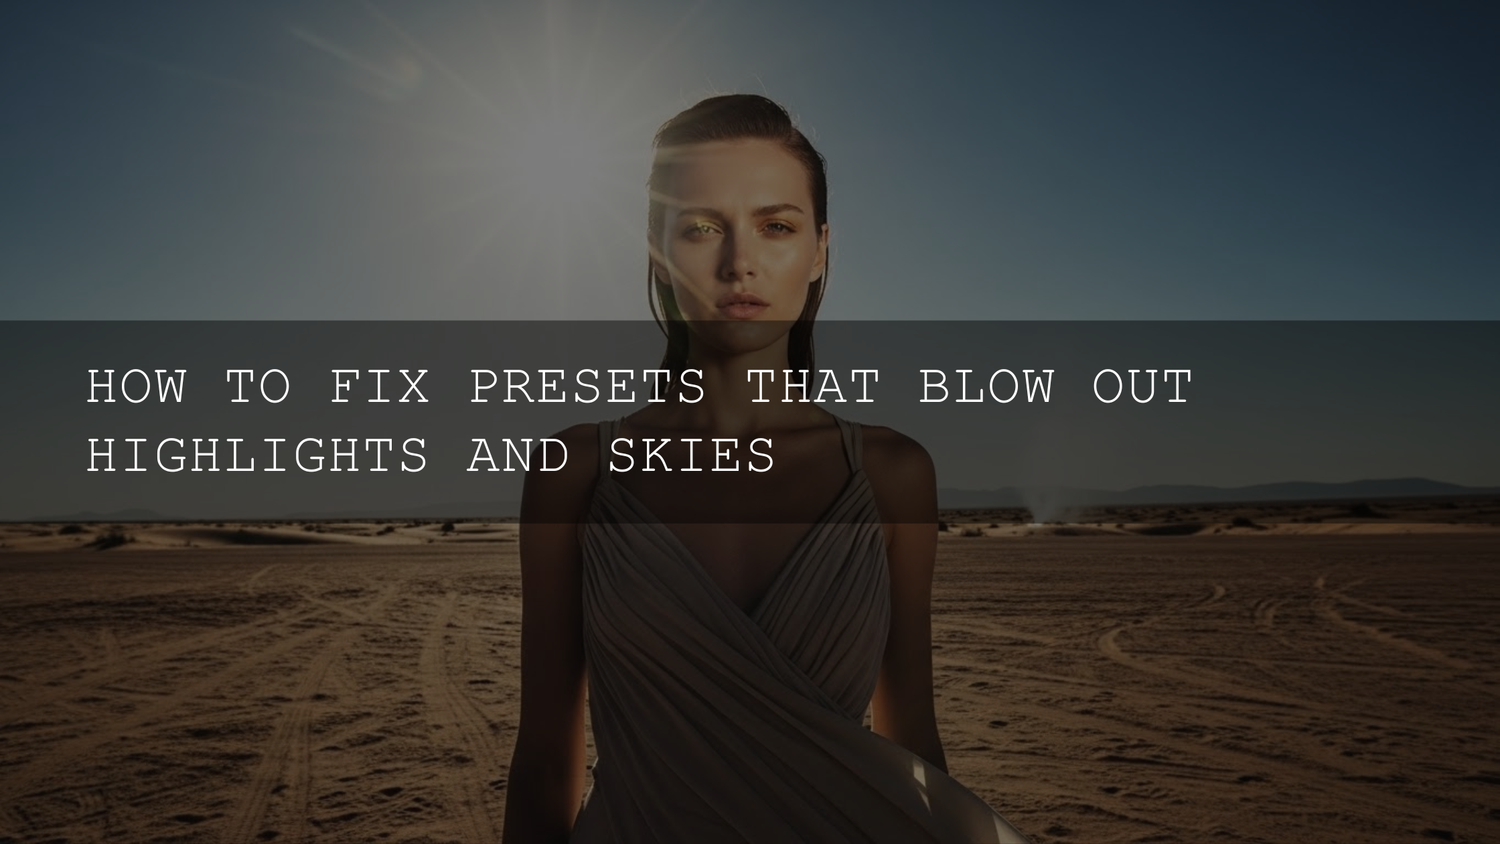
Fix Overexposed Lightroom Presets: How to Recover Blown Highlights and Skies (Without Losing the “Look”)
If you’re trying to fix overexposed Lightroom presets, you’re not alone. One click… and suddenly your sky turns into a white sheet, your subject’s forehead looks like a spotlight, and the photo loses all that beautiful texture you captured. This is the classic preset vs real-world lighting problem—and it’s totally fixable with a repeatable Lightroom highlight recovery workflow that keeps the style while bringing detail back to your blown highlights.
Here’s why this matters: highlights are where “premium” photos either look natural and dimensional… or instantly look over-edited. Let’s break it down, then I’ll give you a fast rescue method and a deeper step-by-step you can use forever.
If you want a versatile base preset set that’s easier to adapt (instead of forcing one look onto every lighting situation), start with Download the 1000+ Master Lightroom Presets Bundle and browse AI-Optimized Lightroom presets for mobile & desktop. If you’re building your library, you can Buy 3, Get 9 FREE when you add 12 items to your cart.
Why Presets Blow Out Highlights (Even “Good” Presets)
A preset is a saved recipe: exposure moves, contrast moves, tone curve shaping, HSL changes, color grading, and sometimes sharpening/clarity/dehaze. The problem is that your photo has its own “starting conditions.” If your image already has bright values (midday sky, windows, reflective skin, white clothing, beach sand), and the preset adds more brightness/contrast, the brightest pixels can get pushed past the edge.
Two important truths:
- Presets don’t know your scene. They apply the same instructions to every photo, even if your light is totally different from the photo the preset was built on.
- Highlight detail is limited. If your original file has clipped highlights (pure white with no data), you can’t “invent” detail—your goal becomes making the clip look natural and controlled.
The 60-Second Rescue (Do This Before You Touch Anything Else)
When a preset blows out your sky or shiny areas, do this in order. It’s fast, and it prevents you from fighting your own adjustments.
- Lower Highlights first. Pull the Highlights slider down until texture returns (clouds, gradients, forehead detail, window edges).
- Then adjust Whites gently. If the brightest pixels are still harsh/flat, pull Whites down a little to tame the “nuclear” whites.
- Re-balance Exposure (small move). If the whole image is too hot, bring Exposure down slightly. Keep it subtle—don’t crush the whole photo to save the sky.
- Fix the sky locally (mask/gradient). If it’s mainly the sky, use a sky/linear gradient mask and reduce Exposure/Highlights only there.
If your problem is mixed lighting (windows + indoor light), this guide pairs perfectly with why presets look bad indoors (simple fixes for indoor lighting).
Your Essential Toolkit for Highlight Recovery (What Each Control Actually Does)
To consistently recover blown highlights, you need to know which tool is “global” and which tool is “targeted.”
- Exposure: overall brightness. Great when the preset lifted everything too much. Risk: darkens the whole image.
- Highlights: focuses on bright areas without wrecking midtones. This is your main “sky saver.”
- Whites: controls the brightest endpoints (the “ceiling”). Useful when highlights are still clipping after Highlights.
- Tone Curve: precision control. You can lower only the top end to protect highlights while keeping contrast.
- Clarity/Texture/Dehaze: can make bright edges feel harsher. If highlights look crunchy, these are often the hidden reason.
- Masks (local adjustments): the “professional move.” Fix the sky, windows, forehead shine, or dress highlights without flattening the whole photo.
For official guidance on masking tools, see Adobe’s Lightroom Classic masking guide.
Step-by-Step: Fix a Blown-Out Sky After Applying a Preset
Let’s walk through a common real-world situation: you apply a cinematic preset, and the sky becomes a bright white slab with no cloud detail. Here’s the workflow I use.
1) Diagnose the damage (before you “fix” it)
Zoom in and inspect the brightest area: sky, window, white shirt, forehead highlight, sun reflection. If it’s totally flat white, you might be clipped. If there’s still faint texture, you can usually pull it back cleanly in RAW.
Quick clue: if lowering Highlights brings texture back quickly, you had recoverable highlight data. If nothing changes, you’re likely clipped and should switch to damage-control (make it look natural).
2) Pull Highlights down until texture returns
Start with Highlights. Don’t worry about the rest of the photo yet. Your goal is to get clouds/gradients back and remove the harsh glare. If the preset is very aggressive, you may need a stronger move than you expected—just don’t let the sky turn gray and lifeless.
3) Use Whites to tame the harsh “ceiling”
If the sky still feels like it’s glowing unnaturally, pull Whites down slightly. Think of Whites as the “brightest cap.” You’re not trying to make the photo dark—you’re trying to prevent the brightest pixels from dominating the scene.
4) Re-check Exposure (small, intentional move)
Now look at the whole image. If the preset pushed overall exposure too high, reduce Exposure slightly. If your subject becomes too dark, stop—this is where masking becomes the better solution.
5) Fix the sky locally (the pro method)
Create a sky mask or a linear gradient that covers only the sky. Then reduce Exposure/Highlights within that mask until the sky looks believable. This protects your subject while solving the sky problem. For more on local tonal adjustments, see Adobe’s guide to masking in Lightroom.
6) Smooth the transition (avoid halos and banding)
After heavy highlight recovery, edges can look strange (halos around trees/buildings, crunchy cloud edges). If that happens:
- Reduce Clarity/Texture slightly (especially if the preset pushed it high).
- Lower Dehaze a touch if the sky looks too “hard.”
- Adjust the mask feathering/transition so the edit blends naturally.
7) Fine-tune with the Tone Curve (optional, but powerful)
If the preset’s contrast is still causing highlight stress, go to the tone curve and lower the upper highlights region slightly. This can protect bright areas without flattening midtones. For Adobe’s official explanation of tone curve regions, see Adobe’s guide to working with tone and tone curve in Lightroom Classic.
Real Examples: What to Do in 3 Common “Blown Highlight” Situations
Example 1: Shiny skin (forehead/nose) looks like a spotlight
When a preset adds contrast + clarity, small specular highlights on skin can explode. Fix it like this:
- Lower Highlights slightly (global).
- Create a small brush mask on the shiny areas.
- Inside that mask: lower Highlights and Whites a little, and reduce Texture/Clarity if needed.
This keeps the preset’s vibe but stops the face from looking “hot.”
Example 2: White shirt or wedding dress loses texture
This is a classic: you want the outfit to feel bright, but not featureless. Do this:
- Lower Whites slightly (global).
- Mask the shirt/dress and reduce Highlights inside the mask.
- If it looks dull, lift Whites back a tiny amount and add a touch of contrast via curve—not via Clarity.
I tested this exact approach on a wedding shoot where the dress looked perfect in-camera, but the preset turned it into a blank white shape. A simple dress mask + highlight control brought the lace texture back without changing the overall look.
Example 3: Windows are blown out in an indoor edit
Windows can clip fast. If there’s no detail, your goal is to make them look natural (not like a harsh cutout):
- Use a linear gradient on the window area.
- Lower Exposure/Highlights inside the mask.
- Reduce Dehaze slightly if the window edge looks too crunchy.
For a full indoor workflow, pair this with simple fixes for indoor lighting.
Presets vs Manual Editing: Which One Wins (and When)?
Here’s the honest answer: the best results usually come from a hybrid.
- Presets win when you need speed, consistency, and a clear starting style—especially across a set of photos.
- Manual editing wins when lighting is unusual (mixed indoor light, harsh midday sun, backlit scenes), or when you need precise highlight protection.
The real move is: apply preset → recover highlights → then re-add style intentionally. If you want a great “all genres” foundation so you aren’t forcing one preset onto everything, the 1000+ Master Lightroom Presets Bundle gives you more choices for the correct base look.
Lightroom vs DaVinci Resolve for Highlight Recovery (Quick Comparison)
If you’re a photo-first creator, Lightroom is the fastest way to fix overexposure from presets. If you’re grading video, DaVinci Resolve gives more dedicated highlight control and scopes for technical accuracy.
- Lightroom: faster for photos, incredible masking, excellent highlight recovery on RAW stills.
- DaVinci Resolve: built for moving images, strong highlight tools and scopes, better for shot-matching across clips.
If you do both photo and video, keep the philosophy consistent: neutralize first, stylize second. That’s how you stop presets and LUTs from pushing highlights into the danger zone.
Make a “Bright Sky Safe” Version of Your Preset (So You Don’t Fix This Every Time)
Once you’ve rescued a photo, don’t waste that work. Save a modified preset version like:
- “Preset Name — Bright Sky Safe” (Highlights lower, Whites slightly lower)
- “Preset Name — Indoor Windows Safe” (gentler contrast, less clarity/dehaze)
- “Preset Name — Shiny Skin Safe” (reduced texture/clarity, softer highlights)
This is how you build a library that actually fits your shooting style instead of constantly fighting your presets.
Pro Tips You Can Test Right Now
- Fix tonal problems before color. If highlights are blown, fix them first—then adjust HSL/color grading. Otherwise, you’ll chase color artifacts in the sky.
- Use masks instead of global exposure when only one area is broken. Sky blown? Mask the sky. Forehead shiny? Mask the forehead. Keep the rest untouched.
- Be careful with Dehaze on bright skies. It can create harsh, crunchy transitions and make banding more visible.
- Don’t confuse “bright” with “clipped.” A bright sky can still have detail. Your goal is texture + believable brightness.
Related Reading
- Fix presets that make photos look too blue or cold
- Night Lightroom presets: adapting daytime looks for low light
- Harsh sun vs soft cloudy light: make presets work in any light
- Fix flat presets: add depth without wrecking highlights
- How to install Lightroom presets (quick and easy)
A Natural Next Step (So Your Highlights Stay Controlled)
If your presets keep blowing out highlights, it usually means you’re applying a strong look to the wrong lighting scenario. The fastest fix is using a better-matched starting preset, then doing quick highlight recovery. For an all-in-one toolkit, start with the 1000+ Master Lightroom Presets Bundle, then add targeted looks like AI-Optimized Cinematic Golden Hour Lightroom Presets or Bright Cinematic Lightroom Presets. And remember—if you’re building your library, you can Buy 3, Get 9 FREE when you add 12 items to your cart.
If you need help choosing the right pack for your editing style, check AAAPresets FAQs & support.
FAQ
Why do presets blow out highlights and skies?
Most presets increase contrast and brightness to create impact. If your photo already has bright tones (sky, windows, reflective skin), those adjustments can push highlights past recoverable detail, especially on JPEGs.
Can Lightroom recover a completely white sky?
If the original file is clipped (pure white with no data), Lightroom can’t restore true cloud detail. You can still make it look natural by lowering Whites/Highlights and using a sky mask to soften the transition.
Should I lower Exposure or Highlights first?
Start with Highlights to target the bright problem areas. Lower Exposure only if the entire image is too bright after the preset, and use masking if only one region (like the sky) is overexposed.
How do I fix shiny skin after applying a preset?
Use a small brush mask on the shiny areas and reduce Highlights and Whites inside the mask. If the preset added heavy Texture/Clarity, reduce those slightly so skin looks natural again.
Is it better to use presets or edit manually?
Presets are the fastest starting point for consistent style, but manual adjustments (especially masking and highlight recovery) are what make the final image look professional. The best workflow is preset first, refine second.
Written by Asanka — creator of AAAPresets (10,000+ customers).


Leave a comment
This site is protected by hCaptcha and the hCaptcha Privacy Policy and Terms of Service apply.