Best Canon R Series LUTs: A Practical Guide for C-Log & C-Log 3 Shooters
If you’re shooting with a Canon R3, R5, R6 Mark II, R7, R10, R100, or any other R-series body in 2025, you already have a ridiculously capable camera in your hands. But if your footage still feels a little too flat, too clean, or just a bit “video-ish,” you’re not alone. This is exactly where Canon R series LUTs can change everything.
When you shoot in Canon C-Log or C-Log 3, you’re banking dynamic range and tonal flexibility for later. The tradeoff is that your clips look washed-out and low-contrast straight out of camera. The right C-Log 3 LUTs (or C-Log LUTs) give you a reliable creative starting point and help you reach a polished cinematic baseline fast.
If you want a ready-to-use library for weddings, commercials, travel, and YouTube projects, here are the best places to start within our ecosystem: 700+ Cinematic Video LUTs and Video LUTs Collection. These kinds of packs are designed to speed up your workflow while still keeping skin tones and contrast in a pleasing, film-friendly zone.
Why LUTs Matter So Much for Canon R Series Cinematography
A LUT (Look-Up Table) is basically a pre-built color transformation. In real-world terms, think of LUTs as your “fast lane” to a coherent look. With a good LUT, you can go from flat log footage to something that already feels like a finished film scene—then refine from there.
For high-volume work like weddings or event coverage, this matters a lot. I tested a warm Canon C-Log 3 look on a low-light wedding reception, and the biggest difference wasn’t just the color—it was the speed. I spent less time fighting the base image and more time shaping the story and pacing.
For commercial work, LUTs help create consistency across multiple locations and lighting setups. For travel content, they help establish a recognizable signature style that viewers instantly associate with your brand.
Understanding Canon C-Log vs C-Log 3 (In a Creator-Friendly Way)
Canon Log profiles are designed for grading. They preserve highlight and shadow detail and give you room to shape contrast and color later. In 2025, most R-series shooters who care about a cinematic result lean into C-Log 3 because it balances flexibility with a smoother, more predictable grading experience.
If you want a deeper official explanation of how Canon Log benefits your workflow, this resource is worth reading: Canon’s official overview of Canon Log for filmmaking.
One practical tip: when shooting log, get your exposure clean. A beautifully designed LUT can’t fully rescue messy exposure or mixed lighting. Think of the LUT as a personality upgrade—not a miracle cure.
LUTs vs Manual Grading: Which One Should You Use?
This isn’t an either/or decision. Most professionals use both.
- Use LUTs when you need speed, consistency, or a solid starting point for multi-hour edits (weddings, events, YouTube batches).
- Grade manually when the scene is tricky (mixed lighting, extreme contrast), the brand requires strict accuracy, or you want a highly custom look.
- Best approach: apply a well-built Canon Log LUT, then fine-tune exposure, white balance, contrast curve, and skin tones.
In other words, LUTs give you the foundation. Manual grading adds the craftsmanship.
What Makes a Great Canon R Series LUT Pack?
Not all LUTs are made equal. If you’ve ever applied a random LUT and seen unnatural skin tones or crushed blacks, that’s usually a sign it wasn’t built for your camera profile.
- Profile accuracy: Make sure the LUT is built for Canon C-Log or C-Log 3, not generic Rec.709 or Sony/Fuji profiles.
- Reliable skin tone handling: Especially crucial for weddings, interviews, and lifestyle content.
- Balanced contrast curves: Great LUTs avoid turning shadows into black holes.
- Versatility: The best packs include daylight, indoor, golden hour, and night-friendly options.
If you’re building a flexible toolkit, you’ll likely want a broad cinematic pack plus niche looks for specific genres. Start broad, then specialize.
Best LUT Styles for Canon R Series
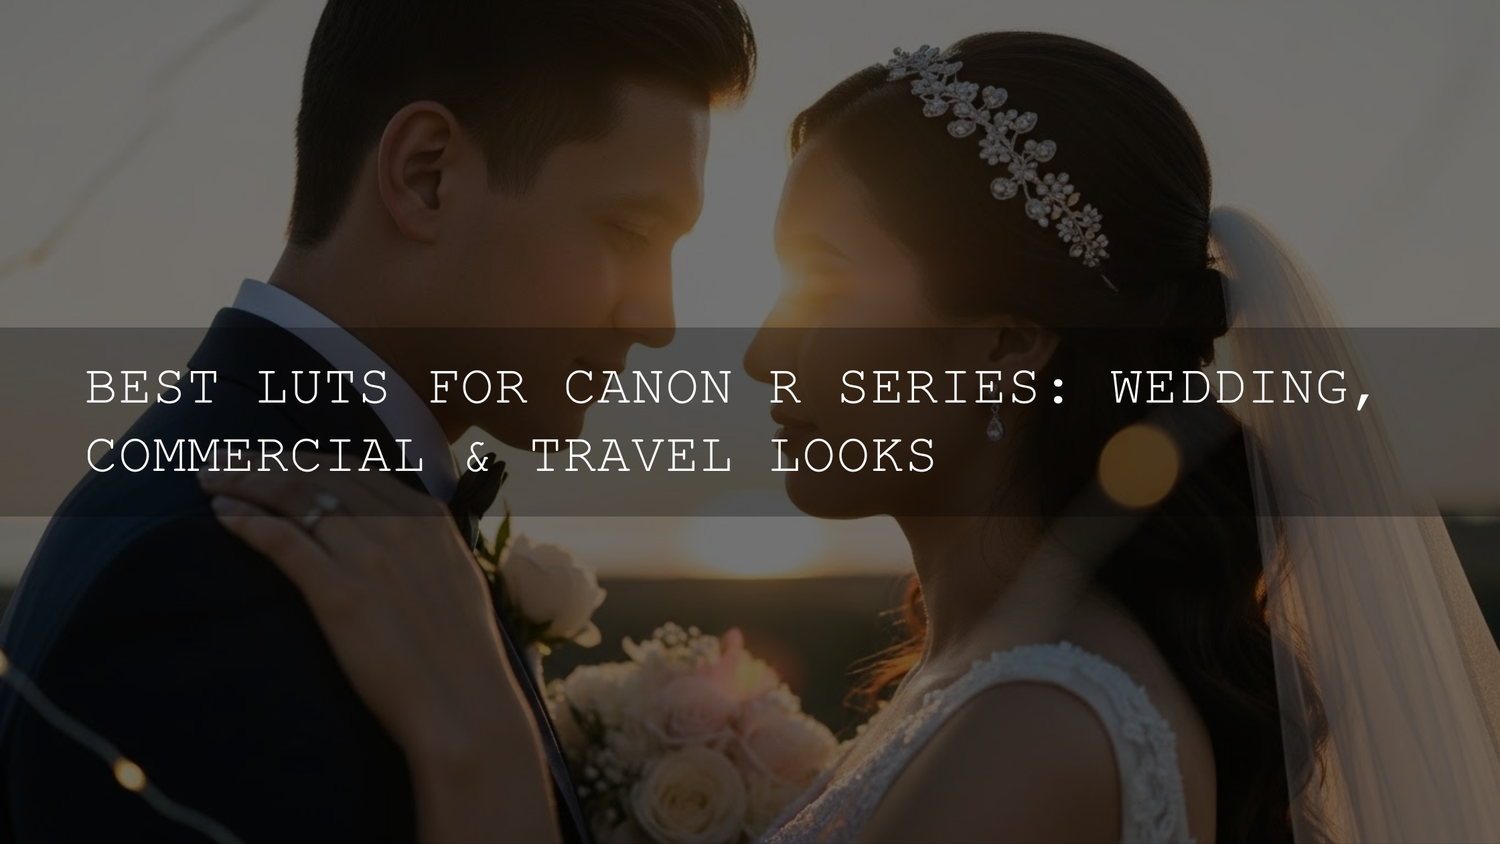
Wedding LUTs: Warm, Soft, and Timeless
Wedding work needs emotion-first color. Most couples want a timeless look that doesn’t feel too trendy five years from now.
- Warm golden-hour inspiration for romantic outdoor scenes.
- Soft contrast and gentle saturation for a premium, elegant finish.
- Subtle teal-and-orange for receptions and cinematic venue shots.
For deeper workflow ideas around romantic color, you can explore: Wedding Color Grading and Wedding Presets Collection.
Commercial & Corporate LUTs: Clean, Brand-Safe, High-Confidence
Commercial clients care about clarity and trust. Your grading should feel intentional but not distracting.
- Neutral cinematic looks that protect accurate product and skin colors.
- Fresh, modern contrast that feels premium on social and web.
- Controlled saturation to maintain brand-color consistency.
If your work jumps between ads, interviews, and product reels, a strong general-purpose pack like Cinematic Videography LUTs Pack can cover a lot of use cases.
Travel & Documentary LUTs: Natural Beauty with a Signature Mood
Travel footage is about atmosphere—lush greens, clean skies, and believable skin tones across changing environments.
- Natural enhancement looks for realistic landscapes.
- Warm tropical moods for beaches and summer travel.
- Urban moody sets for city streets and night scenes.
If you love aerial work, a dedicated set can be a game changer: Drone LUTs Bundle and Drone Footage Color Grading.
Step-by-Step: Applying Canon LUTs in Premiere Pro
Premiere Pro is still a favorite for fast-turnaround creators and hybrid editors. Here’s a simple log-friendly workflow:
- Import your footage and confirm it was shot in C-Log or C-Log 3.
- Open the Color workspace and add Lumetri Color.
- Apply your technical or creative LUT in the Basic or Creative section (depending on your workflow).
- Adjust exposure first, then contrast and saturation.
- Refine skin tones using HSL Secondary if needed.
- Reduce LUT intensity if the look feels too aggressive.
For official guidance on modern LUT and color space handling, this is a solid reference: Adobe’s official guide to color management and Lumetri Color.
Step-by-Step: Applying Canon LUTs in DaVinci Resolve
Resolve shines when you want maximum control and cleaner color management.
- Set up color management (Resolve Color Management or ACES).
- Use a Color Space Transform (CST) if you want a controlled log-to-709 conversion.
- Apply your creative LUT after balancing exposure and white balance.
- Match shots using scopes and keyframes for consistent scenes.
- Tune contrast and midtone detail for a polished cinematic feel.
If you want to explore Resolve’s official color tools and HDR capabilities, this page is a helpful starting point: Blackmagic’s DaVinci Resolve color grading overview.
Pro Techniques That Make Your Canon LUTs Look Expensive
- Balance before you stylize: Fix exposure and white balance before applying a strong look.
- Use LUTs at 60–80% intensity: Subtlety often looks more premium than heavy stylization.
- Protect skin tones: If faces shift too orange, too magenta, or too dull, isolate and correct.
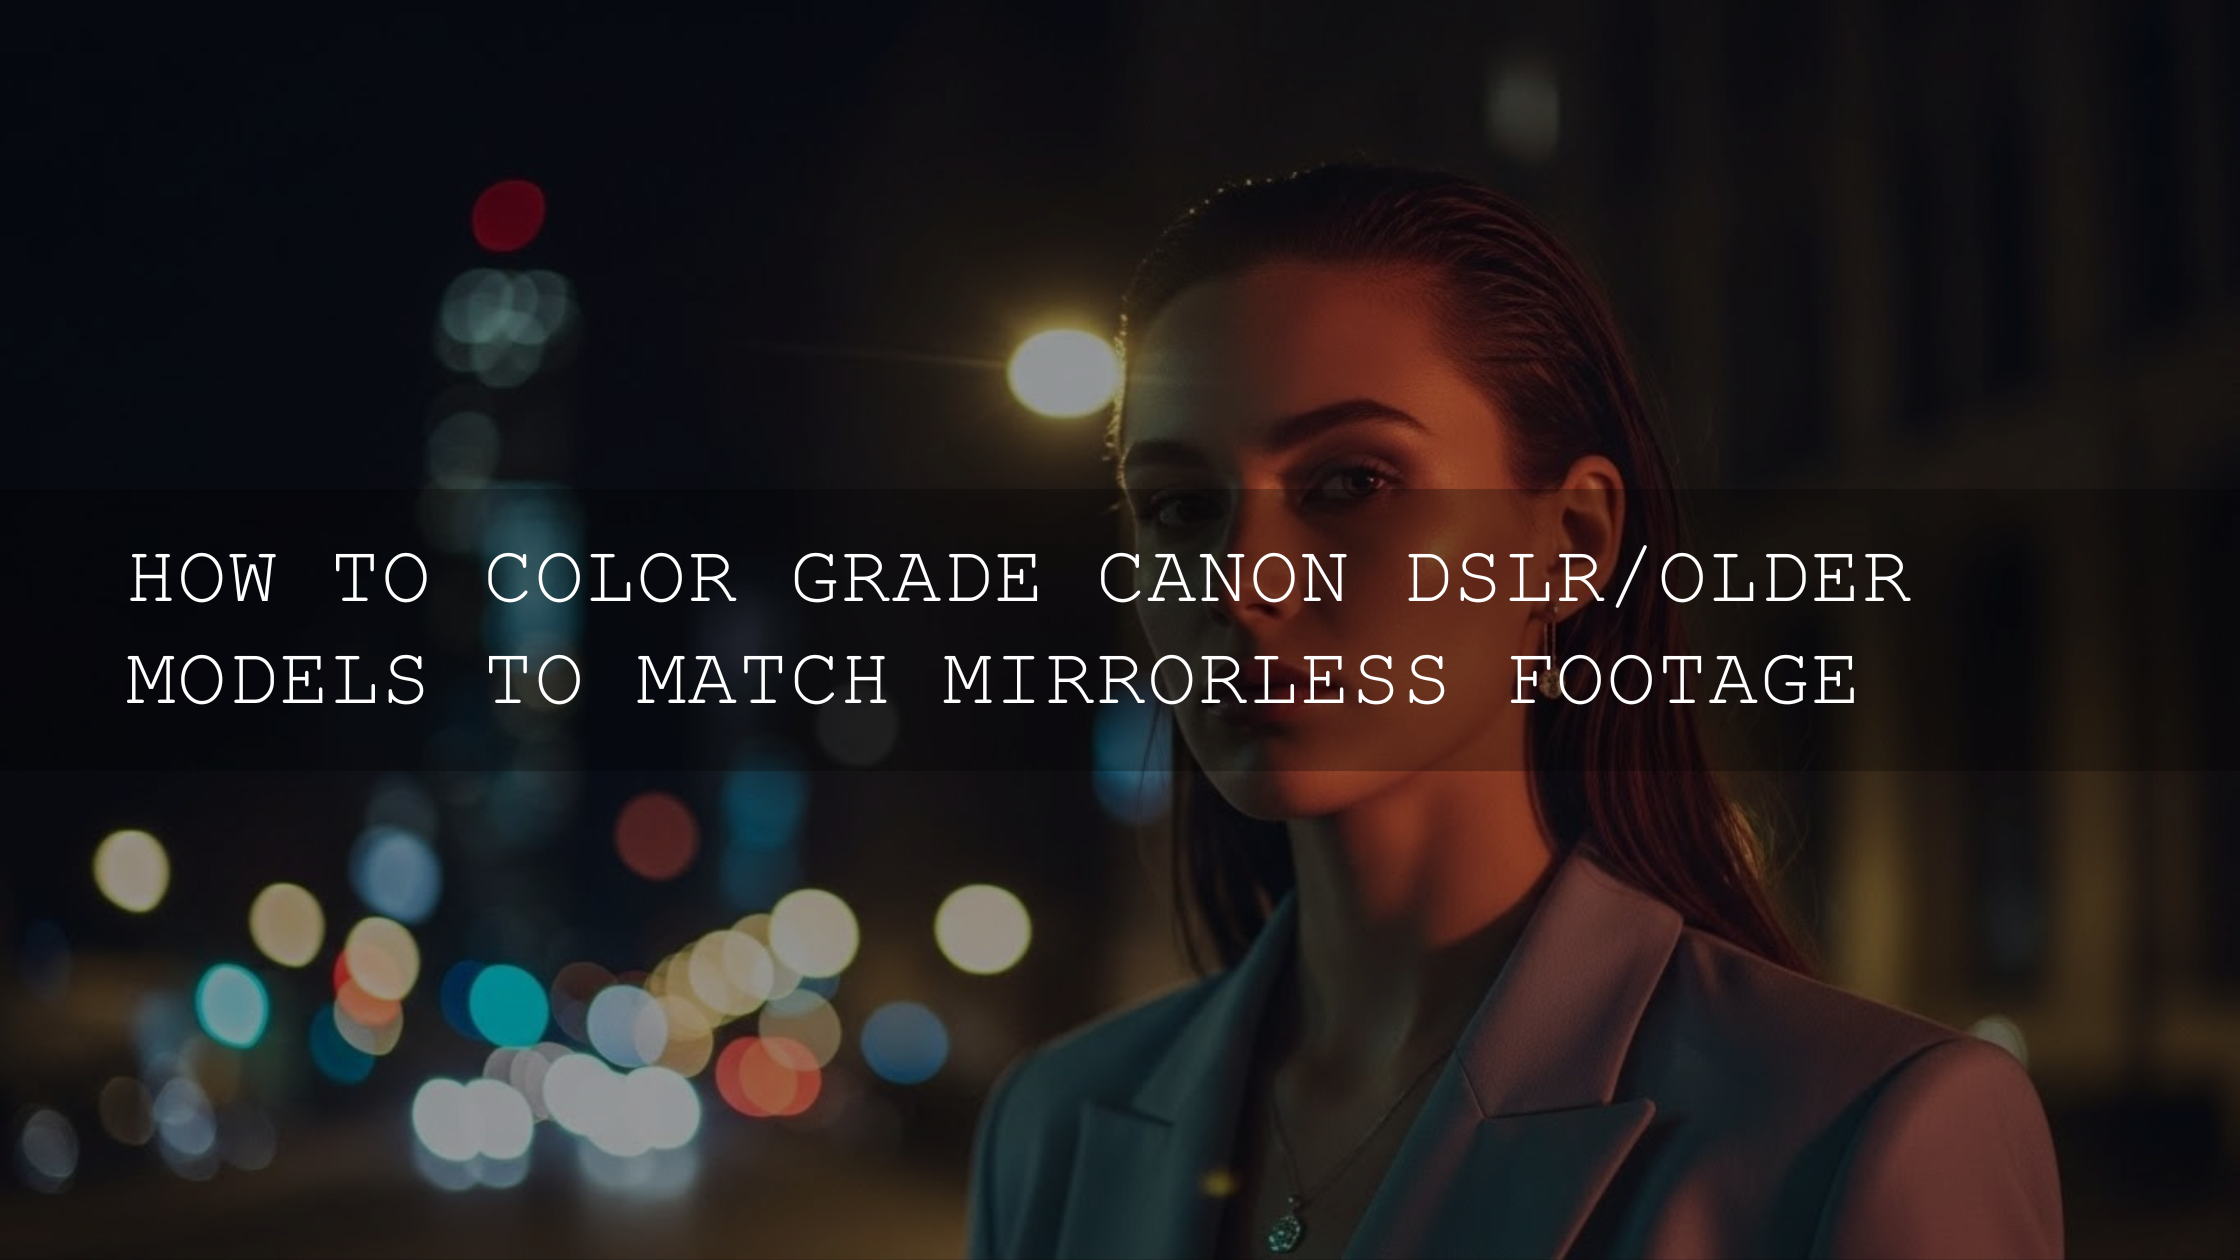
- Match multiple cameras: When mixing R5, R6 Mark II, and R7 footage, do a quick neutral match first, then apply the same LUT across all cameras.
- Build genre-based folders: Weddings, commercial, travel, night, and drone. Your future self will thank you.
When I pushed a gentle teal-and-gold look on a sunset travel sequence, the biggest improvement came from a small tweak: lowering saturation in the shadows while keeping highlights warm. That tiny adjustment turned a “nice” LUT into a “finished” grade.
Common Mistakes That Make Canon LUTs Look Wrong
- Using the wrong profile LUT: A Rec.709 LUT on C-Log 3 often causes harsh contrast and odd skin tones.
- Overexposing without intent: Log loves clean exposure, but blown highlights can’t be restored.
- Ignoring mixed lighting: A single LUT won’t fix daylight + tungsten + LED color conflicts without manual help.
- Stacking too many looks: Keep your pipeline simple and controlled.
Building a Simple Canon R Series LUT Workflow You Can Repeat
If you want a repeatable system for every project, try this checklist:
- Shoot C-Log or C-Log 3 with clean exposure.
- Apply a reliable base transform or technical LUT.
- Add a creative Canon R series LUT that matches your genre.
- Adjust exposure, WB, contrast, and saturation.
- Check skin tones and match shots.
- Export and save your grade as a preset for future projects.
You can deepen your understanding of camera-to-grade consistency with: Camera Profile vs LUT Workflow.
Where to Start If You Want a Signature Canon Look
The best creators aren’t using one “magic” LUT. They’re using a small, curated set that fits their brand. If you want to start strong, build a base library with 700+ Cinematic Video LUTs, then refine your style by browsing Video LUTs Collection.
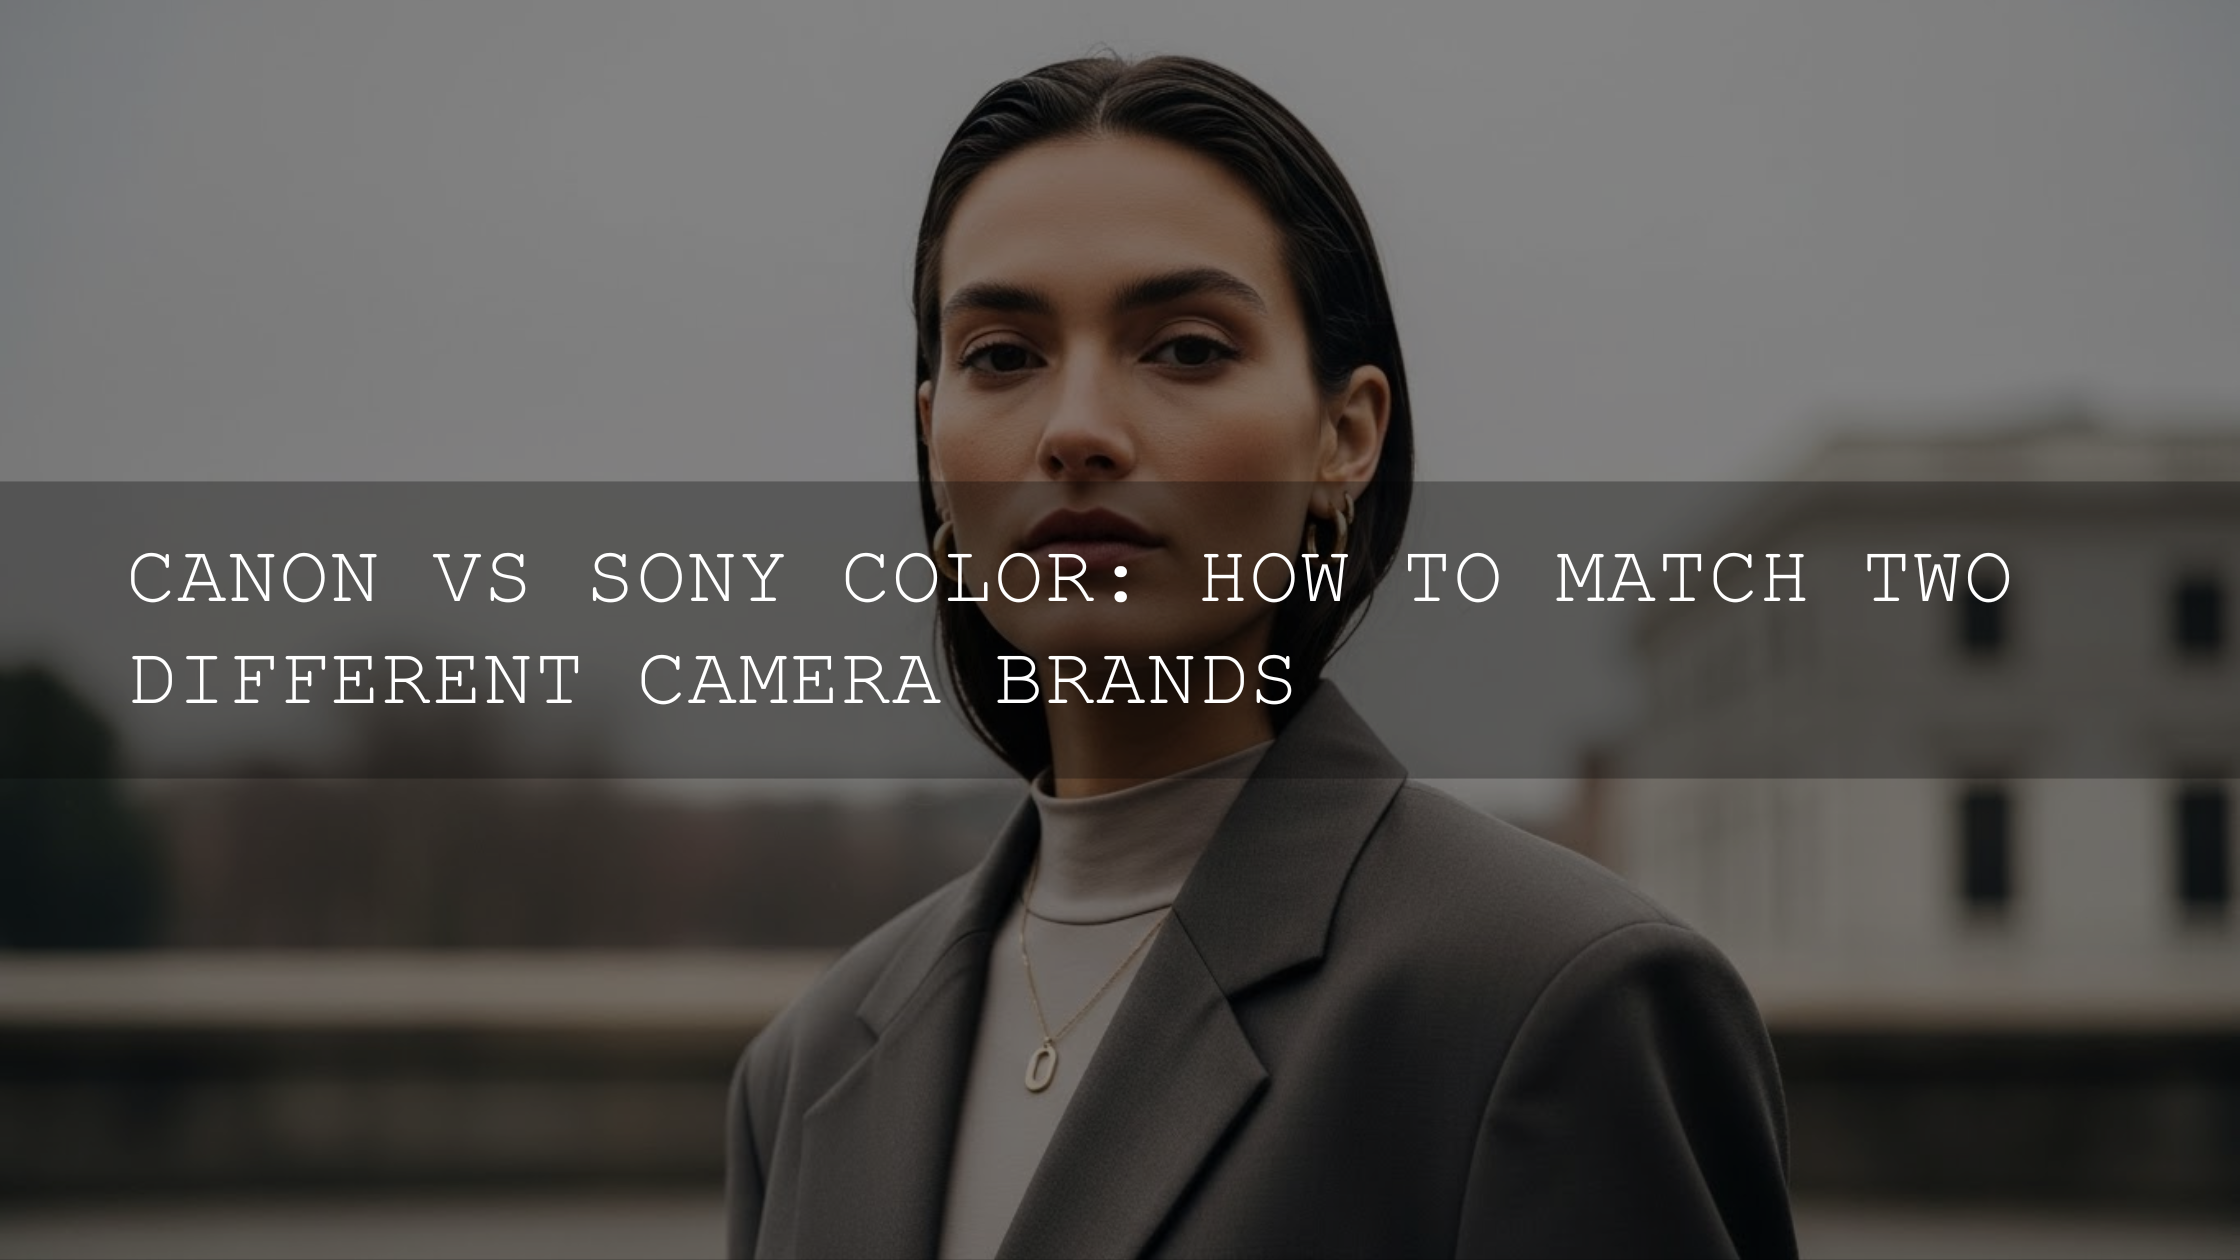
If you’re also working across different camera brands or editing styles, these reads may help you build more consistent color thinking: Sony S-Log3 LUTs: Natural vs Cinematic Looks and Color Grading Workflows for Beginners.
Final Thoughts: Canon R Series LUTs Are a Creative Shortcut, Not a Creative Limit
LUTs are one of the smartest ways to unlock the cinematic potential of your Canon R series camera. The right Canon C-Log LUTs and C-Log 3 LUTs will help you work faster, stay consistent, and develop a recognizable style across weddings, commercial films, and travel projects.
You don’t need hundreds of looks to get professional results. You just need a tight kit, good exposure, and the confidence to tweak a LUT until it feels truly yours.
If you’re ready to build a reliable Canon LUT toolkit for real client work and personal films, start with Cinematic Videography LUTs Pack and explore Video LUTs Collection. You can also refresh your editing fundamentals through official training and documentation before you lock in your style.
How do I know if a LUT is made for Canon C-Log 3?
Check the product description and file naming. A proper Canon C-Log 3 LUT will explicitly mention C-Log 3 and typically offers cleaner skin tones and more balanced contrast than generic Rec.709 LUTs.
Should I apply a technical LUT and a creative LUT together?
Yes, often that workflow is ideal. Use a technical transform for a clean base, then apply a creative Canon R series LUT for mood and style, adjusting intensity to taste.
Why do my skin tones look strange after applying a LUT?
This usually happens due to mixed lighting, incorrect white balance, or using a LUT not designed for your camera profile. Fix white balance and exposure first, then reduce LUT intensity and tweak skin colors if needed.
Is DaVinci Resolve better than Premiere Pro for Canon LUT workflows?
Resolve offers deeper color management and advanced grading tools, while Premiere Pro excels for fast turnarounds and integrated editing. Both can produce excellent results with the right Canon C-Log 3 LUTs and a clean workflow.
Can I use the same LUT across R5, R6 Mark II, and R7?
Yes, but match exposure and white balance first. A consistent base grade helps the LUT behave more predictably across different R-series sensors and shooting conditions.
Written by Asanka — creator of AAAPresets (10,000+ customers).
Leave a comment
This site is protected by hCaptcha and the hCaptcha Privacy Policy and Terms of Service apply.