
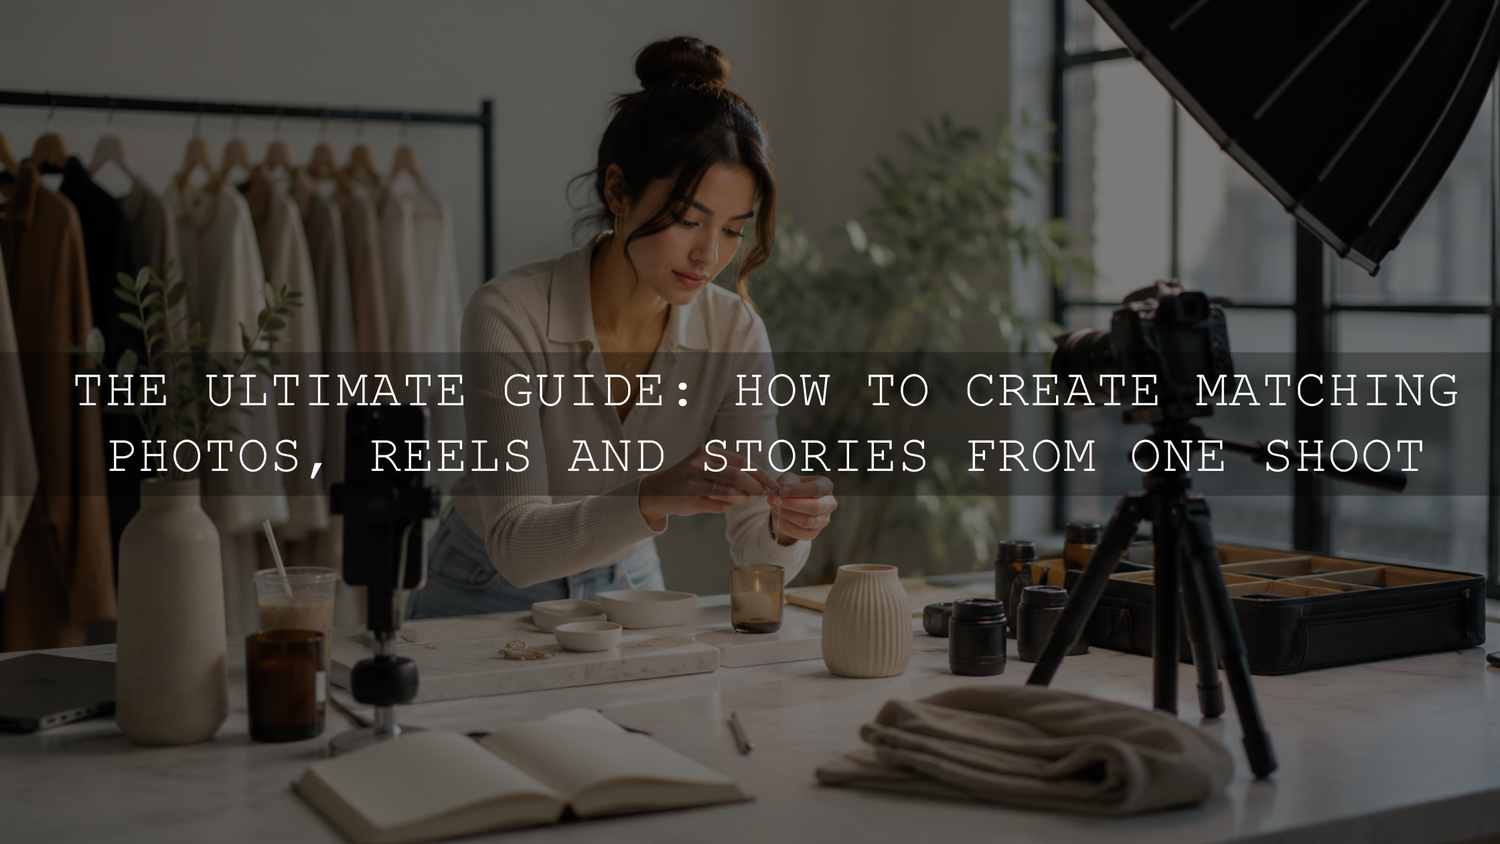
Content batching means planning and capturing several related assets during one focused session instead of preparing a new location, outfit, lighting setup and creative direction for every post. A well-planned shoot can produce still photographs, Reels, Stories, cover images, close-up details and reusable B-roll while keeping the content visually connected.
The goal is not to produce a fixed number of posts or schedule an entire month at any cost. It is to reduce repeated setup work, capture the right variety and leave the session with organized material that can be edited and published gradually.
Start With One Clear Content Theme
A batch shoot becomes difficult when every planned post has a different subject, audience and visual direction. Begin with one campaign, product, lesson or story that can be expressed through several formats.
For example, a creator introducing a new photography product might plan:
- One main Reel: A demonstration, transformation or short explanation.
- One feed carousel: A hero photograph, several supporting images and one close-up detail.
- Several Stories: The setup, a behind-the-scenes moment, a useful tip and the finished result.
- A Reel cover: A clean vertical composition with enough uncluttered space for an overlay added later.
- Reusable B-roll: Hands working, equipment being prepared, a screen in use and environmental details.
This approach gives every asset a separate purpose while allowing the same location, subject and styling to support the complete set.
Define the Visual Rules Before the Shoot
Visual consistency begins before editing. A preset can help connect photographs, but it cannot completely repair unrelated lighting, conflicting background colors or an inconsistent product presentation.
Choose a few repeatable visual rules:
- Color palette: Select two or three main colors for clothing, products, props and backgrounds.
- Lighting direction: Decide whether the session will use soft window light, controlled studio light or an outdoor setup.
- Contrast level: Choose a bright and gentle look, a neutral commercial style or a deeper cinematic mood.
- Background system: Prepare one main background and one or two simple variations.
- Framing style: Decide how often the subject will be centered, placed off-center or shown through close-up details.
Consistency does not require every photograph and video clip to look identical. It means the assets share recognizable decisions about light, color, mood and presentation. For a deeper explanation of matching photo and video styling, see the guide to building a cohesive Instagram brand with presets and LUTs.
Create a Shot List for Photos, Reels and Stories
A normal photography shot list is not detailed enough for a multi-format content session. Your list should identify both the subject and the intended use of each shot.
Essential Reel Footage
- The opening action or visual hook.
- The main demonstration, explanation or transformation.
- Wide, medium and close-up versions of important actions.
- A clean ending that can support a call to action.
- Extra footage before and after each action to make editing easier.
Essential Still Photographs
- A strong hero photograph.
- Several alternate poses or arrangements.
- Close-ups of materials, textures, controls or product details.
- Horizontal and vertical compositions when both may be useful.
- A simple cover-style image with controlled negative space.
Essential Story Content
- A quick view of the location or setup.
- A short introduction to what is being created.
- A mistake, adjustment or decision that makes the process feel genuine.
- A preview of the completed content.
- A simple clip suitable for a question, poll or text explanation.
Plan separately for feed posts, Stories and Reels because each placement may require a different crop, composition or amount of clear space. Capture each asset for its intended use rather than assuming that one composition can be cropped successfully for every format.
Choose the Capture Order Based on the Difficult Parts
There is no universal rule that video must always be filmed before photographs. The best order depends on energy, continuity, product condition, natural light and the complexity of the action.
A reliable sequence for many sessions is:
- Run a technical test. Check exposure, focus, white balance, sound, background distractions and reflections.
- Capture high-concentration material. Film dialogue, complicated movements or coordinated demonstrations while the presenter and crew are fresh.
- Record the main process. Capture the action in wide, medium and close-up views.
- Photograph the primary stills. Keep the same lighting and styling where possible so the photographs naturally relate to the footage.
- Capture details and B-roll. Record hands, textures, tools, screens, packaging, movement and environmental shots.
- Collect missing Story moments. Review the plan and record any introductions, reactions or process explanations that were missed.
Change the order when the subject requires it. Food, flowers, cosmetics, packaging and carefully arranged products may look their best before repeated handling. In those situations, capture the clean hero photographs first and record the more disruptive actions afterward.
Keep the Technical Setup Stable
Repeatedly changing the light, camera position and color temperature makes batch editing more difficult. Once the setup is working, avoid unnecessary adjustments until all related shots have been captured.
- Keep the key light in the same position for one group of assets.
- Record a reference photograph before changing a setup.
- Check that white objects and skin tones remain consistent.
- Avoid mixing window light with uncontrolled indoor lighting unless the combination is intentional.
- Record several seconds before and after each video action.
- Check important clips for focus and sound before dismantling the setup.
If the session requires several lighting styles, treat each style as a separate group. Finish every photograph and clip needed under the first setup before moving the lights or changing locations.
Use B-Roll as Planned Supporting Material
B-roll should not be a collection of unrelated attractive clips. It should help connect scenes, cover cuts or explain what is happening.
Useful B-roll may include:
- Entering the location or approaching the workspace.
- Opening a laptop, camera bag or product package.
- Adjusting a camera, light or tripod.
- Typing, selecting an image or making an edit.
- Close-ups of controls, hands and materials.
- Walking, turning, reaching or interacting with the environment.
- A clean establishing view of the location.
Record each action more than once when it is important, but vary the framing rather than creating several nearly identical clips.
Review and Back Up the Files Before Leaving
A shoot is not complete until the important files have been checked. Confirm that the main photographs are sharp, the essential clips play correctly and the audio is usable.
Create a clear project folder as soon as the files are transferred:
- 01 Photo Originals
- 02 Video Originals
- 03 Audio
- 04 Selects
- 05 Working Edits
- 06 Final Exports
Include the date and campaign name in the main folder. Adobe Lightroom also provides albums, stacks, keywords, metadata, flags and ratings for organizing and filtering photographs, as described in Adobe’s guide to organizing photos in Lightroom.
Batch-Edit by Lighting Group, Not Only by Shoot Date
The photographs may have been captured on the same day, but that does not mean they should all receive exactly the same settings. Divide the selected images by location, lighting direction, exposure and white balance.
- Remove obvious duplicates, missed focus and unusable expressions.
- Group photographs captured under similar conditions.
- Choose one representative image from the first group.
- Correct its exposure and white balance.
- Apply the creative preset and refine its strength or settings.
- Copy or synchronize the edit across the matching group.
- Review every photograph for skin tone, product color, highlights and shadows.
- Repeat the process for each different lighting group.
A Lightroom preset is a predefined set of adjustments, but Adobe notes that presets can be selected and refined as part of the editing process. See Adobe’s current guide to editing photographs with Lightroom presets.
If you use the cloud-based Lightroom applications, imported presets can sync between Lightroom desktop and mobile when both applications use the same Adobe account. Adobe explains this process in its guide to adding and syncing presets with Lightroom Mobile. Lightroom Classic uses a separate import workflow, described in Adobe’s guide to applying and importing presets in Lightroom Classic.
Match the Photo and Video Look Without Forcing Identical Settings
Photographs and video clips do not necessarily use the same editing files or controls. Instead of attempting to make their settings mathematically identical, compare the visible characteristics:
- Are the highlights warm, neutral or cool?
- How deep are the shadows?
- Are greens and blues vivid or restrained?
- Does skin remain believable?
- Is the overall contrast soft, clean or dramatic?
Correct exposure and white balance before applying a strong creative treatment. A preset or LUT may establish the direction, but clips recorded under different light can still require separate correction.
Creators who need a broad starting library can explore the 1000+ Master Lightroom Presets Bundle. The live product page lists DNG files for Lightroom Mobile and XMP files for Lightroom desktop. For more focused styles, browse the Instagram presets collection for content creators.
Export Content by Destination
Do not create one universal export and assume it is suitable for every destination. A feed photograph, a Story background, a website banner and a Reel cover may require different crops or dimensions.
- Keep a full-resolution master when practical.
- Create platform-specific copies from the finished master.
- Use clear file names that identify the campaign, asset and version.
- Keep finished exports separate from original camera files.
- Check the final crop after adding any text or graphic overlay.
- Review video captions, music, dialogue and cover placement before publishing.
If your vertical videos are edited in Premiere Pro, the Premiere Pro transitions for Reels, Shorts and TikToks collection provides options designed for vertical social media projects. Use transitions selectively so they support the pacing rather than interrupting the message.
Repurpose the Idea, Not Just the File
Effective repurposing changes how the same core idea is presented. Simply publishing the same clip several times with different captions can feel repetitive.
One demonstration could become:
- A short Reel showing the full transformation.
- A carousel explaining the key steps with still photographs.
- A Story showing the setup and one practical mistake to avoid.
- A close-up photograph that highlights a product feature.
- A later educational Reel built from unused B-roll and a new voice-over.
This modular approach gives each asset a reason to exist while making better use of the material captured during the session.
A Practical Two-Hour Batch-Shoot Example
The following is a hypothetical starting schedule, not a guaranteed formula:
- 0–15 minutes: Build the setup and test exposure, focus, color and sound.
- 15–45 minutes: Capture dialogue, opening clips and coordinated hero actions.
- 45–75 minutes: Record demonstrations, alternate angles and process footage.
- 75–100 minutes: Capture hero photographs, variations and cover images.
- 100–115 minutes: Record details, B-roll and missing Story clips.
- 115–120 minutes: Check the essential files and confirm the backup plan.
A complex product demonstration may produce fewer usable assets than a simple lifestyle session. Plan around the difficulty of the content rather than chasing an arbitrary post count.
Common Content-Batching Mistakes
- Planning too many unrelated ideas: This creates frequent changes of props, styling and creative direction.
- Capturing every shot from the same distance: Editors need wide, medium and close-up choices.
- Ignoring sound until the end: Dialogue and environmental noise should be checked early.
- Changing the lighting too often: More setups create more correction work later.
- Applying one edit blindly: Presets and synchronized settings still require image-by-image review.
- Forgetting covers and clean backgrounds: A finished video may still need a separate cover or Story canvas.
- Mixing originals and exports: Poor folder organization increases the risk of publishing the wrong version.
When Content Batching Is Less Suitable
Batching works best for evergreen education, product demonstrations, campaigns, brand photography and repeatable creator formats. It is less useful for breaking news, live events, immediate reactions or personal stories that depend on a specific moment.
A hybrid workflow is often more sustainable. Batch the predictable material, including tutorials, product content, covers and B-roll, while leaving room for timely updates and spontaneous Stories.
Build a Repeatable System, Not a Content Factory
A productive content shoot is measured by usefulness, not by the largest possible number of files. Begin with one clear idea, define the visual rules, assign a purpose to every shot and capture related assets before changing the setup.
After the shoot, group files by lighting conditions, refine one representative edit, synchronize only where appropriate and export separate versions for each destination. For a wider post-production system, continue with the complete creator workflow from raw files to final delivery.
Explore AAAPresets tools for building a repeatable photo and video style, including Lightroom presets and vertical-video editing assets. The current store offer is Buy 3, Get 9 FREE: add 12 eligible products to the cart and pay for 3.
Written by Asanka — creator of AAAPresets, serving more than 10,000 customers.

Leave a comment
This site is protected by hCaptcha and the hCaptcha Privacy Policy and Terms of Service apply.