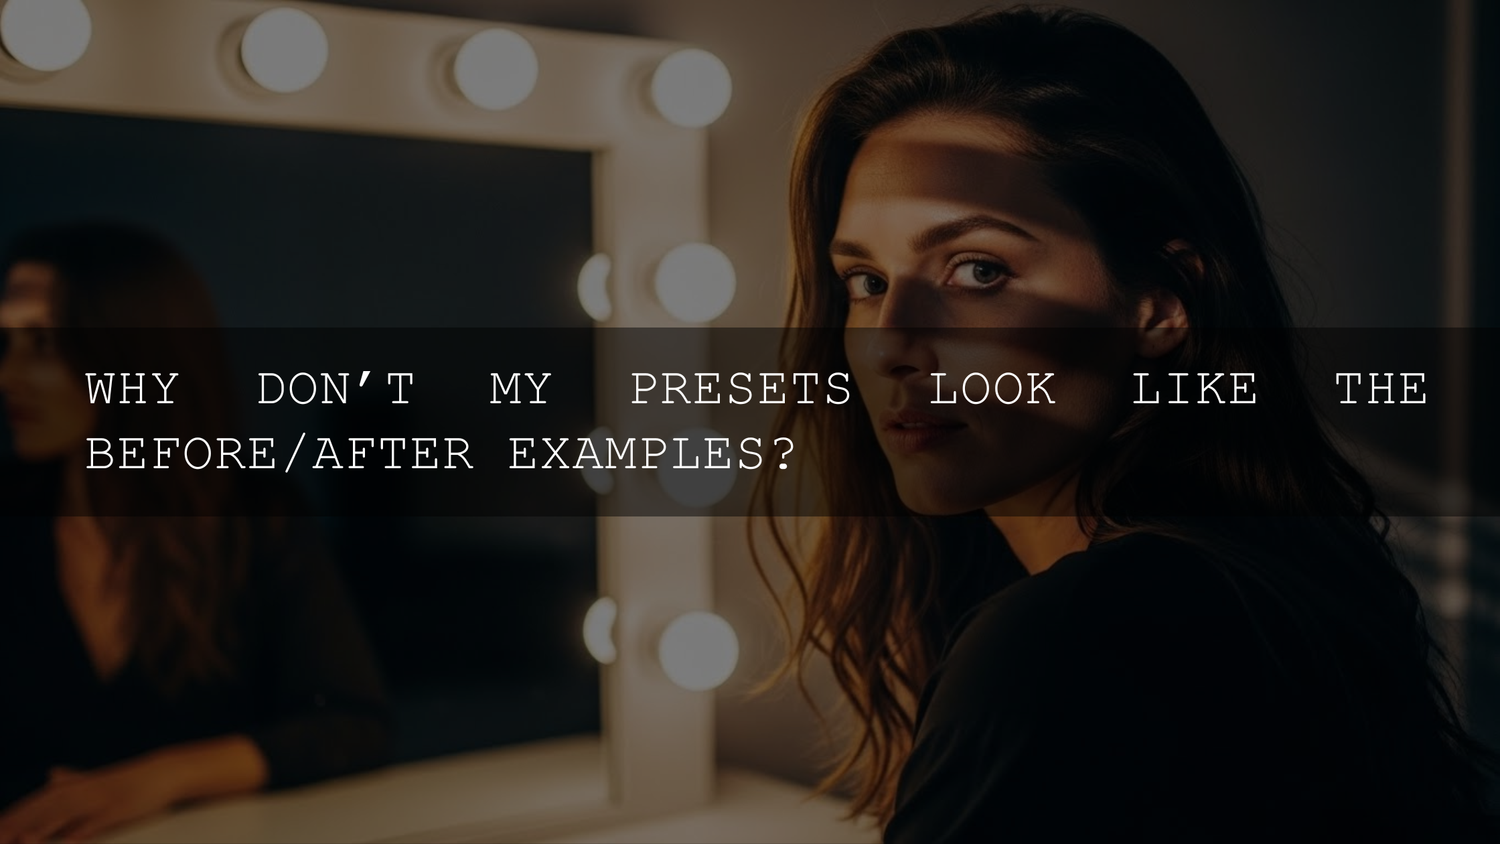
Why Do My Lightroom Presets Look Different on Every Photo? (And How to Fix It)
Let’s be honest: we’ve all fallen down the rabbit hole. You’re scrolling Pinterest or Instagram, you see a mind-blowing before/after, and suddenly you’re wondering why do my Lightroom presets look different on every photo when the creator made it look like pure magic. You buy a pack, apply it to your own shot…and it’s close, but not that “wow.” The good news? Nothing is “wrong” with you or the preset. Presets are powerful—but they’re not mind readers. Once you understand what they’re actually doing (and what your photo is giving them to work with), your results get consistent fast.
If you want a flexible starting point that covers almost every lighting situation, start with a broad bundle like the 1000+ Master Lightroom Presets Bundle and keep a versatile collection open for easy browsing—like Lightroom Presets for Mobile & Desktop. If you add multiple packs to your cart, you can Buy 3, Get 9 FREE—so you’re building a toolkit, not gambling on one “perfect” preset.
The “One-Click Wonder” Myth (What Presets Really Are)
A preset is basically a saved recipe: exposure tweaks, tone curve, HSL shifts, color grading, sharpening, grain, calibration…all packaged into one click. That’s why they’re amazing for speed and consistency. But here’s the reality: your photo is the ingredients. If the recipe was built on soft window light and your photo is harsh midday sun, the same adjustments will behave differently.
Think of presets as a starting point, not a finish line. Even the creators you admire rarely stop at the preset. They apply it, then fine-tune for that specific image.
The Biggest Reason Presets Don’t Match: Lighting
Lighting is the unsung hero (and sometimes the villain). Presets amplify what’s already there—so different light produces different results.
- Golden hour / soft window light: smooth highlights, gentle shadows, clean skin tones. Presets often look “premium” here.
- Midday sun: hard shadows, strong contrast, clipped highlights. A preset can push it into crunchy, over-saturated territory.
- Indoor tungsten: warm/orange cast. Warm presets can turn it into “overcooked chicken.”
- Fluorescent LEDs: green/magenta shifts. Skin can go sickly fast if you don’t neutralize first.
I tested a warm cinematic preset on a sunset portrait and it looked perfect in two clicks. Then I tried the same preset on an indoor birthday photo under mixed LEDs—and suddenly the whites turned yellow and skin went slightly green. Same preset, totally different light, totally different outcome.
Your “Before” Photo Is the Foundation
The best preset results usually start with a “clean” file: balanced exposure, recoverable highlights, and a neutral white balance. If your base photo is already struggling, the preset has to fight uphill.
Preset-ready checklist (30 seconds per photo)
- Highlights: are important whites blown out (sky, dress, skin shine)? If yes, reduce highlights before the preset.
- Shadows: is the subject buried in darkness? Lift shadows slightly first so the preset doesn’t crush detail.
- White balance: does white look white? If not, fix Temp/Tint first.
- Noise: high ISO + heavy preset sharpening can look messy. Plan to reduce noise before adding texture.
This is exactly why the “before” photos in ads look so usable: they’re often well-exposed RAW files with clean color. Presets enhance good foundations—they don’t replace them.
Hidden Variables: Camera Profiles, RAW vs JPEG, and Color Science
Two people can shoot the same scene and get different preset results—because the camera pipeline is different.
- RAW vs JPEG: RAW holds more recoverable detail and responds better to heavy tone/curve changes. JPEG is already processed and can break faster (banding, crushed shadows, weird color).
- Profiles: Adobe Color vs Camera Standard vs a custom profile can change the “starting color” before the preset even touches your sliders.
- Brand color science: Canon, Sony, Nikon, Fuji—each has a different look. A preset built on one camera may need tiny HSL tweaks on another.
If you’re editing on mobile, file type matters too. For a practical breakdown of file formats, see DNG vs XMP presets for mobile photographers.
Presets vs Manual Editing: Which One Should You Use?
You don’t have to pick a side. The best workflow is usually preset + smart manual adjustments. Here’s a simple comparison:
- Presets win for: speed, consistency across a set, building a signature style, fast client previews, creator content.
- Manual editing wins for: difficult mixed lighting, precise skin tone control, product/e-commerce accuracy, matching multiple cameras.
- The sweet spot: apply a preset to get 70–80% of the look, then manually fix exposure/WB/skin/background for the final 20%.
If you want a practical “why presets save hours” perspective, this is a solid companion read: why a Lightroom presets bundle speeds up real workflows.
A Repeatable Workflow to Make Any Preset Look Good
This is the exact process that stops the “why does this look different?” frustration. Save it, repeat it, and you’ll get consistent results across almost any photo.
Step 1: Start clean (profile + lens corrections)
- Pick a profile that fits your style (Adobe Color is a safe default).
- Enable lens corrections and remove obvious distortions if needed.
Step 2: Fix white balance before the preset
Neutralizing color first prevents presets from amplifying ugly casts. Use Lightroom’s eyedropper on something neutral, then fine-tune. Adobe’s official guidance on removing color casts is a great reference: Adobe’s guide to removing color casts in Lightroom.
Step 3: Balance exposure (don’t chase perfection yet)
- Lower highlights if they’re close to clipping.
- Lift shadows slightly if the subject is too dark.
- Keep it “neutral-good,” not dramatic.
Step 4: Apply the preset (then reduce intensity if needed)
Now apply your preset. If it feels too strong, don’t panic—dial it back with the preset amount/opacity (or manually reduce the most aggressive sliders like contrast, saturation, or curve).
If you want the official baseline steps from Adobe, this is worth bookmarking: Adobe’s guide to editing photos with presets in Lightroom.
Step 5: Correct the “big three” after the preset
- Exposure: get brightness where you want it.
- White balance: re-check skin tones (Temp/Tint tweaks are normal).
- Contrast: if blacks are crushed, lift shadows or ease the tone curve.
Step 6: Use masking for fast, pro-level fixes
This is where your edit starts looking like the “after” examples online. Instead of changing the whole image, fix the problem area.
- Brighten a face without blowing the background.
- Reduce saturation in a neon shirt without killing the whole palette.
- Darken a bright sky while keeping the subject clean.
Adobe’s official reference for local adjustments is here: Lightroom Classic Masking tool guide.
Step 7: Polish (HSL + texture + noise)
- HSL/Color Mixer: fix oranges for skin, greens for foliage, blues for sky.
- Texture/Clarity: go subtle—too much makes skin gritty.
- Noise reduction: especially if you lifted shadows a lot.
Three Quick Examples (So You Can Diagnose Fast)
Example 1: Indoor mixed lighting (yellow + green skin)
- What happens: preset adds warmth + contrast, skin turns muddy.
- Fix: correct WB first (reduce yellow/green), then apply preset, then mask the face and slightly adjust Temp/Tint.
Example 2: Midday sun (too crunchy, harsh shadows)
- What happens: preset boosts contrast/clarity, shadows go hard and highlights clip.
- Fix: lower highlights + whites before preset, raise shadows slightly, then reduce clarity/contrast after preset.
Example 3: Overcast travel photo (looks flat)
- What happens: preset looks “okay” but not cinematic.
- Fix: add a gentle S-curve, warm highlights slightly, and use masking to brighten the subject while keeping the background controlled.
If you want style ideas for travel edits (where lighting changes constantly), this can help you pick looks that adapt well: top Lightroom presets for travel photography.
Choosing the Right Preset for the Photo (Not the Other Way Around)
A huge mindset shift: don’t force one preset to work on everything. Build a small “toolkit” of looks for different light.
- Warm street / lifestyle: try a pack like AI-Optimized Warm Pastel Street Film Lightroom Presets.
- Soft vintage portraits: start with AI-Optimized Dreamy Vintage Lightroom Presets.
- Cinematic nature tones: a teal/amber base like Nature Cinematic Teal & Amber Lightroom Presets can be a strong starting point.
And if you want maximum variety without overthinking, browsing Premium Lightroom Presets & LUTs Bundles is the fastest way to cover multiple styles for different scenes.
Pro Tips You Can Test Immediately
- Fix WB first, preset second: it prevents 80% of “why is this weird?” issues.
- Don’t judge at 100% intensity: if it’s too strong, reduce contrast/curve/saturation before you abandon the preset.
- Mask skin, not the whole photo: tiny Temp/Tint changes on the face can save an edit.
- Presets love consistent sets: batch-edit photos shot in the same light first, then move to the next lighting scenario.
- Know your license: if you’re editing for clients or commercial use, confirm the right usage level on the AAAPresets File Licenses page.
Related Reading
- Why photos look different after applying presets
- Common preset mistakes and how to avoid them
- How to install Lightroom presets (quick & easy)
- DNG vs XMP presets for Lightroom Mobile
If you’re ready to get results that look closer to those “Pinterest-perfect” edits, start with a flexible bundle like the 1000+ Master Lightroom Presets Bundle and pick a style-matching pack for your favorite type of light. Build your toolkit with confidence—when you add multiple products, you can Buy 3, Get 9 FREE and cover every scenario without starting from scratch each time.
Why do Lightroom presets look different on mobile vs desktop?
Mobile and desktop can interpret profiles, file formats (DNG/XMP), and starting color differently. To stay consistent, use the same preset format when possible and re-check white balance after applying the preset.
What’s the fastest fix when a preset makes skin tones look wrong?
Correct white balance first, then apply the preset. If skin still looks off, use masking on the face and make a small Temp/Tint adjustment or refine orange luminance/saturation in HSL.
Should I apply presets before or after adjusting exposure?
For the most consistent results, do quick exposure and white balance balancing first, then apply the preset, then fine-tune exposure/contrast again. This prevents the preset from exaggerating problems in the base file.
Do presets work better on RAW files?
Yes—RAW files hold more detail and tolerate heavier tone/curve changes. Presets can still work on JPEGs, but you’ll usually need gentler adjustments and more careful noise/shadow handling.
How do I make one preset work across a whole photoshoot?
Edit one “hero” photo first, then sync settings to other images shot in the same lighting. After syncing, do quick per-photo tweaks to exposure and white balance to keep everything consistent.
Written by Asanka — creator of AAAPresets (10,000+ customers).
Leave a comment
This site is protected by hCaptcha and the hCaptcha Privacy Policy and Terms of Service apply.