
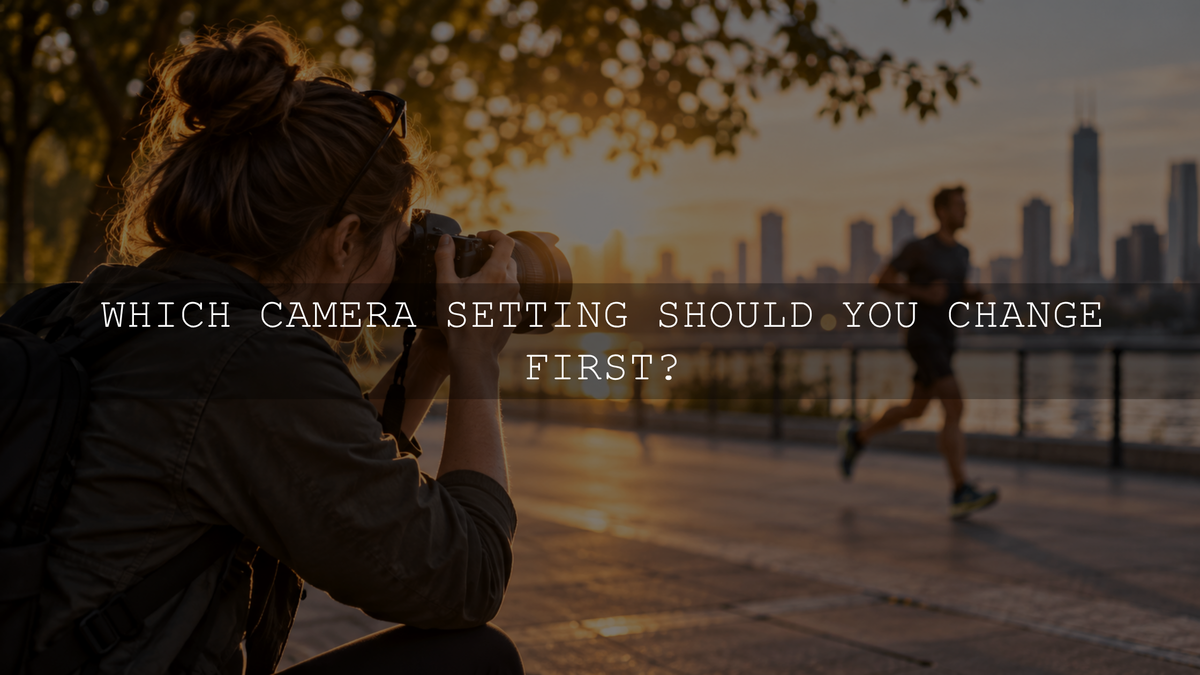
If you have just moved beyond your camera's full Auto mode, do not try to control every setting at once. The best camera setting to change first is the one connected to the visual result that matters most in the photograph.
If you want to control how much of the scene appears sharp, start with aperture. If you need to freeze or intentionally blur movement, start with shutter speed. Once those creative decisions are made, use ISO as needed to support them.
For many everyday photographs with relatively predictable movement, Aperture Priority can be a simple first step away from Auto. For sports, wildlife, running children, vehicles and other moving subjects, Shutter Priority can make more sense. You do not need to jump directly into full Manual mode simply to start taking control of your camera.
Choose the Setting That Controls the Result You Care About
Aperture, shutter speed and ISO work together, but they do different jobs. Instead of asking which one is universally most important, ask what could ruin the photograph if the camera chooses incorrectly.
- Background blur or depth of field matters most: choose aperture first.
- Freezing or showing movement matters most: choose shutter speed first.
- The scene is too dark for the aperture and shutter speed you need: adjust ISO.
- The color looks too warm, cool or unusual: investigate white balance and the lighting rather than changing exposure controls randomly.
This approach is easier than memorizing one group of settings for every situation. A portrait, a football match and a landscape may all need completely different priorities even when the photographs are made with the same camera.
For a deeper explanation of how these controls interact, see our guide to aperture, shutter speed and ISO.
Start With Aperture When Depth of Field Matters
Aperture is the adjustable opening in the lens. It is expressed using f-numbers such as f/1.8, f/2.8, f/4, f/5.6, f/8 and f/11.
A smaller f-number represents a wider aperture. A wider aperture allows more light through the lens and can create a shallower depth of field. A larger f-number represents a smaller aperture and can increase depth of field.
Depth of field is the range of distances that appear acceptably sharp. Aperture affects it, but aperture is not the only factor. Focal length, focusing distance, subject distance, background distance and framing also influence how blurred or sharp the background appears.
That means choosing f/1.8 does not automatically create a dramatically blurred background, and f/11 does not guarantee that every part of a landscape will be perfectly sharp.
Useful Aperture Starting Points
- Portraits and subject isolation: try a relatively wide aperture such as f/2.8 or f/4, then adjust according to the lens, distance and depth of field you need.
- Several people: consider a smaller aperture such as f/4 or f/5.6 when you need more depth of field.
- Landscapes: f/8 or f/11 can be useful starting points when broader depth of field is required, but the ideal value depends on the scene, focus distance and lens.
Do not automatically select the widest aperture your lens offers. At very shallow depths of field, parts of a face, a group of people or another important subject can fall outside the area that appears sharp.
Why Aperture Priority Is Useful for Beginners
Aperture Priority is commonly marked A or Av, depending on the camera brand. You choose the aperture and the camera determines an appropriate shutter speed according to its metering system. ISO may remain fixed or change automatically if Auto ISO is enabled and supported by your camera.
This makes Aperture Priority useful when you want to concentrate on depth of field without manually balancing every exposure control while the light changes.
There is one important habit to develop immediately: keep watching the shutter speed selected by the camera.
If the light becomes dimmer, the camera may respond by using a slower shutter speed. Your photograph can therefore have the depth of field you wanted and still be blurred because either the camera or the subject moved during the exposure.
If that happens, you can consider opening the aperture, raising ISO, enabling an appropriate Auto ISO configuration, adding light or stabilizing the camera. The right solution depends on whether the blur is coming from camera movement or subject movement.
Choose Shutter Speed First When Motion Matters
Shutter speed, also described as exposure time, controls how long the camera records light. It also determines how much subject movement can be recorded during the exposure.
A short exposure can freeze movement. A longer exposure can show motion as blur.
Shutter Priority is commonly marked S or Tv. In this mode, you choose the shutter speed and the camera selects an aperture that fits its exposure calculation. Auto ISO may also change ISO when enabled.
Shutter Priority is often more useful than Aperture Priority when a photograph will fail if the subject is blurred.
Shutter Speed Starting Points
- People moving normally: around 1/250 second can be a useful starting point.
- Running children, active pets or moderate action: try approximately 1/500 second and adjust after reviewing the results.
- Fast sports or wildlife: approximately 1/1000 second or faster may be required depending on the subject, direction of movement and focal length.
- Intentional movement: slower settings such as 1/30 second or longer can create visible motion blur.
These numbers are starting points, not universal rules. A bird moving quickly across the frame may require a much shorter exposure than a person walking toward the camera.
Also watch the aperture selected in Shutter Priority. If you choose a very fast shutter speed in limited light, the lens may reach its widest available aperture and still be unable to provide the brightness you want. At that point, raising ISO may be the most practical option.
Use ISO to Protect the Aperture and Shutter Speed You Need
ISO is often introduced as the sensor's sensitivity to light, but that simplified explanation can be misleading for digital cameras. Changing ISO does not physically open the lens or extend the exposure time, so it does not cause more scene light to reach the sensor.
Instead, digital ISO changes how the captured sensor signal is amplified, scaled or processed to produce the resulting image brightness. This is why ISO is useful when you need to preserve a particular aperture and shutter speed.
For example, imagine that you are photographing a moving person indoors. You already have the aperture as wide as you want, and making the shutter speed slower would produce unwanted motion blur. Raising ISO can let you retain those more important settings.
Higher ISO settings can make noise and other image-quality limitations more noticeable, especially when relatively little light was captured. However, keeping ISO artificially low is not helpful if the result is a blurred photograph.
A useful beginner rule is therefore:
Use the lowest ISO that still allows the aperture and shutter speed your photograph actually requires.
Auto ISO Can Be a Useful Learning Tool
Auto ISO is not something beginners need to avoid. Used deliberately, it can reduce one variable while you concentrate on the setting that controls the photograph.
For example, in Aperture Priority you might choose the depth of field while Auto ISO helps the camera respond as light changes. Some cameras also allow you to define a minimum shutter speed or a maximum Auto ISO value.
The exact options and behavior vary between camera models, so check your camera's manual rather than assuming every Auto ISO system works in the same way.
Once you understand what Auto ISO is doing, another useful option on many modern cameras is Manual exposure with Auto ISO. You can select both the aperture and shutter speed yourself while allowing ISO to respond to changing light.
Do You Need to Change White Balance First?
Usually not when your main goal is learning exposure and motion. Auto White Balance is a practical starting point in many ordinary lighting conditions while you concentrate on aperture, shutter speed, focus and composition.
White balance becomes more important when the camera produces an obvious color cast, when several images need consistent color, or when the scene contains difficult mixed lighting.
Do not confuse a white-balance problem with an exposure problem. If a photograph is too orange, blue or green, increasing or decreasing ISO will not correct the cause.
Four Mistakes to Avoid When Leaving Auto Mode
1. Opening the Aperture as Wide as Possible Every Time
Background blur can be attractive, but extremely shallow depth of field can make important parts of the subject soft. Choose aperture according to how much of the subject needs to remain sharp rather than automatically selecting the lowest f-number.
2. Ignoring Shutter Speed in Aperture Priority
Aperture Priority does not protect you from motion blur automatically. Watch the shutter speed as the light changes, especially indoors, near sunset or when photographing people and animals.
3. Refusing to Raise ISO
Low ISO can be useful when enough light is available, but preserving a sufficiently fast shutter speed may be more important. A photograph with some visible noise is often more useful than a photograph where important subject detail is lost to unwanted movement.
4. Treating the Exposure Meter's Zero Position as a Rule
Your camera's meter provides a recommendation based on the scene and its metering system. It does not know exactly how bright or dark you want the photograph to appear.
Very bright subjects, very dark scenes, backlighting and intentionally dramatic photographs can all require a result that differs from the camera's initial recommendation. Review the photograph and use the histogram or highlight warnings when available instead of treating one meter position as mandatory.
A 10-Minute Exercise to Learn the Settings Faster
Changing one variable at a time makes these relationships easier to understand than randomly adjusting several controls together.
- Choose a stationary subject with a background several feet behind it.
- Use Aperture Priority and photograph it at several apertures, such as f/2.8, f/5.6 and f/8 when your lens allows them.
- Keep your camera position and focus point as consistent as possible, then compare the depth of field and the shutter speeds selected by the camera.
- Next, photograph a moving person, pet, vehicle or flowing water using Shutter Priority.
- Try several shutter speeds, such as 1/125, 1/500 and 1/1000 second, when the available light makes those settings practical.
- Compare how movement changes and note what aperture or ISO the camera needed for each photograph.
- Review the files at a larger size so you can distinguish focus errors, camera shake, subject movement and insufficient depth of field.
This exercise teaches an important habit: decide what matters, change the setting connected to it, then let the remaining settings support that decision.
Capture First, Edit Second
Editing can improve color, contrast, tone and creative style, but it cannot fully recover a photograph where the important subject is completely out of focus or severely blurred by unintended movement.
Start with the strongest capture you can make, then edit for the final look. If you want a broad library of creative starting points after capture, the 1000+ Master Lightroom Presets Bundle includes DNG and XMP preset files for Lightroom mobile and desktop workflows. Presets should still be refined for the individual photograph's exposure, white balance, subject and lighting.
So, Which Camera Setting Should You Change First?
There is no single setting that should always come first.
Choose aperture first when depth of field is the priority. Choose shutter speed first when movement is the priority. Then adjust ISO when the available light cannot support those creative choices.
For many everyday photographs, Aperture Priority provides a simple first step beyond Auto. When movement becomes the main challenge, move to Shutter Priority. Full Manual mode becomes much easier once you can predict why the camera changes aperture, shutter speed and ISO in these simpler modes.
When you are ready to take direct control of all three exposure variables, continue with our guide to balancing the exposure triangle in Manual mode.
The goal is not to operate every dial manually. The goal is to recognize which setting controls the part of the photograph that matters and take control of that setting when the camera cannot make the creative decision for you.
Written by Asanka — creator of AAAPresets, serving more than 10,000 customers.

Leave a comment
This site is protected by hCaptcha and the hCaptcha Privacy Policy and Terms of Service apply.