
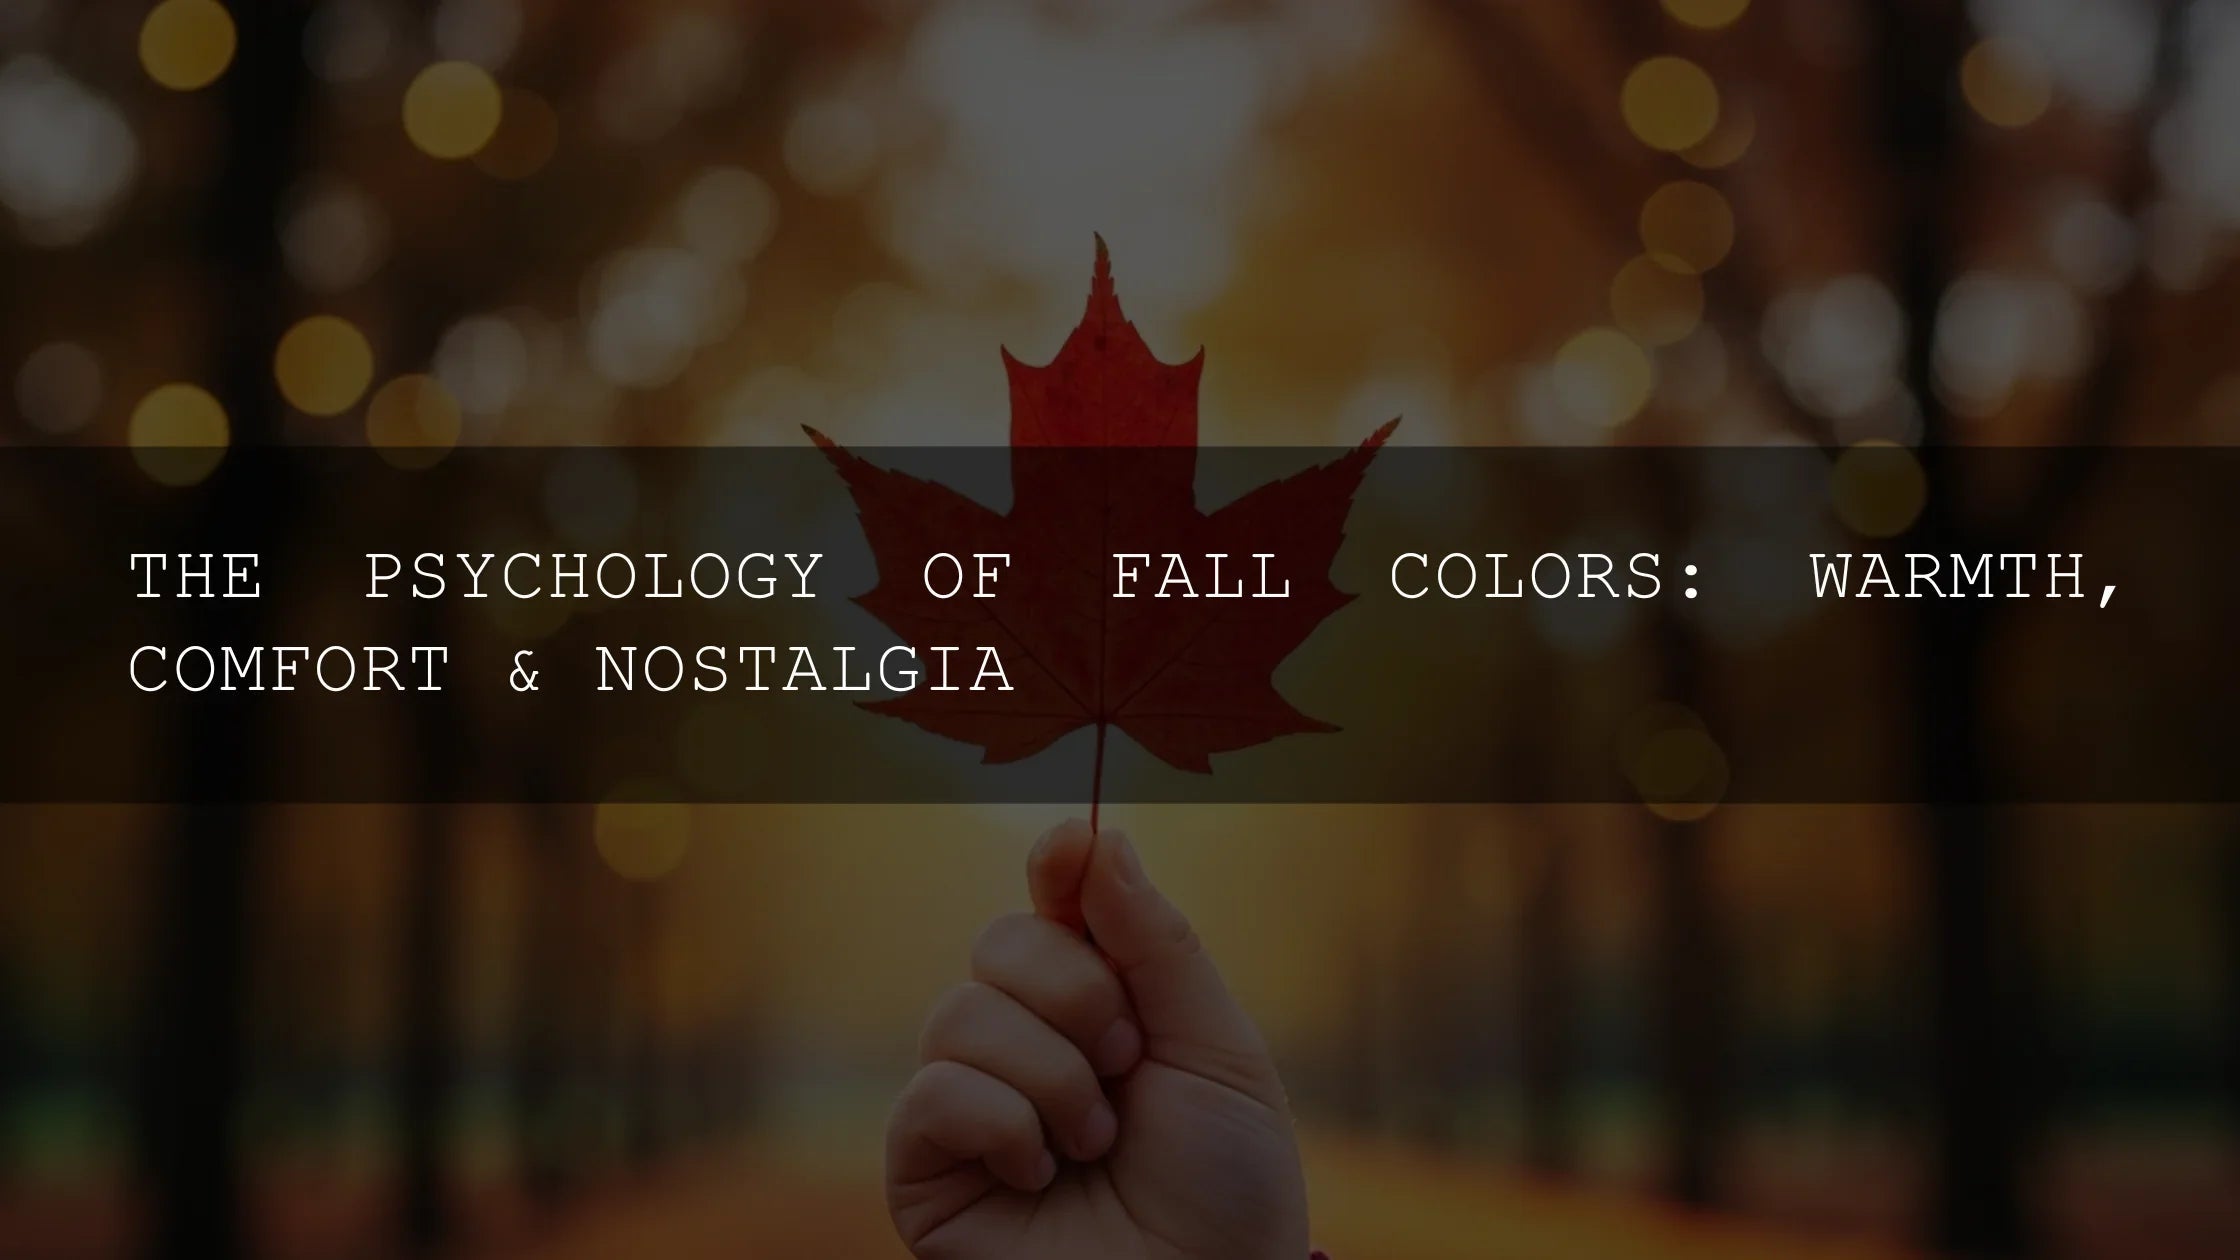
Why Autumn Lightroom Presets Make Fall Photos Pop
Autumn is a dream for photographers—low sun, misty mornings, and a palette of reds, oranges, and golds that begs to be edited with care. If you want your images to sing, Autumn Lightroom presets can fast-track you to results that feel cinematic, cozy, and true to life. In this guide, we’ll break down a practical workflow for fall photography editing, compare presets vs manual editing, and share pro tips for dialing in cinematic autumn presets—including matte, film-inspired looks—for both Lightroom Mobile and Desktop. Here’s why this matters: a smart, repeatable edit lets you preserve real-world color while adding mood and polish that stands out online and in print.
Quick heads-up while you’re here: if you want a ready-made toolkit, try AI-Optimized Autumn Gold Tones—and if you’re building a look library, you can Buy 3, Get 9 FREE. To keep exploring styles, browse the latest [Browse collection – Collections “Lightroom Presets”].
The Unrivaled Quality of Autumn Light
Lower sun angles give you soft, directional light with long shadows—perfect for texture on bark, leaves, and knitwear. Add a hint of atmospheric haze and you get instantly cinematic depth. Practical tip: schedule portraits at golden hour and landscapes right after sunrise when the air is crisp and clear.
Pro tip: Use a gentle S-curve to deepen midtones while protecting highlights, and combine it with a subtle warm White Balance shift (+200 to +500 Temp). If the sky runs cool, counterbalance with Color Grading: warm the highlights, cool the shadows, and keep midtones neutral for skin.
Nature’s Masterpiece: Color That Sells the Season
Fall color is dynamic—maples skew to orange-red, oaks to deeper russet, birches to buttery yellow. The trick is respecting local color while nudging it toward a cohesive palette. The quickest route is a targeted mix of HSL and selective masking. For a refresher, see Adobe’s guide to HSL/Color in Lightroom Classic and, when you need precision on skies, people, or foliage regions, Adobe’s Masking tool in Lightroom Classic.

If you want the colors to leap off the screen without overcooking skin tones, a vibrant autumn-grade preset pack is a strong foundation—one click gets you rich reds, coppery oranges, and clean yellows, and you can then fine-tune Saturation and Luminance in HSL to match the scene.
A Fast, Repeatable 6-Step Autumn Edit (Lightroom Mobile & Desktop)
- Baseline exposure & WB: Open the RAW, set Exposure to preserve highlights; adjust Temp toward warm (+200 to +500) and Tint mildly magenta (+2 to +6) for cozy tones.
- Mask the subject/sky: Use Select Subject for portraits or Select Sky for landscapes to protect key regions while you grade the background. See Adobe’s Masking walkthrough.
- Color Mixer for foliage: Orange/Yellow Hue slightly left to bring out gold; moderate Saturation boosts (+5 to +20) and Luminance tweaks (+5 to +15) for glow without clipping.
- Tone Curve S-shape: Add a gentle S-curve; keep shadows clean (avoid lifting blacks too high unless you’re aiming for matte).
- Color Grading: Warm Highlights (Hue ~35–45, Sat 5–10), cool Shadows (Hue ~215–230, Sat 4–8), minimal Midtone tint.
- Local polish: Brush clarity/texture into tree bark, leaves, and knit textures; subtract from skin to keep it soft.
I tested this exact workflow on a foggy lakeside portrait set—Color Grading warmed the highlights just enough to keep skin luminous while cool shadows preserved the mist. The client loved the “crisp air + cozy sweater” vibe.
Presets vs Manual Editing: What’s Best for Fall?
When to lean on presets
- Speed & consistency: Batch a wedding or travel set for a unified look across varied locations.
- Creative direction: Start from a proven autumn grade, then refine HSL, WB, and masks per image.
- Mobile workflow: On-the-go edits that match your desktop style.
When to go manual
- Mixed light: Blue shade + tungsten storefronts need selective masks and WB compensation.
- Extreme reds: Some maples oversaturate—dial back Red/Orange saturation and shift Hue slightly yellow.
- Skin tone rescue: If skin drifts orange, reduce Orange Saturation/Luminance and warm highlights only.
My rule of thumb: apply a preset to set the creative intent, then use HSL and masks to respect the scene’s true color.
Getting a Cinematic Autumn Look
For drama, combine rich midtones, cooler shadows, and controlled highlights. A “cinema” look isn’t just teal-orange—it’s about balance, separation, and texture. If you need help visualizing palette choices, experiment with the harmony wheels in Adobe Color before you grade.

The Enduring Charm of Matte Film Looks
Matte softens contrast, lifts the toe, and adds nostalgia. It’s fantastic for lifestyle and portraits among fallen leaves and knit textures. If skin loses sparkle, reduce the matte effect locally with a mask and restore micro-contrast (Texture +10 to +20) on eyes, hair, and fabric.

Speed Without Sacrificing Quality
Fall shooting days are short—fast editing keeps you in the field. Presets help you clear the basics so you can spend time where it counts: skin, texture, and selective color. Apply, sync settings across similar frames, then spot-fix with masks.

Real-World Examples & Before/After Ideas
- Portrait under maples: Start with a warm highlights grade, lift shadows +5 for softness; mask teeth/eyes to keep sparkle.
- Backlit leaves: Protect highlights with a negative Exposure gradient from the sun side; push Yellow Luminance +10 for glow.
- Misty lake at dawn: Cool shadows to preserve atmosphere; add micro-contrast (Clarity +10) on foreground reeds.
Field note: I tested a cinematic-grade preset on a sunrise forest trail—the cool shadow grade kept the fog believable, while warm highlight tint held the autumn glow without turning trunks orange.
Troubleshooting Common Fall-Edit Problems
- Neon reds: Pull back Red Saturation (-10 to -20), shift Red Hue slightly toward orange; cap global Vibrance under +20.
- Muddy greens: Increase Green Luminance +10 to +20; nudge Hue toward yellow; add clarity selectively to leaf edges.
- Blown highlights in leaves: Use a highlight-protecting curve (lower top-right point); reduce Highlights globally (-10 to -30); recover locally with a mask.
- Orange skin: In HSL, reduce Orange Saturation (-5 to -15) and increase Orange Luminance +5 to +10; keep midtones neutral in Color Grading.
- Flat images after matte: Add midtone contrast with a slight curve; use Targeted Contrast (Texture +10) on hair and fabric only.
Color Management & Consistency
For consistent output between screens and print, calibrate regularly and choose appropriate export color spaces (sRGB for web is typical). For deeper background on profiles, see the ICC’s FAQ on color management and ICC profiles.
Curated Autumn Packs You’ll Actually Use
Ready to build your seasonal toolkit? Start with these:
- Autumn Fall Vibrant Lightroom Presets — bold foliage with controlled skin tones.
- Cinematic Autumn Fall Lightroom Presets — rich midtones and film-like depth.
- AI-Optimized Matte Autumn Film Lightroom Presets — soft, timeless matte for lifestyle.
Building a broader library for portrait, street, and travel work? Mix and match across shoots, and remember: Buy 3, Get 9 FREE applies site-wide. To keep exploring, see [Browse collection – Collections “Lightroom Presets”].
Helpful How-To
If you’re new to presets or switching devices, check our installation walkthroughs and file format notes: [Help page – Pages “How to install presets (XMP & DNG)”].
FAQ
What are the best Lightroom settings for autumn colors?
Start with a warm WB (+200 to +500 Temp), gentle S-curve, and targeted HSL for Orange/Yellow (moderate Saturation, slight Luminance lift). Add Color Grading: warm highlights, cooler shadows. Then fine-tune with masks for skies, faces, and foliage. For HSL basics, review Adobe’s HSL/Color overview.
How do I keep skin tones natural while boosting leaves?
Mask the subject first (Select Subject), reduce Orange Saturation slightly for skin, then boost Yellow/Orange in the background only. Keep midtones neutral in Color Grading to avoid orange skin. Learn more in Adobe’s Masking guide.
Are these presets compatible with Lightroom Mobile?
Yes. Use DNG on Mobile and XMP on Desktop so you can sync looks across devices with the same results.
What’s the difference between cinematic and matte looks?
Cinematic emphasizes tonal separation (warm highlights, cool shadows) with deeper midtone contrast; matte lifts the black point and softens contrast for a nostalgic, filmic feel.
Should I shoot RAW or JPEG for fall color?
RAW gives more latitude for highlight recovery, foliage hue control, and cleaner Color Grading—especially useful in high-contrast scenes and backlit leaves.
Written by Asanka — creator of AAAPresets (10,000+ customers).

Leave a comment
This site is protected by hCaptcha and the hCaptcha Privacy Policy and Terms of Service apply.