
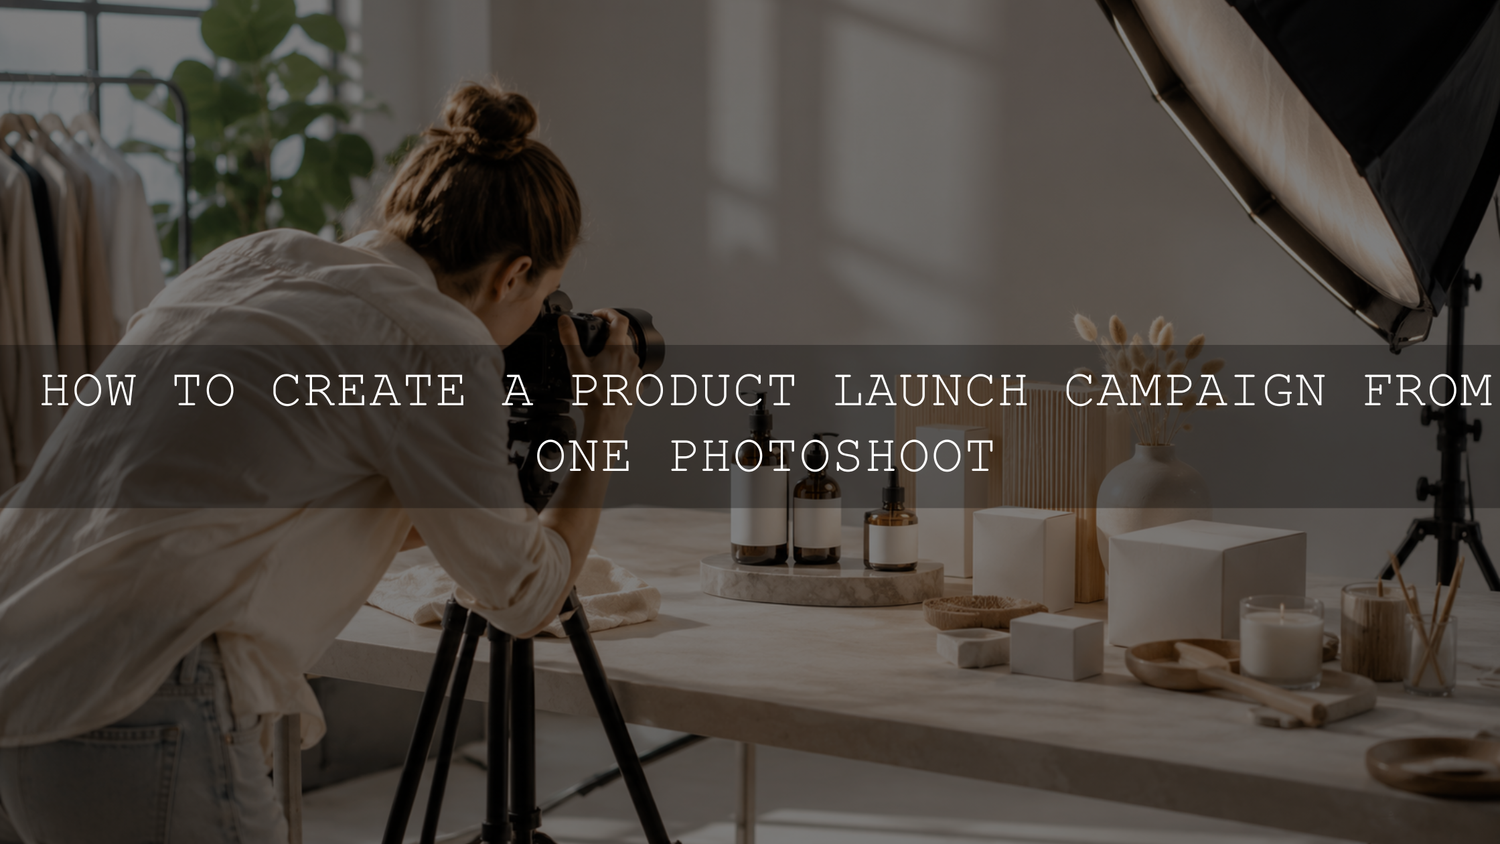
One well-planned product photoshoot can support approximately 30 days of marketing content, but only when every setup is connected to a real campaign purpose. The goal is not to produce hundreds of nearly identical photographs. It is to capture a flexible library of hero images, product details, lifestyle scenes, short video clips, text-safe compositions and behind-the-scenes material.
This workflow explains how to plan the shoot, capture useful variations, organize and edit the files consistently, and release the finished assets without making the campaign feel repetitive. The exact amount of content will depend on the number of products, scenes, formats and posts you publish each week.
Plan the Campaign Before Planning the Photos
Start by listing where the finished content will be used. A website banner, product-page image, promotional email and vertical social video require different compositions, even when they feature the same product.
Divide the campaign into four practical content purposes:
- Attention: Hero images, launch announcements and visually strong campaign covers.
- Education: Demonstrations, instructions, comparisons, ingredients, materials and feature explanations.
- Trust: Behind-the-scenes content, real processes, approved testimonials and product details.
- Conversion: Product benefits, use cases, objection handling, frequently asked questions and calls to action.
Write the intended purpose beside every planned shot. This prevents a common problem: finishing the session with a large gallery of attractive photographs but very few assets that support actual marketing messages.
Build a Shot Matrix Instead of a Simple Shot List
A normal shot list identifies the subject. A shot matrix also defines the angle, orientation, activity and intended use. Repeat the following asset types for every important product, location or lifestyle setup.
Hero Images
Capture a polished photograph that clearly presents the product and campaign mood. Hero images are useful for launch posts, website banners, collection pages, advertisements and email headers.
Product Details and Textures
Photograph materials, stitching, controls, packaging, ingredients, finishes and other details that help customers understand quality. Include both clean detail photographs and tighter editorial crops.
Product-in-Use Scenes
Show how the product is held, worn, opened, applied, installed or used in a realistic environment. These images are especially useful for educational posts, demonstrations and common purchase questions.
Flat Lays and Overhead Views
Capture organized top-down compositions for carousels, email graphics, instructional content, comparison posts and promotional designs. Leave enough space between objects to allow several useful crops.
Text-Safe Compositions
Place the subject slightly away from the center and leave uncluttered space above or beside it. These photographs can support headlines, offer details, carousel titles and call-to-action buttons without covering the product.
Short Video Clips
Record several seconds of simple, repeatable movement. Examples include opening the packaging, turning the product, walking into the scene, arranging props, applying the product or demonstrating one feature.
Record each important movement more than once. Begin recording before the action starts and continue briefly after it ends so the editor has room to trim the clip.
Behind-the-Scenes Material
Capture styling adjustments, lighting preparation, product arrangement, camera setup and natural interactions between formal takes. Behind-the-scenes content can make the campaign more human, but it should still support a relevant story rather than functioning as random filler.
Use a Simple 30-Asset Planning Model
As a planning example, five distinct scenes can each produce six source assets:
- One wide hero photograph
- One vertical photograph
- One product detail
- One product-in-use image
- One short video clip
- One text-safe or behind-the-scenes composition
This creates 30 potential assets from five setups. Some can be published individually, while others can be combined into carousels, short videos, emails or advertisements. The model is a planning framework, not a guarantee that every shoot will produce exactly 30 publishable posts.
Capture Every Important Setup in Multiple Formats
A strong scene should not be photographed in only one orientation. Capture several composition options before changing the lighting, model, product or location.
- Wide: Suitable for website banners, blog headers and horizontal advertising placements.
- Vertical: Useful for mobile-first social content, Stories, short videos and Pinterest.
- Tight: Suitable for product details, feed posts, thumbnails and carousel slides.
- Text-safe: Includes negative space for headlines or calls to action.
- Clean: Presents the product without typography, stickers or distracting props.
Avoid relying on one photograph that must later be aggressively cropped for every channel. Important product details, faces and hands can easily be cut off when a wide image is forced into a narrow vertical frame.
Make the Production Day More Efficient
Efficiency comes from changing one variable at a time. Keep the lighting and main setup in place while changing the crop, camera distance, prop, hand position or product interaction.
For example, one tabletop setup could produce:
- A complete product arrangement
- A close photograph of the packaging
- An overhead flat lay
- A hand reaching for the product
- A short unboxing clip
- A photograph with space for an email headline
Complete essential product-page and launch assets before experimenting with optional creative ideas. If the schedule runs late, the business will still leave with the photographs required for the campaign.
Organize the Content Before Editing
Do not place every file from the shoot in one unstructured folder. Create categories based on how the assets will be used:
- Hero and launch images
- Product details
- Product-in-use scenes
- Flat lays
- Vertical photographs
- Short video clips
- Behind-the-scenes content
- Text-safe compositions
- Evergreen reserve
Remove obvious technical failures and duplicate frames before beginning detailed editing. Flag the strongest options, but keep a small number of alternate expressions, movements and crops. Rename exported files according to the product, campaign and intended use rather than keeping only the original camera number.
Edit a Consistent Baseline Without Making Every Image Identical
Consistency begins with technical correction, not with placing one heavy filter over every image. Choose one representative photograph from each lighting setup and correct its exposure, white balance, highlights, shadows and product color before developing the creative style.
Adobe’s Lightroom preset guide describes presets as predefined settings that apply adjustments such as exposure, contrast, saturation and color grading. Use a preset as a starting point, then review each selected photograph individually.
- Exposure: Correct photographs that are noticeably brighter or darker than the reference image.
- White balance: Remove unwanted yellow, blue, green or magenta shifts.
- Product color: Compare important colors with the real product or an approved reference image.
- Skin tones: Check faces and hands separately from the overall campaign color.
- Highlights and shadows: Recover useful detail without removing the intended contrast.
- Crop and alignment: Prepare each version for its intended placement.
Presets can look different across a shoot because lighting, exposure, white balance, camera profiles and file types change the starting image. RAW files generally provide more editing flexibility, while JPEG files can work well when the original exposure and color are already close. The RAW versus JPEG editing workflow explains these differences in more detail.
For bright lifestyle, food, travel and everyday creator imagery, Vibrant Blogger Lightroom Presets includes eight looks supplied as XMP files for Lightroom desktop, Lightroom Classic and Adobe Camera Raw, plus DNG files for Lightroom Mobile. The pack supports RAW and JPEG images on Mac and Windows. Treat each look as an adjustable starting point and refine exposure, white balance, contrast and vibrance for the individual scene.
Repurpose the Content Without Misrepresenting the Product
Repurposing should change the format, crop or message rather than repeatedly publishing the same photograph. One strong product-in-use image could become:
- A single-image launch post
- A carousel cover for a product tutorial
- A vertical crop for a Story
- A short video cover paired with demonstration clips
- An email header
- A website banner
- A graphic paired with a verified customer review
Alternative editing styles can help separate campaign themes, but e-commerce photographs should continue to represent the product accurately. Avoid changing material, packaging or product colors so dramatically that the customer receives a different visual impression from the real item.
When a cleaner or moodier campaign variation is needed, begin with changes to crop, background emphasis, contrast and supporting graphics. Use major color shifts cautiously, particularly when color is an important buying detail.
Release the Campaign in Phases
Publishing every strong asset during the first few days wastes the long-term value of the shoot. Organize the campaign into stages that match the customer’s decision process.
Phase 1: Curiosity
Use textures, partial product views, packaging details and short behind-the-scenes clips. The purpose is to introduce the visual world of the campaign without revealing every asset immediately.
Phase 2: Launch and Reveal
Release the strongest hero images and clearest product presentation across the main channels. Keep the product, message and visual treatment recognizable when customers move from social media to the website or email campaign.
Phase 3: Education and Use Cases
Publish demonstrations, feature explanations, product-in-use photographs, instructions, comparisons and answers to common questions. This phase helps the audience understand how the product fits into a real situation.
Phase 4: Trust and Conversion
Use detailed photographs, transparent process content, verified reviews, frequently asked questions and objection-handling posts. Never invent customer feedback or results to fill this stage.
Phase 5: Evergreen Follow-Up
Release unused lifestyle photographs, alternate crops and practical tips after the initial launch activity slows. These assets can support a reminder campaign, restock announcement, seasonal promotion or relevant mid-campaign update.
A Practical 30-Piece Content Allocation
The following model can help distribute a month of campaign content without making every post promotional:
- Five hero, reveal or launch assets
- Seven educational or demonstration assets
- Five product-in-use assets
- Four detail, material or feature posts
- Three frequently asked question posts
- Two verified review or social-proof posts
- Two behind-the-scenes assets
- Two evergreen or campaign-recap assets
These 30 pieces do not need to be published on 30 consecutive days. Adapt the schedule to the brand’s normal posting frequency, available channels and audience response.
Use Templates to Extend the Asset Library
Create a small collection of reusable layouts for email headers, advertisements, carousel covers, product comparisons and testimonial graphics. When the photographs share similar lighting and color, they can be placed into these templates with fewer manual corrections.
Keep the system limited enough to remain recognizable. A useful template library might include:
- One launch announcement layout
- One educational carousel style
- One product-feature layout
- One review or quotation layout
- One frequently asked question layout
- One promotional email header
Templates should support the photograph rather than hiding it beneath excessive typography or decorative elements. For additional guidance on maintaining a recognizable visual direction, read the guide to building a cohesive Instagram brand with presets and LUTs.
Keep an Evergreen Asset Reserve
Consider holding back approximately 15 to 20 percent of the strongest flexible images instead of publishing every photograph during the launch period. Save these assets in a clearly labeled evergreen folder.
The reserve can support:
- A mid-season promotion
- A product reminder
- An unexpected gap in the content calendar
- A newsletter sent after the launch
- A frequently asked question that appears later
- A revised advertisement using an unused visual
Choose images that are not tied to a specific date, price or temporary announcement. This makes them easier to reuse without presenting outdated information.
Common Content-Batching Mistakes
- Shooting without campaign purposes: Attractive photographs cannot replace a clear message.
- Capturing one angle repeatedly: Change distance, orientation, activity, crop and product interaction.
- Forgetting video: Capture simple movement while each setup is already prepared.
- Ignoring negative space: Leave room for headlines and calls to action.
- Applying identical edits blindly: Check exposure, white balance, skin and product color on every selected image.
- Publishing everything immediately: Protect part of the library for education, follow-up and evergreen use.
- Making every post promotional: Balance selling with instructions, demonstrations, trust and useful information.
- Using unverified social proof: Publish only real reviews, experiences and results with appropriate permission.
- Scheduling the entire month rigidly: Leave space for customer questions, product updates and timely announcements.
When One Photoshoot Is Not Enough
A batch shoot cannot replace every type of marketing content. New products, seasonal changes, live events, customer-generated content, restocks and time-sensitive announcements may require fresh photographs or video.
The method also depends on meaningful variety. If every asset uses the same background, crop, product position and lighting, a 30-piece campaign will quickly feel repetitive. Plan several visual stories rather than simply capturing more files.
Final Product Photoshoot Checklist
- Campaign goals and publishing channels
- Attention, education, trust and conversion content
- A shot matrix for every important setup
- Hero, detail, lifestyle, flat-lay and text-safe images
- Wide, vertical and tight compositions
- Short demonstration and behind-the-scenes clips
- A must-have priority list
- Organized folders and descriptive file names
- A consistent editing baseline with individual corrections
- A phased campaign calendar
- An evergreen reserve of unused assets
One photoshoot becomes a month of content when each setup is captured for several real purposes. Plan the campaign before the camera comes out, photograph every important scene in multiple formats, maintain accurate and consistent edits, and release the finished library in stages.
To explore editing styles for social and brand photography, browse the Instagram Lightroom presets for content creators. AAAPresets also offers Buy 3, Get 9 FREE when 12 eligible items are added to the cart and only three are paid for.
Written by Asanka — creator of AAAPresets, serving 10,000+ customers.

Leave a comment
This site is protected by hCaptcha and the hCaptcha Privacy Policy and Terms of Service apply.