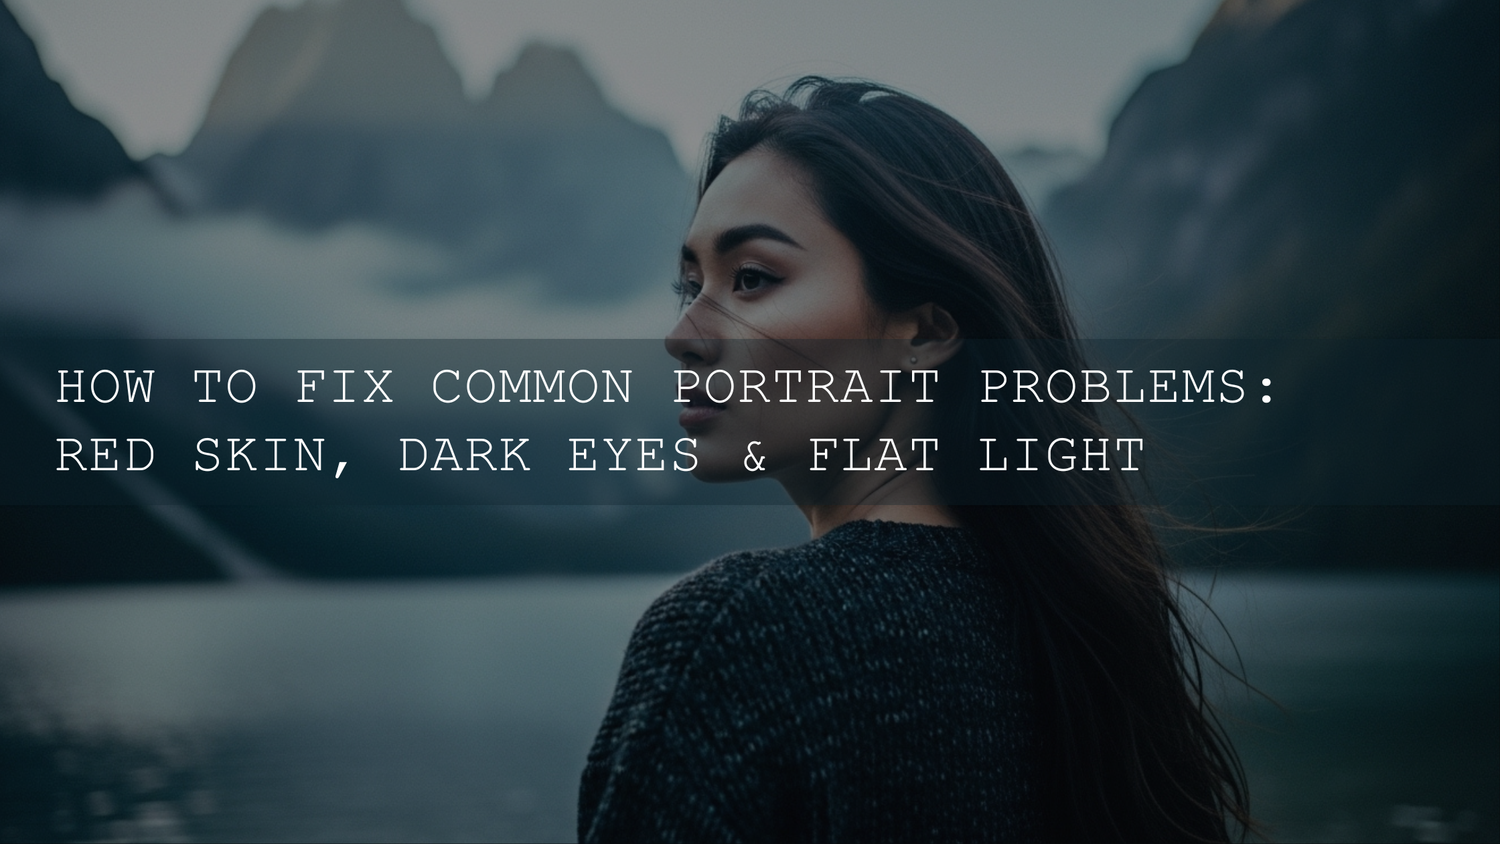
Portrait Retouching in 2026: Fix Red Skin Tones, Dark Eye Circles, and Flat Light (Without Killing Real Skin)
Portrait retouching is where great photography becomes unforgettable—because a face is the first thing viewers read. If you’ve ever battled red skin tones that look “sunburnt,” dark eye circles that make someone feel exhausted, or flat light that makes a portrait feel lifeless, you’re not alone. The good news: you don’t need heavy-handed edits to solve any of it. You just need a clean workflow, a few targeted tools (HSL/Color Mixer, masking, gentle dodge & burn), and a “less is more” mindset.
If you want a fast, skin-safe starting point before you fine-tune, try the AI-Optimized Skin Tone Safe Pro Portrait Lightroom Presets and browse the Portrait Photography Lightroom Presets collection. If you’re building a full toolkit, remember you can Buy 3, Get 9 FREE when you add 12 to your cart and pay for only 3.
The “Clean Base First” Workflow (Do This Before Touching Skin)
Most portrait problems are symptoms of a messy base: mixed lighting, off white balance, or contrast that’s fighting the subject. Before you chase redness or under-eye shadows, run this simple foundation pass:
- Exposure: Get the face into a natural range (not too dark, not too bright).
- White balance: Neutralize the overall cast so skin starts “in the right neighborhood.”
- Highlights & shadows: Recover harsh highlights, lift heavy shadows (subtly).
- Color intensity: Pull global saturation down a touch if the file feels “hot.”
- Then start local skin fixes with masks and HSL.
Pro tip: If you’re in Lightroom, Adobe’s official white balance guidance is worth a quick skim when you’re troubleshooting weird casts: How to adjust photo lighting and color in Lightroom.
Decoding (and Defeating) Red Skin Tones
Redness isn’t always “bad editing”—it’s often the camera honestly recording ugly light. Tungsten bulbs, cheap LEDs, mixed daylight + indoor lighting, direct flash, and even warm wall reflections can push skin into red/orange overload.
Why skin turns too red in the first place
- Mixed light sources: Daylight from a window + warm indoor bulbs is a classic skin killer.
- Auto white balance guesses wrong: AWB can swing warm and amplify red/orange.
- Flash without diffusion: Hard light can spike red channels and exaggerate texture.
- Natural undertones: Some faces are naturally warm—your job is to keep it realistic, not erase it.
- Background contamination: Red walls, neon signs, and warm clothing can reflect into skin.
Step-by-step: a natural-looking red skin tone fix (Lightroom workflow)
- Correct global white balance first: Nudge Temperature cooler if the whole image feels too warm. If the skin looks “magenta,” shift Tint slightly toward green. Small moves beat big swings.
-
Use HSL/Color Mixer with restraint: Target Reds and Oranges.
- Saturation: Reduce Reds slightly (and sometimes Oranges slightly) until cheeks stop shouting.
- Luminance: Raise Red/Orange luminance a touch to make skin feel healthier (brightening redness makes it look less “inflamed”).
- Hue: Micro-shift Reds toward Orange (or Oranges toward Yellow) if the skin is too “crimson.”
For a precise reference, Adobe’s official Color Mixer overview is here: Edit your images with the Color Mixer tool.
- Mask the face, not the whole frame: If the background is warm, global fixes can ruin it. Use a People/Subject mask and correct only skin. Adobe’s official masking guide is excellent: Lightroom Classic Masking tool (including People masks).
- Fix problem zones with a soft brush: Nose corners, cheeks, ears, and neck often go red first. Use a low-flow brush and reduce saturation slightly (or nudge Temp/Tint locally).
- Check at different zoom levels: Evaluate at 100% for accuracy, then zoom out to see if skin looks believable in the full portrait.
Quick “redness rescue” preset strategy: Use a portrait preset for your base look, then keep a tiny “Skin Neutralizer” adjustment (low saturation + small Temp/Tint nudge) for when a specific image needs it. If you want a clean base that’s designed around faces, start with AI Optimized Portrait Lightroom Presets, then fine-tune with masks.
First-hand note: I tested a skin-tone workflow like this on a mixed-light wedding reception (warm bulbs + DJ LEDs). The biggest win wasn’t a huge HSL move—it was isolating faces with a People mask, cooling them slightly, and leaving the background vibe intact.
Brightening Dark Eye Circles (Without Making the Face Look “Airbrushed”)
Under-eye darkness is usually a mix of shadow, natural facial structure, and sometimes blue/purple color. The goal isn’t to erase it (that looks fake). The goal is to reduce harshness so the eyes feel alive.
Step-by-step: a realistic under-eye fix
- Use a soft local adjustment (not global exposure): Create a small brush mask under the eye. Lift exposure slightly (think “tiny”), then lift shadows a little more than exposure.
- Lower contrast locally: If the under-eye looks “cut out,” reduce local contrast slightly so the transition is smoother.
- Neutralize color casts: If the darkness is bluish/purplish, warm it slightly or reduce saturation in blues/purples within that mask.
- Protect texture: Avoid strong clarity/texture changes under eyes. If you soften too much, it turns plastic.
- Make the eyes the hero: Instead of over-fixing circles, add a micro-boost to catchlights and iris clarity (subtle) so attention naturally goes where you want.
Pro tip: If you need to remove small distractions (like tiny blemishes or stray marks) before the eye work, do it early so you’re not brightening distractions later. If you’re working in Camera Raw, Adobe’s official guide is here: Repair images with the Remove tool in Camera Raw.
If you like structured Lightroom masking approaches, this internal guide pairs nicely with the workflow above: How to use masking tools for stunning photo edits in Lightroom.
Revitalizing Flat Light: Adding Dimension with Gentle Contrast and Dodge & Burn
Flat light isn’t “wrong”—it’s just even. The edit needs to reintroduce depth so cheekbones, jawlines, and facial shape feel present again.
Signs you’re dealing with flat light
- Highlights and shadows are weak (everything sits in the middle).
- Facial features don’t separate (cheeks, jaw, nose blend together).
- The image feels “soft” even when focus is correct.
Step-by-step: sculpting a face without over-editing
- Set a smarter contrast curve: Add a small S-curve (or raise contrast lightly) and watch the face—not the background.
- Micro-contrast carefully: Add a touch of Texture (not too much). If skin starts looking crunchy, back off.
-
Dodge & burn with intention:
- Dodge (brighten): tops of cheekbones, bridge of nose, forehead highlight zone, chin highlight.
- Burn (darken): under cheekbones, jawline edge, sides of nose, subtle eye socket shaping.
Use a very soft brush and build slowly. The goal is to suggest light—not draw it.
- Guide the viewer with a subtle vignette: A controlled vignette can help the face feel brighter and more dimensional without obvious edits.
- Color grade for depth: Warm highlights slightly, cool shadows slightly (very low saturation). This creates separation that feels premium and cinematic.
First-hand note: When I pushed a cinematic portrait look on a backlit outdoor shoot, the biggest improvement came from tiny shadow-cooling + gentle cheekbone dodging—not from heavy clarity. The face suddenly had shape, but it still looked like the real person.
If you want a ready-made cinematic portrait baseline before you sculpt, start with Lightroom Presets for Cinematic & Portrait Photography, then refine skin and depth with masks.
Presets vs Manual Editing: What Actually Saves Time (and What Doesn’t)
This is the honest truth: the best workflow is rarely “all presets” or “all manual.” It’s usually a clean hybrid.
Presets win when…
- You need a consistent gallery look across many portraits.
- You want a strong starting point for tone, contrast, and color mood.
- You’re editing on a deadline and need repeatable results.
Manual editing wins when…
- Skin tones are affected by mixed lighting or heavy color spill.
- One face needs special care (redness, under-eye darkness, uneven exposure).
- You’re shaping dimension (true dodge & burn and localized contrast).
A deeper internal read if you like the “hybrid workflow” idea: AI vs. Manual Editing in Lightroom (workflow showdown).
Portrait Retouching Checklist (A Repeatable Order That Keeps You Consistent)
- Base: exposure, white balance, highlights/shadows.
- Global tone: gentle contrast curve, micro-contrast with restraint.
- Skin tone control: HSL tweaks + face masking for precision.
- Eyes: soften under-eye harshness, enhance catchlights subtly.
- Dimension: dodge & burn to sculpt (low strength, build slowly).
- Finish: vignette (optional), small color grade, final check at zoomed-out view.
If you’re editing across devices, keep this in mind: screens can change how “warm” and “contrasty” your portrait looks. This internal guide is helpful when your presets look perfect on desktop but weird on mobile: Why presets look different on Desktop vs. Mobile (and how to fix it).
Related Reading (If You Want to Go Deeper)
- Mastering the Glow: How to harmonize skin tones across all your shots
- How to use masking tools for stunning photo edits in Lightroom
- AI vs. manual editing in Lightroom (what’s faster, what’s safer)
- Why your presets look different on desktop vs mobile
- How to install Lightroom presets (quick and easy)
Bring It All Together: A Natural, Premium Portrait Look (Without Over-Retouching)
The most “premium” portraits don’t look heavily edited—they look well lit, well balanced, and emotionally honest. When you fix red skin tones with small HSL moves, brighten eye circles gently, and sculpt flat light with soft dodge & burn, your portraits keep their humanity while still feeling elevated.
If you’re ready to build a portrait workflow that stays consistent across sessions, start with the 1000+ Master Lightroom Presets Bundle and browse the Lightroom Presets for Lightroom Mobile & Desktop collection for flexible looks you can fine-tune. And yes—when you’re stocking up, you can Buy 3, Get 9 FREE when you add 12 to your cart and pay for only 3.
If you have questions about your file, your camera profile, or a preset that’s behaving weirdly, reach out here: Contact AAAPresets support.
FAQ
How do I fix red skin tones in Lightroom without making skin look gray?
Start with a small white balance correction, then reduce Red/Orange saturation slightly in the Color Mixer. If skin turns dull, raise Red/Orange luminance a touch and do the correction on a face mask instead of globally.
Should I remove dark eye circles completely?
No—removing them fully usually looks fake. Instead, lift the darkest shadow slightly, reduce local contrast a bit, and neutralize any blue/purple cast so the under-eye transition looks softer but still real.
Why does my portrait look flat even when it’s sharp?
Flat light is a lighting/contrast issue, not focus. Add a gentle S-curve, then use low-strength dodge & burn to reintroduce highlights and shadows on the face for dimension.
Are presets enough for professional portrait retouching?
Presets are excellent for a consistent base look, but most professional portraits still need small local edits (skin masking, eye refinement, and subtle sculpting). The best results come from a hybrid workflow.
What’s the fastest portrait retouching workflow for a big shoot?
Apply a consistent preset to a set, sync your base adjustments, then fix only the “problem frames” with face masks (skin tone tweaks, under-eye softening, and tiny dodge & burn). This keeps speed high without sacrificing quality.
Written by Asanka — creator of AAAPresets (10,000+ customers).
Leave a comment
This site is protected by hCaptcha and the hCaptcha Privacy Policy and Terms of Service apply.