
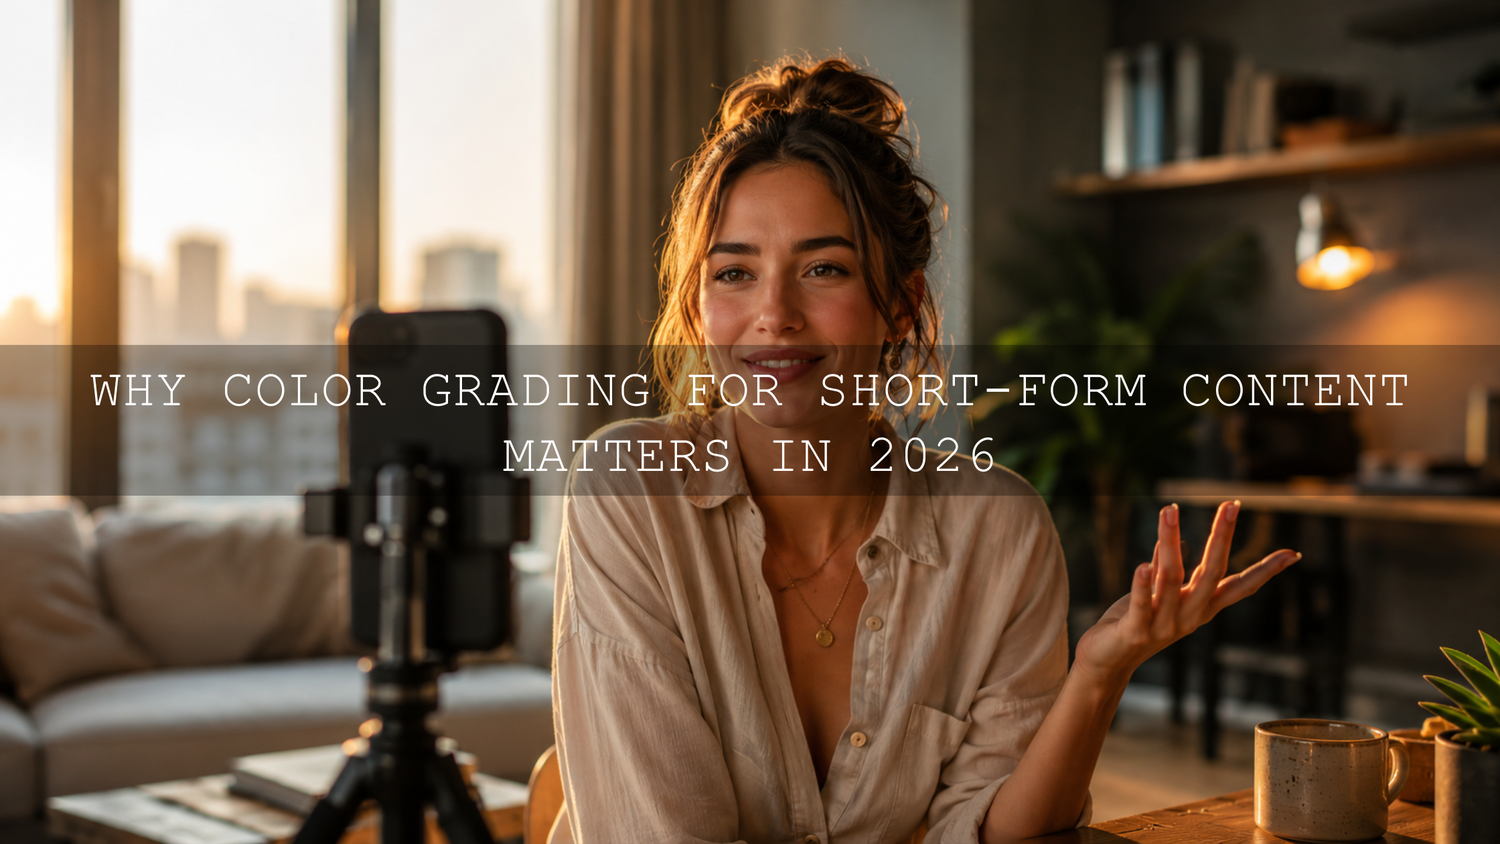
Why Color Grading for Short-Form Content Matters in 2026
Color grading for short-form content can turn an ordinary clip into a polished TikTok, Instagram Reel, or YouTube Short that feels intentional from the first frame. Strong footage and a useful message still matter, but consistent color helps viewers understand the mood before they hear the voiceover or read the caption. With well-chosen video LUTs, creators can build cinematic color, protect natural skin tones, and keep multiple clips visually connected without manually recreating the same grade for every post.
Short-form videos are often filmed across different locations, lighting conditions, cameras, and smartphones. One clip may be recorded beside a bright window, while the next is captured outdoors at sunset. Without correction, those shots can feel as though they belong to different videos. Color grading acts as the visual glue that brings them together.
Ready to create a more recognizable look for your social videos? Start with the 700+ Cinematic Video LUTs bundle and explore the broader cinematic LUT collection for Premiere Pro, DaVinci Resolve, Final Cut Pro, and more. Try these LUTs today with the Buy 3, Get 9 FREE offer.
What Is Color Grading in Short-Form Video?
Color correction and color grading are related, but they perform different jobs.
- Color correction fixes technical problems such as incorrect exposure, unnatural white balance, weak contrast, or mismatched shots.
- Color grading creates the visual mood through contrast, color relationships, saturation, shadow tones, highlight warmth, and other creative decisions.
Correction makes the image believable. Grading makes it memorable.
For example, imagine a travel Reel recorded on a cloudy morning. The original footage may look flat, slightly blue, and low in contrast. Correction could neutralize the blue cast, recover the sky, and brighten the subject. Grading could then introduce warmer skin tones, deeper blue-green shadows, softer highlights, and a subtle film-inspired finish.
The final result is not simply more colorful. It communicates a clearer feeling.
Understanding Video LUTs
A LUT, or Look-Up Table, is a file that remaps one set of color and brightness values to another. It does not analyze the story or understand the subject. It follows a predetermined set of color-transform instructions.
This is why the same LUT can look beautiful on one clip and overly intense on another. The result depends on the exposure, white balance, camera profile, color space, lighting, and colors already present in the footage.
Adobe explains how editors can add and apply LUTs through the Lumetri Color panel. LUTs can be used for technical conversion, creative styling, or both, but it is important to understand which type you are applying.
Technical LUTs
A technical LUT converts footage from one color space or camera profile into another. A common example is converting Log footage into a normal-looking Rec.709 image.
Technical LUTs are designed for a particular input. A conversion LUT made for one camera profile should not automatically be used on every type of footage. Applying the wrong conversion can produce clipped highlights, crushed shadows, strange saturation, or inaccurate skin tones.
Creative LUTs
A creative LUT adds a visual style, such as warm cinematic color, faded film tones, moody contrast, clean commercial color, teal-and-orange separation, or a soft pastel finish.
Creative LUTs work best after the footage has been corrected or properly transformed. They should be treated as a starting point rather than a locked final result.
A LUT can create a direction quickly, but the editor still needs to decide how strongly that direction should influence the final image.
Why Color Grading Helps TikTok, Reels, and Shorts Stand Out
It Creates a Recognizable Visual Identity
Viewers may see your videos in different places before they remember your name. A Reel may appear in Explore, a TikTok may be shared in a message, and a Short may be recommended beside unrelated content.
Repeating a controlled visual language helps those separate videos feel connected. Your signature could be warm highlights, slightly muted greens, soft contrast, cool shadows, clean whites, or another repeatable combination.
This does not mean every video must look identical. A consistent brand can still use brighter color for summer content and moodier tones for night footage. The important thing is to maintain a recognizable foundation.
It Makes Multiple Clips Feel Like One Story
A short-form edit may combine a smartphone close-up, a mirrorless camera shot, screen recordings, product footage, and B-roll captured at another time. Even when the cuts are well timed, visible color differences can interrupt the flow.
Shot matching and a shared creative grade help the viewer experience the sequence as one complete story rather than a collection of unrelated clips.
It Helps Direct Attention
Color grading can guide the eye toward the subject by controlling brightness, contrast, and competing colors. A slightly brighter face against a controlled background is usually easier to follow than a frame in which every area has equal intensity.
The goal is not always to make the entire image more dramatic. Sometimes the most effective change is reducing distracting saturation in the background while protecting the subject’s skin tone or product color.
How to Prepare Footage Before Applying a LUT
Here’s why this matters: a LUT remaps the information it receives. If the footage is severely underexposed, incorrectly balanced, or placed in the wrong color space, the LUT may exaggerate those problems.
Follow this order before creating your final look.
- Confirm the input color space. Identify whether the clip is standard Rec.709, Log, HLG, HDR, or another camera profile. Adobe’s explanation of color management in Premiere is useful when working with footage from different cameras and color spaces.
- Correct exposure. Adjust the image so the subject is properly visible without destroying important highlight or shadow detail.
- Neutralize white balance. Fix unwanted blue, orange, green, or magenta casts before introducing a creative style.
- Match the clips. Bring shots into a similar range of brightness, contrast, and color before placing one creative LUT across the sequence.
- Apply the creative LUT. Choose a look that supports the lighting, subject, platform, and emotional direction.
- Reduce or refine the effect. Adjust LUT intensity, contrast, saturation, curves, and skin tones until the grade feels natural.
- Review the final video on a phone. Short-form content is commonly viewed on smaller displays, so check whether faces, products, captions, highlights, and dark areas remain clear.
Pro tip: Do not judge exposure using the brightness of your screen alone. A display set unusually bright or dark can influence your decisions. Use scopes when available and then confirm the creative result visually.
A Practical Color-Grading Workflow for Short-Form Content
Step 1: Build a Clean Base Image
Begin with exposure, contrast, highlights, shadows, white balance, and tint. Adobe’s overview of basic color-correction controls in Premiere explains how these adjustments can prepare footage before creative grading.
At this stage, avoid trying to make the image cinematic. The goal is to create a balanced and technically usable starting point.
For a talking-head Reel recorded beside a window, that might mean lowering bright highlights, opening the shadow side of the face, and removing a slight green cast from the room.
Step 2: Match Every Important Shot
Choose one well-exposed clip as the reference shot. Compare the remaining clips against it and adjust them individually.
Look for differences in:
- Face brightness
- White balance and tint
- Black levels
- Highlight intensity
- Skin-tone saturation
- Background color
Pro tip: Match the subject before matching the background. Viewers usually notice changing skin tones or product colors more quickly than small changes in walls, skies, or foliage.
Step 3: Add the Creative LUT
Apply a creative LUT after the clips have been balanced. You can start with a versatile library such as the 700+ Cinematic Video LUTs bundle or choose a more focused style such as the 120+ Cinematic Blockbuster Movie Look LUTs Pack.
Start at a low intensity and increase it gradually. There is no universal percentage that works for every LUT. One look may feel natural at 25%, while another may require 70% to create a visible change.
I use the strongest version of a LUT as a reference for its intended direction, then reduce the intensity until the image keeps believable skin tones and highlight detail. When testing LUT packs for different footage, I also compare daylight, indoor, night, and mixed-light clips rather than judging a look from one perfect shot.
Step 4: Refine the Result
After applying the LUT, inspect the image rather than assuming the grade is finished.
- Reduce saturation if reds, oranges, or blues feel artificial.
- Lift the shadows slightly if the LUT hides important detail.
- Lower highlights if bright areas appear harsh.
- Adjust temperature and tint if skin no longer looks believable.
- Use curves or color wheels for controlled contrast and tonal separation.
A helpful before-and-after test is to disable the grade briefly. The edited version should communicate a clearer mood without making the original footage look more realistic by comparison.
Step 5: Apply the Look Consistently
For an edit with many cuts, place the creative look on an adjustment layer or an equivalent shared grading layer. Keep clip-level corrections beneath it.
This creates a flexible structure:
- Individual clips receive exposure, white-balance, and matching corrections.
- The shared layer provides the overall creative look.
- Final output adjustments control the completed sequence.
For a Premiere-specific walkthrough, read the guide to using LUTs and Lumetri Color in Premiere Pro.
Video LUTs vs Manual Color Grading
Video LUTs and manual grading are not competing methods. The most reliable workflow often combines them.
When Video LUTs Are the Better Starting Point
- You publish frequently and need a repeatable visual style.
- You want to preview several creative directions quickly.
- You need consistent color across a series of Reels or Shorts.
- You are learning color grading and want a visual foundation to customize.
- You work with recurring content such as products, travel, fashion, music, or lifestyle videos.
When Manual Grading Is Essential
- The footage has incorrect exposure or white balance.
- Different cameras need to be matched.
- A subject’s skin tone or a product’s color must remain accurate.
- The lighting changes significantly within the shot.
- You need detailed control over a specific color or tonal range.
The strongest combination is usually manual correction followed by a creative LUT and a final round of manual refinement. This approach provides the speed of a preset look without giving up control.
Common Color-Grading Mistakes to Avoid
Applying a Creative LUT Before Correcting the Footage
A creative LUT cannot reliably repair incorrect exposure, mixed lighting, or a strong color cast. Correct the image first so the LUT receives a stable starting point.
Using the Wrong Technical Conversion
Not all flat-looking footage is the same. Use a technical conversion designed for the actual camera profile or let a properly configured color-management system handle the transformation.
Prioritizing the Look Over Skin Tones
Warm grades can push skin toward orange, while cool grades can remove healthy warmth from a face. Reduce the effect or isolate the skin when necessary.
Pro tip: Pause on several frames instead of checking only one. A person may move from shade into sunlight during a short clip, revealing problems that were not visible in the opening frame.
Making Every Color Equally Intense
More saturation does not automatically create more impact. Strong visual hierarchy often comes from allowing one or two important colors to stand out while keeping the remaining palette controlled.
Ignoring Platform Compression
Very dark shadows, extreme gradients, heavy noise, and aggressive saturation can become less attractive after export and platform processing. Keep shadow detail clean, avoid unnecessary sharpening, and inspect the exported file before publishing.
The guide to exporting graded video for Instagram, YouTube, and TikTok covers additional delivery considerations.
How to Build a Signature Color Style
A signature look should support your subject rather than overpower it. Begin by identifying the visual qualities that already suit your content.
- Choose three mood words. Examples include warm, natural, nostalgic, clean, dramatic, energetic, soft, or luxurious.
- Select a base LUT family. Test several related looks instead of switching between completely different styles.
- Define your non-negotiables. Decide how you want skin tones, whites, blacks, greens, and brand colors to appear.
- Create lighting variations. Save adjusted versions for daylight, indoor, night, and mixed-light footage.
- Use the system repeatedly. Recognition develops through repetition, not through changing the grade for every trend.
A fashion creator might use clean whites, soft contrast, neutral skin, and slightly muted backgrounds. A travel creator may prefer warm highlights, deeper skies, and richer greens. A music creator may use stronger contrast and more expressive color separation.
Creators producing performance clips, promotional edits, or energetic social videos can also explore the 300+ Music Video Color Grading LUTs Pack for more stylized starting points.
Related Reading
- Best LUTs for editing Reels, Shorts, and TikToks
- Best LUTs for iPhone and Android TikTok and Reels videos
- Common color-grading mistakes and how to avoid them
- How to color grade Log footage in Premiere Pro
Frequently Asked Questions
Should I color-correct before applying a LUT?
Yes. Correct exposure, white balance, tint, and major shot differences before applying a creative LUT. A clean starting image produces a more predictable and natural-looking grade.
What LUT intensity should I use for short-form video?
There is no fixed percentage for every LUT. Begin at a low intensity and increase it until the mood is visible without damaging skin tones, highlights, shadows, or important product colors.
Can I use the same LUT for TikTok, Instagram Reels, and YouTube Shorts?
Yes, but adjust the LUT for each clip rather than applying identical settings blindly. Differences in lighting, cameras, exposure, and platform processing can change the final appearance.
Do I need to shoot in Log to use video LUTs?
No. Many creative LUTs can be applied to standard Rec.709 footage. However, Log footage can preserve more grading flexibility when it is exposed correctly and converted through the appropriate color-managed workflow.
Can LUTs replace manual color grading?
LUTs can accelerate the creative stage, but they do not replace correction, shot matching, skin-tone adjustments, or final refinement. The best results usually combine LUTs with manual controls.
Give Your Short-Form Videos a Consistent Cinematic Look
Color grading for short-form content does not need to become a complicated cinema workflow. Correct the footage, match the clips, apply a suitable creative LUT, reduce the intensity when necessary, and protect the colors that matter most.
For a flexible starting library, explore the 700+ Cinematic Video LUTs bundle. For stronger film-inspired contrast and dramatic social content, try the 120+ Cinematic Blockbuster LUTs Pack. You can also browse cinematic LUTs for Premiere Pro to find looks that fit travel videos, product clips, fashion edits, storytelling, and branded Reels. Try these LUTs today — Buy 3, Get 9 FREE.
Written by Asanka — creator of AAAPresets (10,000+ customers).

Leave a comment
This site is protected by hCaptcha and the hCaptcha Privacy Policy and Terms of Service apply.