Why Do My Lightroom Presets Look Different on Every Photo?
If you’ve ever asked yourself, “Why do my Lightroom presets look different on every photo?”—you’re not imagining it. One click can look like a magazine cover on one image… then the same preset turns the next photo muddy, too dark, too orange, or just “off.” This preset inconsistency is one of the most common (and most fixable) Lightroom frustrations.
Here’s why this matters: presets are supposed to speed you up and help you build a consistent style. When they behave unpredictably, you lose time second-guessing your edits. Let’s break it down in a practical way and build a workflow that makes presets feel reliable again.
If you want a fast, flexible starting point for almost any lighting or subject, start with a broad bundle like the 1000+ Master Lightroom Presets Bundle and pair it with a browseable collection like Lightroom Presets for Lightroom Mobile & Desktop—and if you add 12 items to your cart, you can Buy 3, Get 9 FREE when you’re ready to build a full toolkit.
Presets Aren’t Magic: They’re Saved Slider Moves
A preset is simply a saved set of Lightroom adjustments: exposure, contrast, tone curve, HSL, color grading, sharpening, grain, calibration, and more. When you apply a preset, Lightroom applies those exact slider values on top of your photo.
So why does it change so much from photo to photo? Because your photo is the “starting point.” If the starting point changes, the same recipe produces a different result.
Think of a preset like seasoning. If one dish is already salty and the other is bland, the same seasoning amount won’t taste the same on both.
The Real Reasons Presets Look Inconsistent
1) Exposure isn’t the same (even when it “looks” close)
Exposure is the #1 reason your preset goes rogue. A preset that adds contrast and deepens blacks may look perfect on a well-exposed file, but it can crush shadows on an underexposed image or blow highlights on a bright one.
Real example: I tested the same “cinematic” preset on two photos from the same day—one shot in open shade, one in harsh sun. The shade photo looked clean and dramatic. The sunny photo lost highlight detail instantly because the highlights were already near clipping.
2) White balance and tint are different
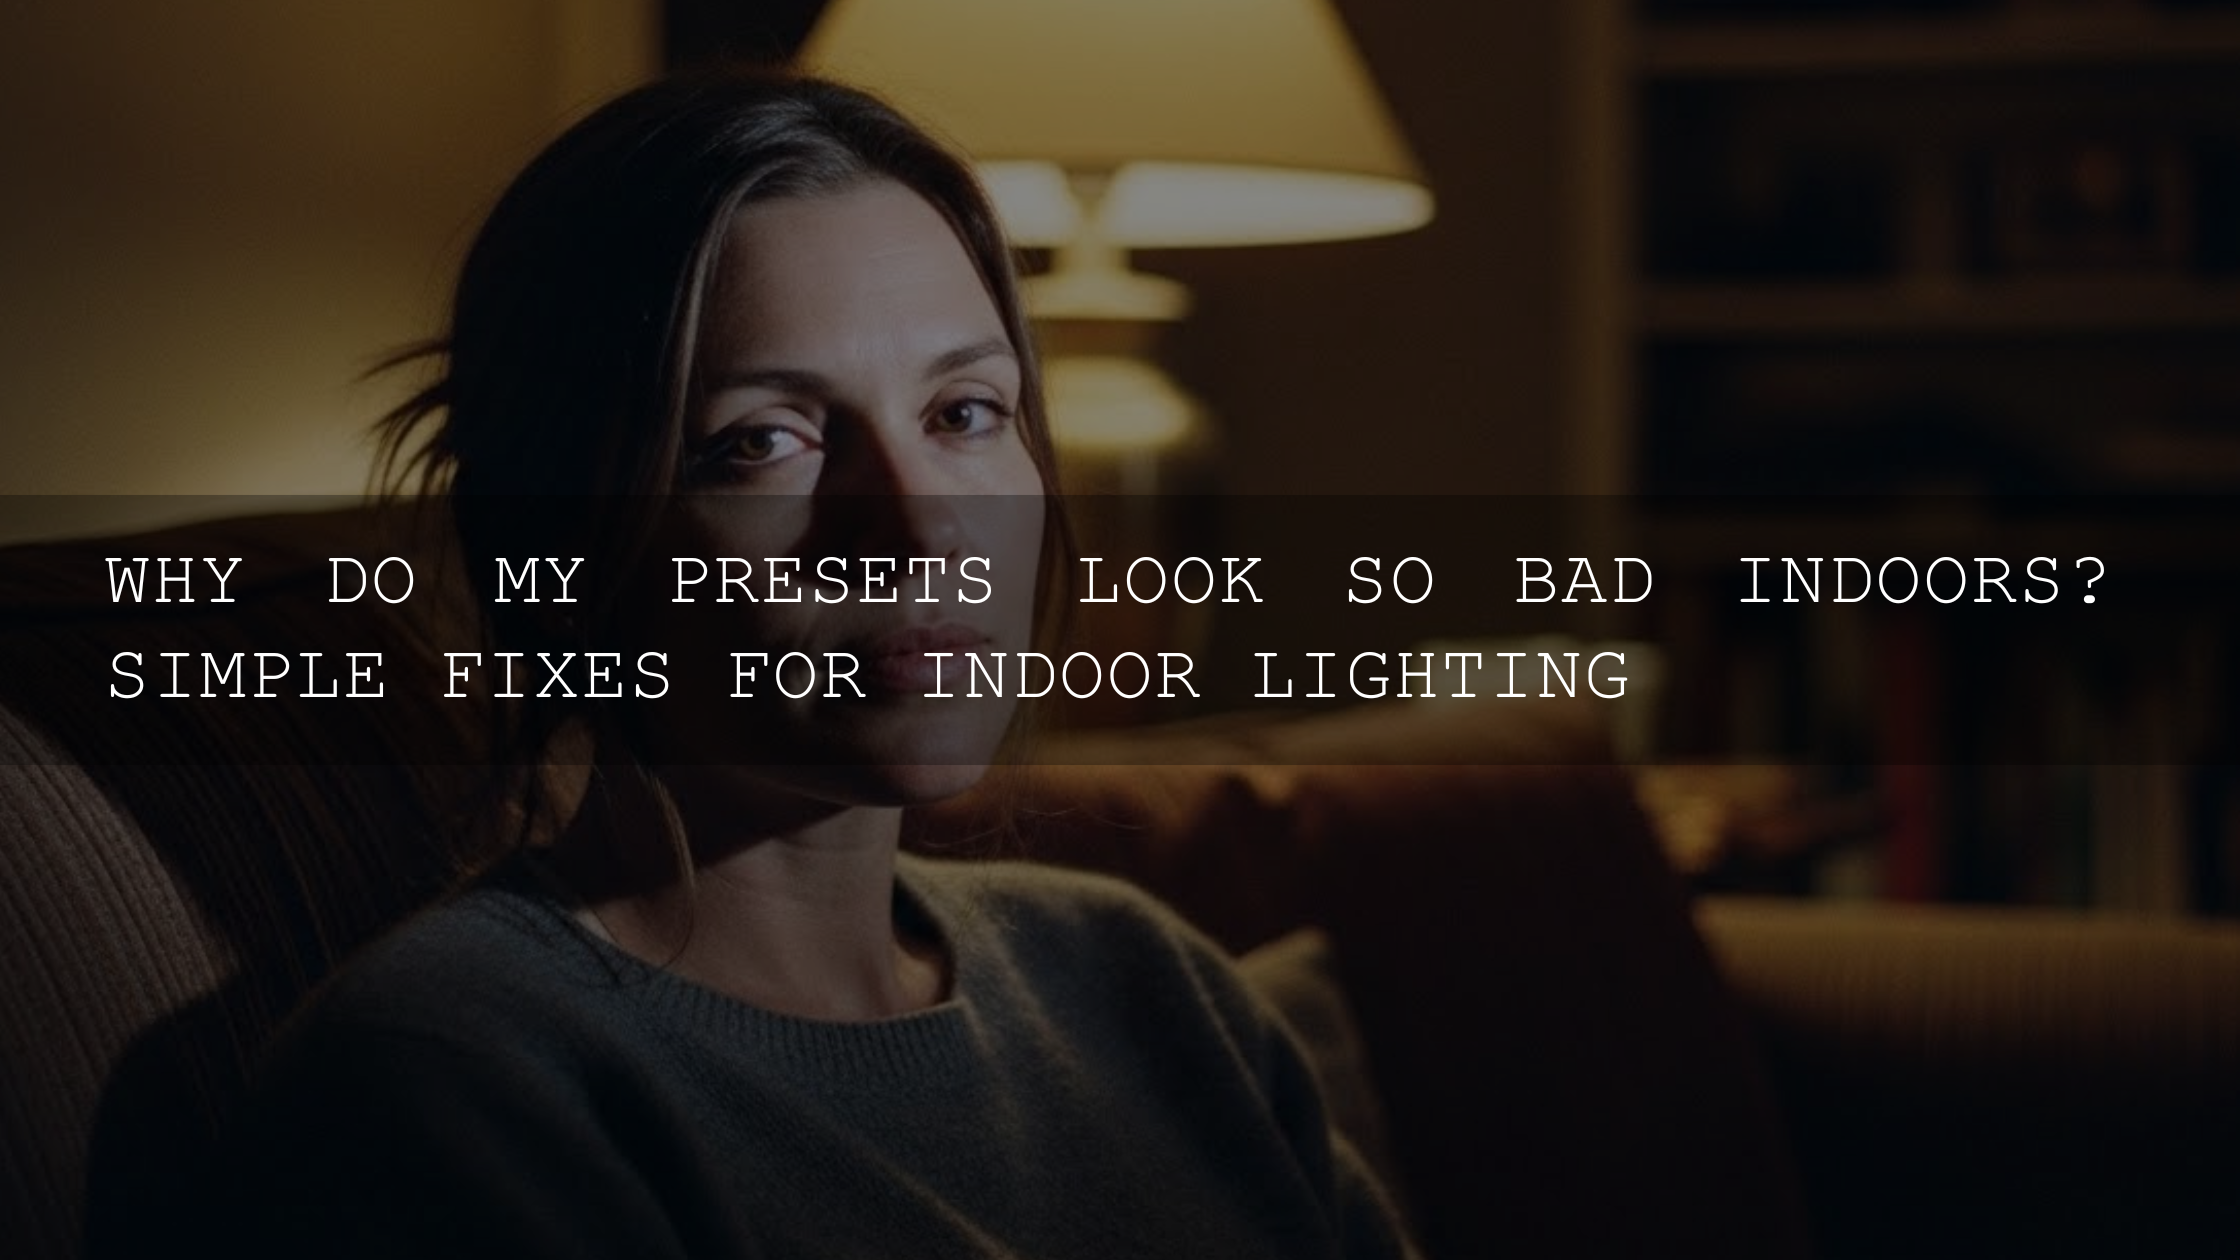
Indoor tungsten, cloudy daylight, LED panels, neon signs—each lighting source shifts color. If your preset warms highlights or pushes greens, it will look totally different depending on the original temperature/tint.
Pro tip: If your preset keeps messing up skin tones, try using presets that don’t change WB—or edit the preset to exclude WB (more on that below).
3) The scene’s contrast and dynamic range change the “strength”
A low-contrast foggy scene and a high-contrast midday scene react differently to the same tone curve. A strong curve might look gorgeous on flat images, but too aggressive on already-contrasty photos.
4) Camera profiles and color science aren’t identical
Lightroom interprets RAW files through a profile. If you shoot on different cameras (or switch profiles like Adobe Color vs Camera Standard), your colors shift before the preset even begins.
5) Subject matter and color palette change the outcome
A preset designed to shift blues toward teal looks amazing on skies and water—but can make shadows green or skin tones strange in portraits. The more dominant a color is in a photo, the more visible the preset’s color shifts become.
6) Local adjustments, masking, and AI edits vary
If some photos already have masks (sky, subject, background) and others don’t, preset results won’t match. Even if you use the same preset, the total “stack” of edits differs.
7) Lens corrections, vignetting, and noise levels change the feel
A preset that adds sharpening and grain can look crisp on a clean ISO 100 file, but harsh on a noisy ISO 6400 indoor shot. Vignettes can also feel stronger on brighter images.
Presets vs Manual Editing: Which One Gives More Consistency?
This is the honest comparison most people need:
- Presets are faster and great for building a consistent style once your base exposure/WB is close.
- Manual editing is more consistent across extreme lighting changes because you’re responding to what the photo actually needs.
The best workflow is hybrid:
- Manual = correctness (exposure, WB, highlight/shadow recovery).
- Preset = style (tone curve, color mood, finishing details).
If you’re also grading video and want to understand the “preset equivalent,” this guide can help connect the dots: What Are LUTs? The Complete Beginner-to-Pro Guide.
How to Get Consistent Results With Lightroom Presets
Don’t aim for “one-click perfection.” Aim for “one-click direction + 30 seconds of smart tweaks.” Here’s the repeatable process that works.
Step 1: Normalize the photo first (30–60 seconds)
Before applying the preset, do a quick base correction:
- Set exposure so your subject looks right (use histogram as a sanity check).
- Recover extremes with Highlights/Shadows (don’t overdo it—just bring back detail).
- Set white balance for neutral skin/whites (or a neutral object if available).
If you want Adobe’s official walkthroughs for the “how,” these are worth bookmarking:
- Adobe’s guide to applying presets in Lightroom Classic
- Adobe’s official instructions for installing presets and profiles
- Adobe’s guide to masking in Lightroom Classic
Step 2: Apply the preset as a “look,” not a verdict
After applying, immediately check these three things:
- Exposure: did it get too dark or too bright?
- Skin tones: did they go too warm, too magenta, too green?
- Highlights/shadows: did you lose detail?
Micro-fix rule: Start with Exposure, then Highlights/Shadows, then WB. Those three usually solve 80% of “preset inconsistency.”
Step 3: Reduce preset strength when it’s too intense
If a preset is perfect in style but too strong, reduce intensity instead of fighting every slider. This is especially useful on images shot in harsher light.
Step 4: Build “scenario presets” (this is the secret)
Most people expect one preset to work everywhere. Instead, create small variations:
- Indoor Warm Light version (gentler contrast, less saturation).
- Harsh Sun version (softer highlights, lifted shadows, less clarity).
- Open Shade version (slightly warmer, a touch more contrast).
You can start with a style pack and keep multiple “moods” ready. For example, street photos often need a different baseline than portraits—something like AI-Optimized Cinematic Street Movie Lightroom Presets can be a strong starting point, but you’ll still want a “bright sun” and “night street” variation.
Step 5: Edit your preset to exclude white balance (huge fix for weird colors)
If your preset keeps turning indoor shots orange or outdoor shots blue, you may not want it touching WB at all. A clean approach is to create a version of the preset that doesn’t include White Balance/Tint so your base WB stays under your control.
Step 6: Use masking to make one preset work on “hard” photos
When a preset looks great overall but fails in one area (like sky too bright or face too dark), masking is the fastest rescue:
- Subject mask: lift exposure slightly, reduce saturation if skin is too intense.
- Sky mask: pull highlights down, add a touch of dehaze if needed.
- Background mask: soften clarity/texture to keep attention on the subject.
Masking is what turns presets from “random” to “controlled.” If you want a structured approach, this post pairs nicely with that mindset: Mastering Lightroom Presets: Avoiding Common Mistakes & Getting Stunning Results.
Step 7: Sync smartly for consistent sets
Once you perfect one image in a shoot, use it as the reference. Then sync the right settings across the set (usually tone + color, but avoid syncing WB if lighting changes shot to shot).
Lightroom Classic vs Lightroom Mobile: Why the Same Preset Can Look Different
If you apply the “same preset” on mobile and desktop and it feels different, it’s usually one of these:
- Different starting WB/exposure because mobile captures/edits often happen in different viewing conditions.
- Different profiles or import behavior (especially with DNG vs XMP workflows).
- Different screen brightness (phones can make edits look brighter than they actually are).
If you mostly edit on your phone, this guide is built around real mobile pitfalls: Mastering Lightroom Mobile: Avoiding Common Mistakes for Stunning Photography.
Two Quick “Before/After” Fix Recipes You Can Try Today
Recipe A: “Preset made my photo too dark”
- Raise Exposure slightly.
- Lift Shadows (don’t lift Blacks too much—keep true contrast).
- Reduce Contrast or soften the Tone Curve slightly if blacks are crushed.
- Check skin: reduce Orange saturation a bit if it got too heavy.
Recipe B: “Preset made my colors weird”
- Fix WB/Tint first (especially indoors).
- Reduce overall Saturation or Vibrance slightly.
- In HSL, target the problem color (greens, yellows, or blues are common) and reduce saturation or shift hue subtly.
- If skin looks off, use a Subject mask and correct only skin areas instead of changing the whole image.
Related Reading (If You Want to Go Deeper)
- The Ultimate Lightroom Presets Bundle: Why Every Photographer Needs One
- How to Perfectly Edit Wildlife Photos with Lightroom Presets (Step-by-Step)
- How to Install Lightroom Presets in a Quick and Easy Way
Preset Picks That Stay Flexible Across Different Photos
If you shoot a mix of scenes (street, travel, portraits), having a few “adaptable” looks helps more than collecting dozens of super-specific presets. These are solid options to cover different scenarios:
- 1000+ Master Lightroom Presets Bundle (variety for different lighting and subjects)
- AI-Optimized Nature Cinematic Teal & Amber Lightroom Presets (outdoor/travel mood with a clean cinematic base)
- AI-Optimized Warm Pastel Cinematic Street Film Lightroom Presets (soft film vibe for street/lifestyle)
- AI-Optimized Cinematic Street Movie Lightroom Presets (deeper contrast for urban scenes)
To browse by style first (instead of guessing), start with collections like Lightroom Presets for Lightroom Mobile & Desktop or Street Photography Lightroom Presets. And if you ever get stuck on installation or downloads, the fastest help is here: Contact AAAPresets Support.
The Takeaway: Consistency Comes From Your Base, Not the Preset
Presets look “inconsistent” because your photos start from different exposure, WB, contrast, and color conditions. The fix is simple—but not lazy: normalize first, apply preset for style, then do three quick checks (exposure, WB, highlights/shadows). That workflow makes presets feel predictable—and makes your edits faster, not harder.
If you want to build a library that works across real-world lighting, explore the 1000+ Master Lightroom Presets Bundle and browse Lightroom Presets for Lightroom Mobile & Desktop to find looks that match your style—then stock up while the offer is active: Buy 3, Get 9 FREE when you add 12 items to your cart.
Why do my Lightroom presets look different on every photo?
Because presets apply the same saved slider values to different starting exposures, white balance, contrast, and color palettes. Small capture differences (lighting, profile, ISO) can make the same preset feel dramatically stronger or weaker.
Should I fix exposure before applying a preset?
Yes—getting exposure and white balance close first makes preset results far more consistent. Think of presets as “style” applied on top of a clean base.
How do I stop presets from messing up skin tones?
Fix white balance first, then reduce preset strength if needed. If skin still looks off, use masking to correct skin locally instead of changing global color sliders.
Why does the same preset look different on Lightroom Mobile vs Desktop?
Mobile and desktop may start with different exposure/WB, different profiles, and very different screen brightness. Always judge edits on a calibrated or consistent screen when possible.
What’s the fastest way to make a preset work on harsh sunlight photos?
Lower preset intensity, pull highlights down, and lift shadows slightly. If the sky or face is the problem, use masking for targeted fixes instead of fighting global sliders.
Written by Asanka — creator of AAAPresets (10,000+ customers).
Leave a comment
This site is protected by hCaptcha and the hCaptcha Privacy Policy and Terms of Service apply.