
RAW Photo Organization Before Presets: Build a Faster Lightroom Workflow
RAW photo organization before presets is one of the simplest ways to make your Lightroom workflow faster, cleaner, and less stressful. When your RAW files are organized before editing, you spend less time hunting for photos and more time choosing, refining, and applying the right creative look. This matters whether you are editing a wedding gallery, travel shoot, portrait session, product photos, family memories, or social media content.
Here’s why this matters: presets work best when your library is already clean. If you apply presets to every duplicate, blurry frame, missed-focus shot, and test exposure, you waste time and slow down your computer. But when your RAW files are named, sorted, culled, rated, backed up, and ready, editing feels much more controlled.
If you want a faster editing stage after your RAW files are organized, start with the 1000+ Master Lightroom Presets Bundle and browse flexible styles inside the Lightroom Presets for Mobile and Desktop collection. Try these presets today — Buy 3, Get 9 FREE — and build a smoother workflow from import to final export.
Why Organizing RAW Photos Matters Before Editing
RAW files are powerful because they hold more image information than a finished JPEG. Adobe explains that a RAW file contains unprocessed image data captured by the camera sensor, which gives photographers more flexibility for editing exposure, color, contrast, and detail later. You can learn more from Adobe’s guide to RAW image files.
That flexibility is exactly why RAW files deserve a proper system. They are large, valuable, and often connected to important shoots. If you leave everything named as camera defaults like IMG_1245 or DSC_8821, your library becomes difficult to search after only a few sessions.
A clean RAW photo organization system helps you:
- Edit faster: You can find the best images quickly instead of scrolling through hundreds of similar shots.
- Apply presets more confidently: You work only on selected images, not every weak frame.
- Protect your work: Organized folders are easier to back up and restore.
- Serve clients better: If you shoot portraits, weddings, events, or products, a structured library helps you deliver faster.
- Build a searchable archive: Your best photos become easier to reuse for portfolios, social media, blogs, ads, and future projects.
I tested this workflow on a mixed portrait and travel photo set, and the biggest improvement was not the editing speed alone. It was the mental clarity. Once the weak images were removed and the best frames were flagged, applying presets felt creative instead of chaotic.
The Best Folder Structure for RAW Photo Organization
There is no single perfect folder system for every photographer, but there is one rule that always helps: make your structure easy to understand six months from now. You should be able to open your drive and know exactly where a shoot belongs.
Date-Based Folder Structure
A date-based system is simple and reliable. It works especially well if you shoot often and want your folders to sort naturally by time.
RAW Photos > 2026 > 2026-05-10 Family Portrait Session
RAW Photos > 2026 > 2026-06-18 Beach Travel Shoot
RAW Photos > 2026 > 2026-07-02 Product Photography Client A
The best format is year-month-day, such as 2026-05-10. This keeps your folders in proper order and avoids confusion between different date styles.
Subject-Based Folder Structure
A subject-based system works well if you shoot clear categories such as weddings, portraits, travel, products, food, real estate, or events.
RAW Photos > Weddings > 2026-04-12 Silva Wedding
RAW Photos > Travel > 2026-05-10 Ella Mountain Trip
RAW Photos > Products > 2026-06-02 Jewelry Campaign
This approach makes it easy to find a whole category quickly. For example, if you want to build a travel portfolio, all your travel shoots are already grouped together.
Hybrid Folder Structure
For most photographers, a hybrid system is the most practical. Use the year as your main folder, then name each shoot with the date and subject.
RAW Photos > 2026 > 2026-05-10 Ella Travel Shoot
RAW Photos > 2026 > 2026-05-18 Outdoor Portrait Session
RAW Photos > 2026 > 2026-05-22 Restaurant Food Campaign
This gives you both time-based organization and subject clarity. It is easy to scale, easy to back up, and simple enough to follow when you are tired after a long shoot.
How to Name RAW Files Before Applying Presets
File naming is where many photographers lose control. Camera file names are fine during capture, but they are not useful for long-term organization. A better naming system tells you the date, subject, and sequence number.
A clean format looks like this:
2026-05-10_EllaTravel_001.CR3
2026-05-10_EllaTravel_002.CR3
2026-05-10_EllaTravel_003.CR3
This format gives each image a meaningful identity. The date keeps it sortable, the shoot name explains the content, and the sequence number keeps the image order clean.
Pro tip: Rename files during import when possible. Adobe notes that Lightroom Classic can rename photos during import using the File Renaming panel, which is helpful when you want consistent file names from the start. See Adobe’s Lightroom Classic import and file renaming guide for the official workflow.
Use Lightroom Flags, Stars, Labels, and Keywords
Folders are only the first layer of organization. The real speed comes from metadata: flags, star ratings, color labels, keywords, captions, and collections. Adobe explains that Lightroom can organize photos using keywords, metadata, flags, and ratings, making it easier to find and filter images later. You can read the official overview in Adobe’s guide to organizing photos in Lightroom.
Use Flags for Quick Culling
Flags are perfect for your first pass. Keep it simple:
- Pick: Strong image worth reviewing again.
- Reject: Blurry, duplicate, accidental, or weak image.
- Unflagged: Unsure, needs a second look.
Do not overthink this stage. Your goal is not to create the final gallery. Your goal is to remove visual noise quickly.
Use Star Ratings for Quality Levels
Star ratings help you separate good images from excellent images. A simple system works best:
- 1 star: Maybe useful, but not strong.
- 3 stars: Good keeper.
- 4 stars: Strong edit candidate.
- 5 stars: Portfolio, client delivery, or hero image.
When you are ready to edit, filter by 4-star and 5-star photos first. This keeps your preset workflow focused on the images that matter most.
Use Color Labels for Workflow Status
Color labels are useful when you want to track editing progress. For example:
- Red: Needs editing.
- Yellow: In progress.
- Green: Edited and approved.
- Blue: Ready for export.
This is especially helpful when editing large galleries. You can stop and restart without forgetting where you were.
Use Keywords for Search
Keywords turn your photo library into a searchable archive. Add terms based on subject, location, style, season, mood, and use case. For example, a travel portrait might include keywords like travel, portrait, sunset, street, cinematic, warm tones, Sri Lanka, mountains, and lifestyle.
If you want to go deeper into related editing systems, the Lightroom Workflow Step-by-Step blog series is a helpful place to continue learning.
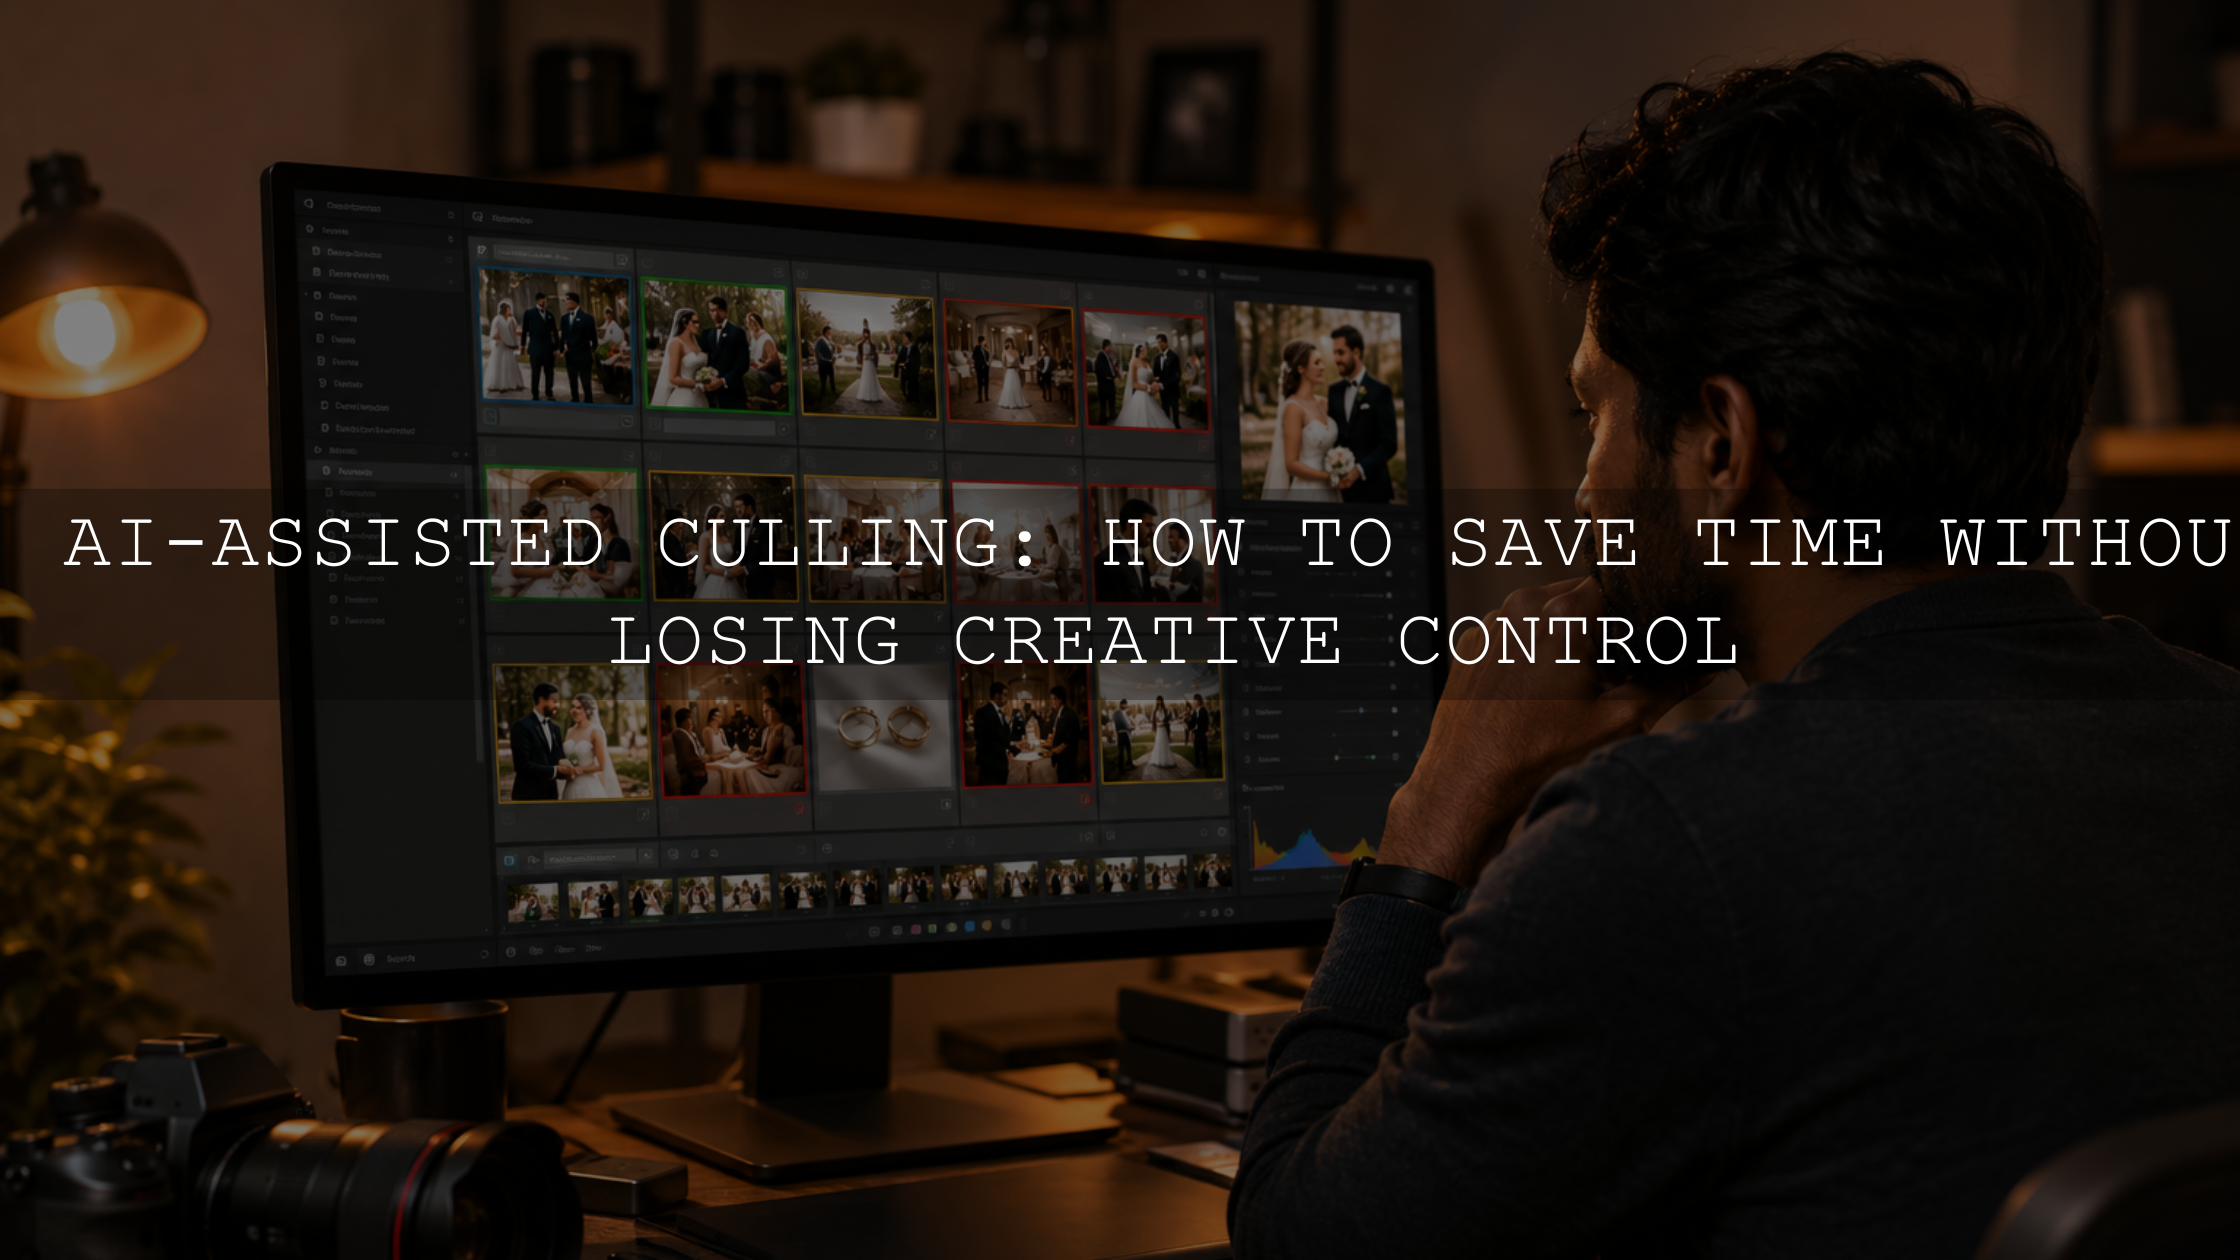
Cull Before You Apply Lightroom Presets
Culling is the step that saves the most time before applying presets. You do not need to edit every photo. In fact, editing too many average images often makes the final gallery weaker.
Before you touch presets, remove:
- Missed-focus images
- Accidental shots
- Awkward expressions
- Unneeded duplicates
- Photos with poor timing
- Images that do not support the story
Here’s a practical example. If you shoot 700 travel photos and reduce them to 180 strong frames before editing, your preset workflow becomes much faster. Instead of testing looks on every image, you test them on the strongest photos first. That gives you a cleaner visual direction and better consistency.
For travel shoots, a repeatable system is especially useful. You can pair your organized RAW library with the AI-Optimized Cinematic Travel Street Lightroom Presets and follow a structured editing approach like the travel preset workflow guide.
Presets vs Manual Editing: Which Should Come First?
Presets and manual editing are not enemies. They work best together. The mistake is thinking a preset should finish every image perfectly in one click. A good preset gives you a strong creative starting point. Manual editing helps you adjust that look to the actual lighting, subject, skin tone, exposure, and mood of the photo.
When Presets Are Best
- Creating a consistent look across a full gallery
- Speeding up repetitive editing tasks
- Testing multiple creative directions quickly
- Building a recognizable style for social media or client work
When Manual Editing Is Best
- Fixing exposure problems
- Correcting white balance
- Refining skin tones
- Adjusting local areas with masks
- Repairing difficult lighting issues
The strongest workflow is usually preset first, manual refinement second. Apply a preset to create the mood, then adjust exposure, white balance, contrast, highlights, shadows, HSL, and masks. Adobe also provides official guidance on editing photos with presets in Lightroom.
I tested this approach on an outdoor portrait set with changing sunlight. The preset created the overall warm cinematic tone, but the final result improved only after small manual corrections to exposure and skin tone. That balance is what makes presets feel professional instead of overdone.
A Simple Pre-Preset RAW Workflow
Let’s break it down into a workflow you can repeat after every shoot.
- Copy files safely: Transfer RAW files from your memory card to your main photo drive before formatting the card.
- Create the shoot folder: Use a clear format like 2026-05-10 Outdoor Portrait Session.
- Import into Lightroom: Add the photos to your catalog and apply your naming structure.
- Do a fast first cull: Reject blurry, accidental, duplicate, and weak images.
- Rate your keepers: Use stars to identify the strongest edit candidates.
- Add keywords: Include location, subject, style, mood, and usage terms.
- Back up the shoot: Save your organized RAW files before deep editing.
- Apply presets: Start with your best-rated images and choose the style that supports the story.
- Refine manually: Adjust exposure, white balance, skin tones, masks, and crop.
- Export final images: Export only the approved photos for web, print, client delivery, or social media.
If you work with portraits, organize first, then apply a portrait-friendly look such as the AI Optimized Portrait Lightroom Presets. For broader editing options, browse the Professional Presets for Adobe Camera Raw collection if your RAW workflow includes ACR.
Backup Your RAW Files Before Serious Editing
Your RAW files are your digital negatives. If you lose them, you lose the most flexible version of your work. A clean folder structure makes backup easier because you know exactly what belongs to each shoot.
Use a simple 3-copy mindset:
- Working copy: Your main drive or editing SSD.
- Local backup: A second external drive.
- Off-site backup: Cloud storage or a drive stored in another safe location.
Also remember that Lightroom catalogs and RAW files are not the same thing. The catalog tracks your edits, ratings, keywords, and organization, but your original RAW files still need their own backup. For Lightroom Classic users, Adobe has an official guide on backing up Lightroom Classic catalogs.
Common RAW Organization Mistakes to Avoid
Even a simple system works better than a messy one. Try to avoid these common mistakes:
- Leaving everything on memory cards: Cards are temporary storage, not a photo archive.
- Using random folder names: Names like “New Shoot” or “Final Photos” become confusing later.
- Editing before culling: This wastes time and makes galleries harder to finish.
- Using too many catalogs: Too many separate systems can make searching harder.
- Forgetting backups: A beautiful folder system is not enough if it only exists in one place.
- Over-keywording every image: Use useful keywords, not unnecessary tags that slow you down.
For more editing help after your library is organized, you may also like Lightroom Mobile vs Desktop, why imported Lightroom presets do not show up, and how to stack Lightroom presets for unique results.
Pro Tips for a Cleaner Editing Session
- Create one repeatable system: Do not change your folder structure every month. Consistency is more important than perfection.
- Cull in two passes: First remove obvious rejects, then compare similar keepers more carefully.
- Edit from the best image first: Choose a hero image, apply a preset, refine it, then sync similar settings to related photos.
- Use presets by lighting condition: Bright outdoor photos, indoor portraits, golden hour images, and low-light shots may need different starting looks.
- Do not force one preset on every image: A consistent gallery can still use small preset and manual adjustments for different scenes.
Once your RAW photos are organized, your presets can do what they are meant to do: help you edit faster while keeping your creative control. Start with a clean library, select your strongest images, then apply a style that supports the mood of the shoot. For a complete editing toolkit, explore the 1000+ Master Lightroom Presets Bundle and the Premium Lightroom Presets and LUTs Bundles collection. Build your workflow, protect your RAW files, and create consistent edits with less stress.
FAQs
Should I organize RAW photos before importing them into Lightroom?
Yes. Create a clear folder structure before or during import so your RAW files are easy to find later. Lightroom can help you organize photos with folders, ratings, flags, keywords, and collections, but your original file location should still be simple and consistent.
What is the best folder structure for RAW photo organization?
The best structure for most photographers is a hybrid system using year, date, and shoot name. For example, 2026 > 2026-05-10 Outdoor Portrait Session. This keeps shoots organized by time while still explaining what each folder contains.
Should I apply presets before or after culling photos?
Apply presets after culling. First remove blurry images, duplicates, weak expressions, and accidental shots. Then apply presets to your strongest images. This saves time, improves consistency, and helps you focus on photos that deserve final editing.
Do I need keywords if my folders are already organized?
Yes, keywords are still useful because folders only show where photos are stored. Keywords help you search by subject, location, style, mood, season, or client type. This becomes valuable when your photo library grows over months and years.
Can Lightroom presets work well on RAW files?
Yes, Lightroom presets can work very well on RAW files because RAW images hold more editing flexibility. The best results usually come from applying a preset as a starting point, then refining exposure, white balance, contrast, color, crop, and local adjustments manually.
Written by Asanka — creator of AAAPresets (10,000+ customers).

Leave a comment
This site is protected by hCaptcha and the hCaptcha Privacy Policy and Terms of Service apply.