
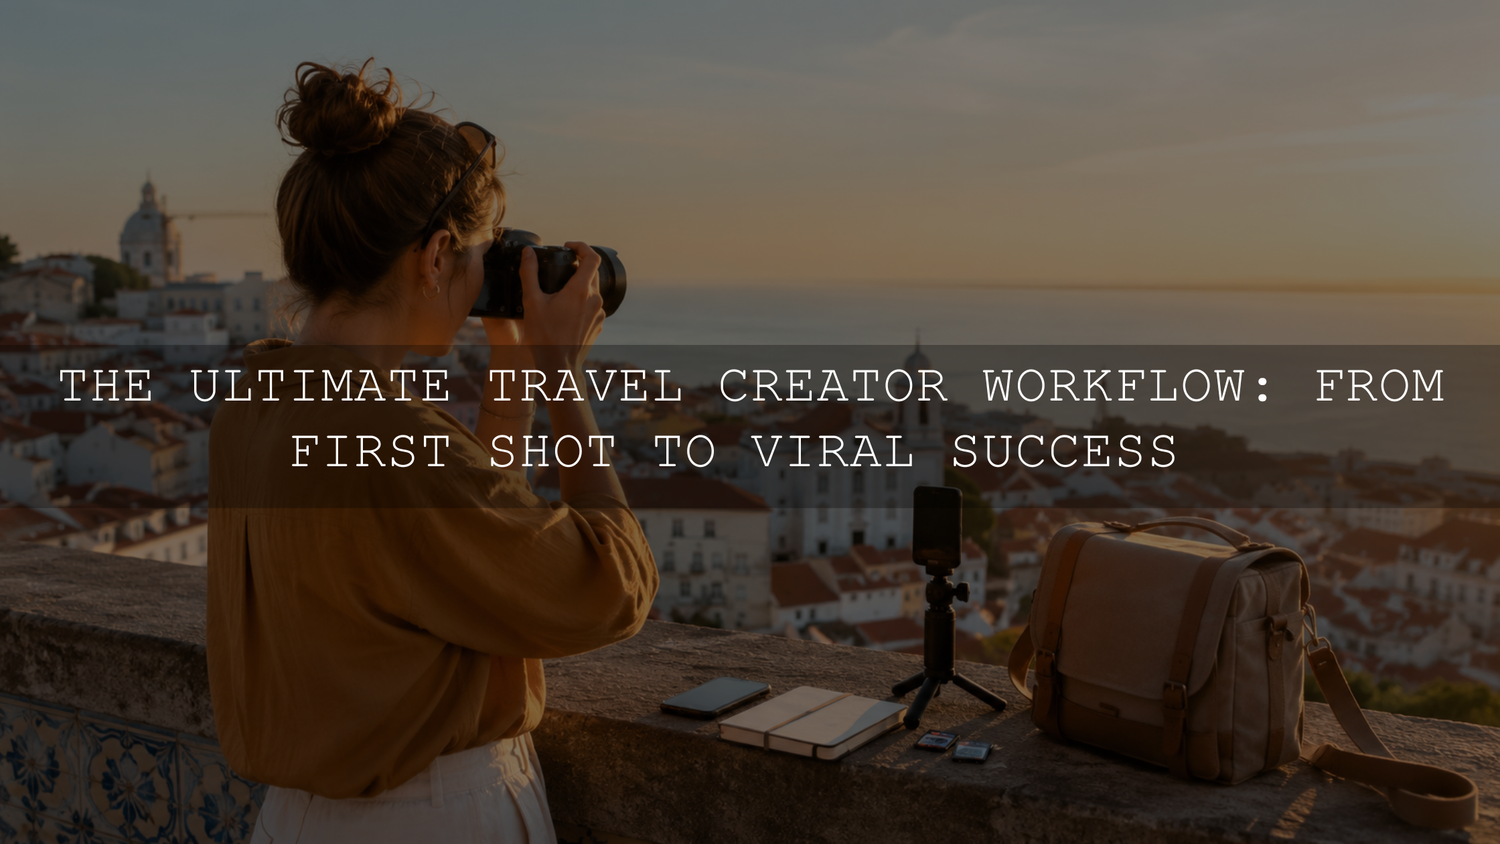
A strong travel content workflow starts before you open Lightroom, Instagram, Pinterest or your blog editor. Plan the source assets you need from each location, organize them while the trip is still fresh, create one consistent master edit, then export platform-specific versions for your blog, Instagram posts, Reels, Stories and Pinterest pins.
The goal is not to capture everything. The goal is to capture the right mix of photos, short clips, details, atmosphere and practical context so you can publish consistently without spending every evening buried in your laptop.
Build the Trip Around Source Assets, Not Platforms
Before you think about captions, pins or Reels, plan the source assets you need from each location. A single viewpoint can often support several outputs if you capture it with enough variety: a wide hero photo for the blog, a vertical version for Pinterest, short motion clips for Reels and a few quick behind-the-scenes moments for Stories.
For each important stop on your itinerary, aim to capture these core assets:
- Hero still: A clean, high-resolution image that can work as a blog header, Pinterest cover or Instagram carousel opener.
- Vertical frame: A portrait-oriented version with room for text if you plan to create pins or short-form video covers.
- Atmospheric B-roll: Short clips of movement, sound, texture, weather, food, streets, transport and small details.
- Practical context: Entrance signs, menus, transport stations, maps, prices, opening hours or trail markers when they help explain the destination.
- Human-scale moments: Walking shots, point-of-view clips, candid reactions and small imperfections that make the story feel real.
This approach gives you flexibility later. Instead of asking, “What do I post today?” you can build each platform from a prepared library of useful material.
Pre-Trip Planning Checklist
A simple plan before departure prevents rushed, inconsistent content later. You do not need a rigid script, but you should know which assets matter most.
- Choose your primary story angle. Decide whether the trip is about budget travel, luxury stays, photography locations, food, family travel, hiking, city breaks or another clear theme.
- Create a short shot list. Include must-have landscapes, vertical covers, room or hotel details, transport moments, local food, walking clips and practical guide images.
- Check light and timing. Note sunrise, sunset and harsh midday locations so your best scenes are not all captured in difficult light.
- Prepare storage. Pack enough SD cards, batteries, chargers and at least one backup drive or cloud backup method.
- Set your folder structure early. Create folders by trip, date and location before the files start piling up.
Planning does not remove spontaneity. It protects the important shots so you have more freedom to capture unexpected moments without worrying that you missed the basics.
Capture With Repurposing in Mind
The best travel creator workflow captures each scene in more than one way. A wide landscape may look beautiful on a blog, but it may not work as a vertical pin. A cinematic clip may look strong in a Reel, but you may also need a still image from the same location for your article.
When you arrive at a key location, capture a quick sequence instead of one isolated shot:
- A wide establishing photo
- A tighter detail photo
- A vertical version of the same scene
- A 5 to 10 second static video clip
- A moving clip, such as a slow walk, pan or subject passing through the frame
- A practical context shot that helps explain the place later
This gives you enough material to build a blog section, a carousel, a Reel, a Story sequence and a Pinterest pin from the same stop without making every piece of content look identical.
Organize Files Every Night While Traveling
The easiest way to lose time after a trip is to come home with thousands of unnamed files across multiple cards. A nightly organization habit is one of the highest-impact parts of a travel workflow.
At the end of each shooting day, follow this basic routine:
- Copy files before formatting cards. Do not clear a card until the files exist in at least one reliable backup location.
- Sort by date and location. Use folder names such as “rome-day-02-trastevere” rather than vague labels like “camera 1.”
- Separate photo and video files. This makes editing faster when you move between Lightroom, video software and design tools.
- Mark your best assets. Add ratings, flags or a “selects” folder for the strongest images and clips while the memory is fresh.
- Write quick notes. Save names, prices, directions, restaurant details or travel tips before you forget them.
This first-pass organization can save hours later because your captions, blog sections and editing choices will already have context.
Create One Master Edit Before Platform Versions
Do not start by making separate edits for every platform. First, create a small set of master edits that define the look of the trip. Once your color, contrast, exposure and white balance feel consistent, you can export different crops and formats for each channel.
For photo editing, Lightroom presets can speed up the starting point, but they should not replace judgment. A preset may look different depending on camera profile, exposure, white balance, lens, RAW versus JPEG files and the type of light in the scene. After applying a preset, check the basics before exporting.
Fix the basics before applying a look
- Exposure: Make sure the image is not too dark or too bright before judging the preset.
- White balance: Correct overly blue shadows, yellow indoor light or mixed lighting before final color grading.
- Highlights: Watch skies, white buildings, water reflections and bright clothing.
- Skin tones: Reduce overly orange, red or green shifts when people are part of the story.
- Crop: Keep a master crop, then create separate versions for blog, Instagram and Pinterest.
If your trip includes landscapes, beaches, mountains, city views or golden-hour travel scenes, Lightroom Presets for Landscapes & Travel can give your photo edits a consistent starting style. For urban travel, street scenes, cafés, markets and night walks, AI-Optimized Cinematic Travel Street Lightroom Presets may be a better fit.
Batch by lighting condition, not by the whole trip
Batching works best when the images share similar light. Edit sunrise images together, midday images together, indoor scenes together and night scenes together. This keeps your presets and manual adjustments more predictable.
Avoid applying the same settings to every file without checking the result. A preset that works beautifully on a golden-hour landscape may be too warm for a shaded street, too contrasty for a hotel interior or too saturated for skin tones.
Match Photos and Video Without Forcing Them to Look Identical
Travel creators often want their photos, Reels, Shorts and vlogs to feel connected. The goal should be visual consistency, not identical color in every format. Photos and videos respond differently to edits, especially when footage comes from phones, action cameras, drones and mirrorless cameras.
For video, start with a clean base edit before adding a creative look. Correct exposure, white balance and contrast first. Then apply a LUT or color grade carefully and reduce the intensity if the result feels too heavy.
If you create travel Reels, Shorts, vlogs or cinematic destination videos, the Travel Cinematic Film Wanderlust LUTs Pack is designed for travel video editing workflows. For broader video styles, you can also browse the Cinematic LUTs collection.
Turn One Trip Into Blog, Instagram and Pinterest Assets
Once you have your master selects and visual style, build platform-specific outputs from the same organized source library.
Blog content
Your blog should be the searchable home for the trip. Use it for detailed destination guides, itineraries, editing notes, map context, practical tips and answers to questions followers asked during the trip.
For each blog section, choose images that help the reader understand the place. A beautiful hero image is useful, but practical supporting images can be just as important. Signs, menus, trail markers, room details and transport photos can make a travel guide more helpful.
Instagram posts, Reels and Stories
Instagram content can be more immediate and personality-driven. Use carousels for visual storytelling, Reels for movement and atmosphere, and Stories for behind-the-scenes context.
Stories do not need the same level of polish as a blog image or Reel. Use them to share quick observations, ask questions, show delays, explain mistakes and make the trip feel real. These moments often build more trust than a perfectly polished highlight reel.
Pinterest pins
Pinterest works best when the image, title and description clearly explain what the pin is about. Create vertical designs from your hero photos, include readable text when useful, and write descriptions that match the actual guide or destination.
For standard image pins, Pinterest recommends a 2:3 aspect ratio, such as 1000 x 1500 pixels. Use natural keywords in your pin title and description, but avoid stuffing phrases into every sentence. Pinterest provides current creative and metadata guidance in its business product specifications.
SEO and Discoverability for Travel Creators
A travel blog post can keep working after social posts slow down, but only if the page is clear and useful. Use descriptive headings, answer practical questions and make sure your images support the written guide.
For image search and accessibility, use descriptive file names and alt text. The alt text should describe what is actually visible, not repeat a keyword list. For example, “sunset view over terracotta rooftops in Florence” is more useful than “best travel photo Lightroom preset blog Instagram Pinterest.” Google’s image SEO guidance recommends helping search systems understand images with useful surrounding text, filenames and alt text.
For editing tutorials or travel guides that include software steps, keep the instructions current. Adobe’s Lightroom preset documentation explains presets as pre-defined settings that apply adjustments such as exposure, contrast, saturation and color grading. Treat them as a starting point, then adjust the final image to match the scene.
For a deeper editing-only workflow, read AAAPresets’ travel photo and video editing guide for Blog, Instagram and Pinterest. Use this article for source-asset planning and repurposing; use that guide when you want more editing-specific direction.
Burnout Prevention: Build a Content Waterfall
A content waterfall means one source asset feeds several useful outputs. One sunset photo might become a blog hero image, an Instagram carousel opener, a Pinterest pin and a newsletter image. One short walking clip might become a Reel, a Story, a vlog cutaway and a blog embed.
This does not mean posting the same thing everywhere with no changes. It means adapting the same strong material for different reader needs:
- Blog: Detailed explanation, search intent and practical guidance
- Instagram: Visual story, personality and conversation
- Reels or Shorts: Movement, pacing, atmosphere and quick tips
- Pinterest: Search-friendly visual entry point to the full guide
- Email: Personal recap, recommendations and links to your best content
Repurposing is not lazy when each version serves a different purpose. It is how you make the most of the work you already did.
Common Travel Workflow Mistakes
- Capturing only horizontal photos: This creates problems later for pins, Stories, Reels covers and mobile-first layouts.
- Waiting too long to organize files: The longer you wait, the harder it becomes to remember locations, names and details.
- Using one preset on every image without adjustment: Different lighting conditions need different exposure, white-balance and tone corrections.
- Over-editing skies and skin tones: Heavy saturation, contrast or clarity can make travel edits look unrealistic.
- Ignoring practical guide images: Beautiful photos attract attention, but useful details help readers plan their own trip.
- Publishing only on social media: Social posts move quickly. A well-structured blog guide gives your best work a more permanent home.
A Practical Publishing Order After the Trip
When you return home, avoid trying to finish every format at once. Work in a clear order:
- Select your strongest photos and clips. Remove weak duplicates before editing.
- Create the master photo edit. Build a consistent look for the trip.
- Edit the strongest video sequence. Use it to define the mood for Reels, Shorts or vlogs.
- Write the blog outline. Use your notes, practical images and follower questions.
- Export platform crops. Create blog images, square or vertical Instagram crops, Reel covers and Pinterest pins.
- Schedule in batches. Publish the blog first when possible, then use Instagram and Pinterest to send readers to the full guide.
This sequence keeps the blog as the central hub and turns social content into discovery channels instead of disconnected posts.
Recommended AAAPresets Tools for This Workflow
For photo-heavy travel workflows, start with the AI-Optimized Lightroom Presets collection if you want mobile and desktop Lightroom options across different styles. Choose the most relevant preset pack based on the trip: landscapes and golden-hour views need a different editing approach from street markets, cafés, city walks and night scenes.
For video-heavy workflows, LUTs can help you build a more consistent look across Reels, Shorts and vlogs. Apply them after basic correction, not before. A LUT should support the footage, not hide exposure or white-balance problems.
AAAPresets currently offers Buy 3, Get 9 FREE. That offer can be useful if you need different looks for landscapes, street travel, lifestyle photos and cinematic video edits. Choose packs based on the type of content you actually shoot rather than buying every style at once.
Final Thoughts
A strong travel content workflow is not about doing more work. It is about making each captured photo and clip more useful. Plan the source assets before the trip, organize them while traveling, create a consistent master edit, then adapt each version for the platform where it will live.
The more organized your workflow becomes, the more time you get back for the part that matters most: experiencing the place, noticing better stories and creating content that feels genuinely useful to the people who follow you.
Written by Asanka — creator of AAAPresets.

Leave a comment
This site is protected by hCaptcha and the hCaptcha Privacy Policy and Terms of Service apply.