
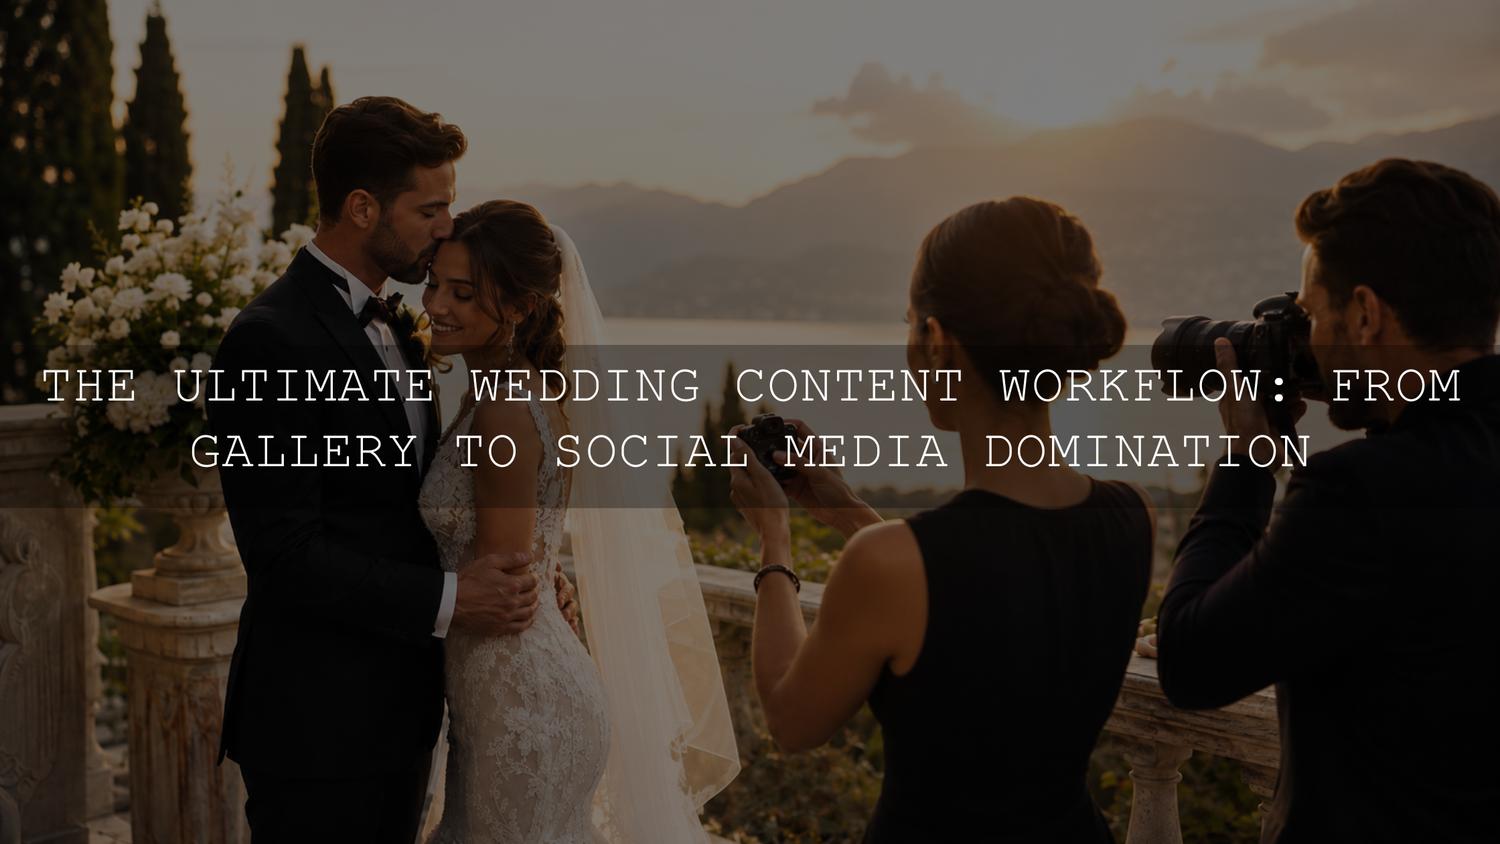
A reliable wedding content workflow separates urgent social previews from the full client deliverables. Use one fast lane for approved vertical clips, a teaser reel, and a small photo preview, and a second master lane for verified backups, the full gallery, polished films, final exports, and the archive.
This guide covers the process from pre-event planning through capture, backup, teaser delivery, photo and video editing, client delivery, repurposing, and retention. It is designed for wedding photographers, videographers, content creators, and hybrid teams that need speed without sacrificing file safety or final quality.
Build the Workflow Before the Wedding Day
The post-wedding workflow should be agreed before coverage begins. Document the deliverables, promised turnaround windows, who is responsible for each file, whether the couple permits early social posting, whether vendors may receive previews, and whether any moments must remain private. For video, identify the music source and who will clear each intended use rather than assuming a track available inside one platform can be reused everywhere.
Synchronize camera clocks, agree on card handoffs, and choose a consistent folder and file-naming system before the event. These small decisions make multi-camera sorting and audio syncing easier after the wedding.
Lane 1: Fast Social Content
This lane is for content that has an agreed rapid turnaround. It may include a short teaser reel, a compact recap, vertical behind-the-scenes clips, a small set of preview photos, or vendor-ready snippets for Stories, Reels, TikTok, and Shorts.
Lane 2: Final Client Delivery
This lane is for the polished work: the full wedding gallery, edited highlight film, ceremony or speech edits, print-ready JPEGs, high-resolution downloads, and final video exports. Its schedule should remain separate from the rapid-preview lane so the complete edit is not rushed.
When both lanes have a defined scope, the team can capture with purpose, deliver the promised preview, and keep the final project organized.
Create a Wedding-Day Shot Map
A wedding moves quickly, so the content plan should be simple enough to follow under pressure. Build a shot map around moments that serve the story, the client deliverables, and the approved social rollout without trying to capture everything twice.
- Morning preparation: dress and suit details, makeup touch-ups, emotional reactions, handwritten notes, laughter, and quiet anticipation.
- Details in motion: rings, shoes, perfume, bouquet movement, invitations, table settings, signage, candles, and floral textures.
- Key emotional moments: the first look, aisle walk, vows, first kiss, family reactions, speeches, first dance, and parent dances.
- Energy moments: the reception entrance, champagne pour, dance floor, confetti, sparkler exit, after-party clips, and candid guest reactions.
- Behind-the-scenes context: the coordinator adjusting the timeline, the photographer arranging a veil, the videographer setting up audio, or vendors completing the room.
Capture social-first footage vertically when a vertical deliverable is part of the brief instead of relying on a later crop. Keep movement steady, record a few seconds before and after the action, and avoid obstructing the lead photographer or videographer during unrepeated moments.
Build the Teaser Without Derailing the Main Edit
If the contract includes a rapid preview, reserve a defined post-event block for it. A 24- to 48-hour window can be workable for a small teaser package, but the promised deadline should match the team, backup process, review capacity, and scope.
- Create and verify backups first. Copy every card to at least two separate storage devices. Use copy verification or checksums when available, open representative files, and keep the original cards untouched until the copies verify and the project’s card-reuse policy allows formatting.
- Create a limited teaser shortlist. For example, pull 15 to 30 strong vertical clips and 10 to 20 preview-photo candidates rather than beginning the full cull.
- Choose one emotional angle. Decide whether the teaser is romantic, editorial, cinematic, humorous, party-focused, or detail-focused.
- Edit one focused reel. Prioritize a clear opening, readable moments, clean pacing, and a deliberate ending instead of packing every scene into one montage.
- Match color carefully. Review skin tones, dress highlights, black clothing, mixed reception light, and consistency between adjacent shots.
- Deliver a clearly labeled preview. Use a shared folder, gallery preview, or mobile-friendly delivery method, and identify the files as previews rather than the final gallery or film.
The rapid package should remain a preview of the story. Limiting its scope gives the couple and approved vendors something useful to share without consuming the time reserved for the complete edit.
Organize the Master Photo Gallery
After the teaser is delivered, move into the master-gallery workflow. Use a folder structure that another editor could understand later, with clearly separated locations for camera originals, working files, catalog files, teaser exports, final JPEGs, vertical reels, vendor previews, and archive material.
In Lightroom Classic, importing creates a catalog record linked to each photo. Adobe’s official guide to importing photos into Lightroom Classic explains the add, move, and copy choices, so decide how the source and destination folders will be handled before import.
Cull in Passes, Not All at Once
A wedding gallery may contain thousands of frames, so divide the cull into clear passes:
- Pass 1: Flag technical rejects. Mark blinks, missed focus, test frames, accidental shots, and redundant bursts as rejects; avoid permanently deleting them until the backups are verified and the retention policy permits deletion.
- Pass 2: Build the story. Keep the images that move the day forward across preparation, ceremony, portraits, family, details, speeches, reception, and exit.
- Pass 3: Refine for consistency. Compare similar frames and retain the strongest expression, light, composition, and emotional timing.
Once the selection is clean, group photographs by similar lighting before applying a creative look. Daylight ceremonies, golden-hour portraits, tungsten interiors, flash-lit receptions, and colored dance-floor lighting usually require different exposure, white-balance, and color refinements.
For a deeper Lightroom-specific process, see the AAAPresets wedding photo editing workflow in Lightroom. This guide remains focused on the wider photo, video, social, delivery, and archive system.
Use Presets as a Starting Point, Not a Substitute for Judgment
Presets can provide a repeatable starting point across a large gallery, but they do not replace exposure correction, white-balance decisions, skin-tone checks, highlight review, or image-specific local adjustments.
The 100+ AI-Optimized Cinematic Wedding Lightroom Presets Bundle is the most relevant AAAPresets photo product for this workflow. Its product page lists 100 XMP preset items for Lightroom desktop workflows and Adobe Camera Raw, 100 DNG preset items for Lightroom Mobile, and support for Lightroom, Lightroom Classic, Mac, Windows, RAW files, and JPEG files. Apply a suitable look to a lighting group, then fine-tune exposure, white balance, highlights, shadows, contrast, and skin tones.
The Wedding Lightroom Presets collection provides additional style options when a different look better fits the scene. For installation, use Adobe’s official Lightroom preset installation guidance and the AAAPresets Lightroom preset installation guides.
Build the Video and Reel Editing Pipeline
Keep rapid social clips, short highlight edits, and longer deliverables such as ceremony, speech, or documentary edits in separate sequences and export folders. This reduces version confusion and makes review notes easier to apply.
For vertical reels, choose shots that remain legible on a phone screen: hands, faces, movement, reactions, dress motion, room reveals, champagne, dancing, and emotional close-ups. Use wide shots selectively when the important action would otherwise become too small.
Before adding a creative LUT, confirm the project’s color management and any required technical transform for the source footage. Then apply a creative LUT at the stage and in the color space it expects, reduce its intensity when needed, and refine exposure, white balance, contrast, saturation, and skin tones. Adobe’s current Premiere color-management and Lumetri guidance explains why LUT behavior depends on the sequence and LUT color spaces.
The 150+ Wedding LUTs for Final Cut, Premiere Pro & Resolve is the relevant AAAPresets video product. Its product page lists .CUBE files, a user manual, and compatibility with Premiere Pro, Final Cut Pro, After Effects, and DaVinci Resolve on Windows and Mac. Test a look on representative daylight, indoor, and reception shots before applying it broadly. For application-specific setup, use the AAAPresets LUT installation and application guides.
Keep music licenses, cue information, release notes, and vendor-use terms with the project. A track cleared for one platform may require different permission for client delivery, paid promotion, or reuse elsewhere.
Deliver the Final Gallery With a Clean Client Experience
The final delivery should be easy for the couple to navigate. Use a gallery or delivery system that supports the required combination of mobile viewing, high-resolution downloads, favorites, privacy controls, and simple family sharing.
Before delivery, review representative files from every part of the wedding. Check bright ceremony whites, skin tones, dark suits, indoor color casts, black-and-white consistency, crop choices, and transitions between details, portraits, and reception scenes. Different lighting conditions do not need to look identical, but the finished work should still feel intentional.
Export settings should follow the gallery, printer, client, and archive requirements rather than one universal recipe. Adobe’s current Lightroom Classic export workflow covers export location, file naming, format, metadata, resizing, sharpening, and related options.
Repurpose the Wedding Without Repeating Yourself
The approved final gallery and video exports can supply multiple future posts when they are organized by purpose rather than posted at random.
- Detail carousel: stationery, florals, rings, dress, shoes, table design, signage, candles, and venue textures.
- Emotional story post: one strong candid image paired with context about the moment.
- Vendor spotlight: images that clearly show the planner, venue, florist, hair, makeup, entertainment, catering, or decor team’s work.
- Editing education: an original before-and-after example that explains exposure, white-balance, highlight, or mixed-lighting corrections.
- Portfolio highlight: a small set of hero portraits or film stills that represents the brand style.
Before sharing files with vendors or republishing client work, confirm the couple’s permissions, any embargo, the agreed credits, and the applicable usage rights. Organized, approved assets make future sharing easier without treating every wedding as unlimited marketing material.
Archive for Future Access
Separate working files from final deliverables after the project is complete. Set a written retention policy for camera originals, catalogs, project files, and exports, and tell the client what is retained and for how long. An archive reduces risk, but it should not imply indefinite storage unless the contract promises it.
- Keep final exports easy to find. Store final JPEGs, social reels, highlight films, and approved vendor previews in clearly named folders.
- Preserve the required project files. Keep Lightroom catalogs, Premiere Pro or DaVinci Resolve projects, LUT references, music licenses, and export notes together for the stated retention period.
- Use a consistent archive name. A format such as couple-name-wedding-date-deliverables is clear and sortable.
- Maintain an offsite copy. Use a reputable cloud backup or a separate encrypted drive stored away from the primary workspace so one local incident does not affect every copy.
- Save approved social versions. Anniversary posts, vendor features, and portfolio updates are easier when final vertical exports are already organized.
Wedding Content Workflow Checklist
- Confirm deliverables, turnaround windows, posting permissions, vendor access, and privacy restrictions before the event.
- Create separate shot priorities for rapid social content and final client delivery.
- Synchronize camera clocks and agree on naming, card handoff, and audio procedures.
- Capture vertical footage intentionally when vertical delivery is part of the brief.
- Create and verify at least two copies before editing or formatting cards.
- Shortlist teaser content separately from the full gallery cull.
- Deliver only the preview package promised in the contract.
- Cull the full gallery in multiple passes without prematurely deleting rejects.
- Edit by lighting group and review outliers individually.
- Use presets and LUTs as adjustable starting points.
- Deliver final files through a client-friendly, privacy-appropriate system.
- Repurpose only approved work with the required credits and usage rights.
- Archive final exports and required project files according to a disclosed retention policy.
FAQ
How Fast Should a Wedding Teaser Reel Be Delivered?
There is no universal deadline. Use the turnaround promised in the contract. A 24- to 48-hour window can be workable for a small preview when the team has protected time for verified backups, selection, editing, review, and delivery.
Should Social Clips Be Edited Before the Full Wedding Gallery?
Yes, when a rapid social preview is a contracted deliverable. Keep it limited to one defined package, then return to the full cull and final edit. Trying to produce every social asset and the complete gallery at the same time can create version and scheduling problems.
Can One Preset Work Across an Entire Wedding Gallery?
A preset can establish a consistent direction, but it rarely needs identical settings in every lighting condition. Group similar images, apply an appropriate starting look, and then adjust exposure, white balance, highlights, shadows, contrast, and skin tones.
What Should Be Archived After a Wedding Project?
Retain the final JPEGs, delivered reels and films, required project files, Lightroom catalogs, LUT references, export notes, licenses, and approved vendor previews for the period stated in the contract or retention policy. Keep at least one copy away from the primary workspace and document when older working files may be deleted.
Final Thoughts
The strongest wedding content workflow protects the master files first, limits the rapid-delivery scope, and gives every asset a clear destination. When capture, teaser production, full editing, delivery, approved reuse, and retention are planned as separate stages, the team can move quickly without turning the final gallery or film into a rushed afterthought.
AAAPresets currently advertises Buy 3, Get 9 FREE: add 12 eligible items to the cart and pay for 3. Confirm the current cart terms before checkout.
Written by Asanka Dilshan, founder of AAAPresets.


Leave a comment
This site is protected by hCaptcha and the hCaptcha Privacy Policy and Terms of Service apply.