
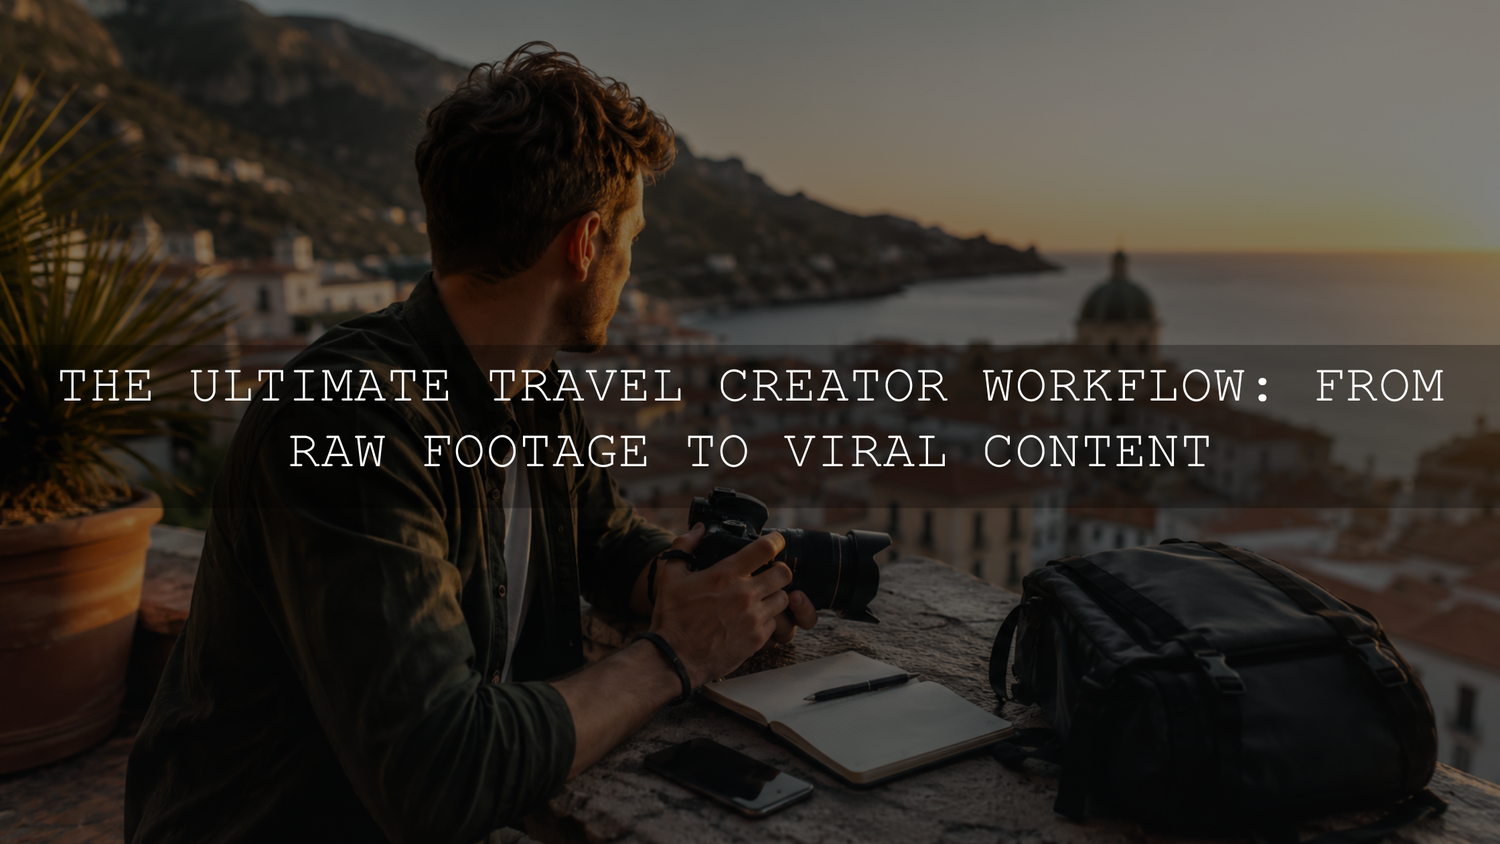
A practical travel content workflow starts before the trip, not when you open your editing app. Instead of filming everything and hoping useful content appears later, decide which stories, formats, and information each destination needs to produce.
The goal is not to publish the same clip everywhere. It is to capture a flexible library of vertical video, photographs, practical details, personal moments, and written notes that can be shaped into Instagram Reels, Stories, Pinterest Pins, and useful blog posts.
In practice, define one destination story, build a shot matrix, capture the required orientations, back up and label the files, establish one visual direction, and then create each platform version separately.
Start With a Trip-to-Content Map
Begin by identifying the main story of the trip. A destination may support several topics, but one clear angle makes shooting and editing much easier.
Possible travel-content angles include:
- A three-day city itinerary
- A realistic destination budget
- A hotel or resort review
- A food guide
- A road-trip route
- A photography-location guide
- A packing or equipment guide
- A personal travel story
Once the central topic is clear, list the assets it could produce. For example, a three-day city itinerary may become one vertical Reel, a sequence of Instagram Stories, a carousel, three Pinterest Pins, a detailed blog guide, and several short supporting clips.
This planning step is similar to building a monthly content library from one shoot, but travel requires additional preparation for changing light, limited storage, unreliable internet access, and locations you may not be able to revisit. The broader guide to turning one photoshoot into 30 days of content can help with the general planning stage.
Build a Travel Shot Matrix
A basic shot list records what you want to photograph. A shot matrix also records the crop, movement, purpose, and platform for each scene.
For every important location, try to capture a useful selection of the following:
Establishing Views
Record a wide view that immediately communicates the location. This may be a city skyline, hotel exterior, beach, mountain trail, train station, street market, or recognizable architectural detail.
Movement
Capture simple actions such as walking into a scene, opening a hotel-room door, boarding a train, ordering food, looking at a map, entering a market, or turning toward a viewpoint. Repeat important actions when practical so you have more than one usable take.
Details
Photograph signs, tickets, menus, room details, food, transport cards, maps, textures, prices, and equipment. These details are especially useful in practical guides and Instagram carousels.
Human Moments
Include natural reactions, conversations, pauses, and imperfect behind-the-scenes moments. A travel story built only from empty landscapes can feel disconnected from the person experiencing the destination.
Negative-Space Images
Capture several clean compositions with open sky, walls, water, roads, or uncluttered backgrounds. These frames give you room for Pinterest headlines, carousel titles, and blog graphics without covering the main subject.
Practical Evidence
Record the details that support your advice. If the article discusses ticket prices, transport routes, hotel facilities, accessibility, menu choices, or trail conditions, capture accurate supporting visuals and written notes while the information is still available.
Choose Orientation and Frame Rate Intentionally
No single camera setting is ideal for every platform or travel situation. Your capture settings should reflect how the footage will be used.
Vertical Video for Reels and Stories
Record important short-form scenes vertically when the main destination is Instagram Reels or Stories. Meta recommends a 9:16 format for full-screen Stories and Reels placements. Leave a little space around faces, signs, and important details so interface elements do not cover them.
Portrait Photographs for Pinterest
Pinterest recommends a 2:3 ratio, commonly 1000 by 1500 pixels, for standard Pins. Capture some photographs vertically instead of assuming that every wide travel image can be cropped successfully later.
For more detailed export guidance, review the AAAPresets guide to Shopify and Pinterest image export settings.
Landscape Images for the Blog
Capture separate wide photographs for feature images, destination overviews, hotel rooms, landscapes, and step-by-step explanations. A horizontal blog image and a vertical Reel serve different compositional purposes, even when they show the same scene.
When to Record in 4K
Recording in 4K can provide extra detail for reframing and exporting still images, provided your camera, memory cards, storage, editing device, and travel-backup system can support the larger files.
However, 4K does not automatically make a clip useful. Poor focus, excessive motion blur, clipped highlights, unstable movement, and an unsuitable composition remain problems at any resolution.
When to Use 50 or 60 fps
Use a higher frame rate when you deliberately plan to slow down movement such as walking, waves, traffic, fabric, wildlife, or handheld camera motion. For normal-speed dialogue, scenery, hotel tours, and low-light scenes, 24, 25, or 30 fps may create a simpler workflow and use less storage.
To maintain similar motion blur, higher frame rates are commonly paired with faster shutter speeds, which can require more light. Confirm the project frame rate and delivery format before mixing frame rates, and choose 50 or 60 fps for a clear purpose rather than using it for every clip.
Do Not Depend Entirely on Video Frames
A well-recorded 4K clip can produce a useful still image, but a frame exported from video is not always a replacement for a separately captured photograph.
Video frames may contain:
- Motion blur caused by the shutter speed chosen for motion
- An awkward expression between movements
- A composition designed for 9:16 or 16:9 rather than a photograph
- Often lower resolution than a dedicated still photograph
- Compression artifacts
- Less correction flexibility when the recording format, codec, or bit depth is limited
Use video frames for supporting carousels, Story covers, thumbnails, or behind-the-scenes moments when the frame is sharp enough. Capture dedicated RAW or high-quality photographs for blog hero images, detailed edits, printable material, and important Pinterest graphics.
Adobe Premiere Pro allows editors to save a still using the Export Frame control in the Source Monitor or Program Monitor. Review the frame at full size before assuming it is suitable for publication.
Create a Lightweight Travel Backup System
Do not wait until the end of a long trip to discover that a memory card, phone, or drive has failed. Create at least one additional verified copy of important files before formatting a card or deleting material from a device, and preserve the camera originals until the backup has been checked.
A manageable travel system may include:
- The original files on the camera card
- A working copy on a laptop or portable drive
- A cloud copy of selected or essential files when the internet connection allows it
Cloud storage can be helpful, but uploading every 4K clip may be unrealistic in locations with slow or expensive internet access. Prioritize finished work, important photographs, project files, travel documents, and footage that cannot be recreated.
Use a Consistent Folder Structure
Create the same folders for every trip:
- 01_PHOTOS
- 02_VIDEO
- 03_AUDIO
- 04_SELECTS
- 05_PROJECT_FILES
- 06_EXPORTS
- 07_BLOG_AND_NOTES
Use Searchable File Names
A clear file name is more useful than a folder filled with files named DSC0001 or IMG4827.
A practical pattern is:
YYYYMMDD-location-topic-shot-number
For example:
20260715-colombo-fort-market-wide-001
Use short, meaningful names and consistent folder organization. Include the information you are most likely to search for later, such as destination, hotel, activity, food, or scene type.
Create One Master Visual Direction
Repurposed content feels more intentional when the photographs and videos share a recognizable color direction. That does not require every frame to be identical. It requires controlled exposure, believable skin tones, consistent contrast, and a related treatment of highlights, shadows, greens, blues, and warm light.
Prepare the Photograph First
Before applying a creative look, correct major exposure and white-balance problems. Then apply a suitable Lightroom preset and refine its intensity for the photograph. Adobe describes presets as predefined groups of editing settings that can be adjusted after application.
Travel presets may react differently to tropical sunlight, overcast streets, neon interiors, warm hotel lighting, and shaded portraits. Review at least the following after applying a preset:
- Exposure
- White balance
- Highlight detail
- Shadow noise
- Skin tones
- Sky saturation
- Green and aqua colors
- Lens corrections
Correct Video Before Applying a Creative Grade
Balance exposure and white balance before applying a creative LUT or color treatment. A creative LUT does not automatically correct clips recorded under different lighting conditions.
Match the visible characteristics of the photograph and video rather than trying to force them to use mathematically identical settings. Compare highlight warmth, black-point depth, shadow color, saturation, skin tones, and overall contrast.
The AAAPresets guide to matching presets and LUTs for a cohesive Instagram style explains this photo-and-video workflow in more detail.
Turn the Master Story Into Platform-Specific Content
Once the central story and visual direction are established, build each platform version for its own purpose.
Instagram Reel
Use the Reel to communicate one clear idea rather than compressing the entire trip into a random montage.
A simple structure is:
- Opening: Show the destination, result, or problem immediately.
- Context: Explain where you are and why the viewer should care.
- Progression: Use movement, details, practical information, and human moments.
- Payoff: Deliver the promised view, recommendation, itinerary, price, or conclusion.
- Next step: Direct the viewer to the full guide, saved itinerary, newsletter, or relevant resource.
Add captions when spoken information is important. Keep essential text away from the extreme top and bottom of the frame where interface elements may appear.
Instagram Stories
Stories work best as a short sequence rather than an unfiltered upload of every clip recorded that day.
A useful Story sequence can include:
- A strong opening visual
- A short explanation of the destination
- A practical detail or personal observation
- A poll, question, or slider when interaction is genuinely useful
- A clear link or next step
Interactive stickers can help you collect feedback and learn what followers want explained next, but they should support the story rather than interrupt every frame.
Pinterest Pins
Turn the evergreen parts of the trip into individual Pins. A complete destination guide may support several Pin angles, such as:
- Three-day itinerary
- Affordable places to eat
- Best photography locations
- Hotel-review summary
- Transport guide
- Packing checklist
- Common mistakes
Use accurate, descriptive titles and destination-specific language. Avoid forcing several unrelated keywords into one description. Each Pin should lead to a page that genuinely answers the promise made by its image and title.
Blog Article
The blog should become the most complete version of the story. Include information that a short Reel cannot explain clearly, such as:
- Costs and what was included
- Routes and transport options
- Timings and realistic itinerary notes
- Equipment recommendations
- Accessibility considerations
- Seasonal limitations
- Booking requirements
- Mistakes and unexpected problems
Embedding a relevant video can improve the article when it demonstrates something the text cannot show efficiently. Place it near descriptive, relevant text, and do not treat an embedded Reel as a substitute for a complete written guide.
Use a Repeatable Post-Trip Batch Workflow
- Back up everything: Confirm that important files exist in more than one location.
- Review the written notes: Add missing prices, names, routes, and observations while the trip is still fresh.
- Create selects: Separate the strongest photographs, video clips, details, and practical evidence.
- Build the master story: Decide the article promise and the main short-form video angle.
- Edit the core visual set: Establish the exposure, white balance, contrast, and color direction.
- Create platform versions: Export the Reel, Stories, carousel, Pins, blog images, and supporting thumbnails.
- Complete quality control: Check spelling, links, prices, crops, color, audio, captions, and factual accuracy.
Editing the most demanding asset first can reduce duplicated work, but that asset is not always the Reel. For a detailed itinerary, the blog outline may need to come first because it defines the information that the Reel and Pins should promote.
Complete a Travel Content Quality Check
Before publishing, confirm:
- The location and business names are spelled correctly.
- Prices and schedules are dated or described cautiously when they may change.
- The Reel, Pin, and blog article make the same core promise.
- Vertical crops do not cut off faces, landmarks, signs, or food.
- Skin tones remain believable across photographs and video.
- Important highlights and skies are not clipped.
- Audio is understandable.
- Captions match the spoken content.
- Pinterest links lead to the relevant article rather than a general homepage.
- Blog images use descriptive file names and accurate alt text.
- Sponsored stays, gifted products, or affiliate relationships are disclosed where required.
Keep the Workflow Sustainable
A travel content system should protect the experience rather than consume it. Choose specific capture windows and allow time when the camera stays packed away.
Once you have the establishing view, movement, details, practical evidence, and human moments required for the story, continuing to record near-identical clips usually creates more sorting rather than more value.
Use automation for repeatable tasks such as file syncing, backups, export presets, caption templates, and scheduling. Keep the creative decisions, personal observations, and destination advice connected to the actual experience.
For travel photographs that need a consistent starting point, the Lightroom Presets for Landscapes & Travel pack includes eight preset looks supplied as XMP files for desktop editing and DNG files for Lightroom Mobile. It supports Lightroom, Lightroom Classic, Lightroom Mobile, and Adobe Camera Raw, and works with RAW and JPEG images. Apply a preset as a starting point, then adjust exposure, white balance, and individual colors for each location. You can also explore the wider Lightroom presets for mobile and desktop collection. For eligible items, the current Buy 3, Get 9 FREE offer requires adding 12 items to the cart and paying for 3.
Frequently Asked Questions
Should travel creators always record in 4K at 60 fps?
No. Use 4K when the additional detail and cropping flexibility justify the storage and editing requirements. Use 50 or 60 fps when you intend to create slow motion. Normal-speed scenes, low-light footage, interviews, and simple destination clips may be better recorded at 24, 25, or 30 fps.
Can I use a frame from a Reel as a Pinterest image?
Yes, provided the frame is sharp, well composed, and large enough for the intended design. However, separately captured photographs usually provide better resolution, cleaner motion, and greater editing flexibility for important Pins and blog images.
Should I edit the Reel or blog article first?
Start with the asset that defines the story. A cinematic destination montage may begin with the Reel. A detailed itinerary, budget guide, or hotel comparison may begin with a blog outline because the written information determines what the shorter assets need to communicate.
How much content should I capture during a trip?
Capture enough material to explain the story clearly: establishing views, movement, details, practical evidence, human moments, and several orientation options. Stop when additional clips become repetitive and begin interfering with the experience.
Written by Asanka — creator of AAAPresets, serving more than 10,000 customers.

Leave a comment
This site is protected by hCaptcha and the hCaptcha Privacy Policy and Terms of Service apply.