
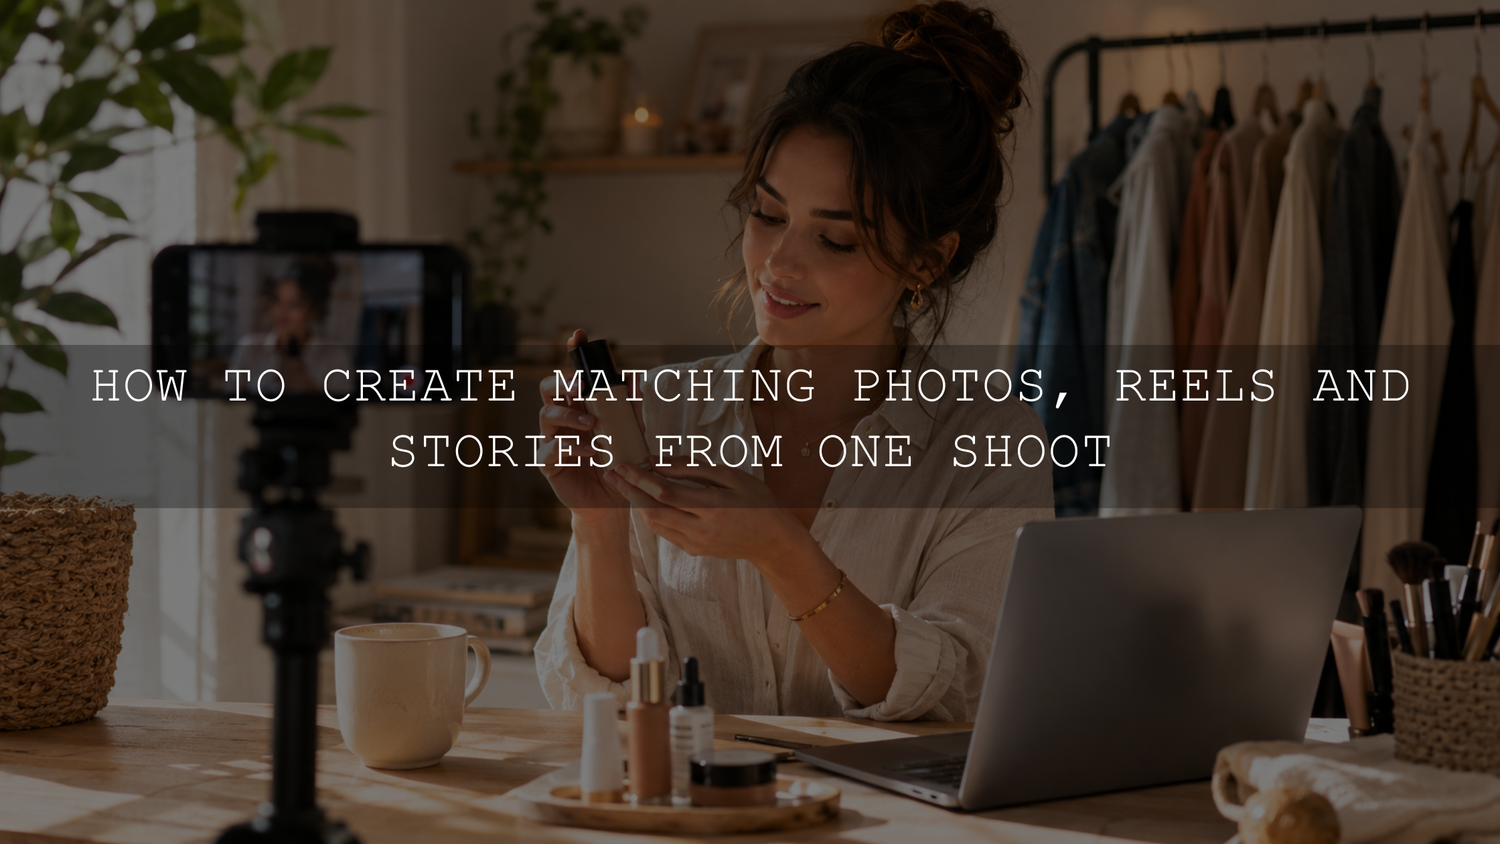
One good content shoot can give you more than a few nice photos. With the right plan, the same setup can produce a Reel, several feed images, carousel slides, Stories, thumbnails, behind-the-scenes clips and reusable B-roll. The key is to plan the shoot around final outputs before you start recording, rather than hoping random clips will fit every platform later.
This workflow is designed for creators, photographers, influencers, small business owners and social media teams who want one cohesive batch of content from a single session. You will plan the theme, capture movement and stills intentionally, protect your framing for different crops, then edit the batch so the final posts feel connected without looking repetitive.
Plan the shoot around outputs, not random poses
Before setting up your camera or phone, decide exactly what the shoot needs to produce. A strong batch usually starts with one clear theme: a product launch, a tutorial, a personal brand story, a seasonal campaign, a behind-the-scenes day or a simple educational post.
Write the deliverables first. For example, one creator shoot might need:
- One short vertical Reel or Short.
- Three to five feed photos.
- One carousel cover and several supporting carousel images.
- Five to ten short Story clips.
- One thumbnail or cover image with clean space for text.
- Extra B-roll for future posts.
This prevents a common batching problem: finishing the shoot with plenty of files, but not enough usable assets for each format. A planned shoot gives every clip and frame a job.
Build a multi-format shot list
A useful shot list should include movement, stills, details and empty space. You do not need a complicated production board, but you do need enough structure to avoid repeating the same pose for every asset.
Use this simple shot list as a starting point:
- Vertical master video: Record the main action in a 9:16 vertical frame for Reels, Stories and Shorts.
- Hero still: Capture one clear, polished image that can work as a feed post or carousel cover.
- Detail shots: Photograph hands, tools, outfits, textures, screens, products or workspace details.
- Action stills: Capture natural movement, such as walking, editing, styling, packing, pouring coffee or adjusting a camera.
- Negative-space images: Leave clean background space for text overlays, announcements and calls to action.
- Story clips: Record short setup, progress and behind-the-scenes moments.
- Backup cover frames: Shoot a few simple vertical frames that can become Reel covers or Story backgrounds.
The goal is variety within one visual world. You can keep the outfit, lighting and location consistent, but change distance, angle, crop and action so the final posts do not feel duplicated.
Frame for Reels, Stories, feed posts and carousels
Framing is where many one-shoot batches succeed or fail. Reels and Stories usually need a full vertical frame, while feed photos and carousel images may need a different crop. Instagram says Reels can use aspect ratios from 1.91:1 to 9:16, with minimum technical requirements such as 30 FPS and 720 pixels, but a full vertical 9:16 composition is usually the safest choice for immersive mobile viewing. Check Instagram’s current Reel size and aspect ratio guidance before preparing final exports.
When filming vertical video, keep the main face, product or action near the center of the frame. Leave room above the head, below the hands and around important objects so captions, icons and platform buttons do not cover key details.
For feed images, avoid framing too tightly in camera. Instagram’s photo resolution guidance explains how images are handled at different sizes and aspect ratios, so it is better to shoot with extra room and crop intentionally later.
Choose the capture order based on risk
There is no universal rule that video must always come before photos. The best capture order is the one that protects the hardest asset to recreate.
Shoot video first when:
- The Reel is the main deliverable.
- You need natural movement, dialogue or transitions.
- Your energy and expression are important to the concept.
- The set will not change much during the session.
Shoot stills first when:
- You are photographing food, flowers, makeup, styling or products that may change quickly.
- The hero image is the most important asset.
- You need perfect lighting for a campaign image before experimenting with motion.
- The setup may get messy during filming.
If the Reel is hardest to recreate, film it first. If the hero image is hardest to recreate, photograph it first.
Capture video assets before the setup changes
When it is time to film, think beyond the final Reel. Record a small library of motion assets that can be reused across multiple posts.
Capture these video angles:
- Wide shot: Shows the full setup, body movement or workspace.
- Medium shot: Shows the subject from the waist up, ideal for talking clips or process videos.
- Close-up: Shows hands, product details, screen actions, makeup, food, fabric or tools.
- Point-of-view clip: Makes the viewer feel part of the action.
- Transition clip: Includes a hand swipe, object pass, camera cover or movement that can connect scenes.
- Clean cover frame: A short pause with good expression and clean background space for text.
Record a few extra seconds before and after each action. Those handles are useful when trimming, syncing audio, adding transitions or turning a short clip into a Story background.
Move into stills without rebuilding the setup
After video, use the same lighting and set to capture still images. Because the environment is already ready, this part of the shoot can often move faster than a separate photo session.
Focus on four types of photos:
- The hero image: A clear, polished photo that introduces the topic or campaign.
- The in-action image: A natural photo showing you working, moving, styling or demonstrating something.
- The detail image: A close crop of the product, outfit, workspace, tool, screen, hands or texture.
- The text-space image: A clean composition with empty space for a carousel title, quote, offer or announcement.
If you are using a camera, RAW files generally give more editing latitude for white balance and tonal adjustments than JPEGs. JPEGs can still work well, but they usually allow less correction if exposure or color temperature is far off. No file type can recover detail that was not captured, so review highlights and focus before packing up.
Collect Stories content while you work
Stories do not need to look as polished as your feed. They are often more useful when they show process, decisions and small real moments around the main shoot.
Capture Story assets in between the polished takes:
- A quick setup time-lapse.
- A short clip explaining what you are shooting today.
- A behind-the-scenes photo of your tripod, lights or workspace.
- An imperfect take or reset moment.
- A before-and-after preview from the camera roll.
- A simple blank background clip for polls, questions or countdown stickers.
Keep these clips short. A few seconds of usable behind-the-scenes content is often enough for a Story sequence.
Edit for consistency without forcing every file to match
One-shoot batching can work well because the lighting, wardrobe and location are already related. Editing should strengthen that consistency, not flatten every image into the exact same look.
Start by grouping files by lighting condition. For example, separate window-light photos, direct-sun clips, indoor mixed-light shots and night footage. Correct exposure and white balance first, then apply your preset or LUT. This helps avoid a common mistake: using one edit across every file even when the light changes.
For a bright creator-style look, Vibrant Blogger Presets for Instagram Influencers is a relevant option because the product page lists 8 XMP preset items for Lightroom desktop and Adobe Camera Raw, plus 8 DNG preset items for Lightroom Mobile. Use the preset as a starting point, then refine exposure, white balance, contrast, saturation and skin tones for each lighting group.
If you want a broader editing workflow, the Lightroom workflow guide can help you build a repeatable edit order. If you are new to presets, check the Lightroom preset installation guide. For matching video color, use the LUT import guide before applying video LUTs in your editing software.
Export and organize by destination
Do not leave your finished files in one messy folder. A good export system makes the batch easier to schedule and reuse.
Create folders such as:
- 01-reels-and-shorts
- 02-feed-photos
- 03-carousel-slides
- 04-stories
- 05-covers-and-thumbnails
- 06-b-roll-for-future-use
Keep a full-resolution master version when possible, then create platform-ready copies for each destination. Name files clearly, such as creator-shoot-reel-cover-01.jpg or product-demo-story-broll-03.mp4. Clear names make it easier to schedule posts later and avoid uploading the wrong crop.
If you plan to use the images on your blog or website, follow Google image SEO best practices: use helpful file names, accurate alt text, strong surrounding copy and images that genuinely support the page.
Common mistakes to avoid
- Shooting too many unrelated ideas: One session should have a clear theme, even if it produces several formats.
- Framing too tightly: Leave room for crops, text overlays, captions and platform interface elements.
- Changing the lighting too often: Small lighting changes can make the final batch harder to match.
- Forgetting cover images: Reel covers, carousel covers and thumbnails are easier to create during the shoot than after it.
- Batch-editing everything with identical settings: Adjust each lighting group instead of forcing one exact edit across all files.
- Ignoring video audio: Even if you replace audio later, scratch audio can help with timing and editing.
- Not checking the files before packing up: Review focus, exposure and framing before tearing down the setup.
When one-shoot batching is not ideal
One-shoot batching is useful for planned educational posts, product content, creator updates, personal branding, tutorials, launches and evergreen visual assets.
It may not work as well for breaking news, live reactions, location-specific storytelling, emotional moments that need to feel immediate, or campaigns that require very different styling and environments. In those cases, use a hybrid approach: batch your evergreen visuals, then leave room in your calendar for timely posts.
Frequently asked questions
Should I shoot Reels or photos first?
Shoot the highest-risk asset first. If movement, timing or performance is hardest to recreate, film the Reel first. If the hero photo or product styling is most important, capture stills first before the set changes.
Can one preset work for the whole shoot?
One preset family can help the batch feel cohesive, but each file may still need small adjustments. Exposure, white balance, skin tone, contrast and saturation can change between angles, even during the same shoot.
Can I batch this kind of content with a phone?
Yes. A phone can work well if you use clean light, stabilize the shot, wipe the lens, avoid unnecessary zooming and leave extra space for cropping. A dedicated camera may give more editing flexibility, especially when shooting RAW photos, but planning matters more than gear.
Build a repeatable content system
The goal is not to create more files for the sake of it. The goal is to leave one shoot with a complete, organized content system: one main video, several polished stills, Story material, thumbnails, detail shots and reusable B-roll.
For a cohesive creator feed, browse the Instagram presets for content creators. If you also edit vertical video, the Premiere Pro transitions for Reels, Shorts and TikToks collection may help you build faster edits. AAAPresets currently promotes a Buy 3, Get 9 FREE offer, so choose products that genuinely fit your editing workflow rather than buying styles you will not use.
Written by Asanka Dilshan — creator of AAAPresets, serving more than 10,000 customers.

Leave a comment
This site is protected by hCaptcha and the hCaptcha Privacy Policy and Terms of Service apply.