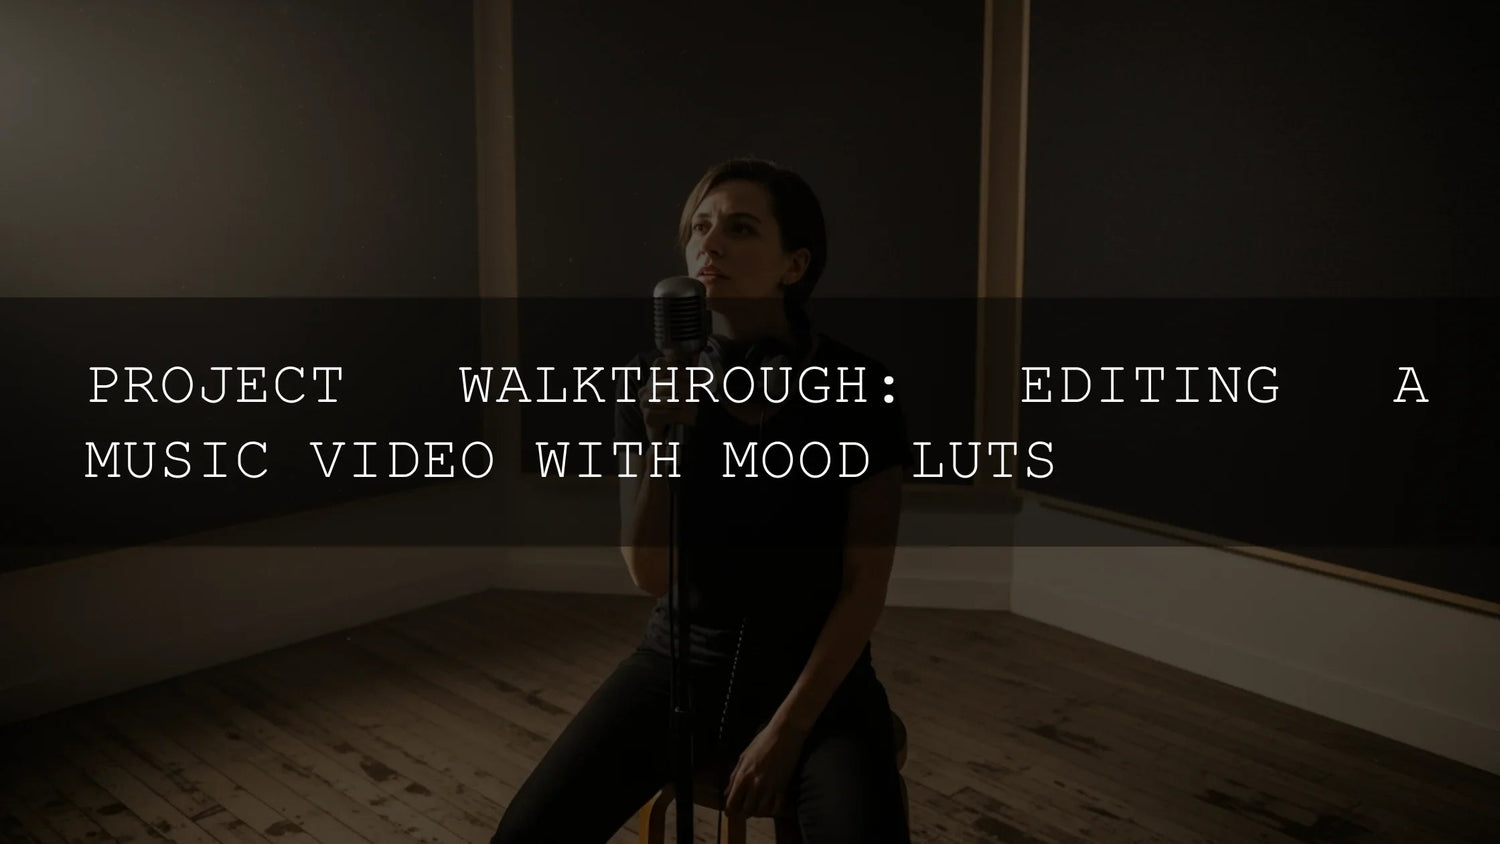
Music Video LUTs Walkthrough: How to Build Emotion-Driven Grades with Mood LUTs (Resolve & Premiere Pro)
When you edit a music video, the mood is the product. Audiences expect cohesive, cinematic color that evolves with the song. This step-by-step walkthrough shows how to design an emotional arc with music video LUTs (aka mood LUTs) using DaVinci Resolve LUTs or Premiere Pro LUTs—from pre-production choices to final export. You’ll get a practical framework, a “presets vs manual editing” comparison, and pro tips you can apply today.
Ready to try a proven starting palette for high-energy choruses, moody verses, and warm outros? Explore the 300+ Music Video Color Grading LUTs Bundle and keep browsing the full category in Music Video Color Grading Cinematic LUTs Bundles. Try them on your next cut—Buy 3, Get 9 FREE.
Why LUTs are powerful for music videos
A LUT (Look-Up Table) remaps color and luminance with a predefined transform, giving you fast, repeatable looks across many shots. Used well, LUTs build a coherent visual identity for each section of the song. For platform-friendly workflows and accurate monitoring, review Adobe’s color management & Lumetri Color guidance for Premiere Pro and how to install and apply Looks & LUTs in Lumetri. Color theory helps, too—audition palettes with the Adobe Color wheel.
The project plan: map the emotional arc first
Before you touch the timeline, outline the song’s feel by section. A simple three-act arc works well:
- Introspective intro → restrained contrast, cool shadows, lowered saturation
- Energetic chorus → vibrant saturation, warm highlights, punchy contrast
- Reflective outro → soft contrast, film-inspired warmth, gentle roll-off
Field note: I tested this structure on a low-light club performance: a cool, desaturated look for verse (65–75% LUT intensity), a warmer chorus with boosted midtone contrast, then a filmic, glowy outro. Viewers described the color shift as “felt, not seen”—exactly what you want.
Pre-production that makes grading easier
Light and wardrobe
Pick lighting that supports the intended palette (e.g., cool practicals for verses, warm gels for the hook). Dress talent with hues that won’t fight your look (avoid heavy neon near teal/cyan intros unless that’s the creative choice).
Shoot Log for latitude
Capture in Log (S-Log3, V-Log, C-Log, BRAW Log, etc.) for highlight retention and flexible color correction. Use a reliable monitor/view assist; if you’re delivering in Rec.709, build the pipeline around predictable transforms.
Color-managed pipeline
Whether you grade in Resolve or Lumetri, keep color-space rules explicit. For Lumetri setups, see Adobe’s notes on color management. For larger productions, learn why many teams standardize on ACES color management for consistency across cameras and apps.
Post-production: a practical grading workflow
1) Lock the edit
Finalize picture (timing, rhythm, transitions). Grading before lock multiplies rework.
2) Build your mood LUT palette
- Intro / verse: cool shadows, lifted blacks, gentle desaturation (search terms: moody teal, cinematic cool)
- Chorus / drop: warm highlights, vivid but skin-safe saturation, higher contrast (cinematic warm, teal-orange variants)
- Outro: film-inspired warmth, softened contrast, subtle halation (soft film, vintage look)
Need a fast, cohesive set? Start with 300+ Music Video Color Grading LUTs for verse/chorus/outro pairings, and keep a “big gun” pack like 700+ Cinematic Video LUTs Bundle for specialty vibes and B-roll.
3) Technical transform first, creative LUT second
Use a technical transform (e.g., Log→Rec.709) before your creative LUT. In Premiere Pro, apply the Input LUT in Basic Correction and creative looks in Creative (see Looks & LUTs and Lumetri management). In Resolve, place the tech transform early in the node tree (IDT/ CST), then branch to creative look nodes.
4) Set LUT intensity (the secret sauce)
100% rarely works. Blend between 40–80% to preserve the camera’s character and skin tones. Then refine with white balance, exposure, color wheels (Lift/Gamma/Gain), curves, and selective HSL tweaks. If a cool look green-shifts skin, add a touch of magenta in midtones.
5) Blend section transitions
- Keyframe LUT mix during pre-chorus to “pre-warm” the image
- Use a bridge shot (e.g., flare, light leak, or complementary B-roll) to smooth the change
- Let one grade overlap a few frames into the next section to avoid hard cuts
6) Final polish & review
Check on multiple screens (phone, laptop, TV) and in different ambient light. In Lumetri, re-confirm color settings; in Resolve, verify your output color space and scopes. Re-export if small balance shifts appear.
Presets vs manual editing (which and when?)
- Speed & consistency (LUTs): One-click cohesion across many shots, perfect for tight deadlines and multi-cam performance edits.
- Precision (manual): Shot-specific problems (mixed color temps, neon spill, tricky skin) often need wheels, curves, and secondary keys.
- Best of both: Establish a base with a creative LUT, then sculpt the result. This hybrid approach is how most professionals work.
Deep dive on the trade-offs here: LUTs vs. Manual Color Grading.
Step-by-step recipe you can copy
- Prep the timeline: Group clips by section (verse/chorus/outro). Make a still gallery of good reference frames.
- Order of ops: Noise reduction → primary balance → tech transform → creative LUT → secondaries (skin, skies, selective hues) → finishing (grain, halation, vignette).
- Skin protection: After applying the LUT, isolate skin via Hue/Vs. Sat/Lum and gently restore natural saturation and warmth.
- Chorus punch: Increase midtone contrast; warm highlights slightly; cap saturation so reds don’t clip on social previews.
- Outro comfort: Ease contrast, add a filmic toe and mild glow; reduce saturation spikes for a relaxed feel.
Want a ready-made chorus punch? Try a blockbuster-style accent from 120+ Blockbuster LUTs, then soften midtones for faces.
Hard-won pro tips
- Design palettes with intention: Use the Adobe Color harmony wheel to test complementary or split-complementary schemes that match wardrobe and set dressing.
- Keep monitoring honest: Review the Lumetri color-management settings if something looks off after export.
- Stack looks, don’t fight them: Technical first, creative second. If you push a LUT to fix exposure, you’ll fight it everywhere else.
- Protect highlights: Chorus lighting often clips. Curve the top end and warm the speculars only after you’ve controlled roll-off.
- Test on reference shots: I always audition 3–5 LUT candidates on the widest, the closest skin, and the most saturated light cue before committing.
Tools & learning resources
- Adobe’s guide to Looks and LUTs in Premiere Pro
- Color management & Lumetri (Premiere Pro)
- Adobe Color wheel for palette planning
- Film-style looks in DaVinci Resolve
- Academy’s overview of ACES
Related reading
- DaVinci Color Grading for Music Videos: Step-by-Step Workflow
- What Are LUTs and Why Every Videographer Should Use Them
- Best LUTs for Cinematic Color Grading in DaVinci Resolve
- Using LUTs on Mobile (CapCut/VN) for Fast Social Cuts
- LUTs vs. Manual Color Grading
What to buy for this workflow
Start with a focused, mood-driven kit, then add specialty looks as needed:
- 300+ Music Video Color Grading LUTs — verse/chorus/outro ready, skin-respectful, performant on 4K/8K
- 700+ Cinematic Video LUTs Bundle — massive range for B-roll and narrative bridges
- 120+ Blockbuster LUTs — high-impact hooks and performance punch
Want to browse by software? See DaVinci Resolve LUTs or the full Music Video LUTs collections. Add any 12 items and pay for only 3—Buy 3, Get 9 FREE.
FAQ
Do I apply my mood LUT before or after the Log→Rec.709 transform?
Apply the technical transform first (Input LUT/CST), then your creative mood LUT. This keeps contrast and color mapping predictable.
How much LUT intensity is “right” for music videos?
Start between 40–80% and judge against skin and wardrobe. If the look feels stamped, reduce intensity and restore saturation selectively.
Can I mix different LUTs in one timeline?
Yes—use one palette per section (verse/chorus/outro). Smooth transitions by keyframing LUT mix and overlapping grades a few frames.
What if my chorus lighting clips?
Lower highlight roll-off with curves, then warm highlights slightly. Avoid pushing saturation after clipping; adjust earlier in the chain.
Will these LUTs work in Premiere Pro and Resolve?
Yes—.cube LUTs are supported across major NLEs. In Premiere, use Lumetri’s Input/Creative slots; in Resolve, place the creative LUT after the CST/IDT.
Written by Asanka — creator of AAAPresets (10,000+ customers).


Leave a comment
This site is protected by hCaptcha and the hCaptcha Privacy Policy and Terms of Service apply.