What Is Color Grading in DaVinci Resolve? A Beginner’s Guide
So, you're diving into the world of video editing and keep hearing about "color grading." Sounds intimidating, right? But don't worry! It's less complicated than it seems, and if you're using DaVinci Resolve, one of the best (and free!) video editing suites out there, you're in for a treat. This in-depth DaVinci Resolve color grading tutorial will be your comprehensive guide, taking you from complete novice to confident colorist.

What is Color Grading, and Why Should You Care?
Color grading is the art of enhancing your video's look and feel by adjusting its colors. Think of it as painting with light, adding subtle nuances or bold statements to transform your footage from ordinary to extraordinary. It's more than just making your video "pretty" – it's a powerful tool for storytelling, mood setting, and establishing a consistent visual style. It's the difference between a video that's watchable and one that's captivating.
It's crucial to distinguish color grading from color correction. Color correction is about fixing inconsistencies, ensuring your footage is balanced and accurately represents reality. Perhaps you shot in diverse lighting conditions; color correction will unify those disparate exposures. Color grading, however, is the *creative* process that follows, adding stylistic flourishes and artistic flair.

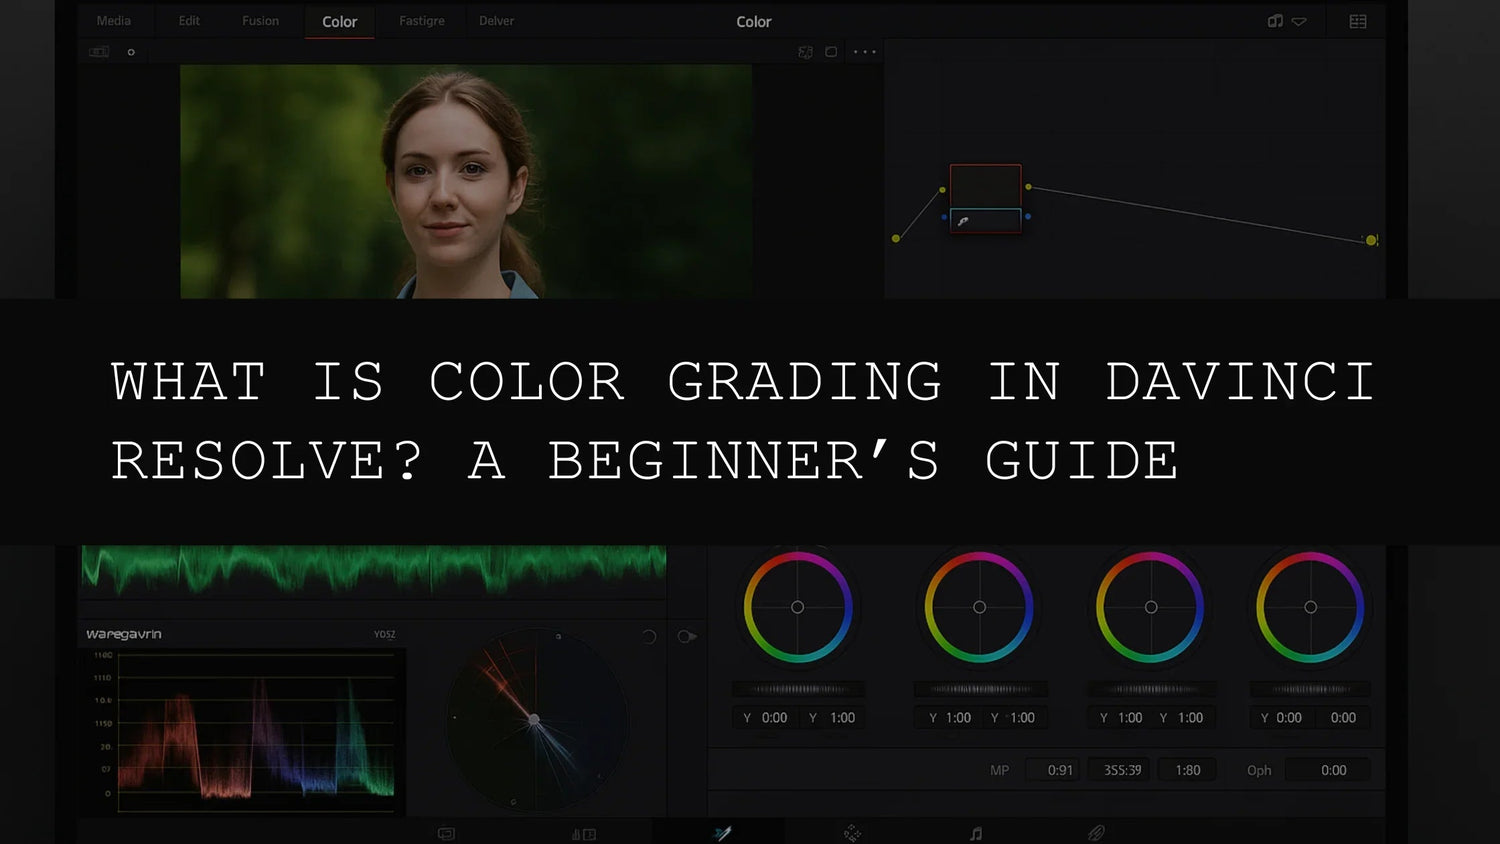
DaVinci Resolve: Your Color Grading Powerhouse
DaVinci Resolve is professional-grade software used by Hollywood studios and independent filmmakers alike. Its remarkable power lies in its accessibility – even beginners can create stunning results, especially with the freely available version. This isn't a watered-down version either; it's remarkably comprehensive.
- Free and Powerful: The free version of DaVinci Resolve offers an incredible array of tools that rival many expensive competitors.
- Intuitive Interface (Eventually!): While there's a learning curve, the interface is designed well. You'll become more comfortable with it as you progress.
- Non-Destructive Editing: Make changes without altering the original footage. This lets you experiment fearlessly, knowing you can always revert back to your original state.
- Industry Standard: Mastering DaVinci Resolve is a valuable skill to boost your video editing career.
- Extensive Community Support: A huge online community provides tutorials, forums, and assistance, ensuring you're never alone on your learning journey.

A Step-by-Step DaVinci Resolve Color Grading Tutorial
Let's move beyond theory and into the practical realm! This comprehensive tutorial will provide a solid foundation for your color grading adventures.
1. Project Setup and Media Import:
Begin by creating a new project in DaVinci Resolve. Ensure the settings (resolution, frame rate, color space) match your source footage. Import your videos to the Media Pool, ready for the editing phase.
2. Navigating the DaVinci Resolve Interface:
Familiarize yourself with the core interface. You'll be spending most of your time on the "Color" page, but understanding the Edit page and Fusion (for advanced effects) will greatly enhance your workflow.
3. Color Correction: The Foundation of Great Grading:
Before you start creatively adjusting colors, it’s vital to conduct thorough color correction. This step ensures color consistency across your footage, regardless of different shooting conditions.
- White Balance: Correct white balance to eliminate color casts. DaVinci Resolve provides tools to adjust white balance based on a white, gray, or custom reference point.
- Exposure and Contrast: Adjust overall brightness and contrast to achieve even exposure throughout your project.
- Gain, Lift, Gamma: Master the three-way color correction process that helps you adjust the highlights, midtones, and shadows, respectively.
4. The Art of Color Grading: Finding Your Style
Now comes the fun part! This is where you apply your artistic vision to transform your video's mood and aesthetics.
- Primary Color Wheels (RGB): Control the overall levels of red, green, and blue. Fine-tune each channel to correct color casts or to introduce subtle shifts.
- Secondary Color Wheels (Hue, Saturation, Luminance (HSL)): Target specific color ranges, allowing you to adjust their hue, saturation, and luminance independently. This is ideal for adjusting a particular sky color or enhancing a character's outfit.
- Curves: A powerful tool for precise color adjustments. You can make global changes or fine-tune individual color channels. Learn about S-curves, logarithmic curves and their expressive capabilities.
- Offset and Gain: Adjust the overall brightness and color saturation. Use these tools carefully and subtly.
5. Power Windows and Precision Selection:
Power Windows let you apply color grading to specific areas within the frame, giving you incredible precision. This is fantastic for targeting characters, objects, or specific parts of the background.
- Shape Masks: Easily create circles, rectangles, and other geometric shapes.
- Rotoscoping: For complex shapes, you can carefully trace around moving elements, creating a mask that follows their movement throughout the shot.
- Keying: Remove or isolate colors based on their luminance.
6. Advanced Techniques for Master Colorists
Ready to take your skills to the next level?
- Nodes: Organize your color grading workflow into nodes, allowing for flexibility and complex adjustments without damaging your original footage. Create multiple nodes to easily experiment.
- Color Space Management: Learn the differences between color spaces (Rec.709, DCI-P3, etc.) to ensure your video looks its best on various displays. DaVinci Resolve allows you to set and manage these.
- LUTs (Look-Up Tables): Import pre-made color profiles to quickly and easily apply specific color styles. Experiment with different LUTs to find looks that match your vision.
- Tracking: Automatically follow moving objects in your video to apply consistent color grades across time. This is ideal for complex shots with moving elements.
- Keyframing: Animate color grades over time to add dynamism or stylistic changes. This is excellent for subtle shifts in mood or to enhance cinematic transitions.
- Optical Flow: This amazing tool is capable of generating frames to fill in gaps, allowing you to stabilize and improve footage, thereby improving the consistency of your color grades.
7. Collaboration and Project Management:
If you're working on a larger project with others, DaVinci Resolve offers powerful collaboration tools. These allow you to streamline the color grading workflow, avoiding conflicts and making for smooth collaboration.
8. Exporting Your Masterpiece:
Once you're satisfied with your color grading, export your video in the appropriate format and resolution for your intended distribution platform.
Practice, Patience, and Persistence: The Keys to Mastering Color Grading
Color grading is a journey, not a destination. Don't be discouraged by the complexity initially; continuous practice is key. Start with simpler projects, experiment with different techniques, and most importantly, have fun! Embrace the learning process, and soon you’ll be creating visually stunning videos with confidence. The online community is a massive resource; use it, and you will find answers to your color grading questions.
Remember to search for more DaVinci Resolve color grading tutorials online. There’s a treasure trove of learning materials available to help you enhance your skills. Keep practicing, keep exploring, and most importantly, keep creating!
Leave a comment
This site is protected by hCaptcha and the hCaptcha Privacy Policy and Terms of Service apply.