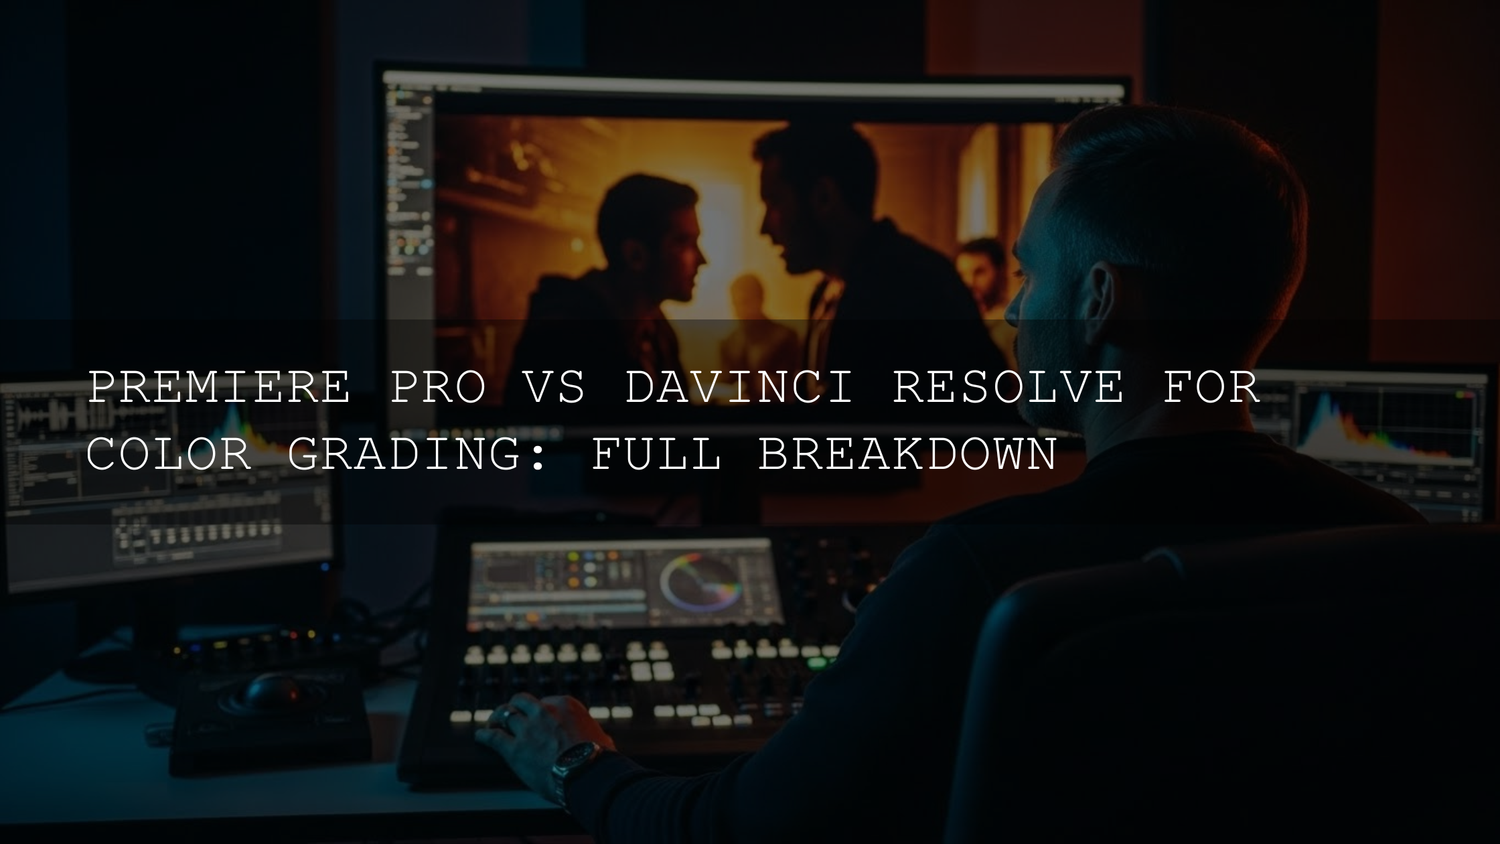
Premiere Pro vs DaVinci Resolve for Color Grading: Which One Should You Use?
If you’re trying to decide between Premiere Pro vs DaVinci Resolve for color grading, you’re not alone. Both tools are insanely powerful, but they shine in slightly different ways. One is built around an all-round editing workflow with the Lumetri Color panel, while the other is a dedicated color grading beast with a node-based Color page. In this guide, we’ll break down how each handles color, who each one is best for, and how presets, LUTs, and manual grading all fit into your workflow.
My goal here is simple: by the end of this article, you’ll know exactly which software fits your current projects, budget, and skill level—and how to get better results no matter which one you choose.
Before we dive deep, remember that you don’t have to choose software alone. You can also speed up your workflow with curated LUTs and presets. For example, pairing your grading with a pack like our 700+ Cinematic Video LUTs for filmmakers or exploring the full Video LUTs collection can help you test looks faster while you learn the strengths of each platform.
Why Color Grading Workflow Matters More Than the Logo on Your Timeline
Color grading isn’t just about “making footage look cool.” It’s about guiding the viewer’s eye, creating emotion, and making clips from different cameras feel like one story. Whether you’re grading in Premiere Pro or DaVinci Resolve, your workflow—how you import, organize, correct, stylize, and deliver—matters as much as the software itself.
When I tested the same wedding clip in both tools, I could get beautiful results in each. In Premiere Pro, I leaned on Lumetri for fast primary corrections and LUT-based looks. In DaVinci Resolve, I built a node tree with separate nodes for exposure, skin tones, and final contrast. The end result looked similar, but the path—and the control I had at each step—felt very different.
If you want more context on grading fundamentals, you might also enjoy reading a deep dive like a Hollywood film emulation workflow in Premiere Pro or a guide such as using Lumetri scopes like a professional colorist once you finish this article.
Premiere Pro: Color Grading Inside an All-Round Editing Powerhouse
Premiere Pro is still the default choice for many editors because it does almost everything in one timeline: editing, basic audio, titles, transitions, and color. If you’re already using Photoshop, After Effects, or Lightroom, staying inside the Adobe Creative Cloud ecosystem often feels natural.
The Lumetri Color Panel: Fast, Visual, and Editor-Friendly
The Lumetri Color panel is Premiere Pro’s color grading engine. It’s designed so you can stay inside the Edit timeline while making powerful adjustments—perfect for content creators, YouTubers, and editors who need speed.
- Basic Correction for primary fixes: Start with exposure, contrast, white balance, and tone. This is where you get your footage “neutral and correct” before anything creative. For a quick foundation, many editors use a technical or conversion LUT first, then refine with Basic Correction.
- Creative looks for style: Under the Creative tab, you can apply LUTs, adjust vibrance, and fine-tune your look with simple sliders. This is an ideal place to test LUTs from packs like dedicated Premiere Pro LUT bundles, then dial the intensity to taste.
- Curves and Color Wheels: RGB curves and Hue vs Hue/Sat/Luma curves give you finer control over contrast and specific color ranges. Color Wheels let you adjust shadows, midtones, and highlights intuitively, great for balancing skin tones or giving shadows a subtle cool or warm shift.
- HSL Secondary and Vignette: These tools help you isolate specific tones (like skin) and add focus to your subject with a controlled vignette—all within one panel.
- AI-assisted workflows: Adobe continues improving AI features like automatic color match and scene detection. They’re especially handy for fast social edits or client projects with tight deadlines.
If you want to go deeper into what Adobe officially recommends for color workflows, it’s worth checking out Adobe’s guide to color workflows in Premiere Pro as you refine your process.
When Premiere Pro Is the Better Color Grading Choice
- You’re an editor first, colorist second.
- Your projects mix editing, transitions, captions, and quick color looks in one place.
- You already pay for Creative Cloud and rely on After Effects, Photoshop, or Audition.
- You value quick, intuitive grading more than the deepest, most granular controls.
Premiere Pro shines when you want to cut and grade in the same place while still getting a polished look. If that’s you, your next step could be pairing Lumetri with a well-organized preset library, such as the 1000+ Master Lightroom Presets bundle alongside the Lightroom Presets collection for your photo work, so your video and photo branding stay consistent.
DaVinci Resolve: The Dedicated King of Color Grading
DaVinci Resolve started life as a high-end color grading system, and that DNA still shows. Today it’s a full editing suite, but the Color page is where it truly flexes. If you’re obsessed with skin tones, film looks, and precise control, Resolve often feels like “home.”
The Color Page and Node-Based Workflow
Instead of stacking effects in a single panel, Resolve uses nodes. Think of each node as a separate step or idea in your grade: one for exposure, one for contrast, one for skin tones, one for vignette, one for final polish. You can rearrange, clone, or toggle nodes to keep your grade clean and understandable.
- Primary controls: Lift, Gamma, Gain, Offset, and Log wheels give you ultra-precise control over shadows, midtones, and highlights. You can shape contrast and color in a way that feels more like working in a dedicated color lab.
- Secondaries and qualifiers: Qualifiers let you select a very specific hue or luminance range (like just the skin, or only the blue sky), then adjust that area without affecting the rest of the image. Combined with power windows and tracking, you can follow a subject’s face through a shot and keep it perfect.
- Advanced tools and Magic Mask: Tools like temporal noise reduction, sharpen, film grain, and the AI-powered Magic Mask make very complex corrections possible with surprisingly few clicks.
- RAW and ACES workflows: Resolve is a favorite for cinema cameras shooting RAW, and it supports full ACES workflows for consistent color from set to delivery. If you’d like to understand the standard behind ACES, look into the Academy’s ACES color management standard.
For an official overview of what the software can do, Blackmagic’s own page at Blackmagic’s DaVinci Resolve color grading overview is a great reference as you explore its capabilities.
The Free Version Advantage
One of the most attractive parts of DaVinci Resolve is that the base version is free. You get the core Color page, full node-based grading, and a serious toolset without spending anything. The paid Studio version adds more advanced noise reduction, extra GPU acceleration, and some next-level AI features—but you can absolutely build a professional-looking reel in the free version.
When DaVinci Resolve Is the Better Color Grading Choice
- You care deeply about precise, cinematic color and want room to grow into “full colorist mode.”
- You regularly work with log or RAW footage from cinema cameras.
- You’re willing to learn a node-based workflow to get more control.
- You like the idea of doing editing, color, Fusion VFX, and Fairlight audio in one app.
If you’re grading in Resolve, LUT-based looks can still be a huge time saver. Packs like DaVinci-ready cinematic LUT collections inside the Video LUTs collection are designed so you can get a creative starting point in one node, then refine your look with more nodes afterwards.
Premiere Pro vs DaVinci Resolve: A Practical Comparison
Workflow and Ecosystem
- Premiere Pro: Best if you live inside Adobe—Photoshop for thumbnails, After Effects for graphics, Audition for audio. Everything speaks the same language, and you can send timelines back and forth.
- DaVinci Resolve: Best if you want a self-contained post-production universe. Resolve gives you Edit, Color, Fusion, and Fairlight without needing multiple apps.
For a deeper look at how color fits into an Adobe-based workflow, you might later pair this guide with an article like a Premiere Pro color grading workflow guide.
Depth of Color Control
- Premiere Pro: Lumetri covers 90% of what most editors need: balancing, stylizing, and matching shots quickly.
- DaVinci Resolve: Offers more detailed control over every part of the image, with nodes, advanced qualifiers, and pro-grade tools built specifically for colorists.
Learning Curve
- Premiere Pro: Easier for beginners and editors shifting from photography. The Lumetri panel feels like Camera Raw or Lightroom.
- DaVinci Resolve: Steeper at first, especially the Color page, but incredibly rewarding once nodes “click” and you start to think in layers of intent.
Cost and Accessibility
- Premiere Pro: Ongoing subscription as part of Adobe Creative Cloud.
- DaVinci Resolve: Free base version, plus a one-time purchase for Studio if you need advanced tools.
Presets and LUTs vs Manual Color Grading
No matter which software you use, a big question is: should you rely on LUTs and presets, or do everything manually?
- Presets and LUTs: Great for speed, consistency, and inspiration. You can apply a look from a pack like the 700+ Cinematic Video LUTs across Premiere Pro or Resolve, then tweak to fit each shot.
- Manual grading: Essential for fixing tricky shots, matching cameras, and refining skin tones. This is where Resolve’s node-based system or Lumetri’s curves and Color Wheels really matter.
In practice, the best workflow is usually a hybrid: use crafted LUTs to get 60–80% of the way there, then use manual grading to dial in contrast, skin tones, and local adjustments. If you want to go deeper into building your own looks, you might enjoy a more technical article like creating your own custom LUTs in Premiere Pro so you can pair those with your existing packs.
Step-by-Step: Test Both Workflows on the Same Clip
Here’s a simple exercise you can try this week to really feel the difference between Premiere Pro and DaVinci Resolve for color grading.
- Choose a clip with a bit of challenge. Ideally log or flat footage with a human subject and a mix of highlights and shadows—wedding, street, or golden hour travel footage works well.
-
Grade the clip in Premiere Pro. Use Lumetri:
- Basic Correction: balance exposure and white balance.
- Apply a cinematic LUT from a pack like a cinematic video LUT bundle as your creative starting point.
- Refine with Curves and Color Wheels, then add a subtle vignette.
- Render a reference export. Export a short MP4 to compare later.
-
Grade the same clip in DaVinci Resolve. On the Color page, build a simple node tree:
- Node 1: Primary exposure and white balance.
- Node 2: Creative LUT and global contrast.
- Node 3: Skin tone refinement with qualifiers and a power window.
- Node 4: Final polish—slight vignette and saturation tweaks.
- Export and compare. Put both exports on a timeline (in either app) and A/B them. Look at skin, contrast, noise, and how “expensive” the image feels.
- Note how you felt working in each tool. Did Lumetri feel faster? Did nodes feel more precise and intentional?
- Lock in your next step. Decide whether you’ll double down on Premiere, dive deeper into Resolve, or use a combo workflow.
When I did this test with a drone sunset shot, for example, I found Premiere Pro let me get a beautiful, share-ready look in minutes—especially when I started from a LUT from the Video LUTs collection. In Resolve, I could push the image further with separate nodes for sky and foreground, and the result felt more like something you’d see in a commercial.
If you want consistent results across different projects and cameras, it also helps to keep your preset library organized. A master pack like 1000+ Master Lightroom Presets combined with your favorite LUT bundles lets you keep photo and video color styles aligned for your brand. And with offers like “Buy 3, Get 9 FREE” when you add 12 packs to your cart, you can build a versatile toolkit quickly.
Which One Should You Choose?
Here’s a simple way to decide:
-
Choose Premiere Pro for color grading if…
- You’re already editing in Premiere and want to keep everything in one place.
- You prioritize speed, tight deadlines, and quick client revisions.
- You lean heavily on motion graphics, titles, and integrations with Adobe apps.
-
Choose DaVinci Resolve for color grading if…
- You want the deepest control and are serious about becoming a colorist.
- You work with log/RAW or multi-camera projects frequently.
- You love the idea of building clean, structured node trees for every look.
-
Use both if…
- You like Premiere for editing and Resolve for final color.
- You don’t mind round-tripping: edit in Premiere, export an XML, grade in Resolve, and render your final master there.
If you’re building a long-term style for your channel or brand, you might also enjoy exploring related guides such as how to build a consistent color style for your channel, so your look stays recognizable whether you grade in Premiere, Resolve, or both.
Frequently asked questions about Premiere Pro vs DaVinci Resolve color grading
Is DaVinci Resolve always better than Premiere Pro for color grading?
Not always. Resolve has deeper tools and more precise control, but for many day-to-day projects, Lumetri in Premiere Pro is more than enough—especially if color grading is just one part of your workflow instead of your main focus.
Can I use LUT packs in both Premiere Pro and DaVinci Resolve?
Yes. Most .cube LUT packs, including cinematic LUT bundles, work in both Premiere Pro and DaVinci Resolve. You simply load them in the Lumetri panel in Premiere or in a node on the Color page in Resolve.
What’s the best way to learn DaVinci Resolve color grading?
Start with the free version, follow a beginner course or official training, and practice on your own footage. Focus first on primary corrections, then add nodes for skin, contrast, and final polish before moving to more advanced tools like qualifiers and Magic Mask.
Should I round-trip from Premiere Pro to DaVinci Resolve for every project?
No. Round-tripping is worth it when color is critical—like narrative films, commercials, or passion projects. For quick social edits, YouTube uploads, or client reels, staying entirely in Premiere Pro with Lumetri and a few good LUTs is often the fastest and most practical choice.
Do I need expensive cameras to benefit from Resolve’s advanced color tools?
Not at all. While Resolve shines with cinema RAW and log footage, it can still make phone and mirrorless footage look dramatically better. Good grading habits matter far more than the camera, especially when paired with quality LUTs and careful exposure.
Written by Asanka — creator of AAAPresets (10,000+ customers).


Leave a comment
This site is protected by hCaptcha and the hCaptcha Privacy Policy and Terms of Service apply.