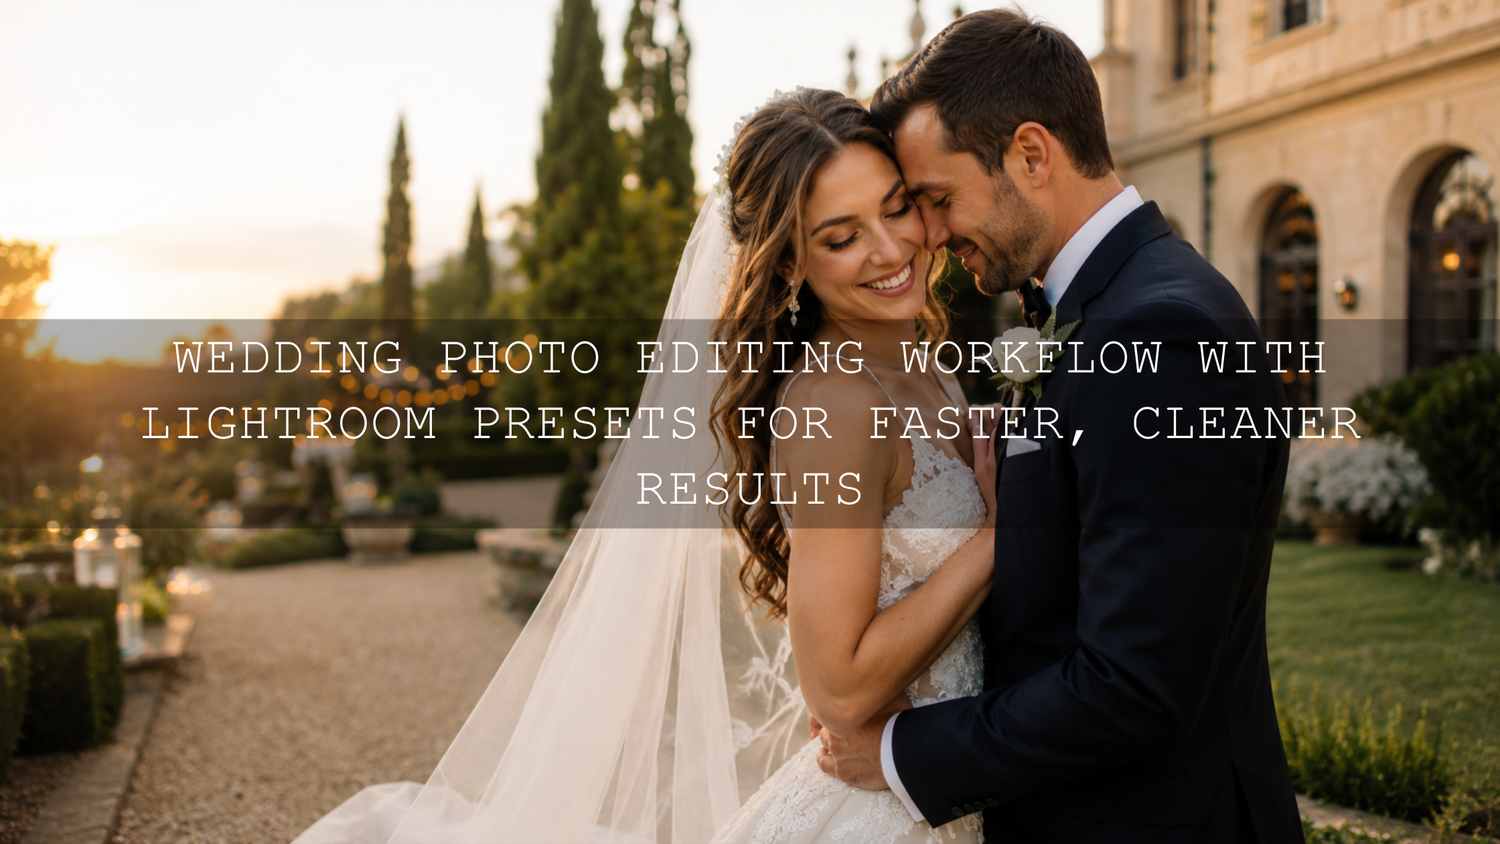
Wedding Photo Editing Workflow with Lightroom Presets for Faster, Cleaner Results
A strong wedding photo editing workflow can make the difference between spending weeks stuck in Lightroom and delivering a polished gallery with confidence. In 2026, wedding photographers need speed, consistency, natural skin tones, emotional color, and a repeatable system that works across ceremony photos, couple portraits, reception lighting, details, and candid moments. That is where Lightroom presets, batch editing, masking, and careful final review come together.
Here’s why this matters: a wedding gallery is not one single perfect image. It is a full story. You may edit bright outdoor portraits, warm indoor getting-ready shots, golden-hour couple photos, flash reception images, and low-light dance floor moments from the same day. A preset gives you a consistent creative base, but your workflow decides whether the full gallery feels premium, natural, and professional.
For a faster starting point, try the AI-Optimized 100+ Cinematic Wedding Lightroom Presets Bundle and browse the Wedding Lightroom Presets collection. Apply a wedding preset first, fine-tune the exposure and skin tones, then sync similar photos to save hours. Try these presets today — Buy 3, Get 9 FREE.
Why Wedding Photographers Need a Repeatable Editing System
After a wedding day, you may come home with thousands of RAW files. Some images are beautifully lit. Some are mixed with tungsten, LED, flash, daylight, shade, and candlelight. Some moments are technically imperfect but emotionally powerful. Without a clear editing workflow, it is easy to over-edit one section, under-edit another, or lose your natural style halfway through the gallery.
A repeatable workflow helps you:
- Edit faster: You stop guessing and follow the same steps every time.
- Keep colors consistent: Skin tones, whites, greens, shadows, and highlights feel connected across the gallery.
- Protect your brand style: Clients recognize your look from the first image to the last.
- Reduce editing burnout: You spend less time fighting every single photo manually.
- Deliver sooner: Faster delivery creates a better client experience and stronger word-of-mouth.
I have tested wedding-style presets on different lighting situations, from soft window-light portraits to warm evening reception shots, and the biggest lesson is simple: presets work best when they are used as a starting point, not as a final button. The real professional result comes from combining a preset base with small manual adjustments.
Presets vs Manual Editing: Which Is Better for Wedding Photos?
Presets and manual editing are not enemies. They solve different problems. Manual editing gives full control, while presets give speed and consistency. The smartest wedding photo editing workflow uses both.
Manual Editing
Manual editing is useful when a photo needs detailed correction. For example, a backlit ceremony photo may need highlight recovery, shadow lifting, white balance correction, and selective masking. A flash reception image may need careful color correction because the background and subject may have different light temperatures.
The downside is time. If you edit every image manually from zero, a full wedding gallery can become slow and mentally tiring.
Preset Editing
Preset editing gives your photo a ready-made tonal direction. A clean wedding preset can adjust contrast, color, tone curve, warmth, shadows, highlights, and color grading in one click. This is especially helpful when you want a consistent gallery style across hundreds of images.
The downside is that every image reacts differently. A preset that looks perfect on a golden-hour portrait may look too warm on indoor skin tones or too contrasty on a white wedding dress. That is why you should always refine after applying the preset.
The Best Approach
Use presets to create the base look, then use manual editing to make the image feel custom. For wedding galleries, this is usually the fastest and most professional method.
- Preset first: Apply your creative wedding style.
- Adjust second: Fix exposure, white balance, skin tones, and highlights.
- Sync third: Apply the same settings to similar photos.
- Review last: Correct outliers before export.
Step 1: Import and Organize the Wedding Gallery
Before editing, organize your files properly. Adobe’s Lightroom Classic import guide explains how Lightroom links imported photos to the catalog, which is why planning your folder structure before importing is important.
For wedding photography, use clear folders or collections such as:
- 01 Getting Ready
- 02 Details
- 03 Ceremony
- 04 Family Photos
- 05 Couple Portraits
- 06 Reception
- 07 Dance Floor
- 08 Final Selects
This simple structure saves time later because you can edit similar lighting conditions together. For example, all ceremony photos may have the same outdoor light, while reception photos may need a different white balance and contrast style.
Pro tip: create a separate collection for “hero images.” These are the photos likely to appear in the client’s album, Instagram preview, website portfolio, or blog post. Edit them with extra care because they represent the emotional peak of the wedding story.
Step 2: Cull Before You Edit
Culling is one of the most underrated parts of a wedding photo editing workflow. If you keep too many average images, editing becomes slower and the final gallery feels weaker. A smaller gallery of strong images is usually more powerful than a huge gallery full of duplicates.
During culling, remove:
- Out-of-focus images
- Closed-eye duplicates
- Awkward expressions
- Accidental shots
- Near-identical frames where one image is clearly stronger
- Images that do not add anything to the story
Keep the images that show real emotion, clean composition, important family moments, dress details, rings, flowers, ceremony reactions, couple connection, and reception energy. This step alone can save hours before you even touch the Develop panel.
Step 3: Choose the Right Wedding Lightroom Preset
After culling, choose a preset style that matches the mood of the wedding. A bright garden wedding may need a clean, airy preset. A luxury indoor reception may work better with a cinematic, warm, contrast-rich preset. A rainy or moody wedding may need deeper shadows and softer highlights.
The 150+ Wedding Lightroom Presets Bundle is useful when you want a wide range of wedding looks for portraits, ceremonies, details, and reception edits. For photographers who edit different wedding styles throughout the year, the 1000+ Master Lightroom Presets Bundle gives more flexibility across wedding, portrait, cinematic, vintage, bright, moody, and lifestyle styles.
When choosing a preset, do not only look at the color. Look at how it handles:
- Skin tones: Skin should look natural, not orange, red, gray, or overly smooth.
- Wedding dresses: Whites should keep detail instead of becoming flat or blown out.
- Greens: Garden and outdoor backgrounds should not overpower the couple.
- Shadows: Dark areas should feel rich, not muddy.
- Highlights: Bright areas should feel soft and controlled.
Here’s a practical example: if the ceremony was shot in harsh midday sun, start with a clean preset, reduce highlights, lift shadows slightly, and soften contrast. If the couple portraits were taken during golden hour, you can usually keep more warmth and add a little extra vibrance without making skin tones look unnatural.
Step 4: Refine Exposure, White Balance, and Skin Tones
Once the preset is applied, your first manual corrections should be exposure and white balance. Wedding photos are emotional, but technical balance still matters. A beautiful moment can lose impact if the skin is too warm, the dress is too bright, or the shadows hide important details.
Exposure
Start by checking the couple’s faces. The viewer should naturally look at the couple first. If the background is brighter than the subject, use exposure, highlights, shadows, or masks to guide attention back to the people.
White Balance
White balance is especially important in wedding editing because skin tones are the center of most images. Indoor lighting can create yellow or green casts. Outdoor shade can look too blue. A good preset helps, but small temperature and tint changes often make the edit look more natural.
Skin Tones
Use the color mixer carefully. If skin looks too orange, adjust orange saturation and luminance slightly. If skin looks too red, reduce red saturation a little or shift the tint. Make small changes. Wedding edits should feel timeless, not heavy.
For more Lightroom editing ideas, read the step-by-step Lightroom workflow guide and the Lightroom Workflow Academy for photo editors.
Step 5: Use Masks for Professional Local Adjustments
Global adjustments affect the whole image. Masks let you improve specific areas without changing everything. Adobe’s guide to masking in Lightroom is useful for understanding how local adjustments can target subjects, backgrounds, skies, and selected areas.
For wedding photos, masking can help you:
- Brighten the couple’s faces without overexposing the full image
- Darken a distracting background
- Recover detail in a bright dress
- Add soft glow around the couple
- Enhance the sky without changing skin tones
- Improve reception lighting without flattening the mood
One of my favorite wedding editing techniques is using a soft radial mask around the couple. I slightly lift exposure, reduce harsh contrast, and add a touch of warmth. The effect should be subtle. If the viewer notices the mask, it is probably too strong. The goal is to guide attention, not create an obvious spotlight.
Step 6: Batch Edit Similar Lighting Conditions
Batch editing is where presets become extremely powerful. Once one image from a scene looks right, you can sync those settings to other photos captured under similar lighting. This is perfect for ceremony sequences, family portraits, couple portraits, speeches, and reception tables.
A smart batch editing process looks like this:
- Edit one strong reference image from a lighting setup.
- Check exposure, white balance, skin tones, highlights, and shadows.
- Select similar images from the same scene.
- Sync the settings across those images.
- Review each photo quickly and adjust only the outliers.
Do not sync everything blindly. Cropping, healing, masks, and local adjustments may not transfer perfectly from one image to another. For example, a mask placed on the bride’s face in one portrait may land in the wrong area on a different frame. Sync the core look first, then review the details.
For fast editing ideas, the quick Lightroom hacks guide is helpful when you want simple ways to speed up repetitive edits without sacrificing quality.
Step 7: Protect Highlights in Wedding Dresses
Wedding dresses are one of the most important details in the gallery. A white dress can easily lose texture if the exposure or highlights are pushed too far. After applying a preset, always zoom in and check the dress, veil, flowers, and bright background areas.
Use these quick corrections:
- Lower highlights if the dress looks too bright.
- Use whites carefully to keep a clean look without clipping detail.
- Add a small amount of texture if lace or fabric detail looks too soft.
- Use a mask if only the dress needs correction.
- Avoid making the dress gray by reducing exposure too much.
Here’s why this matters: clients may not understand editing terms, but they will notice if the dress looks flat, blown out, or dull. Clean dress detail gives the full wedding gallery a more premium finish.
Step 8: Create a Consistent Gallery Flow
A professional wedding gallery should feel like one story, not a random collection of different edits. This does not mean every image must look identical. It means the mood, contrast, warmth, and color direction should feel connected.
As you move through the gallery, compare sections side by side:
- Do the getting-ready photos feel too warm compared to the ceremony?
- Are the outdoor greens too saturated compared to the couple portraits?
- Do reception images feel too dark after bright daytime photos?
- Are skin tones consistent across different locations?
- Does the final gallery match your brand style?
If you want a softer portrait-focused style, browse the Portrait Lightroom Presets collection. If you want a more modern automated starting point, explore the AI-Optimized Lightroom Presets collection.
Step 9: Final Review and Export Settings
Before exporting, review the full gallery from beginning to end. This is where you catch small inconsistencies that were easy to miss while editing individual photos.
Check for:
- Uneven exposure between similar images
- Skin tones that shift too warm or too cool
- Overdone contrast or clarity
- Distracting objects that need removal
- Dress highlights with lost detail
- Cropping issues
- Images that feel different from the rest of the gallery
When exporting, Adobe’s Lightroom Classic export guide explains export options for saving finished images. For most online wedding galleries, high-quality JPEG files in sRGB are common. For albums, print labs, or special client requests, follow the required size, file type, and color space from the delivery platform or printer.
Common Wedding Editing Mistakes to Avoid
Even experienced photographers can lose time or consistency if the workflow is not clear. Avoid these common mistakes:
- Using too many preset styles in one gallery: Choose one main look and adjust from there.
- Over-smoothing skin: Keep natural texture so portraits feel real.
- Ignoring mixed lighting: Reception photos often need special white balance attention.
- Over-saturating greens: Outdoor weddings can quickly look unnatural if greens are too strong.
- Forgetting final review: Small inconsistencies become obvious when clients view the full gallery.
For troubleshooting, save the Lightroom preset problems guide. It can help when presets look different than expected because of exposure, white balance, camera profile, or lighting conditions.
Related Reading
- Step-by-Step Lightroom Workflow for Faster Photo Edits
- Lightroom Workflow Academy for Photo Editors
- Quick Lightroom Hacks: 5-Minute Edits for Creators
- Fix Lightroom Preset Problems: Step-by-Step Troubleshooting
- How to Install Lightroom Presets in a Quick and Easy Way
Edit Wedding Galleries Faster Without Losing Your Style
A great wedding photo editing workflow is not about rushing. It is about removing unnecessary steps so you can spend more time on the creative decisions that matter. Use presets for speed, manual adjustments for accuracy, masks for polish, and final review for consistency.
Start with the AI-Optimized 100+ Cinematic Wedding Lightroom Presets Bundle for wedding-specific edits, or choose the 1000+ Master Lightroom Presets Bundle if you want a larger creative collection for weddings, portraits, travel, lifestyle, cinematic edits, and more. You can also browse the full Wedding Lightroom Presets collection to find a style that matches your brand. Add your favorites to cart and use the Buy 3, Get 9 FREE offer to build a complete editing toolkit.
FAQs About Wedding Photo Editing Workflow
What is the best wedding photo editing workflow in Lightroom?
The best workflow is to import and organize your photos, cull the weak images, apply a wedding Lightroom preset, refine exposure and white balance, use masks for local corrections, sync similar images, review the full gallery, and export based on client or platform needs.
Should wedding photographers use Lightroom presets?
Yes, presets are useful for speed and consistency. They help create a strong base look across a full gallery. However, you should still adjust exposure, white balance, skin tones, and highlights so each image feels natural and professional.
How do I keep wedding skin tones natural when using presets?
After applying the preset, check temperature, tint, orange saturation, red saturation, and luminance. Make small adjustments instead of heavy color shifts. Skin should look healthy and realistic, not overly orange, red, gray, or washed out.
Can I batch edit a full wedding gallery?
Yes, but batch edit carefully. Sync settings only across images with similar lighting and camera settings. Always review the synced images because masks, crops, and local corrections may need individual adjustment.
Which Lightroom presets are best for wedding photography?
The best presets depend on your style. Bright and airy presets work well for soft romantic weddings, cinematic presets work well for dramatic storytelling, and clean natural presets work well for timeless galleries. Wedding-specific bundles are usually the easiest starting point.
Written by Asanka — creator of AAAPresets (10,000+ customers).
Leave a comment
This site is protected by hCaptcha and the hCaptcha Privacy Policy and Terms of Service apply.