
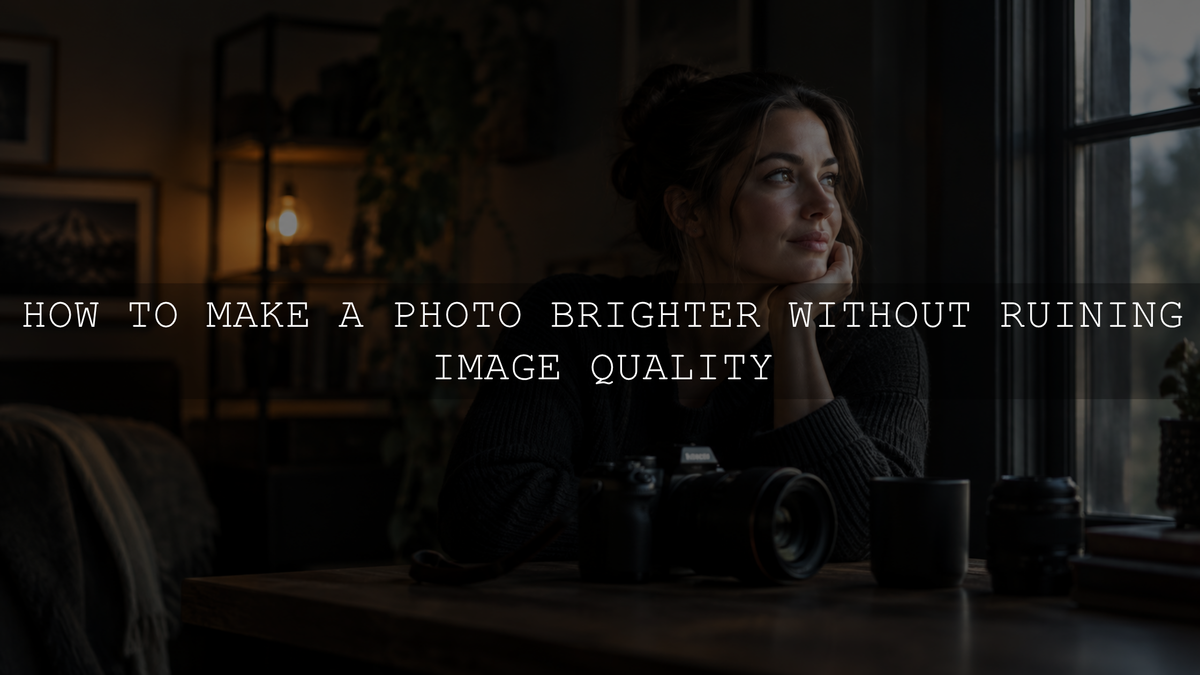
A dark photo is often recoverable, but the best fix is not to push one brightness control as far as it will go. Start by correcting the overall exposure only as much as necessary, protect important highlights, recover shadows selectively, and then deal with any noise that becomes visible. If only the subject is dark, use a mask instead of brightening the entire frame.
RAW files usually give you more editing flexibility than JPEGs, but even RAW has limits. A severely underexposed area with very little usable recorded information cannot always be restored cleanly. The goal is therefore not to make every dark area bright. It is to recover the important detail while keeping contrast, color and texture believable.
If a noisy file is compatible with Lightroom AI Denoise and you plan to use it, run Denoise early before building the main global and local adjustments. For files that do not need AI Denoise, you can move directly into the exposure workflow below.
First, Decide How Much of the Photo Actually Needs Brightening
Before moving sliders, identify the real problem. An image can look dark for several different reasons:
- The entire frame is underexposed.
- The subject is dark but the background is correctly exposed.
- Deep shadows are hiding important texture while the midtones look fine.
- The image is intentionally dark, but one area needs more visibility.
- The darkest parts contain so little usable information that aggressive recovery will mostly reveal noise.
In Lightroom, the histogram and clipping indicators can help you judge the tonal range instead of relying only on screen brightness. If you want a deeper workflow for evaluating a file before editing, see the AAAPresets pre-editing photo analysis guide.
A dark-looking histogram is not automatically wrong. Night photographs, silhouettes and deliberately moody images naturally contain more dark tones. The important question is whether details that matter to the photograph are visible and recoverable.
How to Brighten a Dark Photo in Lightroom
1. Use Exposure for the Overall Baseline
If the whole photograph is too dark, begin with Exposure. Raise it gradually until the main subject and midtones become readable.
Avoid trying to complete the edit with Exposure alone. Because it affects the image broadly, a large increase can make already-bright areas too strong even while the shadows still need work.
After each adjustment, check bright areas such as clouds, windows, white clothing, reflective objects and skin highlights. The goal is a useful starting exposure, not maximum brightness.
2. Control Highlights and Whites
Once the overall exposure is closer to where you want it, inspect the brightest parts of the frame. If important highlights have become too strong, lower Highlights before making the entire image dark again.
Use Whites to refine the brightest end of the tonal range. Small adjustments can help preserve separation in bright clothing, clouds, walls and reflections while allowing the rest of the image to stay brighter.
Not every tiny specular highlight must contain texture. Reflections from metal, lamps or the sun can naturally reach pure white. Concentrate on protecting meaningful detail rather than trying to force every pixel inside the tonal range.
3. Recover Shadows Without Flattening the Photo
Use Shadows when important darker areas still need detail after the general exposure has been corrected. Raising Shadows is particularly useful for faces in shade, dark clothing, interiors, foliage and other areas that should remain darker than the highlights but still contain visible texture.
Do not automatically push Shadows to the maximum. Excessive shadow recovery can make an image look flat and can make noise much easier to see.
Blacks controls the deepest part of the tonal range. If shadow recovery makes the photograph look gray or washed out, slightly deepening the black point can restore depth. If important dark detail is being crushed, move Blacks in the opposite direction carefully.
4. Recheck White Balance After Opening the Shadows
Dark areas can hide color casts. After you brighten them, an indoor photo may suddenly show green, orange or blue contamination that was difficult to notice before.
Recheck Temperature and Tint after the main exposure correction. This is especially important for portraits and scenes containing mixed window light, LEDs, tungsten lighting or colored signs.
Correcting white balance before heavy creative color grading usually gives you a cleaner foundation for the rest of the edit.
Use Masks When Only Part of the Photo Is Too Dark
Global adjustments are not always the best solution. If the background already looks good but the person, product or foreground is dark, brightening everything can damage the parts that were correctly exposed.
Lightroom masking allows you to isolate areas such as a subject, background or sky, as well as make manual selections with brushes and gradients.
For example:
- Subject mask: brighten a person or object while leaving the background alone.
- People mask: target a detected person and, where available, specific facial or body features.
- Brush: fix a small shadowed area manually.
- Linear Gradient: brighten a dark foreground or one side of a frame gradually.
- Radial Gradient: add a controlled area of light around a subject.
Adobe documents Exposure, Highlights, Shadows, Whites and Blacks as available local tonal controls within Lightroom masking. Selective correction is often cleaner than trying to force one global setting to solve two different lighting conditions.
For portraits where the face specifically needs attention, see the AAAPresets guide to brightening faces in photos.
Why Brightening Dark Photos Reveals Noise
Noise frequently becomes easier to see after shadow recovery because the dark portions of the file contain a weaker image signal. When those values are made brighter, imperfections that were previously difficult to notice become more visible too.
You may encounter two main types of visible noise:
- Luminance noise: rough monochrome grain or texture.
- Color noise: random colored speckles, often visible in dark smooth areas.
This does not mean the Shadows or Exposure controls damaged the photo. The adjustment is often revealing limitations that were already present in the captured data.
Reduce Noise Without Making the Photo Look Plastic
After the tonal correction, inspect areas such as skin, hair, dark clothing, walls, skies and out-of-focus backgrounds at a useful magnification.
Use manual luminance and color noise reduction conservatively. Increasing noise reduction can make grain less distracting, but too much can also remove genuine fine detail and texture.
Balance noise reduction with sharpening rather than using heavy amounts of both. Strong sharpening can make noise more obvious again, while excessive noise reduction followed by aggressive sharpening can create unnatural edges.
For a more detailed workflow, see how to reduce noise in low-light Lightroom edits.
When to Use Lightroom AI Denoise
If a supported raw file or compatible DNG has significant noise, Lightroom's AI-powered Denoise can be useful. If you intend to use it, run it early after evaluating the file rather than waiting until you have built a complex edit.
Adobe's current recommended AI-edit order places Denoise, Raw Details and Super Resolution before removal tools, global adjustments and masking. Following that order reduces the chance that later AI-dependent edits will need to be recalculated or updated.
AI Denoise still needs judgment. Examine fine hair, eyelashes, fabric, foliage, architecture and other detailed surfaces rather than judging the result only from a zoomed-out preview. The cleanest result is not necessarily the most natural result.
RAW vs JPEG: Which Is Better for Recovering a Dark Photo?
Use RAW when your camera or phone provides it and you expect to make significant tonal corrections. A RAW file generally retains more of the captured image information and gives editing software more latitude for exposure, shadow, highlight and white-balance adjustments.
RAW does not mean that the file is always uncompressed, and it does not guarantee that badly underexposed areas can be recovered. It simply gives you a better starting point for substantial editing in many situations.
JPEG files are already processed into a finished image format. They can still be brightened successfully, especially when the exposure error is small, but aggressive corrections tend to reveal limitations sooner. Noise, posterization, color artifacts or rough tonal transitions may become more noticeable.
The practical rule is simple: make smaller adjustments to JPEGs and avoid trying to force severely underexposed areas to look as clean as a correctly exposed capture.
Restore Contrast After Shadow Recovery
A photograph can become brighter yet look worse if every dark tone is lifted equally. Once the important shadow detail is visible, restore the intended depth of the photograph.
You can do this with small adjustments to Contrast, Blacks or the Tone Curve. A gentle curve can separate shadows, midtones and highlights more precisely than a large global contrast increase.
Keep watching the areas you just recovered. If restoring contrast immediately hides the useful detail again, the adjustment is too aggressive.
How to Brighten a Dark Photo in Photoshop
Photoshop is useful when you need layer-based control. One straightforward non-destructive method is a Levels adjustment layer.
- Add a Levels adjustment layer rather than altering the original pixels directly.
- Adjust the midtone control to brighten useful tonal information.
- Refine the white and black points while monitoring important detail.
- Use the adjustment layer mask to hide or reduce the effect in areas that were already bright enough.
This approach lets you brighten selected areas while keeping the correction editable. It is particularly useful when the image needs more detailed manual masking than a simple global correction.
When a Dark Photo Cannot Be Fully Recovered
Editing has limits. If important areas contain extremely little useful recorded information, making them much brighter may produce noise, strange color, banding or vague texture instead of genuine detail.
Be particularly cautious when:
- important shadow areas appear nearly featureless even in the source file;
- a strong exposure increase immediately produces severe noise or color artifacts;
- the subject is also blurred or out of focus;
- the JPEG has already been heavily compressed or edited;
- brightening destroys the original low-light atmosphere without revealing useful information.
Modern enhancement tools can sometimes create a visually cleaner result, but generated or reconstructed texture should not be confused with recovering detail that was actually recorded by the camera.
Where Lightroom Presets Fit Into the Workflow
A preset is most useful after the main technical exposure problem is under control. Applying a strong style to a severely underexposed photo can deepen blacks, increase contrast or reveal more noise, which makes it harder to judge whether the underlying photo is actually corrected.
A practical order is:
- Check the image, histogram and clipping.
- If significant noise requires AI Denoise and the file is supported, run Denoise early.
- Make the major exposure correction.
- Protect important highlights.
- Recover only the shadows that need detail.
- Correct obvious white-balance problems.
- Apply the creative preset.
- Fine-tune exposure, masks, color and detail for that particular photo.
If you want a brighter, clean starting style after the correction, the Bright and Clean Lightroom Presets pack includes 8 XMP preset items and 8 DNG preset items for Lightroom Desktop, Lightroom Classic, Lightroom Mobile and Adobe Camera Raw workflows. It is designed for clean bright tones and controlled highlights, but individual photos can still require manual exposure and white-balance refinement. AAAPresets currently offers Buy 3, Get 9 FREE: add 12 packs to your cart and pay for only 3.
Quick Dark-Photo Recovery Checklist
- Decide whether the whole image or only the subject is too dark.
- Check the histogram and important highlight or shadow clipping.
- If the file has significant noise and is compatible with AI Denoise, run Denoise early.
- Raise Exposure only enough to establish the overall brightness.
- Control Highlights and Whites before pushing brightness further.
- Lift Shadows selectively and keep a believable black point.
- Correct color casts revealed by the brighter shadows.
- Use masks instead of global changes when lighting differs across the frame.
- Use manual noise reduction and sharpening carefully to preserve real texture.
- Restore contrast only after important shadow detail is visible.
- Apply creative presets after the main technical correction.
- Review the final image at both normal viewing size and closer magnification.
Frequently Asked Questions
Can every dark photo be fixed?
No. Mild and moderate underexposure can often be corrected successfully, particularly with a flexible RAW file. Extremely dark areas with very little useful recorded information may reveal severe noise, color artifacts or little genuine detail when brightened.
Should I increase Exposure or Shadows first?
If the entire photograph is too dark, establish the general brightness with Exposure first and then refine the shadows. If the overall exposure already looks good and only dark areas need help, use Shadows or a local mask instead of raising the entire image.
Why does my photo become grainy when I brighten it?
Brightening underexposed areas makes existing noise easier to see. Strong shadow recovery, especially in low-light or high-ISO files, can therefore reveal luminance grain and colored speckles that were less visible when the image was dark.
Is RAW better than JPEG for fixing underexposure?
Usually, yes. RAW generally provides more editing latitude for substantial exposure, highlight, shadow and white-balance corrections. JPEG can still work well for smaller corrections but tends to show quality limitations sooner when pushed aggressively.
Final Takeaway
The cleanest way to brighten a dark photo is to make the smallest correction that solves the actual problem. Set the overall exposure first when necessary, protect highlights, open only the shadows that contain useful detail, and use masks when the problem is local. If the file needs AI Denoise, run it early before building the rest of the edit. Then control remaining noise and rebuild contrast rather than trying to create the finished photograph with one brightness adjustment.
A well-recovered image does not need every shadow to be bright. It needs enough visible information to support the subject while preserving the light, depth and atmosphere that made the photograph worth keeping.
Written by Asanka Dilshan, founder of AAAPresets.

Leave a comment
This site is protected by hCaptcha and the hCaptcha Privacy Policy and Terms of Service apply.