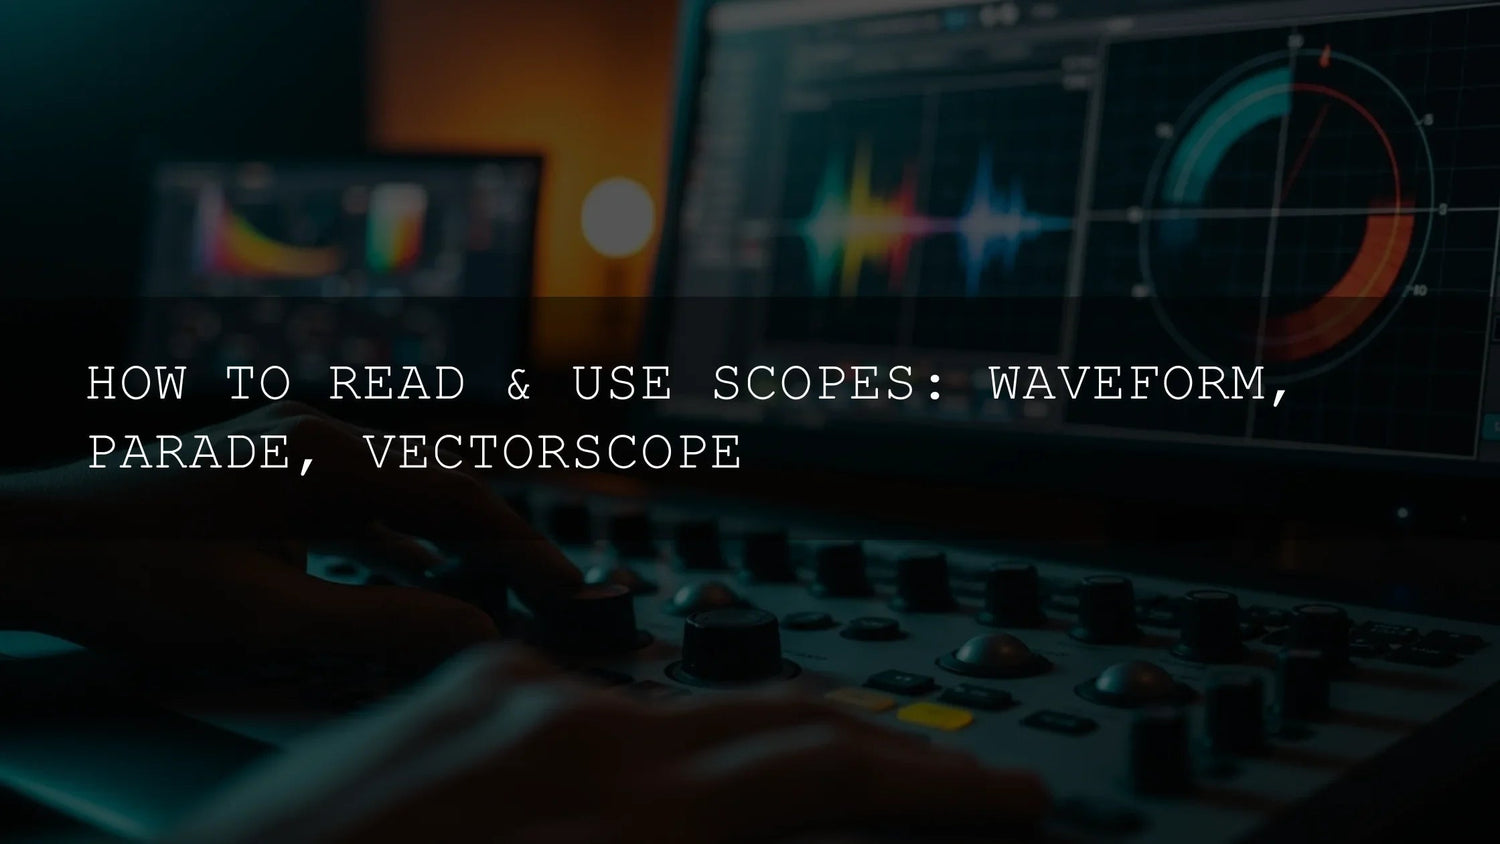
Video Scopes Explained: Waveform, RGB Parade & Vectorscope (Premiere Pro/Lumetri)
Want cleaner, more consistent color—without guesswork? Video scopes (Waveform, RGB Parade, and Vectorscope) give you objective feedback on exposure, hue, and saturation so you can fix issues fast and keep a consistent look across shots. In Premiere Pro, you’ll find them in the Lumetri Scopes panel, which lets you monitor luma and chroma in real time while you grade. For a quick refresher, see Adobe’s guide to Lumetri Scopes in Premiere Pro and the overview of color grading workflows.
If you’d like pro-grade looks as starting points for your grade, explore our Cinematic LUTs for Premiere Pro and the broader Cinematic LUTs collection. Try them today—Buy 3, Get 9 FREE.
Why scopes beat eyeballing (and always will)
- Consistency across cameras: Match levels shot-to-shot, even when cameras or lighting change.
- Problem detection: Spot crushed blacks, clipped highlights, color casts, banding, or oversaturation immediately.
- Technical compliance: Keep luma/chroma in range for broadcast/streaming deliverables.
- Creative confidence: Make bold looks knowing your exposure and color remain controlled.
Waveform monitor: exposure & contrast—fast
The Waveform plots brightness (luma) vertically from 0–100 IRE (or extended range). Keep meaningful detail off the hard floors/ceilings unless it’s a deliberate choice. Faces typically sit near midtones; many editors keep well-lit skin around the midpoint with highlights carried safely below clipping. Learn the panel basics in Lumetri Scopes and fine-tune exposure with the tools in Adjust and correct color in Premiere Pro.
Practical moves with the Waveform
- Protect highlights: Bring down Whites/Highlights or Gain until the signal no longer kisses 100 IRE.
- Open shadows: Raise Shadows/Lift to recover low-end detail without lifting blacks to gray.
- Shape contrast: Use Curves for precise tonal separation while watching the spread expand on the scope.
- Shot matching: Toggle between shots and match Waveform shapes for seamless continuity.
RGB Parade: pinpoint white balance & channel bias
The Parade splits your image into three luma traces—R, G, and B—so you can see channel balance at a glance. If one channel consistently rides higher, you’ve got a cast (e.g., red = warm, blue = cool, green = fluorescent/skintone contamination). Balancing channels neutralizes whites and grays. Premiere’s workflow notes here: color workflows & scopes.
Parade playbook
- Neutral whites: Adjust Temperature/Tint or individual channel curves until RGB peaks align in neutrals.
- Clean midtones: Keep skin-bearing midtones balanced; correct green contamination from LEDs quickly.
- Creative pushes: If you’re going stylized (teal/orange), keep intentional bias consistent scene-wide.
Vectorscope: hue, saturation & the skin-tone line
The Vectorscope shows where your colors sit around the hue circle and how far they extend (saturation). Desaturated content lives near the center; highly saturated elements push toward the edges. Most scopes include a diagonal skin-tone line—cluster skintones along that line for natural results across complexions. See the display options in Adobe’s Lumetri Scopes guide. For palette planning outside the grade, experiment with Adobe Color’s harmony rules.
Vectorscope moves that save edits
- Natural skin: Nudge Hue vs Hue/Hue vs Sat until the skin cluster rides the line—then adjust saturation just enough to feel alive.
- Manage punch: If the cluster slams the outer ring, pull back saturation or isolate problem hues with Sat vs Sat.
- Targeted moods: Push clusters toward specific sectors (e.g., teal shadows/orange highlights) while protecting skin neutrality.
A simple, modern workflow (end-to-end)
- Normalize exposure (Waveform): Protect highlights, lift shadows, set contrast.
- Neutralize color (Parade): Fix white balance/tint; align channels in neutrals.
- Refine hue/sat (Vectorscope): Place skin on the line; set global saturation tastefully.
- Create the look: Use curves/wheels, then re-check all three scopes after each creative push.
- Final compliance pass: Confirm no luma/chroma clipping before export.
New to LUTs as look starters? Here’s a quick tutorial: How to use LUTs in Premiere Pro (step-by-step). For scope visibility and display modes, Adobe outlines setup steps in Choose a display mode.
Comparison: presets/LUTs vs manual grading with scopes
- LUTs/presets: Instant mood and cohesive palettes across clips; great as a baseline. Still verify exposure, channel balance, and saturation on scopes to avoid clipping or color shifts.
- Manual grading: Maximum control and accuracy; takes longer but dials in tricky mixed lighting and product colors. Scopes are non-negotiable here.
- Best of both: Apply a LUT, reduce its intensity, then refine with scopes for broadcast-safe, natural skin and controlled highlights.
Field note: a quick win from last week
I graded a golden-hour outdoor interview in Premiere Pro: Waveform showed faces flirting with clipping; I dropped Highlights ~0.2 stops and set Blacks just above crush. Parade revealed a green lift from LED fill—Tint correction leveled RGB midtones. On the Vectorscope, a tiny hue shift put skin right on the line. The final looked vibrant on phones and accurate on a calibrated display.
Common issues & how to fix them
- Milky blacks: Lower Lift/Blacks while ensuring the Waveform doesn’t bury detail at 0 IRE.
- Clipped skies: Reduce Whites/Highlights, recover with Curves, or blend a masked rolloff.
- LED green cast: Adjust Tint or Hue vs Hue targeting green; verify with Parade.
- Overcooked saturation: Use Sat vs Sat to tame extremes; keep the Vectorscope cluster comfortably inside.
Keep learning (and grading faster)
Deep dives and practical workflows you might like:
- Music video color grading workflow in DaVinci Resolve
- Vectorscope & skin tones for Reels/Shorts in Resolve
- Using LUTs in Premiere Pro with Lumetri Scopes
- Fixing Premiere Pro playback lag to grade smoothly
- Best LUTs for Reels, Shorts & TikToks
Tools that pair perfectly with scopes
Want to browse more? Check the Cinematic LUTs collection or the wider Collections hub.
FAQ
Which scopes should I enable first?
Start with Waveform (Luma) for exposure and contrast, then add RGB Parade for balance and Vectorscope for hue/saturation. In Premiere Pro, open Window > Lumetri Scopes and choose the scopes you need.
Where should skintones sit?
Align the skintone cluster along the Vectorscope’s skin-tone line, then adjust saturation so faces look lively but natural. Use the Waveform to keep facial highlights below clipping.
Do LUTs replace scopes?
No. LUTs are look starters. Always verify exposure and color with scopes after applying a LUT, then refine with curves and wheels.
Histogram vs Waveform—what’s the difference?
The Histogram shows frequency of tonal values; the Waveform shows spatial distribution across the frame. For shot matching and precise exposure control, the Waveform is usually more actionable.
How do I learn color harmony for better grades?
Plan palettes with Adobe Color’s harmony rules, then execute the look in Lumetri while monitoring the Vectorscope.
Written by Asanka — creator of AAAPresets (10,000+ customers).
If this helped, you’ll love our Cinematic LUTs for Premiere Pro, Filmora & DaVinci and the curated Premiere Pro LUTs collection. Build your bundle today—Buy 3, Get 9 FREE.
Leave a comment
This site is protected by hCaptcha and the hCaptcha Privacy Policy and Terms of Service apply.