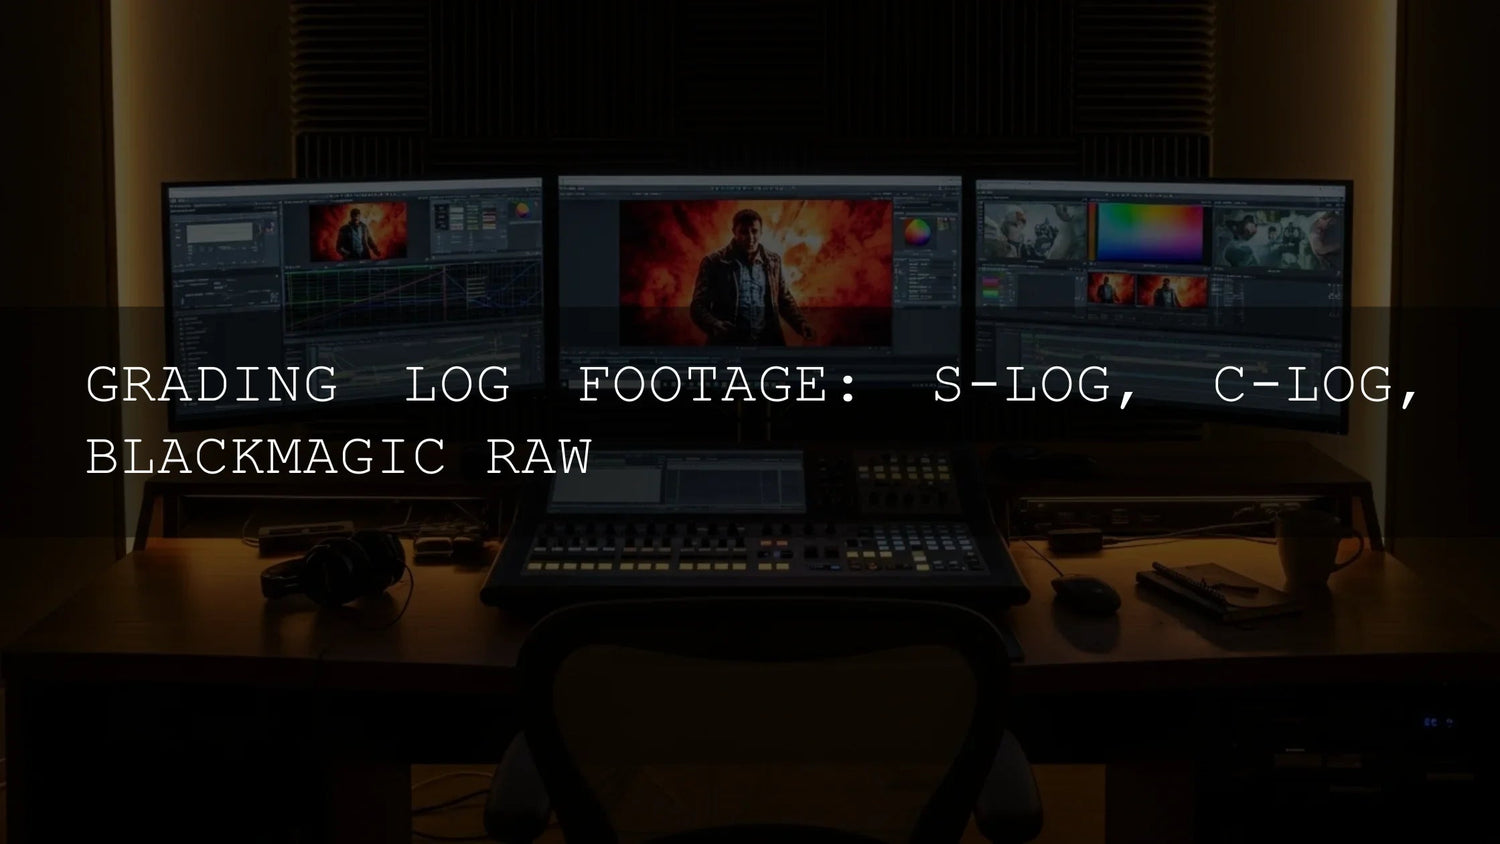
The Era of Cinematic Depth: Why Log Footage Is Non-Negotiable
If you want truly cinematic results, start at capture. Shooting log footage (S-Log, C-Log, or BRAW/BMD Film) preserves far more highlight and shadow detail than a standard Rec.709 clip. That extra latitude lets you correct exposure and white balance cleanly and then craft a creative look that actually holds up. In this guide, we’ll break down how log works, when to pick S-Log vs C-Log vs BRAW, and the exact workflow to convert, correct, and grade. I’ll also share a few field notes from real shoots and point you to Adobe’s official docs for LUTs, Lumetri Scopes, and color management.
Ready to see the difference fast? Apply a clean technical transform from your camera’s log to Rec.709, then audition a look you love. If you don’t have a library yet, try a curated pack from our Cinematic LUTs for DaVinci Resolve collection and build your grade on top—Buy 3, Get 9 FREE.
Log, in Plain Language
Standard gamma curves (like Rec.709) are made for viewing, not for heavy grading. A log gamma remaps tones to capture a wider dynamic range, producing a flat, greyish image that looks “wrong” straight out of camera—but that “flatness” is your editing superpower. You retain highlight rolloff, shadow separation, and midtone nuance that a contrasty bake-in would crush.
- Recover highlights & shadows: Hold detail in skies, windows, stage lights, and dark interiors simultaneously.
- Grade without breaking: Push contrast, hue, and saturation further before banding or clipping shows up.
- Future-proof masters: Regrade for HDR or new deliverables without re-shooting.
S-Log vs C-Log vs BRAW: Which One, When?
Sony S-Log (especially S-Log3)
Why pick it: Massive dynamic range with excellent shadow detail; deep ecosystem of tutorials and LUTs. S-Log3 is the modern default across Sony cinema and mirrorless bodies. What to remember: It demands a technical conversion (LUT or color-managed transform) before creative grading. Use scopes in your NLE to balance exposure and white balance after the transform.
Canon C-Log (C-Log2/C-Log3)
Why pick it: Canon’s color science and skin tones are famously forgiving, and the newer curves extend dynamic range. Like S-Log, C-Log is intentionally flat and requires a technical transform first. If you shoot people, C-Log’s starting point often grades pleasantly with minimal fuss.
Blackmagic RAW (BRAW)
Why pick it: It’s a true RAW workflow for video: tweak ISO, white balance, and exposure after the shoot, non-destructively. Compression is efficient, so files stay workable. If your camera supports BRAW (or BMD Film in ProRes), you’ll get the broadest latitude and the cleanest path to HDR and advanced deliveries.
The Exact Workflow: From Flat to Fabulous
1) Ingest & Color Management
Import into your NLE (Premiere Pro, DaVinci Resolve, or your editor of choice). Make sure your project’s color settings match your intent (Rec.709 for web, Rec.2100 HLG/PQ for HDR). In Premiere Pro, review Adobe’s guides for color management and LUT color spaces and the Lumetri Scopes overview for proper monitoring.
2) Technical Transform (De-Log)
Apply a camera-to-display transform (Input LUT or Color Space Transform). This is not your “look”—it just makes the image normal-looking in your target space (often Rec.709). See Adobe’s Looks and LUTs in Premiere Pro for how to load Input LUTs correctly.
3) Primary Corrections
- Set black/white points: Use your waveform to prevent crushed shadows or clipped highlights.
- Balance exposure: Adjust overall brightness; keep skin in a believable range.
- Neutralize white balance: Correct casts so neutrals look neutral; then re-tint intentionally later if you want a mood.
- Trim contrast & saturation: Add life carefully; preserve highlight rolloff you captured by shooting log.
4) Secondary & Creative Work
Now build the aesthetic: isolate hues with qualifiers, protect skin with power windows, and shape depth with vignettes and curves. If you use a creative LUT, apply it on a dedicated node/layer after your technical transform. Need looks fast? Browse our 700+ Cinematic Video LUTs or 300+ Music Video Color Grading LUTs Pack, then fine-tune to taste.
5) Consistent Monitoring & Export
Consistent color starts with consistent management. Adobe’s Color Management overview explains working/output color spaces and how to match footage, LUTs, and sequence settings. For background fundamentals, the ICC’s primer on profiles is a useful neutral reference.
Real-World Notes (From Set & Suite)
- Expose to protect highlights: On bright exteriors, a small under-exposure in log can save skies you can’t replace later.
- Consistency beats hero shots: I tested a music-video set on S-Log3 and C-Log3; the cleanest grade came from even exposures and matched color temperatures across cameras—far more than any one magic LUT.
- Use scopes, not just your eyes: Vectorscope skin-tone line and RGB parade keep you honest when your monitor lies.
Presets vs Manual Editing
Presets/LUTs: Fast, consistent baselines; great for speed and unifying multi-cam shoots. They still need trims (contrast, sat, WB) to suit your scene. Manual grading: Maximum control for hero shots, product work, or finicky lighting. The sweet spot is both: a dependable conversion + a look LUT + small manual refinements. For a deeper dive, see our explainer on LUTs vs Manual Color Grading.
Common Pitfalls (and Quick Fixes)
- Problem: Washed-out image after applying a creative LUT directly to log. Fix: Do a proper log→Rec.709 transform first, then apply the creative look.
- Problem: Orange skin or weird greens. Fix: Check white balance, then refine with a skin-tone qualifier; use the vectorscope skin line.
- Problem: Noisy shadows. Fix: Slightly lift exposure before the look; add denoise before sharpening; avoid crushing blacks.
- Problem: Inconsistent color across cameras. Fix: Match exposure/WB; use brand-specific input LUTs or a CST per camera; then apply the same creative look.
Gear-Agnostic Tips That Always Help
- Rating & metering: Rate ISOs conservatively in harsh light; watch clipping indicators.
- Grey card routine: One 2-second grey card hold per lighting setup can save 20 minutes in the suite.
- Keep a “neutral node”: Do your creative look on a dedicated node/layer so you can bypass and compare quickly.
Try This Today (With Downloadable Looks to Test)
Give yourself a trusted baseline you can reuse. Convert your log correctly, do a clean primary balance, then test two or three creative options. Our Cinematic LUTs for DaVinci Resolve collection and the broader Lightroom Presets collection (for thumbnails and stills) are designed to be quick starts you can refine—Buy 3, Get 9 FREE.
Further Learning (Official Resources)
- Adobe Premiere Pro: Looks and LUTs—input vs creative and proper application
- Adobe Premiere Pro: Lumetri Scopes overview—waveform, parade, vectorscope
- Adobe: Color Management overview—working/output spaces and overrides
Related Reading
- What LUTs Are & When to Use Them (2025 guide)
- DaVinci Resolve Nodes: Serial, Parallel, Layer & Keyer
- Color Grading vs Color Correction (Resolve)
- Best LUTs for Cinematic Color Grading in DaVinci Resolve
FAQ
Is log footage only for high-end cameras?
No—most modern mirrorless and cinema-lite bodies offer S-Log or C-Log, and many support robust 10-bit recording. You’ll still need good exposure and a proper transform.
What’s the simplest way to start grading log?
Apply a camera-specific Input LUT (or a CST) to map log→Rec.709, do a quick primary balance, then add a creative look. Adobe’s Looks/LUTs guide shows where to load Input LUTs in Lumetri.
Can I use creative LUTs directly on log?
Only if they’re designed for your log curve. Most creative LUTs expect Rec.709 footage; if so, convert log→709 first, then apply the look.
When does BRAW make the biggest difference?
When lighting changes fast (events, live music) or you need to salvage white balance or ISO decisions in post. BRAW’s metadata controls are a lifesaver.
Why do my grades look different on other screens?
Because of mismatched color management. Use scopes, pick a consistent working/output space, and calibrate your monitor. See Adobe’s color management overview for details.
Written by Asanka — creator of AAAPresets (10,000+ customers).


Leave a comment
This site is protected by hCaptcha and the hCaptcha Privacy Policy and Terms of Service apply.