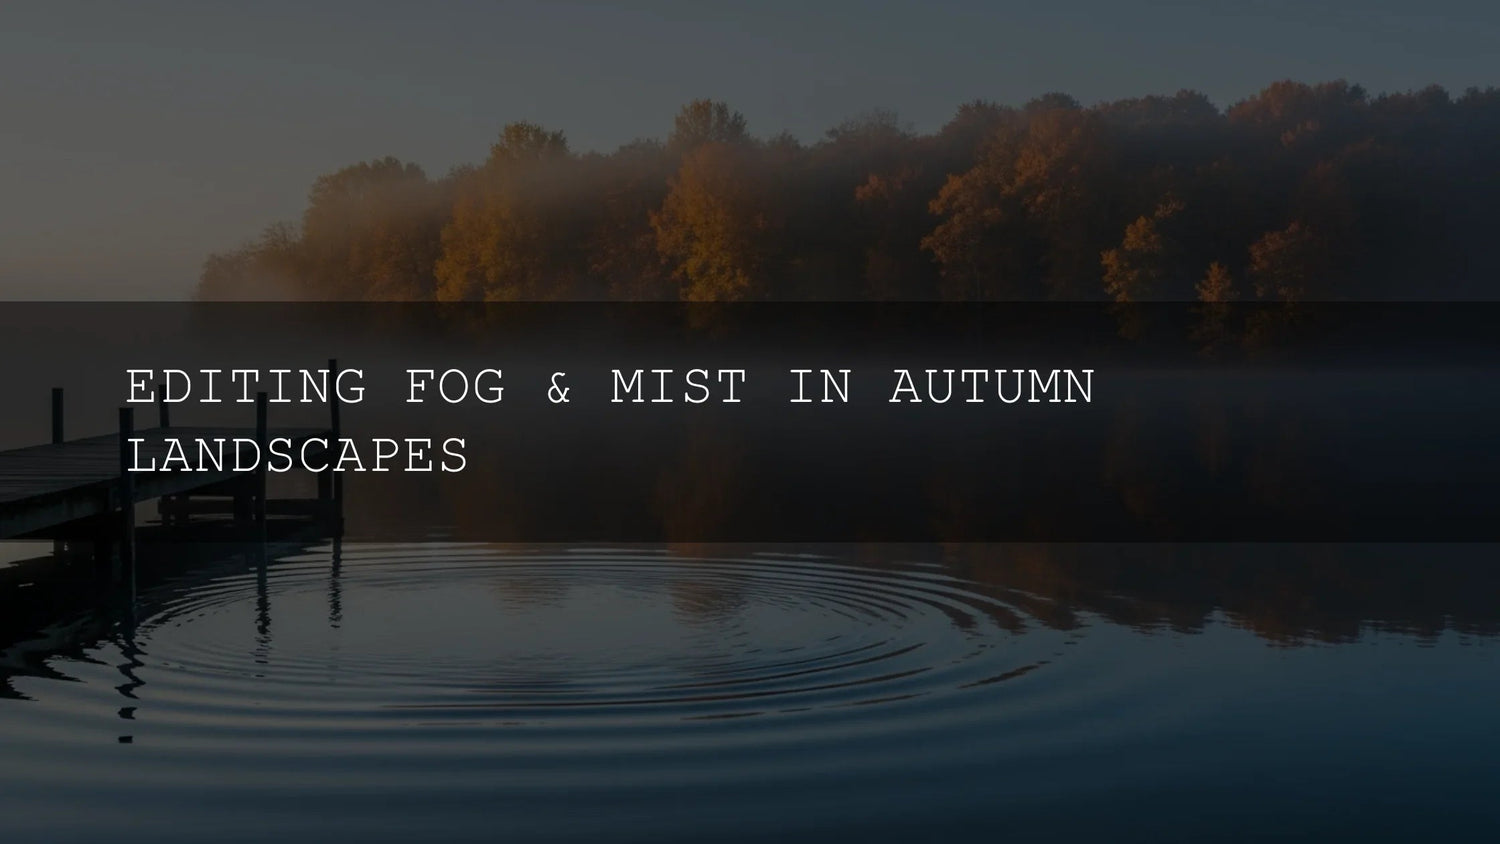
Edit Fog and Mist in Lightroom: A Practical Autumn Landscape Workflow
Autumn fog has a way of turning everyday scenes into quiet cinema. The challenge is keeping that dreamy atmosphere while restoring shape, depth, and the rich seasonal palette. In this guide, you’ll learn how to edit fog and mist in Lightroom—from subtle dehaze to targeted color work—so your autumn landscape editing looks natural, consistent, and portfolio-ready.
Want a faster start? Try purpose-built tools designed for foggy mornings and golden-hour woods. Explore AI-Optimized Cinematic Film Landscape Lightroom Presets or browse Lightroom Presets Collection—and if you’re building a toolkit, you can Buy 3, Get 9 FREE.
Why fog and mist need a different approach
Fog reduces global contrast, lowers micro-contrast (fine detail), and softens hues. Push sliders too far and the scene turns crunchy or color-blocked; move too little and the image stays flat. The right approach restores separation (foreground vs background), color intention (warm leaves, cooler air), and local contrast exactly where the eye should travel.
Presets vs manual editing: when to use each
- Presets (great for speed & consistency): Ideal when you need a cinematic baseline across a set—wedding forest portraits, trail series, or travel essays. Apply, then fine-tune white balance, masks, and HSL per frame.
- Manual editing (great for control & edge cases): Best for extreme haze or mixed light, where you’ll blend subtle dehaze with targeted masking and careful midtone contrast.
- Hybrid (recommended): Start with a fog-friendly preset to nail tonal direction, then refine locally (subject mask, background gradient, color grading). It’s the most time-efficient pro workflow.
Step-by-step: a clean Lightroom workflow for fog & mist
- Profile & white balance first. Pick the most neutral camera profile, then set temperature/tint. In fog, a slight warm bias helps foliage feel alive without fighting the cool air. (If you’re color-curious, explore Adobe Color harmony rules for palette planning.)
- Dehaze in moderation. Nudge upward to reclaim structure in mid-distance trees; consider a small negative value to preserve glow in skylight or sunbeams. Keep it gentle—over-dehaze can posterize tones. Learn the tool from Adobe’s Dehaze overview.
- Tone curve for midtone separation. Instead of harsh global contrast, lift lower mids slightly and anchor the upper mids. A mild “S” that respects highlights keeps fog luminous.
- Texture & clarity: asymmetric tuning. Reduce clarity a touch globally to keep air soft; add texture selectively to bark, rocks, and foreground leaves so the subject feels tactile against the mist.
- HSL for autumn intention. Ease greens/blue-greens; enrich oranges/reds; lift orange luminance for leaf “glow.” Micro-adjust yellows toward orange to unify the canopy. See Adobe’s HSL & Color Grading docs.
- Color Grading (replacing Split Toning). Warm highlights (sun-kissed leaves), cool shadows (airy mist), and keep midtones neutral to protect skin or bark. Start subtle; it stacks with HSL. Details in Adobe’s Color Grading guide.
- Masking for depth. Use a Subject mask to protect people or prominent trunks, a Linear Gradient to darken edges (gentle burn), and a Background mask to soften clarity where fog lives. Read Adobe’s guide to masking in Lightroom.
- Local dehaze & dodging/burning. Add a faint positive dehaze on mid-ground layers; dodge the leading path; burn frame corners. Small strokes, big depth.
- Noise & sharpening. Fog hides detail but raises ISO. Denoise conservatively; sharpen with a high Masking value to avoid crisping the air.
- Vignette or radial glow. A soft vignette centers attention; a low-contrast radial mask can add “mist glow” around light sources for atmosphere without artifacts.
Make autumn color pop—even in heavy fog
Fog is a natural diffuser. It mutes saturation but can make hues feel clean and luminous when handled with restraint. For a one-click cinematic start, try AI-Optimized Cinematic Landscape Lightroom Presets or film-leaning aesthetics like AI-Optimized Film Cinematic Landscape Nature Lightroom Presets. If you favor cozy matte tonality, explore AI-Optimized Matte Autumn Film Lightroom Presets. Travel shooters can set a consistent adventure look with AI-Optimized Cinematic Travel Landscape Wanderlust Lightroom Presets.
Color tactics that work
- White balance mastery: Warm slightly to rescue leaf vitality; counter with a hint of magenta if greens skew cyan in mist.
- HSL precision: Reduce Blue saturation and raise Blue luminance to soften sky haze; nudge Yellow hue toward Orange to unify foliage.
- Grading balance: Warm highlights (8–15), cool shadows (–5 to –12), neutral midtones—then fine-tune saturation to keep skin natural in environmental portraits.
Two quick recipes you can save
Dreamy, painterly fog
- Dehaze −2 to +4, Clarity −10, Texture −5
- Curve: lift shadows slightly, gentle S in mids
- HSL: Oranges +8 sat / +10 lum; Yellows +4 sat / −4 hue
- Grading: Highlights warm (small), Shadows cool (small)
- Masks: Background clarity −10; Subject texture +10
Cinematic, moody depth
- Dehaze +8 to +14, Clarity +5 locally (foreground only)
- Curve: anchor blacks, compress upper mids for drama
- HSL: Oranges +6 sat / +6 lum; Greens −10 sat
- Grading: Midtones neutral; Highlights warm; Shadows cyan-blue
- Masks: Burn edges, dodge leading line or subject face
What I learned from field use
I tested a fog-friendly preset pack on a forest path series shot across two mornings. The preset established cohesive tonality in seconds; most of the “pro look” came from three refinements: warming white balance by ~400K, adding a background clarity reduction, and a small local dehaze on mid-distance trees. That combination kept the air soft while restoring structure where the eye expects it.
Common mistakes (and what to do instead)
- Over-dehazing the entire frame. Use local dehaze selectively; keep atmosphere where it belongs.
- Global clarity boosts. They make air look crunchy. Prefer Texture on tactile subjects and negative Clarity in backgrounds.
- Over-saturated foliage. Use HSL luminance to create “glow” rather than cranking saturation.
- Crushed blacks. Preserve low-end detail so fog stays dimensional, not muddy.
- Ignoring midtones. Fog lives in the mids; shape them with the curve instead of hammering highlights/shadows.
Helpful resources
- Adobe’s Dehaze overview (Lightroom/Camera Raw)
- Adobe’s guide to masking in Lightroom
- Adobe’s Color Grading in Lightroom Classic
Related reading
- Autumn Travel Photography: Editing Tips & Presets
- Street Photography in Fall: Grit, Texture & Storytelling
- Wedding Photography in Autumn: Presets for Romance
- Drone & Aerial Fall Shots: Cinematic LUTs for Foliage
Try this on your next misty morning
If you want pro-level results with fewer clicks, start with a cinematic base and refine with masks. A great all-rounder is AI-Optimized Cinematic Landscape Lightroom Presets, and you can explore more looks in Lightroom Presets Collection. Try a couple on your next foggy set—Buy 3, Get 9 FREE makes it easy to build a versatile kit.
FAQ
How much Dehaze should I use for fog?
As little as possible globally. Start around +5 to +10, then rely on local dehaze where you need structure. Preserve atmosphere in the background.
What’s better for detail in fog—Clarity or Texture?
Texture for tactile subjects (bark, rocks). Keep Clarity low or negative in backgrounds so the air stays soft.
How do I keep foliage warm without ruining skin tones?
Warm the scene slightly, push Orange luminance up, and keep midtones neutral in Color Grading. If people are in frame, protect them with a Subject mask.
Should I sharpen foggy images?
Yes, but with high Masking so sharpening sticks to edges and textures, not the air. Combine with light denoise if you raised ISO.
Can presets really handle mixed fog conditions?
They’re excellent for consistent tone and color. Apply the preset, then fine-tune with local masks and HSL per scene for best results.
Written by Asanka — creator of AAAPresets (10,000+ customers).
1000+ Master Lightroom Presets • How to Install Lightroom Presets


Leave a comment
This site is protected by hCaptcha and the hCaptcha Privacy Policy and Terms of Service apply.