Autumn Lightroom Presets & Fall LUTs: A Practical Guide to Cinematic Color, Warmth, and Mood
Autumn moves fast—light drops earlier, colors peak briefly, and shoots pile up. The fastest way to keep quality consistent is to pair autumn Lightroom presets for photos with fall LUTs for video, then refine with a few targeted edits. Below you’ll find a field-tested workflow for warm foliage, believable skin tones, and cinematic contrast (plus a quick Presets vs Manual Editing comparison), with links to Adobe’s official resources for masking, color grading, and LUT use.
Why this matters
Fall scenes mix warm subjects (leaves, earth, golden hour) with cooler elements (shade, sky, mist). If you push everything warm, skies go cyan-gray and shadows turn muddy; if you keep things neutral, the season feels undercooked. The sweet spot is a warm–cool balance: glow in foliage and skin, natural blues in sky/shade, and just enough contrast to feel cinematic.
A fast, reliable workflow for autumn color
- Start with a purpose-built look. Apply a cohesive base from an autumn Lightroom preset or fall LUT so your set matches from shot to shot. This gives you 80% of the look instantly and keeps edits consistent across a whole session or timeline.
- Balance warmth globally, then correct locally. Use Temp/Tint (or White Balance) for overall mood, then mask faces/sky/foliage for local tweaks. Adobe’s masking tools (Subject, Sky, Background, People) make this fast and precise. Adobe’s guide to masking in Lightroom Classic shows every option with examples.
- Shape depth with contrast that protects color. Start in the Basic panel (Blacks/Whites) and finish with a gentle Tone Curve S-shape. For intentional color separation, use the Color Grading wheels (shadows/midtones/highlights) rather than cranking Saturation. See Adobe’s Color Grading overview.
- Guard believable skin. After warming the scene, mask skin (People select) and nudge Temp/Tint back to neutral. Keep orange HSL saturation moderate and bias red hue slightly toward true red to avoid carrot skin.
- Target foliage for the “pop.” In HSL/Color Mixer, drive separation between yellow↔orange↔red: a slight hue shift of yellows toward orange, reduce yellow saturation (to avoid neon), and raise orange luminance for a luminous leaf edge.
- Protect sky and cool shade. Mask Sky and add a small negative Temp. If needed, lower saturation rather than pushing blues too cyan.
Presets vs Manual Editing (and when to use each)
- Presets/LUTs for speed & consistency: Ideal for weddings, travel, fashion, lifestyle, or any project with lots of files from varied lighting. They standardize your base look so small tweaks finish the job.
- Manual editing for tricky files: Mixed light, odd white balance, or extreme dynamic range may need a manual first pass (WB, exposure, noise) before or after applying a look.
- Hybrid approach (my default): I apply an autumn preset/LUT first, then spend 60–90 seconds on masks (faces, sky, foliage) and HSL refinement. On a wedding last fall, this kept 600+ images consistent and still let me hand-tune hero portraits.
Photo: Lightroom steps that deliver “cinematic autumn”
- WB & Exposure: Warm slightly; aim for glowing leaves without orange skin. Balance highlights (not too crunchy) and lift shadows selectively.
- Color Grading wheels: Warm the midtones (subtle), keep shadows slightly cool (blue/teal near zero saturation), and add a whisper of warmth to highlights. Learn Color Grading in Lightroom Classic.
- Masking: People (skin) → neutralize; Sky → tiny cool push; Foliage → slight hue shift + luminance lift. Masking in Lightroom (Cloud/Desktop).
- HSL finesse: Reduce yellow saturation, increase orange luminance, keep reds clean (avoid magenta drift).
- Final polish: Add a gentle curve, a subtle vignette, and preserve detail (Texture/Clarity sparingly). For color management background, see Adobe’s color management notes.
Video: Grading autumn footage with LUTs (Premiere Pro, Resolve, FCP)
Use an input LUT (camera log) if needed, then apply a creative LUT for look. In Premiere Pro, you can add LUTs from the Lumetri Color panel under Basic Correction → Input LUT. See Adobe’s Looks and LUTs guide for Premiere Pro and Add Look-up Tables.
- Normalize: Apply camera-to-Rec.709 transform if you shot in log.
- Creative LUT: Add your fall look LUT; reduce its intensity (20–60%) until foliage feels rich but skin and neutrals stay believable. Adobe notes LUTs are a starting point—finish with Color Wheels/Curves.
- Secondaries: Qualify foliage (HSL key), nudge hue toward orange, lift luminance; qualify skin and keep it neutral; cool shadows selectively.
- Contrast & rolloff: Add midtone contrast, protect highlights. Avoid crushing blacks—autumn likes air.
What I learned shooting fall weddings & travel
I tested warm, foliage-forward presets on a forest wedding where the couple stood in dappled light. A quick People mask kept skin natural while the base preset unified the set. On travel footage from a foggy ridge, a cinematic fall LUT plus a cool shadow lift preserved depth without making the scene look blue.
Tools that fit these looks
Want a premium, cohesive start and then quick refinements? Try a purpose-built autumn look and build on it—Buy 3, Get 9 FREE means you can bundle a warm base with a moody option and a vibrant set for peak foliage days. Explore: 1000+ Master Lightroom Presets and Lightroom Presets Collection.


Pro tips for common autumn scenarios
- Backlit portraits: Lower Highlights, raise Whites slightly; mask hair/skin to tame orange saturation. Add warm midtones, cool shadows (very low saturation).
- Overcast forest: Add midtone contrast and micro-contrast (Texture). Warm highlights a touch; keep shadows neutral or slightly cool to avoid brown mush.
- Golden hour landscapes: Don’t over-warm. Let the sun do the work and focus on local contrast and color separation.
- Fog & mist: Use Dehaze sparingly and restore depth with local masks (foreground vs background). Keep color subtle; mist likes low saturation.
- Mixed lighting (street/neon): WB sampler on skin, then use HSL to keep reds true. Reduce global saturation and add targeted saturation via masks.
Color harmony that flatters autumn
When in doubt, build your palette with complementary or split-complementary relationships (warm oranges balanced by gentler blue/teal). Try Adobe Color’s harmony rules and wheel to preview palettes before you grade—helpful when matching B-roll to hero shots.
Related reading
- Autumn Lightroom presets guide
- Edit fog and mist in Lightroom
- Fall street photography color & texture
- Wedding photography in autumn: skin tones
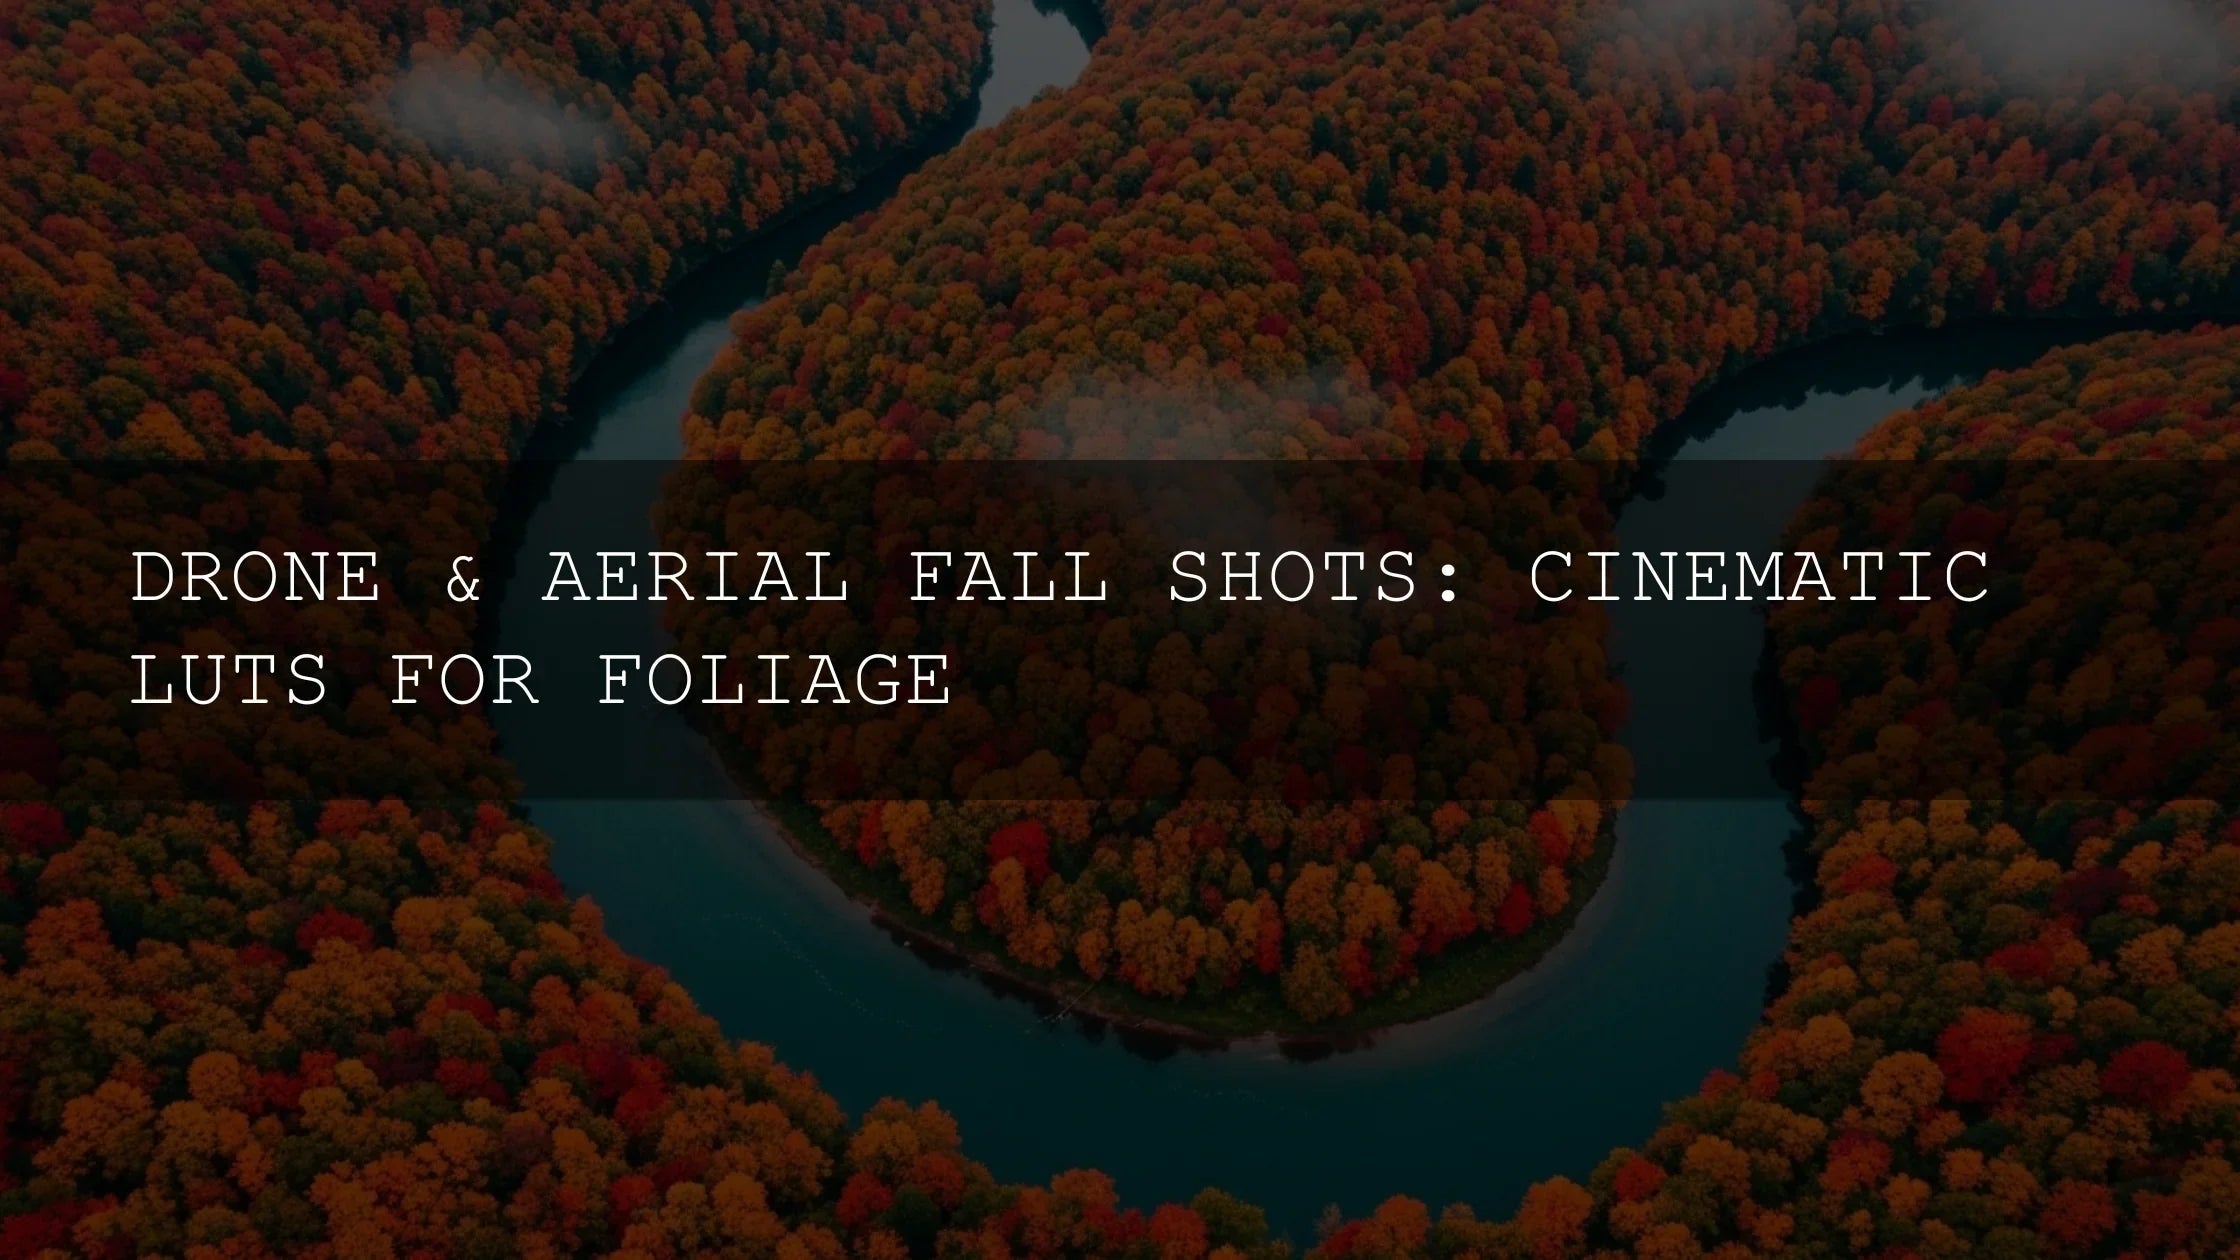
- Cinematic drone LUTs for foliage
A compact shopping roadmap (photos & video)
- Warm & cozy base: AI-Optimized Autumn Gold Tones Lightroom Presets
- Moody/cinematic option: Cinematic Autumn Fall Lightroom Presets
- Vibrant foliage days: Autumn Fall Vibrant Lightroom Presets
- Video grading: Cinematic Autumn Fall LUTs Pack
- Browse more: Lightroom Presets Collection · Autumn LUTs Collection
- Need help? How to install presets & LUTs
Step-by-step mini-recipes you can try today
Warm & natural family portraits
- Apply a warm autumn preset.
- Mask People → reduce orange saturation ~5–10, add +3 to +6 Luminance.
- HSL: shift Yellow slightly toward Orange; reduce Yellow Sat ~10.
- Color Grading: midtones +warm (very low), shadows tiny cool.
- Finish with a soft curve and a hint of vignette.
Misty morning landscape
- Apply moody/cinematic preset.
- Dehaze +5 to +12 (global), then local Dehaze for foreground only.
- Sky mask → slight cool Temp; Foliage mask → raise Luminance and tiny hue shift.
- Color Grading: highlights warm, shadows neutral-cool, midtones restrained.
Travel vlog B-roll
- Normalize log footage → add creative fall LUT at 30–50% intensity.
- Secondary qualify foliage to avoid over-saturation on signage/clothes.
- Use Curves to lift midtones; keep blacks breathable.
- Final pass: grain or subtle halation if your platform favors a filmic look. For LUT application details, see Adobe’s docs.
FAQs
Should I warm the entire photo for a fall look?
No. Warm globally a little, then use masks to protect skin and sky. This keeps foliage glowing while people and blues stay believable. For masking options, see Adobe’s official guide.
What’s the difference between input and creative LUTs?
Input LUTs convert log/flat footage to a standard space; creative LUTs add style. In Premiere Pro, both live in Lumetri (Basic Correction). Start with input, then layer a creative look.
How do I stop orange skin?
Mask faces (People) and neutralize Temp/Tint; in HSL, reduce orange saturation slightly and raise orange luminance. Keep reds true and avoid magenta drift.
Are autumn presets one-click?
They’re a strong starting point. Expect 30–90 seconds of tweaks (WB, masks, HSL) per keeper frame for professional results.
What if my computer struggles with big catalogs?
Optimize Lightroom Classic performance (preview settings, GPU, cache) using Adobe’s guidance.
Want a cohesive autumn look without the grind? Explore a warm base, a moody option, and a vibrant pack—then blend as needed. Try them today—Buy 3, Get 9 FREE: AI-Optimized Autumn Gold Tones Lightroom Presets, Cinematic Autumn Fall LUTs Pack, and Lightroom Presets Collection.
Written by Asanka — creator of AAAPresets (10,000+ customers).

Leave a comment
This site is protected by hCaptcha and the hCaptcha Privacy Policy and Terms of Service apply.