Fall Fashion Photography Presets: A Complete Guide to Rich Color, Contrast, and Skin Tones
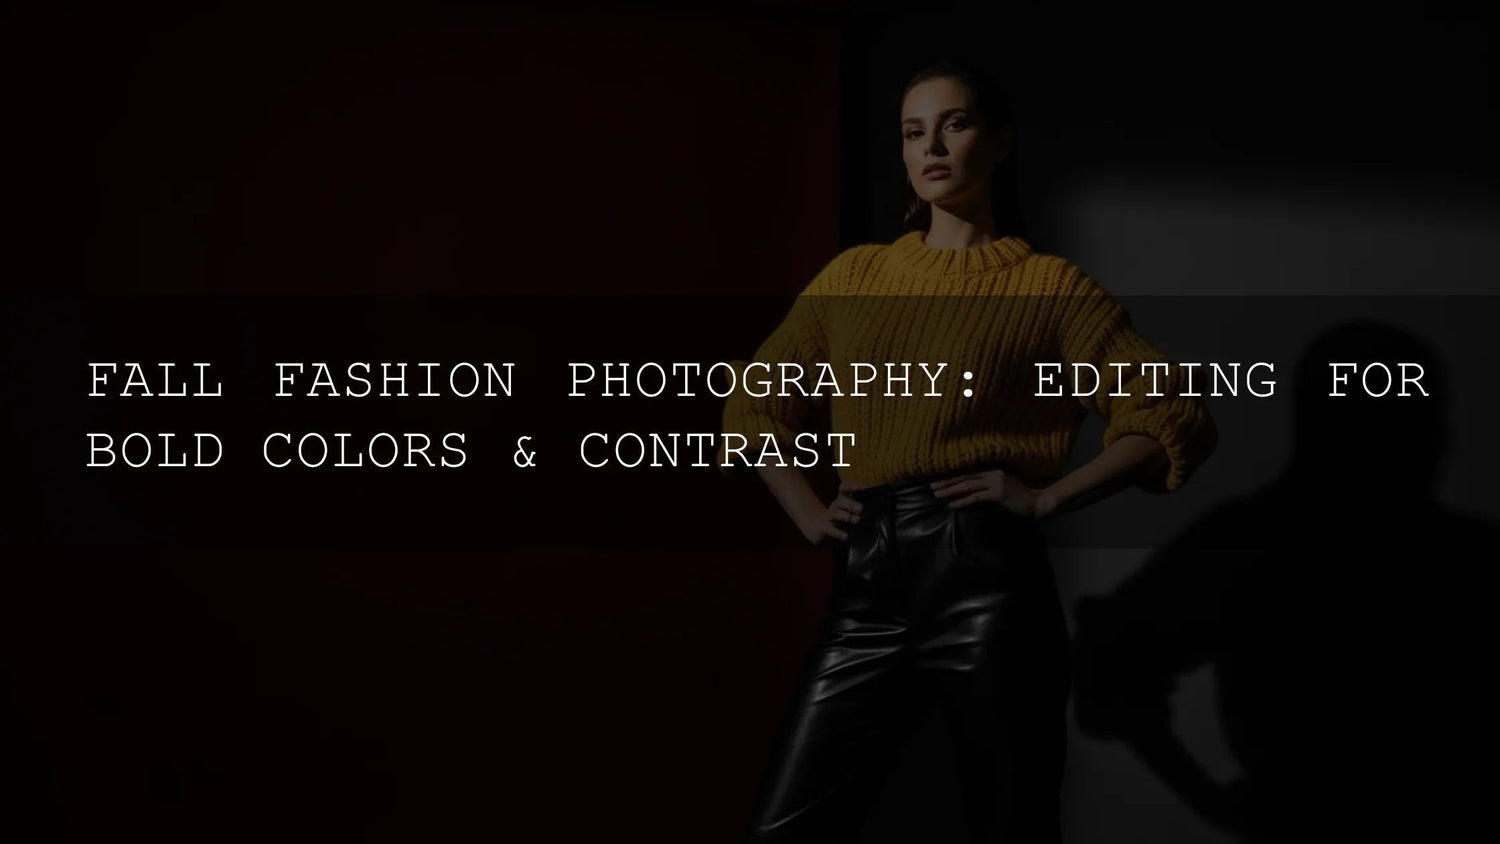
Fall fashion photography thrives on bold color, refined contrast, and flattering skin tones—and the fastest way to get there is with fall fashion photography presets built for Lightroom. As leaves shift to deep ochres and burgundies, you need edits that amplify warmth without crushing detail. Below, we’ll show how to pair purpose-built Lightroom presets with expert techniques (masking, HSL, tone curve) so your autumn fashion images look consistent, cinematic, and client-ready.
If you want a premium look right away, start with tools designed for fall wardrobes and golden hour light. Try the AI-Optimized Golden Fashion Lightroom Presets and explore a broader set in our preset library—Buy 3, Get 9 FREE via Lightroom Presets browsing (see collection link below).
Capture the Essence of Autumn Color
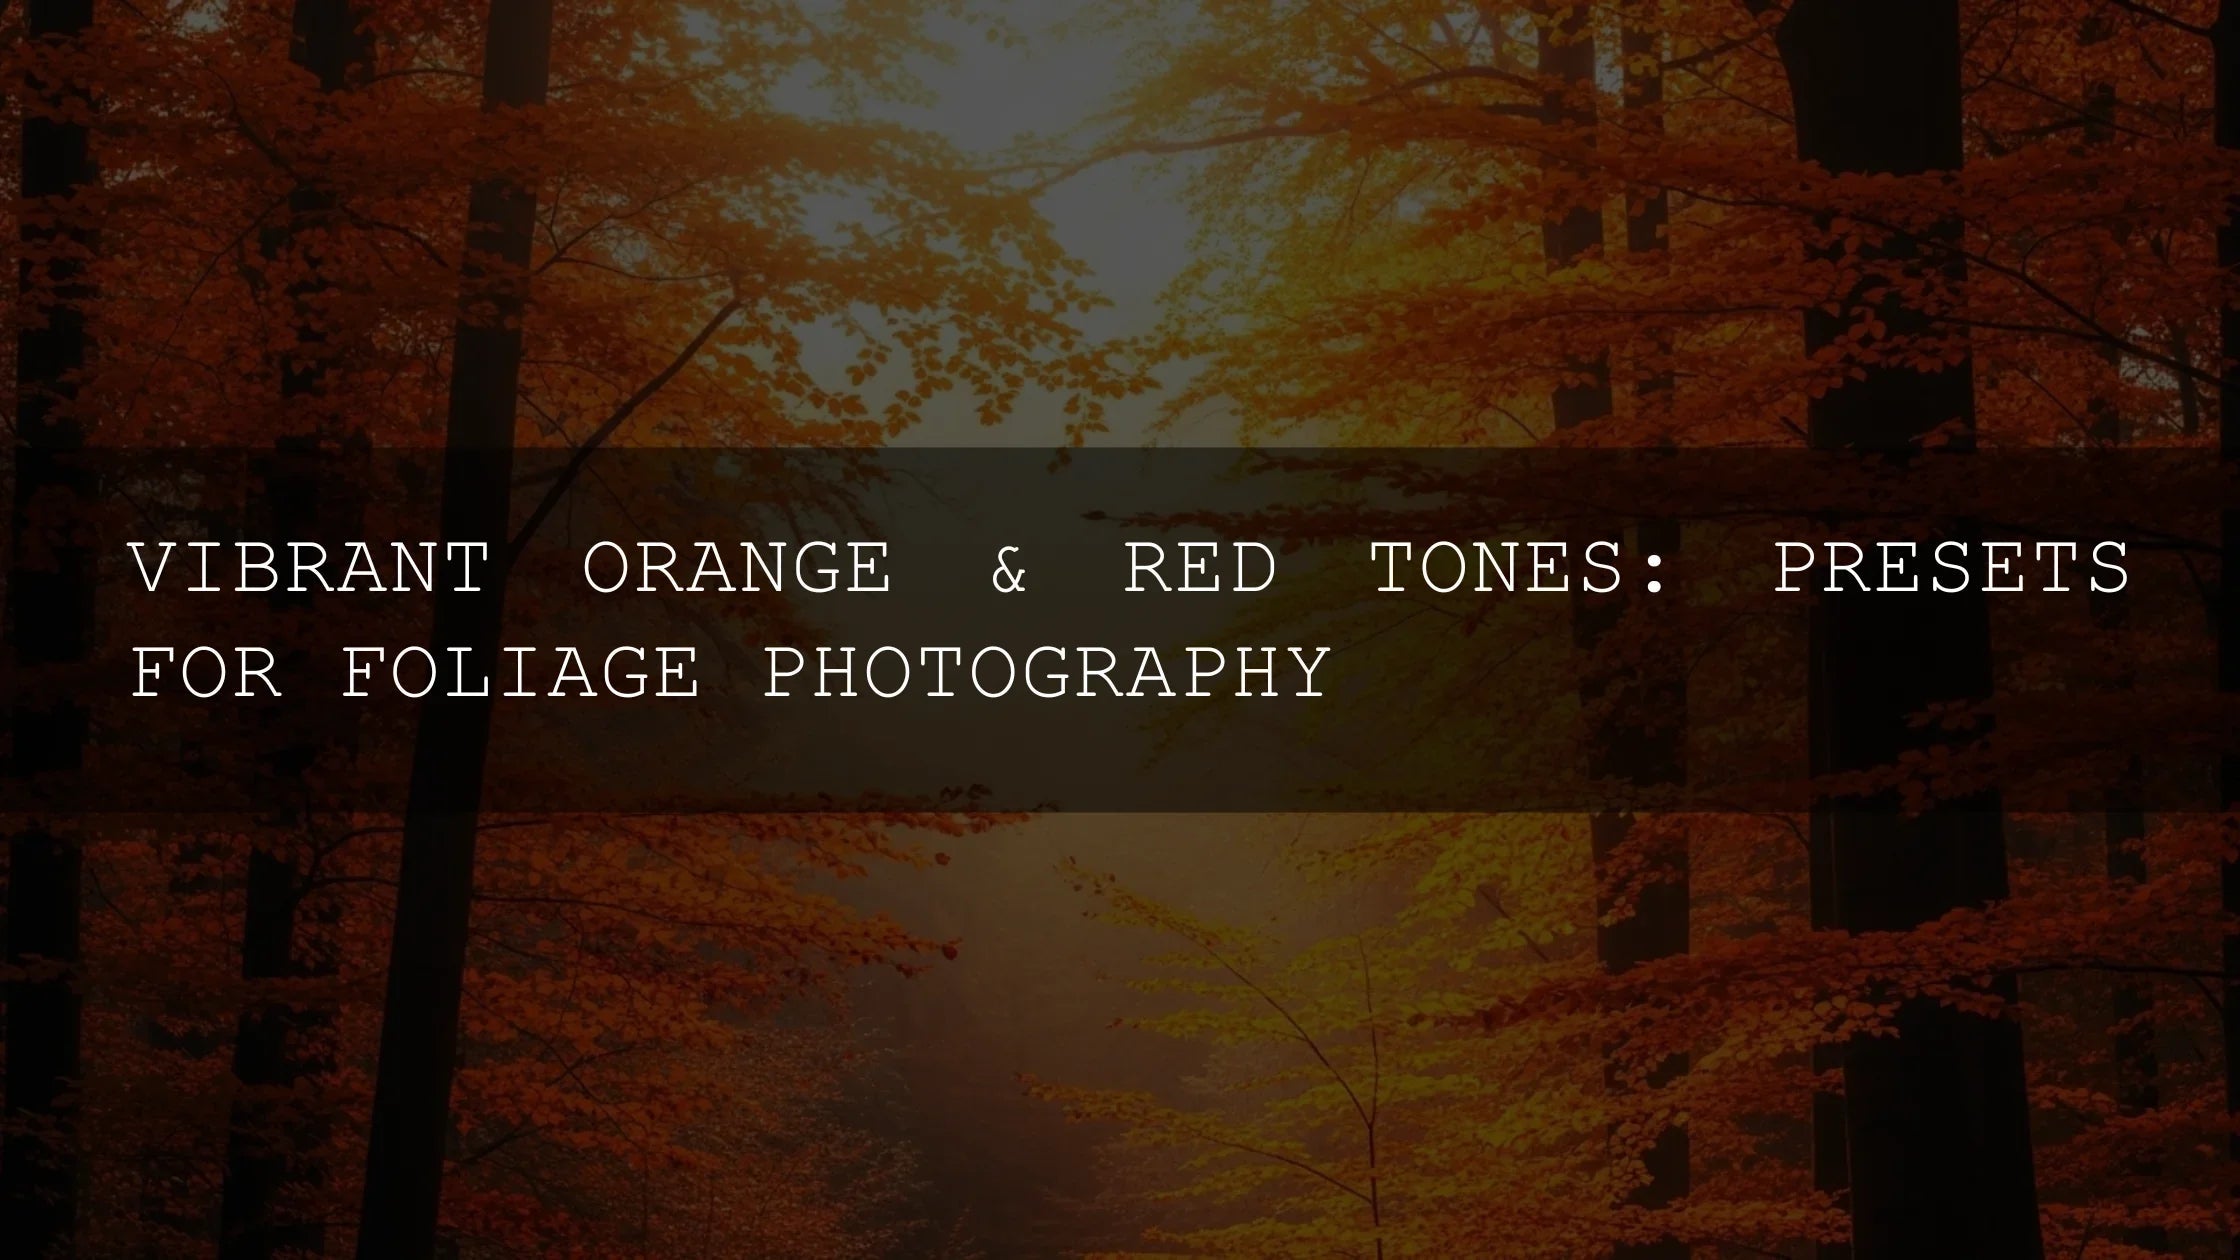
Autumn’s palette—golds, oranges, reds—can look flat straight out of camera. The goal is to intensify color selectively, so fabric textures, makeup, and skin stay natural. I often begin with a warm fashion base like Golden Fashion, then fine-tune in HSL to deepen oranges in knits and keep reds clean in coats and lip tones. For local refinements (lifting a face, cooling a background), use Lightroom masking for precise adjustments—see Adobe’s Masking guide for Lightroom Classic.

The Power of Contrast for Editorial Impact
Vibrant colors draw the eye, but it’s well-shaped contrast that creates dimension. Aim for deep yet clean shadows and luminous highlights (no muddy blacks or blown whites). For an editorial look with soft highlights and controlled depth, I recommend AI-Optimized Cinematic Photo Shoot. After applying, refine with the Tone Curve for a gentle S-curve and tight endpoints; Adobe’s guidance on tone and color is a great refresher—see work with image tone and color in Lightroom Classic.

Editing for Diverse Skin Tones
Autumn warmth can push skin toward orange or muddy if you’re not careful. When I shot a mixed-light street lookbook, I tested AI-Optimized Dark Skin Tones on richer complexions; it kept undertones natural while letting jackets and scarves stay vivid. Tip: balance global warmth with targeted masks on skin to protect hue, then nudge background hues separately via HSL.

Give Images a Luxury Glow
For timeless campaigns and premium e-commerce, a refined golden sheen sells the texture of wool, suede, and silk. The AI-Optimized Luxury Golden Tones preset set adds a polished glow and gentle highlight bloom that feels expensive—perfect for lookbooks, bridal fashion, or high-end lifestyle editorials. I like to add a radial mask for a subtle “window light” effect and reduce clarity slightly on backgrounds to keep focus on garments.

Presets vs Manual Editing: Which Should You Use?
- Presets (fast consistency): Ideal for campaigns, carousels, and multi-look shoots. A preset creates a repeatable baseline so a 30-image gallery feels cohesive.
- Manual (fine control): Essential when lighting or wardrobe shifts drastically. You’ll adjust HSL per garment, refine skin with masks, and reshape contrast with the Tone Curve.
- Best practice: Apply a preset that matches your creative direction, then do selective masks/HSL tweaks. This gives you speed and craftsmanship.
Step-by-Step: A Reliable Fall Fashion Workflow
- Set white balance to taste (watch skin first). If the frame is too cool, warm it until skin reads natural, then protect highlights. See Adobe’s guidance on white balance & tonal scale.
- Apply a baseline preset aligned to your art direction: Golden Fashion for warm looks, Cinematic for moodier editorial, Luxury Golden for premium glow, or Dark Skin Tones for complexion-first accuracy.
- Refine exposure and contrast (Blacks/Whites/Highlights/Shadows), then add a subtle S-curve.
- Use Masking to brighten faces, add separation on hair, and control background warmth without touching skin. Reference: Apply Masking for local adjustments.
- Target color with HSL so fabrics pop: deepen orange for knits, clean up reds, and control yellow in gold hardware. If you need palette ideas, explore Adobe Color harmony rules.
- Finalize micro-contrast & detail (Texture/Clarity on garments, gentle noise reduction, lens corrections), then copy settings across similar shots for consistency.
Advanced Pro Tips for Autumn Wardrobes
- Protect skin first: Create a People mask, lower orange saturation slightly, and use a cooler Temp on the background mask to maintain color balance.
- Keep reds clean: If reds skew toward magenta, pull Red Hue slightly negative and raise Red Luminance for fabric detail.
- Gold without brass: For jewelry or hardware, increase Yellow Luminance and reduce Yellow Saturation a touch—keeps shine without over-yellowing.
- Shadow polish: If blacks look muddy, lift Blacks a little, then rebuild depth with the curve’s lower point instead of the Contrast slider alone.
- Consistency hack: Sync only color settings across a series, then fine-tune exposure per frame to account for pose or light variance.
Build a Cohesive Visual Story
Campaigns succeed when the grid feels intentional. I usually pick one hero preset for the story and create two “aux” variants (e.g., a slightly cooler street version and a warmer boutique interior version). This keeps the brand voice steady while accommodating different locations and fabrics. For street looks with deep blacks and moody skies, lean on Cinematic. For sunlit shop windows or golden park scenes, Golden Fashion or Luxury Golden delivers that chic glow.
Quick Try-Now Suggestions
Ready to get the look? Start with Golden Fashion for warm wardrobes, pair with Dark Skin Tones for accurate complexions, and explore more options in our browseable library—Buy 3, Get 9 FREE in the Lightroom Presets collection.
Related Reading
- Warm & Moody Fall Editing
- Autumn Fashion Lightroom Presets
- Skin Tone Editing in Lightroom
- Cinematic Photo Shoot Presets Guide
- Golden Hour Editing for Fashion
FAQ
What’s the best preset for outdoor fall fashion in golden light?
Golden Fashion is a strong start—warm highlights, rich midtones, and a clean base for skin and fabric detail.
How do I keep deeper skin tones natural with warm autumn colors?
Use Dark Skin Tones and a People mask. Reduce Orange Saturation slightly on skin while enhancing background warmth via HSL.
My reds look clipped in jackets—how can I fix them?
Lower Red Saturation, raise Red Luminance, and nudge Red Hue slightly toward orange. Then add a selective saturation boost to oranges for balance.
Should I edit manually or rely on presets?
Use presets for speed and cohesion, then do manual masking/HSL and a small S-curve for polish. It’s the most efficient pro workflow.
How do I keep images consistent across a whole lookbook?
Create one hero preset for the project, make two minor variants for different locations, and sync color settings. Fine-tune exposure per image.
Want the same aesthetic on your next shoot? Build your autumn look with Golden Fashion, add depth with Cinematic Photo Shoot, and finish with complexion-true Dark Skin Tones. Browse more options in the Lightroom Presets collection—Buy 3, Get 9 FREE.
Written by Asanka — creator of AAAPresets (10,000+ customers).


Leave a comment
This site is protected by hCaptcha and the hCaptcha Privacy Policy and Terms of Service apply.