
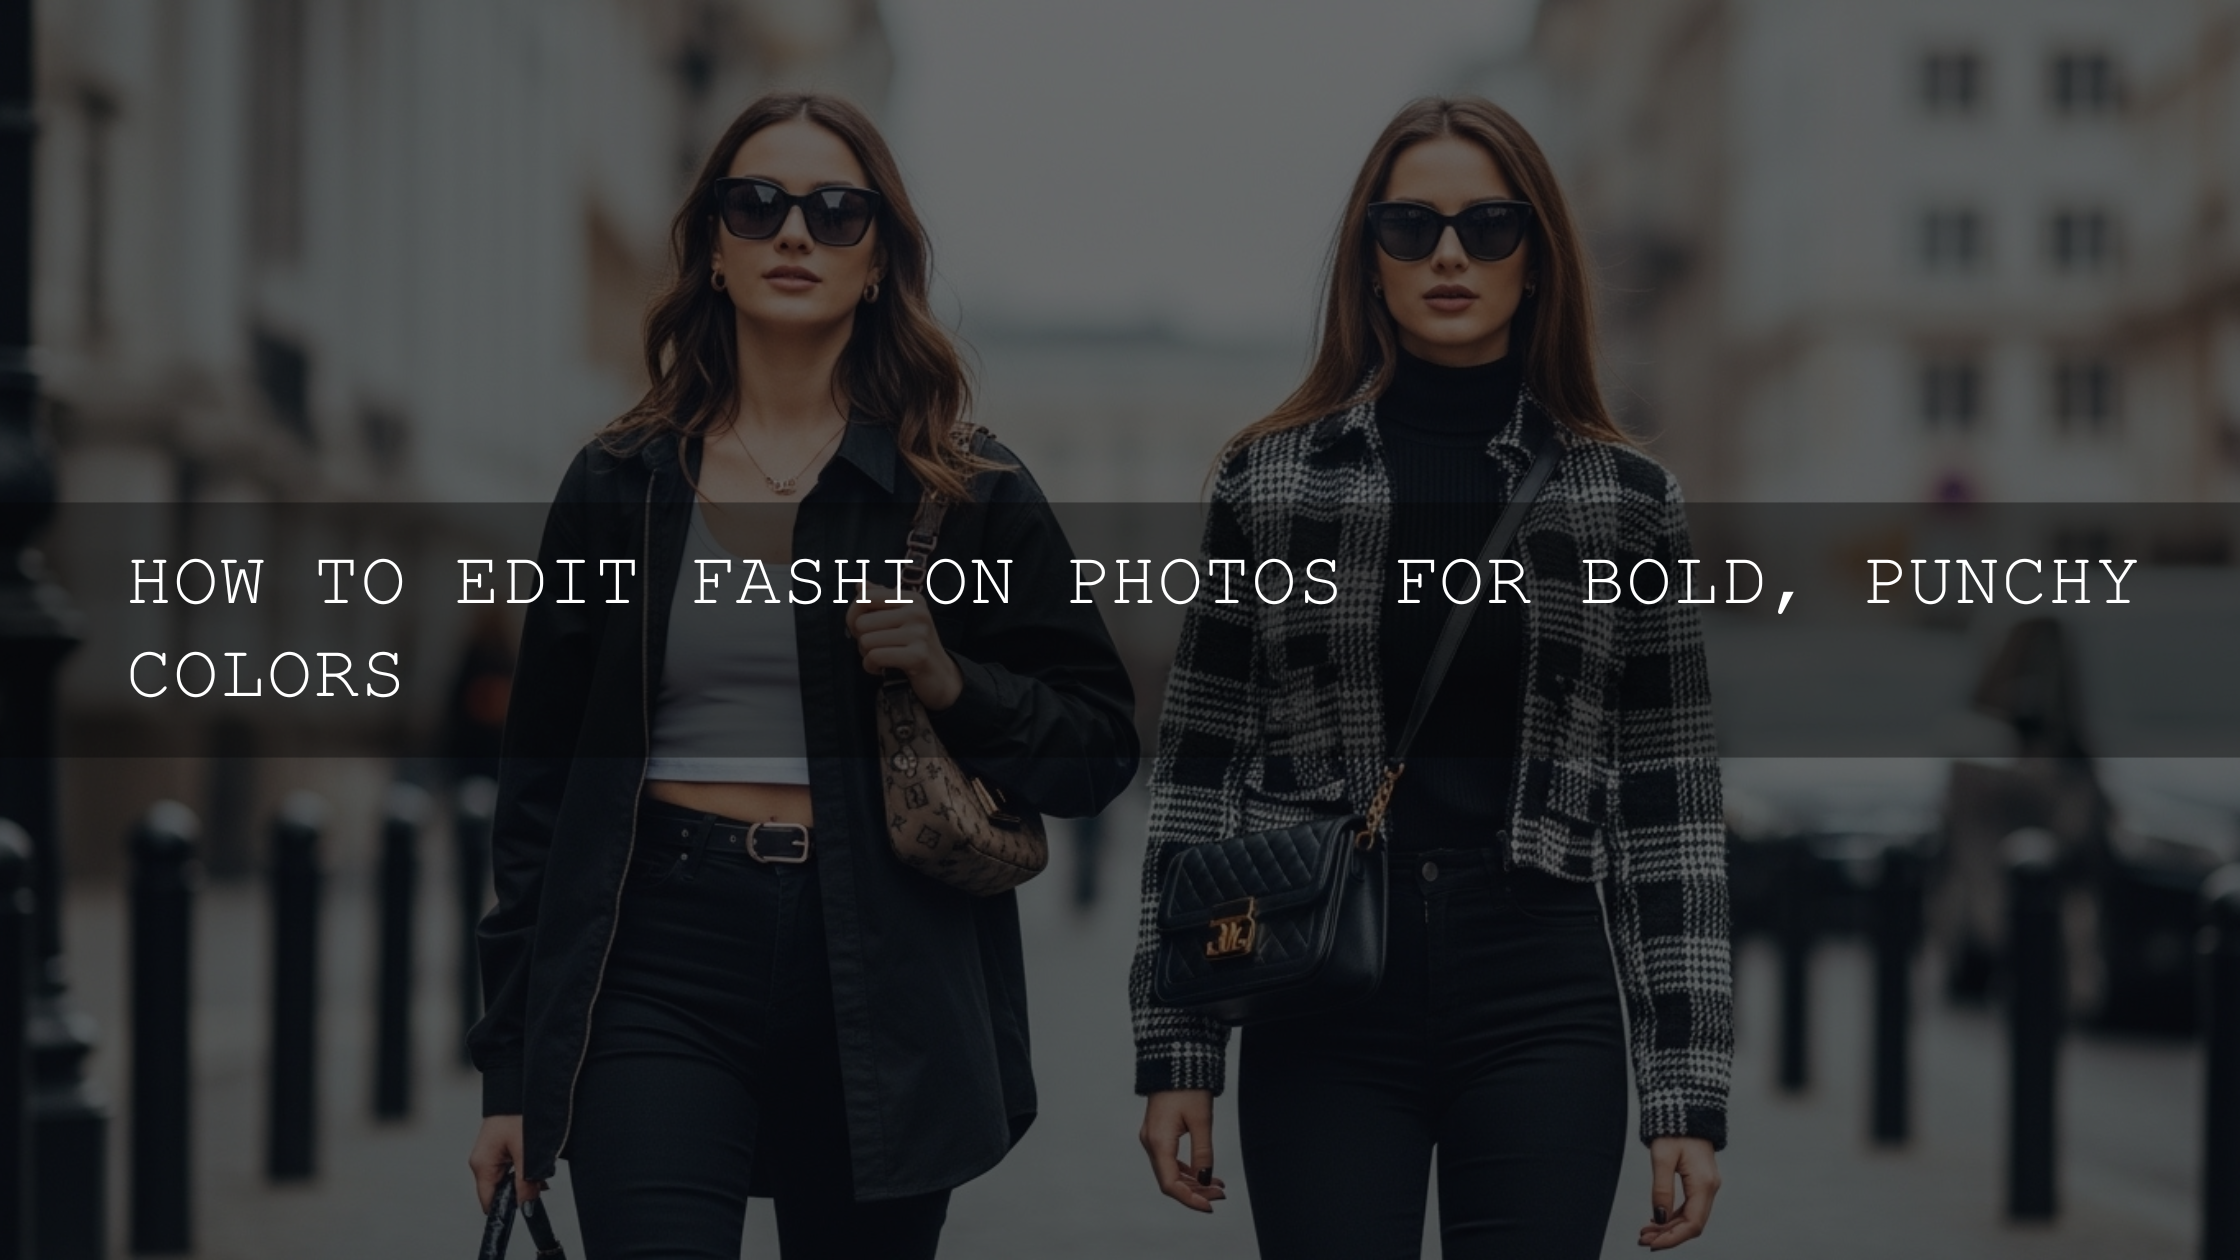
How to Edit True-to-Color Outfit Photos That Actually Match Real Life
Editing true-to-color outfit photos is one of the most valuable skills in fashion photo editing, especially when you want your clothes, skin tones, and fabric details to look the way they did in real life. Whether you shoot for Instagram, a fashion blog, a brand, or your own portfolio, outfit photo color accuracy matters because a cool white shirt should stay cool white, a red dress should stay red, and your styling choices should not get lost in bad white balance or heavy-handed edits.
If you want a faster starting point, try the FASHION Portrait Lightroom Presets and browse the full Portrait Photography Lightroom Presets collection. They give you a clean baseline for outfit shots, and you can still fine-tune the result for accurate color. If you are building a larger editing toolkit, the Lightroom Presets for Lightroom Mobile & Desktop collection is a solid place to start, and you can Buy 3, Get 9 FREE when you add 12 to your cart.
The good news is that accurate color is not luck. It is a workflow. Once you know the right order of operations, your edits get cleaner, faster, and much more consistent.
Why outfit photo color accuracy matters
In fashion photography, color is not just decoration. Color carries mood, quality, and trust. When the color is wrong, the whole image feels wrong, even if the composition is strong.
- It protects trust. If your audience sees a beige jacket online and it turns out to be yellowish in real life, confidence drops immediately.
- It preserves style intent. Soft neutrals, bold primaries, monochrome looks, and pastel outfits all depend on accurate color relationships.
- It reduces editing inconsistency. A strong color workflow helps your feed, lookbook, or product gallery feel cohesive.
- It improves conversion. For creators and stores, true color helps viewers make better decisions and lowers the chance of disappointment.
Here’s why this matters even more in outfit photography: fabrics react differently to light. Satin can shift quickly, white cotton can pick up color casts, black clothing can lose detail, and skin tones can change fast when the scene is too cool or too warm.
What usually throws color off
Most bad outfit edits do not start in the edit. They start in the capture. Mixed light, automatic white balance, reflective surfaces, and overprocessed presets are the most common reasons colors drift away from reality.
- Warm indoor bulbs can push whites into yellow or orange.
- Shade or cloudy light can push outfits too blue.
- Bright storefront signs or colored walls can reflect strange casts onto skin and clothing.
- Overexposure can wash out fabric color and texture.
- Too much saturation can make outfits look cheap, artificial, or off-brand.
I have tested this on both clean portrait setups and fast street-fashion shoots, and the same problem keeps coming up: if white balance is wrong at the start, every later adjustment exaggerates the problem. That is why I nearly always fix color temperature before I touch contrast, masking, or presets.
A simple workflow for true-to-color outfit photos
1. Start with the cleanest file you can get
RAW files give you more room to recover color and exposure, so use RAW whenever possible. JPEG can still work, but you have less flexibility when highlights clip or a color cast gets baked in.
When shooting, try to:
- Use soft window light or open shade for more neutral color.
- Avoid mixing daylight with tungsten or LED lighting unless you want that look.
- Keep a white, gray, or neutral object in one test frame when possible.
- Expose carefully so bright clothing does not blow out.
If you often edit fashion or portrait sets, the 1000+ Master Lightroom Presets Bundle is useful because it gives you multiple starting points for different lighting situations instead of forcing one preset onto every image.
2. Fix white balance before anything else
This is the foundation of true-to-color outfit photos. In Lightroom, the quickest route is the white balance selector. Adobe’s official guide to adjusting photo lighting and color in Lightroom is a good reference if you want to review the exact controls.
Use this order:
- Choose a neutral point if you have one.
- Adjust Temp until whites and grays stop looking too blue or too yellow.
- Adjust Tint until the image loses any green or magenta cast.
- Only then judge the outfit color.
A red blazer edited under the wrong white balance can look burgundy, orange-red, or pinkish. The same happens with denim, cream knits, and white sneakers. If you want a deeper breakdown, see our guide to mastering white balance for natural-looking color.
3. Set exposure and contrast without crushing the color
Exposure affects color more than many people realize. If you brighten too much, the outfit loses richness. If you darken too much, blacks get muddy and color separation disappears. Adobe also covers this well in its official Lightroom Classic guide to tone and color.
A practical approach:
- Raise exposure only until fabric details are visible.
- Pull highlights down if white clothing or reflective jewelry is clipping.
- Open shadows enough to reveal texture, but not so much that the image goes flat.
- Use contrast gently, then refine with whites and blacks.
When I tested this on low-light fashion portraits, the best results came from small moves: a modest exposure lift, reduced highlights, slightly opened shadows, and then careful black point control. Big moves created fake color very quickly.
4. Use vibrance before saturation
This is one of the easiest pro tips to apply right away. If your outfit needs more life, try Vibrance first. Saturation increases everything equally and can damage skin tones. Vibrance tends to be safer because it is more selective.
That is especially important when your outfit includes strong color next to skin, like a crimson dress, emerald blazer, cobalt jacket, or mustard knit. Too much saturation makes both the garment and the person look unnatural.
5. Correct specific colors with HSL or Color Mixer
If the overall edit looks close but one color is still off, go into HSL or Color Mixer. This is where accurate fashion editing gets much better.
Use HSL for small, targeted corrections:
- Hue: Shift a color toward its real-world version.
- Saturation: Reduce or increase only the color that needs help.
- Luminance: Brighten or darken one color channel to match the fabric better.
Example: if a red dress looks too pink, shift red hue slightly deeper and lower red luminance a touch. If denim looks too cyan, move blue hue toward a truer blue and reduce blue saturation slightly. If beige clothing feels too yellow, lower yellow saturation and rebalance temperature first.
For more specific slider-based correction ideas, read our HSL color correction guide after using presets.
6. Use masking when the outfit and the environment need different treatment
Sometimes the outfit is right, but the background is not. Or the background looks good, but the outfit needs help. That is where masking becomes essential. Adobe’s official introduction to Lightroom masking tools is helpful if you want a refresher.
Useful outfit-photo masking moves:
- Mask the subject and add a tiny boost to texture or clarity.
- Mask the clothing area to fine-tune saturation without affecting skin.
- Darken distracting backgrounds instead of over-editing the outfit itself.
- Warm only the subject if the environment feels too cold.
This is where presets and manual editing work best together. A preset can get you 70% there. Masking finishes the image without wrecking your colors.
7. Double-check skin tones and neutrals
In fashion images, people notice skin and white clothing first. If either looks wrong, the whole photo feels off.
Check these before exporting:
- Does white clothing look truly white, not yellow, blue, or green?
- Do black garments still show detail?
- Do skin tones look healthy and believable?
- Do metallic accessories look neutral, not color-shifted?
If skin still feels tricky, this skin-tone preset adjustment guide is worth reading, especially when outfit color and skin color compete for attention in the same frame.
Presets vs manual editing for outfit photos
This is the comparison most creators need to understand.
Presets
- Fast and consistent.
- Great for batch editing outfit sets.
- Useful for building a signature look.
- Best when your base exposure and white balance are already close.
Manual editing
- Better for difficult mixed lighting.
- Better for exact brand or product color matching.
- Lets you fix one problem color without changing the whole image.
- Takes more time but gives more control.
The strongest workflow is not presets or manual editing. It is presets plus manual refinement. Start with a clean preset, then fix white balance, HSL, and masking. For fashion content, that combination is usually faster than editing from zero and more accurate than using one-click edits alone.
If you shoot both editorial looks and everyday creator content, the AI-Optimized Cinematic Photo Shoot Lightroom Presets can give you a polished starting point, while the broader Lightroom Presets for Lightroom Mobile & Desktop collection gives you more flexibility across lighting conditions.
Common mistakes that make outfit photos look fake
- Correcting color after heavy contrast. Fix white balance first.
- Pushing saturation too far. It is the fastest way to ruin accurate clothing color.
- Ignoring indoor light casts. Warm bulbs can wreck neutrals and skin tones. If that happens often, see these indoor preset fixes for artificial light.
- Using one preset for every image. Street shots, studio portraits, and window-light fashion images need different treatment.
- Editing on an unreliable display. If your screen is far off, your export will be too.
A practical editing checklist you can use today
- Pick your cleanest frame.
- Correct white balance.
- Adjust exposure, highlights, shadows, whites, and blacks.
- Add a light vibrance adjustment.
- Use HSL to fix the one or two colors that still feel wrong.
- Mask the outfit or subject if needed.
- Check whites, skin tones, and black detail.
- Export and compare on a second screen before posting if color accuracy is critical.
If you are new to importing and using packs in your workflow, this quick guide to installing Lightroom presets will help you get set up faster.
Related reading
- Mastering white balance for natural colors
- How to fix weird preset colors with HSL
- How to keep presets working across skin tones
- Simple fixes for indoor lighting problems
If you want a faster editing workflow without giving up control, start with the FASHION Portrait Lightroom Presets, keep the 1000+ Master Lightroom Presets Bundle ready for mixed scenarios, and browse the portrait preset collection for more looks. If you need help choosing the right pack for fashion work, you can also reach out through our contact page. That way you get speed from presets, accuracy from manual refinements, and a workflow you can trust every time you post.
How do I make my outfit photos match the real color of the clothes?
Start by correcting white balance before changing saturation or contrast. Then use HSL or Color Mixer for small adjustments to the exact color that is still off.
Are presets enough for accurate fashion photo editing?
Presets are a great starting point, but they work best when you fine-tune white balance, exposure, and color afterward. For true-to-color outfit photos, a preset plus a few manual corrections is usually the best approach.
What is better for outfit photos: vibrance or saturation?
Vibrance is usually safer because it boosts weaker colors more gently and tends to protect skin tones better. Saturation is useful too, but it becomes unnatural much faster.
Why do my white clothes look yellow in photos?
This usually comes from warm lighting or incorrect white balance. Lower the temperature slightly, check tint, and make sure highlights are not clipping.
Can Lightroom fix mixed lighting in fashion images?
Yes, to a point. Global white balance can get you close, and masking can help separate the subject from the background when different parts of the frame need different color treatment.
Written by Asanka — creator of AAAPresets (10,000+ customers).

Leave a comment
This site is protected by hCaptcha and the hCaptcha Privacy Policy and Terms of Service apply.