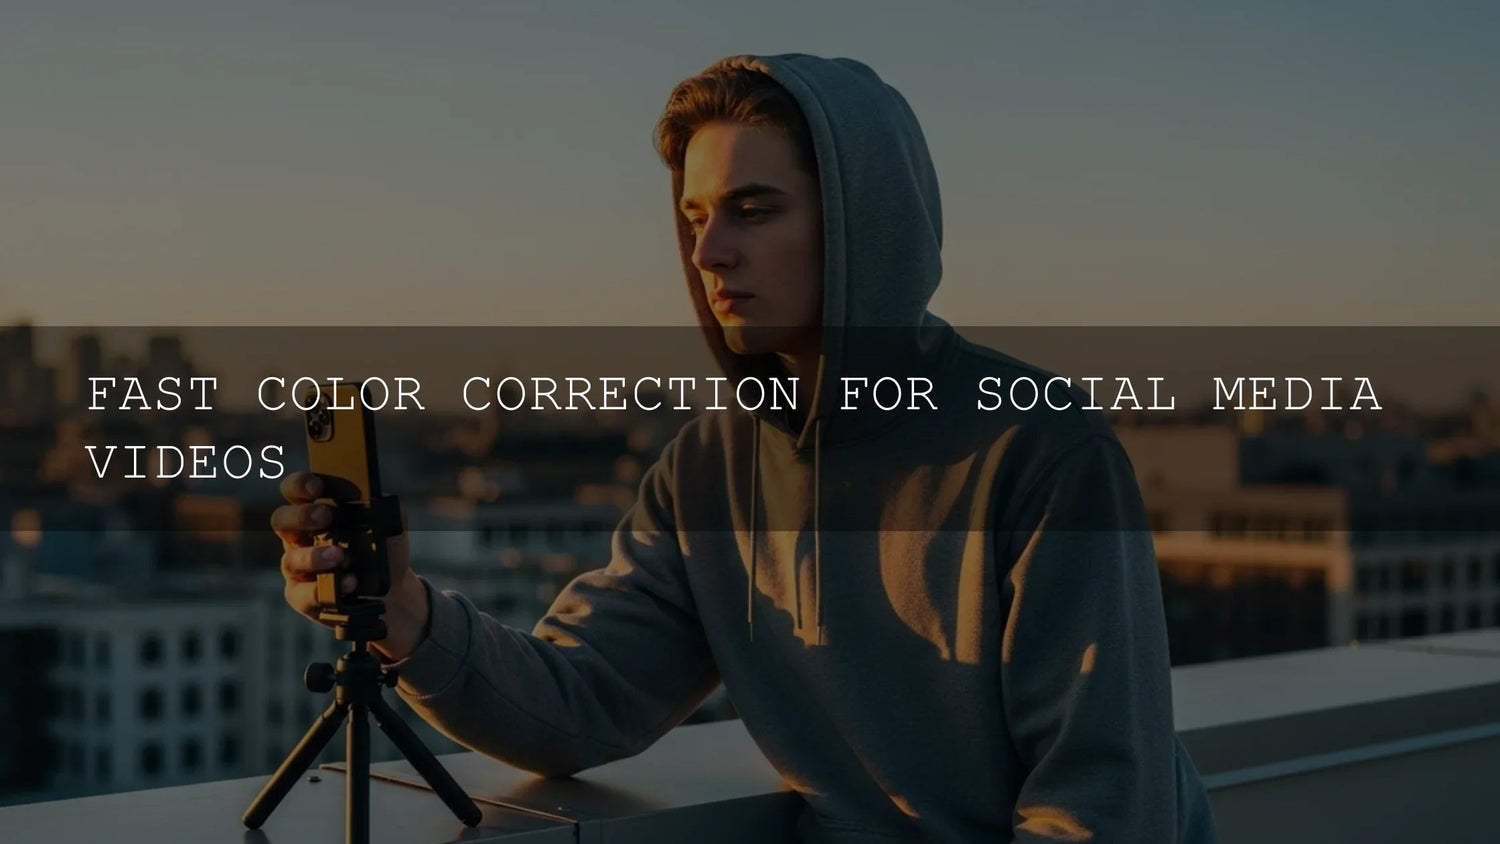
Fast color correction for social media videos: a practical, creator-friendly workflow
If you’re publishing short-form videos, fast color correction is no longer optional—it’s the difference between a forgettable scroll-by and a saved, shared post. This guide shows you how to correct color quickly without sacrificing quality, using tools you already have and smart accelerators like LUTs and presets. We’ll cover mobile and desktop workflows, white balance fixes, scopes for accuracy, and a repeatable system that scales from reels to long-form. Along the way, I’ll share field notes (I tested these steps on a moody studio interview and a sunny beach wedding) and link helpful Adobe resources.
Why fast color correction matters in a scroll-first world
- Instant impact: Thumbnails and the first 3 seconds decide your watch time. Balanced exposure and clean white balance read “professional” immediately.
- Brand consistency: A stable palette builds recognition across Instagram, TikTok, and YouTube.
- Emotion on demand: Warm highlights feel cozy; cooler shadows feel modern and adventurous.
- Problem solving: Real-world light is messy; quick correction rescues under/overexposed, green/magenta-tinted, or flat footage.
Want a quick head start that still looks handcrafted? Try a versatile LUT or preset, then tweak. Explore a creator-tested bundle and a relevant collection here: 1000+ Master Lightroom Presets and Cinematic LUTs collection. Buy 3, Get 9 FREE.
The speed stack: tools that favor creators
On your phone (iOS / Android)
- Built-in editors: Don’t sleep on stock tools for exposure, contrast, saturation, temperature, and tint.
- Creator apps (CapCut, InShot, VN, Premiere Rush): Use temperature/tint to fix overall casts, saturation/vibrance to add punch, and simple curves/color wheels for targeted shifts.
On your computer (maximum control, still fast)
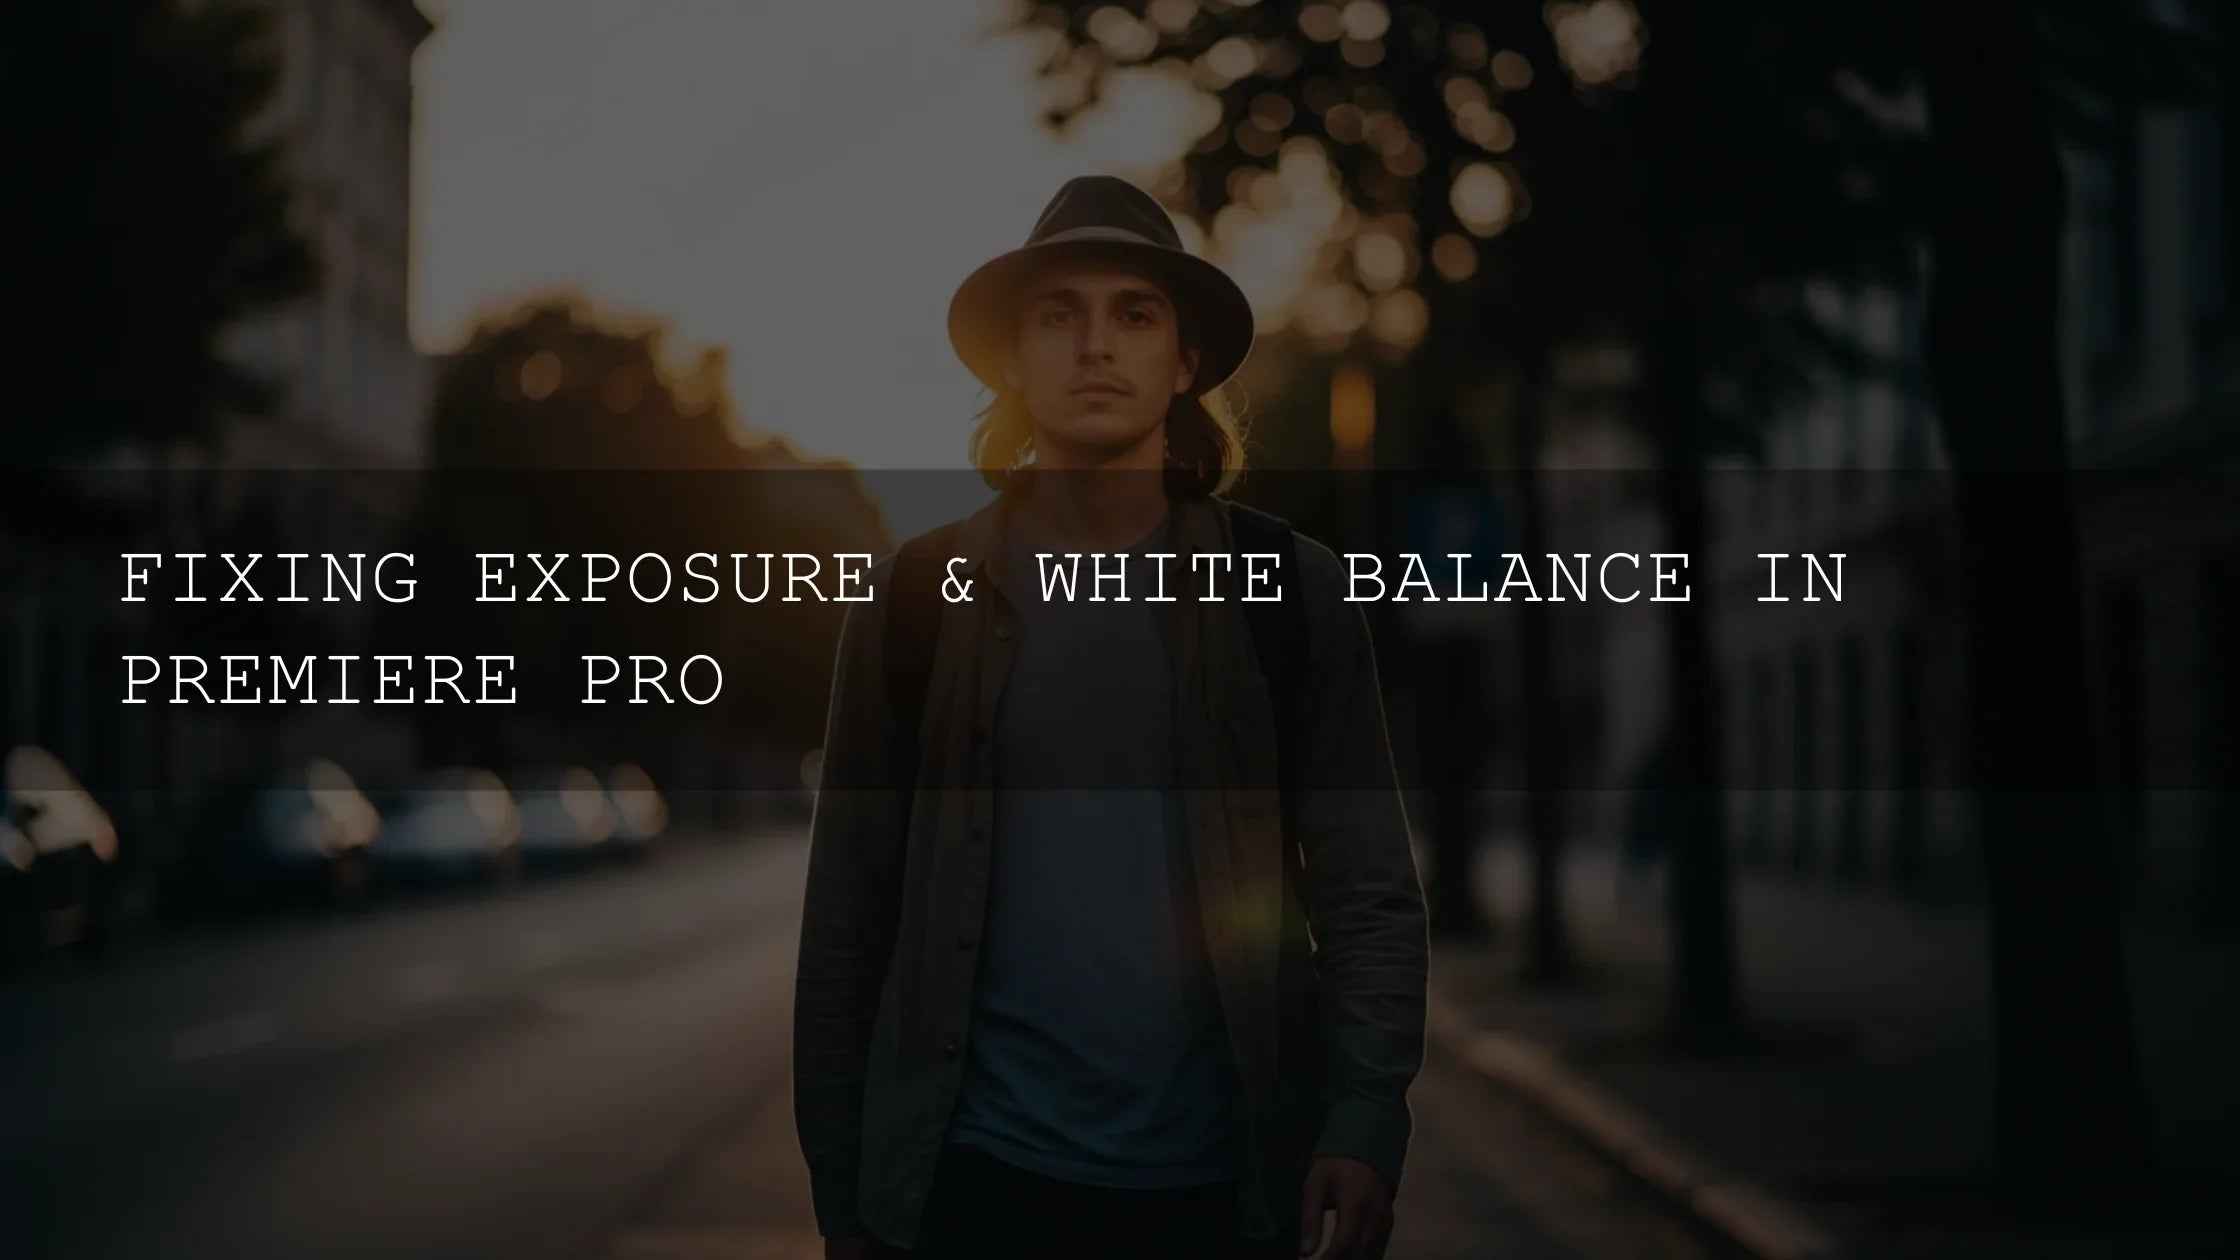
- Premiere Pro: The Lumetri Color panel’s Basic Correction, Creative, and Color Wheels sections let you balance, stylize, and refine quickly. See Adobe’s basic color correction options in Lumetri Color.
- DaVinci Resolve: If you prefer node-based grading, use a LUT for the base vibe and trim with lift/gamma/gain for speed.
- Web editors (e.g., Canva/Kapwing): Handy for quick adjustments and publishing without leaving the browser.
Your lightning-fast color blueprint
Phase 1 — Foundation (fix what’s “wrong” first)
- Exposure: Bring mids into a neutral zone; protect highlights and shadows from clipping.
- Contrast: Add depth until the image has shape, not crunch.
- White balance: Correct blue/yellow with Temperature and green/magenta with Tint. Eyedrop a neutral gray if possible. In Premiere Pro, do this in Basic Correction under Lumetri Color (see Adobe’s Lumetri Basic Correction overview).
Phase 2 — Polish (make it pop, keep it natural)
- Vibrance before saturation: Vibrance boosts undersaturated tones and protects skin.
- Tone sculpting: Recover highlight detail (skies, windows) and lift shadow detail without washing out blacks. Use Highlights/Shadows/Whites/Blacks or targeted curves.
- Local tweaks (optional but powerful): Mask faces for gentle exposure/warmth; mask skies for subtle blue density. See Adobe’s Lightroom Masking guide for local adjustments.
Phase 3 — Express lane with LUTs & presets
- LUTs ≠ final grade: Treat LUTs as a stylish starting point, then trim exposure/white balance afterward.
- Preset libraries: Build or buy a small set of looks for daylight interiors, golden hour, cool city nights, etc. Save time by matching look to lighting scenario.
- Where to start: Try a broad, cinematic baseline and adjust intensity. For video, explore 700+ Cinematic Video LUTs; for music videos, 300+ Music Video LUTs.
Accuracy in seconds: scopes you’ll actually use
Even quick grades benefit from scopes. Open Window > Lumetri Scopes in Premiere Pro and enable Waveform (Luma), Vectorscope (YUV), and RGB Parade to check exposure, saturation, and channel balance. Adobe’s guide to using Lumetri Scopes is an excellent quick reference.
Presets vs. manual editing: which is faster (and better)?
- Presets/LUTs get you to “good” immediately and help maintain brand consistency across posts.
- Manual tweaks fix footage-specific issues (white balance, mixed light, uneven exposure) that presets can’t anticipate.
- Best practice: Apply a look, then perform minimal manual trims (exposure/warmth/skin). Save that combo as your own preset to compound speed over time.
Creator-tested micro-workflows (copy/paste into your routine)
1) Reels & Shorts (under 10 minutes total)
- Open editor > Basic Correction: WB eyedrop, exposure, contrast (90 seconds).
- Apply go-to LUT at 60–80% intensity (30 seconds).
- Vibrance +10–20, recover highlights if needed (60 seconds).
- Vectorscope check: aim skin at the “skin line” region (30 seconds). See Adobe’s color correction & adjustment overview.
2) Mixed-camera vlog (under 15 minutes total)
- Balance each camera quickly (exposure + white balance).
- Apply the same LUT/preset family for cohesion.
- RGB Parade sanity check for channel balance; nudge tint if one camera runs green/magenta.
3) Travel montage (batch speed)
- Select 3–5 representative clips; grade one, then paste attributes to the rest.
- Use masks to lift faces without flattening the scene.
- Final pass: one slider per shot—exposure or temperature only.
Avoid these fast-grade pitfalls
- Over-saturation: Especially on skin—use vibrance first, then small saturation increments.
- Too much contrast: Crushes detail and looks harsh on mobile.
- Inconsistent palettes: Save and reuse your own presets for daylight/night/inside.
- Ignoring device differences: Preview on at least one other phone or display.
Color planning for thumbnails and brand kits
Decide on 2–3 recurring color accents that match your vibe. Adobe Color’s harmony rules color wheel is great for creating complementary palettes fast. Save your palette and reference it when you design thumbnail overlays or lower thirds.
Optional: a 60-second calibration check (worth it)
Color-managed workflows help your grades look consistent across devices. If you’re curious about the “why,” the International Color Consortium (ICC) explains profiles and color standards used widely in media pipelines.
Real-world notes from the timeline
From a wedding doc: I set white balance with the eyedropper on a neutral dress fold, added a warm LUT at 70% mix, then lifted mids +0.2. Skin stayed natural, golden hour popped, and matching B-cam only needed a small tint shift.
From a studio interview: A blue cast from LED spill was fixed with +8 Tint (magenta). A clean, neutral look outperformed several heavy stylized grades in audience tests.
Try this today (you’ll see it in your metrics)
Start with one reliable, cinematic look and a preset library for photos to keep your stills aligned with video. Consider a broad cinematic LUT pack plus a master Lightroom preset bundle. Buy 3, Get 9 FREE.
Related reading
- Understanding Lumetri Color: a complete beginner tutorial
- How to read scopes in Premiere Pro (Waveform, Vectorscope, Parade)
- Case study: from flat to cinematic—3-step transformation
- Advanced transition techniques for Reels/Shorts
- AI-powered presets for storytelling (2025)
FAQs
What’s the fastest order of operations for a quick grade?
Balance exposure → set white balance → add a LUT/preset at reduced intensity → fine-tune vibrance/highlights/shadows → quick scopes check.
Should I use saturation or vibrance on skin?
Use vibrance first to protect skin; add a touch of saturation only if the scene still feels dull.
How do I keep multiple clips looking consistent?
Correct each camera for exposure/WB, apply the same LUT/preset family, then paste attributes and do a one-slider trim per shot.
How bright should my video be for mobile?
Aim for midtones that read clearly on small screens; avoid crushed blacks and clipped highlights. A quick Waveform (Luma) check helps.
Do LUTs replace color correction?
No. LUTs are a great starting look. Always correct exposure and white balance first, then trim after the LUT for the best results.
If you’re ready to lock in a signature look, start with a versatile pack and expand as you learn. Explore Lightroom Presets and Cinematic LUTs, or jump straight to a cinematic LUT bundle plus the master Lightroom collection. Try these presets today—Buy 3, Get 9 FREE.
Useful references for deeper dives: Adobe’s guide to Lumetri Scopes, Adobe’s Basic Correction in Lumetri, and Adobe Color harmony rules.
Written by Asanka — creator of AAAPresets (10,000+ customers).

Leave a comment
This site is protected by hCaptcha and the hCaptcha Privacy Policy and Terms of Service apply.