
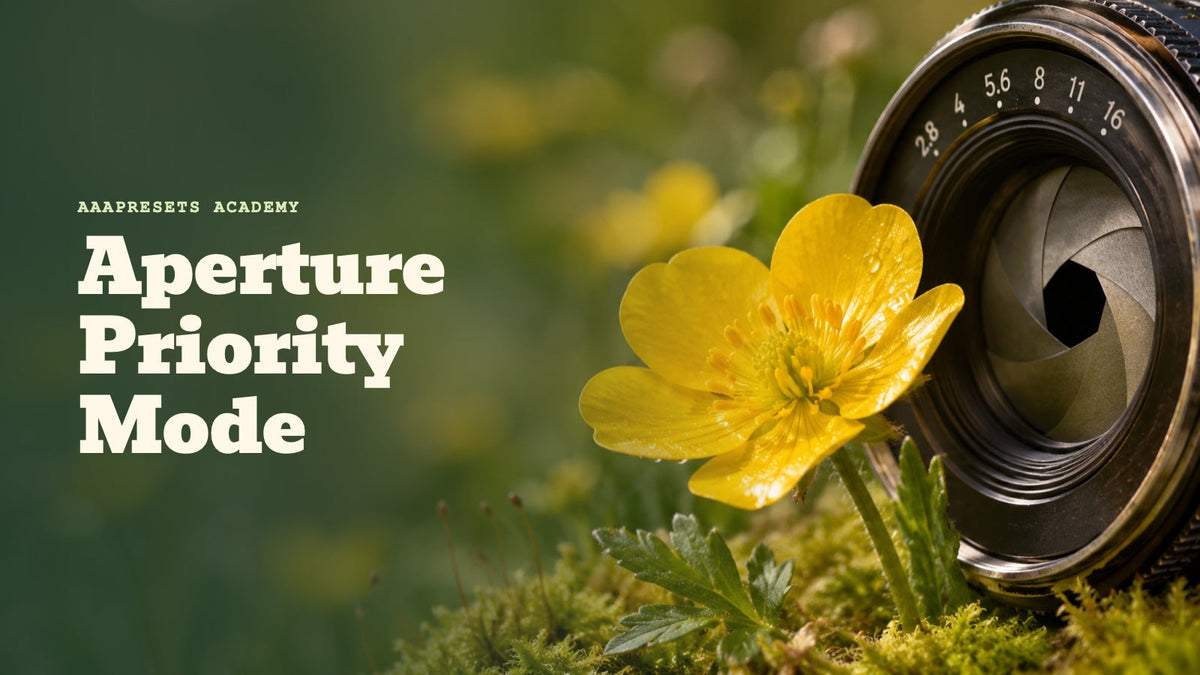
Aperture Priority mode (A or Av) lets you choose how much of a photograph appears in focus while the camera automatically selects a shutter speed for its metered exposure. It is an excellent choice when you want a soft portrait background, a detailed landscape, or more creative control than Auto mode gives you without setting every exposure value yourself.
There is one important catch: the camera can choose a shutter speed that is too slow for your subject. This guide explains how to set up Aperture Priority, choose useful f-stops, manage ISO and shutter speed, and correct exposure when the camera's meter gets it wrong.
What Is Aperture Priority Mode?
Aperture Priority is a semi-automatic exposure mode. You select the aperture, expressed as an f-number such as f/2.8 or f/8. The camera meters the scene and normally adjusts the shutter speed to reach its exposure target. ISO stays at the value you set, or changes within a permitted range if you enable Auto ISO and your camera supports it.
Look for A on many Sony and Nikon cameras or Av on many Canon cameras. The exact controls differ between models; for an example, see Sony's α7 V Aperture Priority instructions. The automatic exposure is only the camera's estimate of the desired brightness, and it cannot always compensate when the light exceeds the available shutter-speed or ISO range.
How Aperture Changes Light and Background Blur
Aperture is the opening inside the lens that admits light. Its numbering is reversed from what many beginners expect:
- Low f-number, wide opening: f/1.8 or f/2.8 lets in more light and generally creates a shallower depth of field, so a focused subject can stand out against a blurred background.
- High f-number, narrow opening: f/8 or f/11 lets in less light and generally increases depth of field, making more of the scene appear acceptably sharp.
Depth of field is the range of distances that appear acceptably sharp around your focus point. Aperture matters, but so do focal length, focusing distance, sensor format and the distance between your subject and the background. An f/2.8 portrait taken next to a wall may show less background blur than one photographed with the same settings in front of distant trees.
Likewise, f/11 does not guarantee that flowers immediately in front of your lens and mountains far away will both be sharp. Focus placement and the distances in your scene still matter. If the f-numbers themselves are unfamiliar, start with the AAAPresets guide to understanding f-stops.
How to Use Aperture Priority: Six Steps
- Choose A or Av on your camera. Set the shooting mode to Aperture Priority rather than Auto or Manual. On cameras with separate photo and video controls, select still-photo shooting first.
- Set your aperture for the photograph. Start near f/2.8 for a single portrait with background separation or f/8 for a landscape. Use the closest setting your lens actually allows.
- Choose fixed ISO or Auto ISO. A low fixed ISO can work well in steady daylight or on a tripod. Auto ISO is often useful when lighting changes because it can raise ISO to support a faster shutter speed, although the resulting image may show more noise.
- Set a minimum shutter-speed target if available. Some cameras let you tell Auto ISO to start increasing ISO before the shutter becomes too slow. Choose a target based on subject movement and focal length. This setting is not always an absolute limit: the camera may still use a slower shutter speed after reaching your maximum Auto ISO.
- Focus on what matters. For a portrait, focus on the nearer eye when appropriate. For a landscape, select a focus distance that covers the important foreground and background. Autofocus settings are separate from the exposure mode.
- Review the shutter speed and the actual photograph. Check the viewfinder or rear screen before shooting, then inspect sharpness and highlight detail after the shot. If necessary, change the aperture, ISO or exposure compensation, or add light or camera support.
If you are unsure why the camera changes ISO, Nikon's Auto ISO explanation provides a useful manufacturer reference. Menu names, minimum-shutter options and the order in which exposure settings change vary between brands and models.
Suggested Aperture Settings for Different Photos
These are starting points, not universal presets for the camera. Check the light, focus distance and resulting shutter speed before deciding that any setting is right.
- Single-person portraits: f/1.8–f/2.8. Try a wide aperture for a softly blurred background. If the eyes or other important facial details fall outside the sharp zone, close down toward f/4.
- Couples and small groups: f/4–f/8. Extra depth of field can help when people stand at slightly different distances. Focus placement and arrangement matter as much as the number.
- Landscapes and architecture: f/8–f/11. This is a practical range when foreground-to-background detail is important, but you may need another aperture or a different focus strategy for a very close foreground.
- Street and travel photography: f/4–f/8. Moderate depth of field can keep a person and some surroundings recognizable. Watch shutter speed closely because walking subjects can still blur.
- Food, products and close-ups: f/4–f/8. Start here when you want more of an object to be sharp. Close focusing distances can produce very shallow depth of field even at these settings.
Stopping down farther to f/16 or f/22 can increase depth of field, but diffraction may reduce fine-detail sharpness. Use the smallest opening your composition needs rather than assuming the highest available f-number is always best.
The Most Important Warning: Watch Your Shutter Speed
In Aperture Priority, choosing f/8 does not prevent motion blur. Imagine photographing someone in the shade at f/8 with ISO fixed at 100. Depending on the available light, the camera might select 1/30 second. The image could have enough depth of field but still look blurry because the person moved or the camera shook during the exposure.
You can respond by opening the aperture, increasing ISO, using Auto ISO with an appropriate minimum-shutter setting where available, adding light, or supporting the camera. For people who are moving, a shutter speed such as 1/250 second may be a useful initial target, but it is not guaranteed to freeze every movement.
Example: Under constant lighting with ISO fixed, suppose the camera selects 1/500 second at f/2.8. Closing to f/4 would require about 1/250 second for similar brightness, and closing to f/8 would require about 1/60 second. These are illustrative settings, not a promise of what a camera will select. They show why increasing depth of field can raise the risk of motion blur.
The familiar handheld guideline of approximately 1 divided by the 35mm-equivalent focal length is only a rough starting point for static subjects. A 125mm-equivalent view might suggest about 1/125 second, but the actual result depends on stabilization, technique, sensor resolution and movement. Image stabilization can reduce blur from camera shake; it cannot freeze someone walking through the frame.
Important: Auto ISO minimum-shutter settings are not hard guarantees on every camera. If the required ISO exceeds the permitted maximum, some cameras allow the shutter speed to fall below the target to keep the metered exposure. Always watch the displayed shutter speed.
Use Exposure Compensation When the Photo Is Too Bright or Dark
Aperture Priority still relies on the camera's light meter. Very bright scenes, such as sunlit snow, may come out darker than intended; scenes dominated by dark objects may come out too bright. Exposure compensation lets you request a different brightness without giving up the aperture you selected.
- Positive exposure compensation (+): Ask for a brighter result when the meter makes an important bright subject too dark.
- Negative exposure compensation (−): Ask for a darker result when the meter brightens a deliberately dark scene too much or important highlights are clipping.
Try a small adjustment, such as +0.3 or −0.7 EV, review the photograph, and adjust again only if needed. Check and reset compensation when it is no longer needed. The camera may achieve the adjustment through shutter speed, ISO or both, depending on its settings; extreme lighting may exceed its limits. Canon's exposure compensation guide explains the principle across automatic exposure modes.
Common Aperture Priority Problems and Their Fixes
- My background is not blurry enough. Choose a wider aperture if your lens allows it, move closer to the subject, or increase the distance between the subject and background. A longer focal length can also change the appearance of separation, depending on framing.
- The person's eyes look soft. Magnify the captured image to check whether focus landed on the eyes. If depth of field is too shallow, stop down slightly; if there is visible movement, use a faster shutter speed.
- Everything looks smeared despite using f/8. Check the shutter speed first. A narrow aperture can cause a slow shutter speed in low light. Raise ISO, open the aperture, improve lighting or use support as appropriate.
- The landscape is not sharp from front to back. Reconsider focus distance, focal length and foreground position. Extremely close foreground objects may require focus stacking rather than simply selecting f/22.
- The exposure is wrong. Check exposure compensation, metering and the shutter-speed or ISO limits. Some cameras show a flashing exposure value when they cannot achieve the metered result.
- The photograph is too bright at a wide aperture in strong sunlight. The camera may have reached its fastest shutter speed or lowest available ISO. Lower ISO if possible, narrow the aperture, or use a neutral-density filter if you need to keep the background blur.
When Should You Switch Away from Aperture Priority?
Use Aperture Priority when controlling depth of field matters most and you can keep an eye on shutter speed. When freezing motion is the first requirement, Shutter Priority may be a better fit. When you need both aperture and shutter speed fixed, Manual mode—optionally with Auto ISO on supported cameras—may be more appropriate. This is especially useful for consistent studio lighting or fast movement under changing light.
For more help making that decision, see which camera setting to change first. When you are ready to take direct control of exposure, continue with balancing the exposure triangle in Manual mode.
Try This Three-Photo Aperture Priority Exercise
- Choose a stationary object with a detailed background several meters behind it, and keep the camera position, focal length and focus point unchanged.
- Take a photograph at f/2.8 or the widest aperture available. Note the shutter speed and ISO.
- Repeat at f/5.6 and f/11, keeping the framing and focus point the same. Use a tripod if the shutter speed becomes too slow for handholding.
- Compare the background and important details at the same magnification, then review the shutter speed and ISO recorded for each image.
This exercise shows the creative effect of aperture and the exposure trade-off in the same sequence. At a fixed ISO and similar light, narrower apertures generally lead the camera to use slower shutter speeds. Notice when the extra depth of field comes with a shutter speed that is too slow for steady handheld shooting.
Capture the Sharp Photograph First, Then Refine the Color
Editing can improve white balance, exposure, contrast and color, but it cannot reliably restore an eye that was never in focus or erase severe subject motion blur. Build the photograph with an appropriate aperture and shutter speed first. Then, if you use Lightroom, check the photo's exposure and white balance, apply the look you want, and refine the result to suit the lighting and skin tones in the individual image.
For a portrait-editing starting point, explore the AI Optimized Portrait Lightroom Presets. The product listing describes eight DNG and eight XMP preset files for supported Lightroom workflows. You can also browse other looks in the portrait Lightroom presets collection. A preset changes editing settings, not the depth of field or focus captured by your lens.
Aperture Priority works best when you treat it as a creative partnership: you choose the depth of field, the camera responds to the light, and you make sure the selected shutter speed and exposure support the photograph you want.
Written by Asanka Dilshan, founder of AAAPresets.


Leave a comment
This site is protected by hCaptcha and the hCaptcha Privacy Policy and Terms of Service apply.