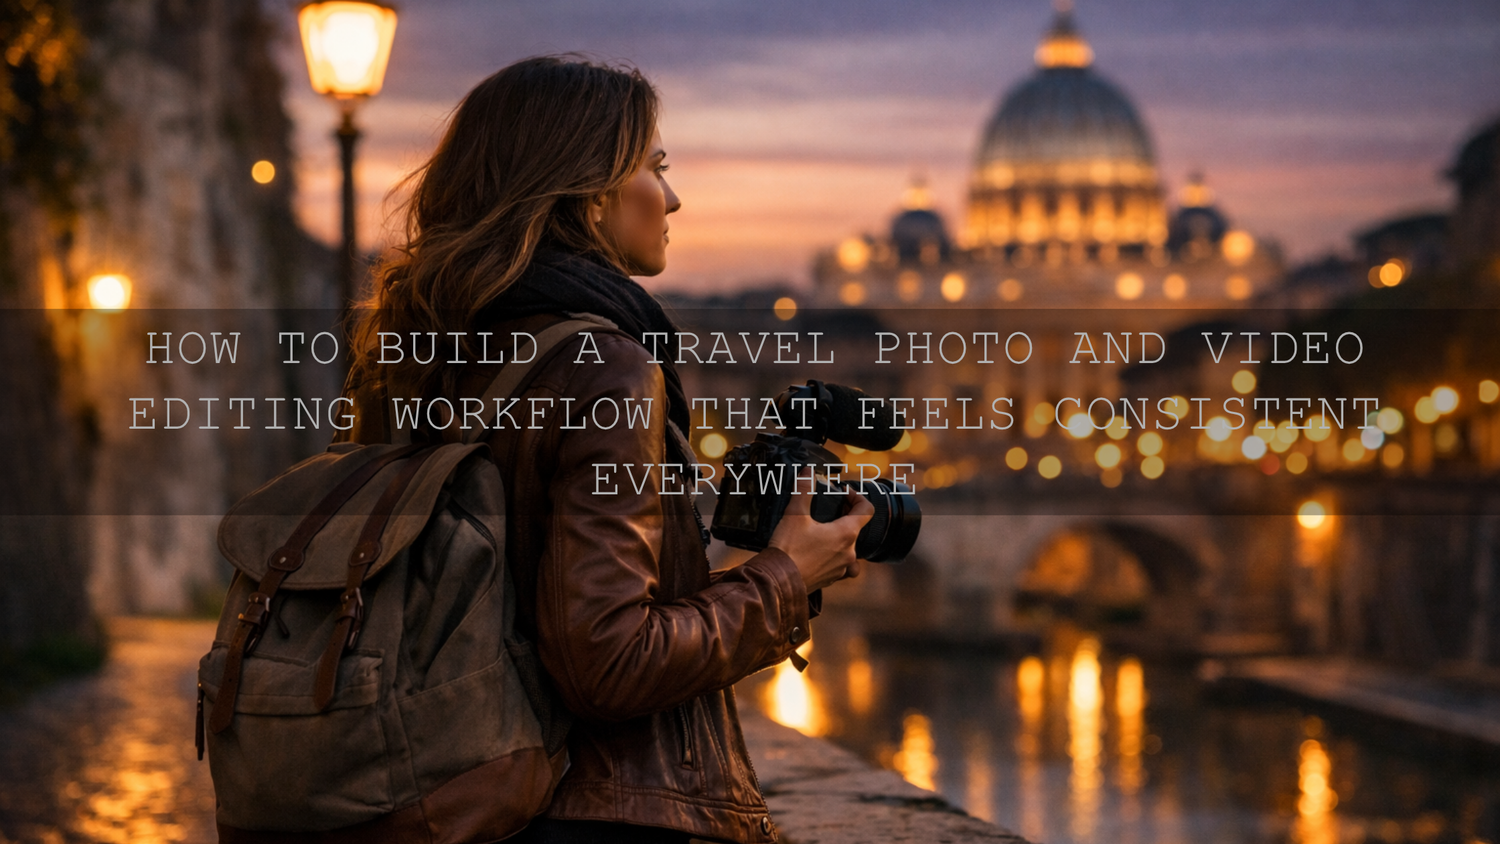
How to Build a Travel Photo and Video Editing Workflow That Feels Consistent Everywhere
Travel photo and video editing works best when your blog images, Instagram posts, and Pinterest pins feel like they came from the same trip, the same eye, and the same story. The goal is not to force every frame into one color. It is to build a consistent travel editing workflow that lets cinematic travel LUTs shape your footage, moody travel photo presets guide your stills, and small manual adjustments keep every platform feeling natural. When your edits match across channels, your content stops feeling random and starts feeling intentional.
I have tested this on mixed travel shoots where I had sunrise landscapes, midday street portraits, and evening market video clips from the same day. The mistake was never “not enough editing.” The real problem was inconsistency. Once I started using one visual direction for both photos and video, the whole trip looked stronger online.
If you want a fast starting point, begin with Travel Cinematic Lightroom Presets for still images and pair them with the Cinematic LUTs collection for matching footage. That makes it much easier to keep your blog, feed, and pins aligned, and it fits naturally with Buy 3, Get 9 FREE.
Why a Unified Travel Editing Style Matters
Here’s why this matters: every platform shows your work differently, but your audience still reads it as one brand. Your blog gives people the full story. Instagram gives them quick emotional impact. Pinterest rewards images that feel clear, polished, and aspirational. If each platform has a completely different tone, your work feels disconnected even when the trip itself was amazing.
A unified look helps you:
- Build a recognizable visual identity
- Make your blog galleries and social posts feel connected
- Save time because you are repeating a workflow, not reinventing one
- Create more trust with viewers, clients, and readers
- Turn a trip into a complete story instead of a pile of separate uploads
If you want more travel-specific ideas, read this guide to editing travel photos for a cinematic feel and these city travel photography editing tips for content creators. Both are useful when you are trying to shape one look across very different travel scenes.
Start With a Signature Look, Not Random Filters
The biggest shift is mental: stop choosing edits photo by photo. Choose a signature direction first. That could be warm and cinematic, clean and crisp, soft and nostalgic, or deep and moody. Once you know the direction, every decision becomes easier.
For travel content, I usually recommend defining your look around four things:
- Contrast: soft and airy, or deeper and more cinematic
- Color temperature: warm sunset, neutral daylight, or cooler urban mood
- Saturation: rich but believable, never overly neon
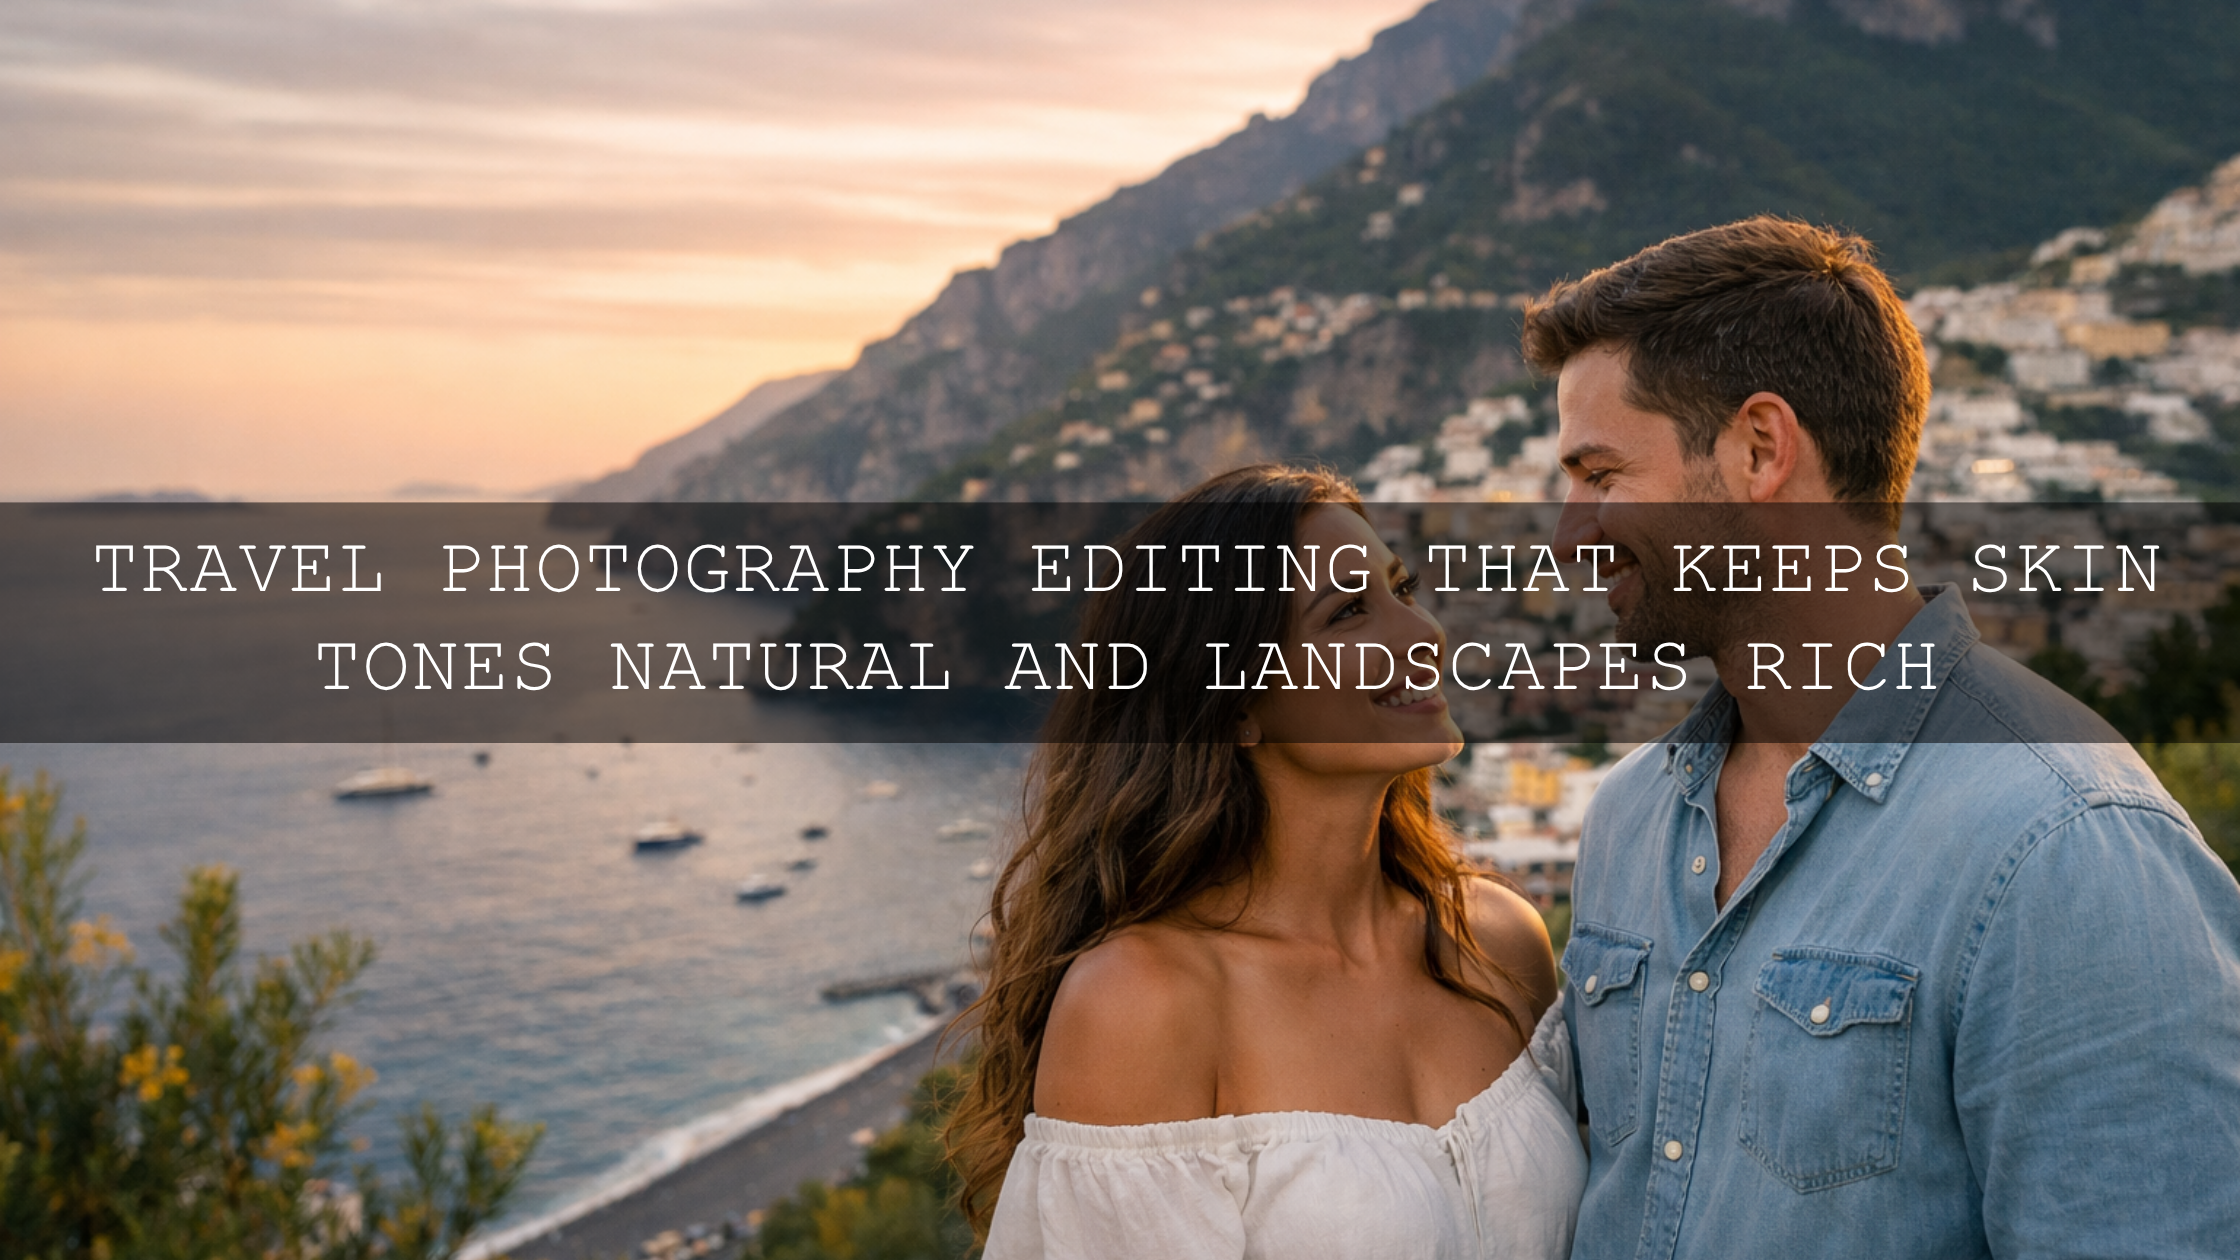
- Skin tone protection: especially important when people appear in your travel content
Adobe’s guide to editing photos with presets in Lightroom is useful here because presets work best as a foundation, not a final answer. Once the base look is set, you can fine-tune it to match the scene. For the color side of your creative direction, Adobe Color harmony tools can also help you think in palettes instead of random adjustments.
Pro tip: If your photo and video content feel unrelated, the problem is usually white balance and contrast direction before it is the preset or LUT itself.
Presets vs Manual Editing
Presets are faster, more consistent, and ideal when you want a repeatable travel aesthetic across large batches of photos. Manual editing gives maximum control, especially for difficult light, mixed color temperatures, or hero shots that need extra attention.
The best workflow is usually hybrid:
- Use a preset or LUT to establish mood fast
- Adjust exposure, white balance, and crop manually
- Use local edits to protect faces, skies, streets, or landscapes
- Sync similar files in batches so the series stays cohesive
That is why a set like Travel Moody Photo Edit Presets works well. It gives you a strong starting point without trapping you in a one-click result.
A Step-by-Step Travel Photo and Video Editing Workflow
Let’s break it down into a workflow you can actually repeat after every trip.
1. Sort by story before you sort by platform
Do not begin by asking which files are for Instagram, which are for Pinterest, and which are for the blog. Start by asking what story the trip tells. Was it quiet and atmospheric? Fast and urban? Relaxed and tropical? Once the emotional direction is clear, your editing choices become more consistent across every export later.
I like to separate travel content into mini-groups such as:
- Landscape establishing shots
- People and portraits
- Street details and food moments
- Video clips for motion and pacing
2. Correct the basics before adding style
Even the best preset cannot fix a badly balanced file on its own. Before applying any look, clean up the basics:
- Set exposure so the subject reads clearly
- Fix white balance so skin, stone, sky, and foliage do not drift too far
- Straighten horizons and architecture
- Recover highlights in skies and reflective surfaces
- Lift blocked shadows only enough to keep depth
If color accuracy is drifting, this white balance guide is a good refresher because natural color is the base of believable travel editing.
3. Apply your preset or LUT as the mood anchor
Once your file is balanced, apply the base look. For stills, a pack like Lightroom Presets for Landscapes & Travel or Travel Cinematic Lightroom Presets can quickly bring your photos into the same visual family. For video, Travel LUTs for Cinematic Look is a strong match when you want footage to feel more polished without spending forever grading every clip.
Use the look as your anchor, then decide how strong it should be. Many travel edits improve immediately when you simply reduce intensity a little and let the scene breathe.
4. Use local adjustments to protect realism
This is where good travel editing becomes professional. Global presets are fast, but local corrections are what make them believable. Adobe’s guide to masking in Lightroom is especially useful because masking lets you refine only the parts that need help.
Common local adjustments that improve travel content:
- Brighten faces slightly so portraits stay human and readable
- Darken or cool bright skies so highlights do not pull attention away
- Add texture selectively to architecture or street surfaces
- Reduce saturation only in problem colors instead of flattening the whole photo
- Guide the eye with subtle radial or linear masks
I tested this approach on a travel set with strong midday sun, deep alley shadows, and warm indoor café scenes. The preset got me 70 percent of the way there. Masking finished the job without making every frame feel overprocessed.
5. Match your video grade to your photo style
Travel creators often make photos feel warm and polished, then leave their video too flat or too blue. That mismatch weakens the whole brand. Your footage does not need to look identical to your stills, but it should feel related.
When grading video, try to match:
- Overall warmth or coolness
- Contrast depth
- Highlight softness
- Saturation restraint
- Skin tone realism
If you edit in Premiere Pro, Adobe’s guide to color management and Lumetri Color in Premiere Pro is worth bookmarking. It helps you keep LUT use controlled and repeatable instead of random.
For faster consistency, the Vlog Travel Cinematic LUTs Pack is useful when you want a ready-made cinematic direction for travel footage that still leaves room for manual refinement.
6. Crop with each platform in mind, but keep one visual identity
One of the easiest ways to lose consistency is exporting the same image three different ways without checking composition. A beautiful horizontal hero image may work on your blog, but the crop may fail on a vertical Pinterest pin or an Instagram Reel cover.
Use one edit direction, then adapt the framing:
- Blog: wider images, room for storytelling, cleaner pacing
- Instagram: high impact, tighter compositions, punchier opening frames
- Pinterest: vertical crops with strong subject separation and readable visual flow
The key is not to re-edit from scratch for each platform. Keep the same tone, palette, and contrast direction. Change the crop and sequencing only where needed.
7. Batch similar scenes, not the entire trip
Batch editing saves time, but only when you are batching similar light. Do not sync one preset setting across sunrise, noon, and neon night scenes and expect it to hold together. Instead, create mini-batches:
- Outdoor daylight landscapes
- Golden-hour portraits
- Overcast street scenes
- Night clips and city lights
If you want more preset ideas for different travel situations, browse Top 10 Lightroom Presets for Travel Photography in 2025. It is a useful reference when you want a starting point for different moods instead of one generic travel edit.
How to Make Blog, Instagram, and Pinterest Work Together
Your blog should be the deepest version of the story. Use your strongest horizontal images, a few vertical images where appropriate, and video embeds or clips that expand the atmosphere. Instagram should lead with the frames that stop the scroll fastest. Pinterest should focus on images that communicate place, mood, and aspiration instantly.
A smart cross-platform workflow looks like this:
- Edit one hero set for the trip
- Choose 10 to 20 core visuals that define the mood
- Export blog versions first
- Create Instagram crops from the same edited masters
- Create Pinterest-friendly vertical crops last
That order matters because your blog usually needs the most faithful, spacious storytelling version of the file. Social versions can then be adapted from the same master instead of becoming separate visual worlds.
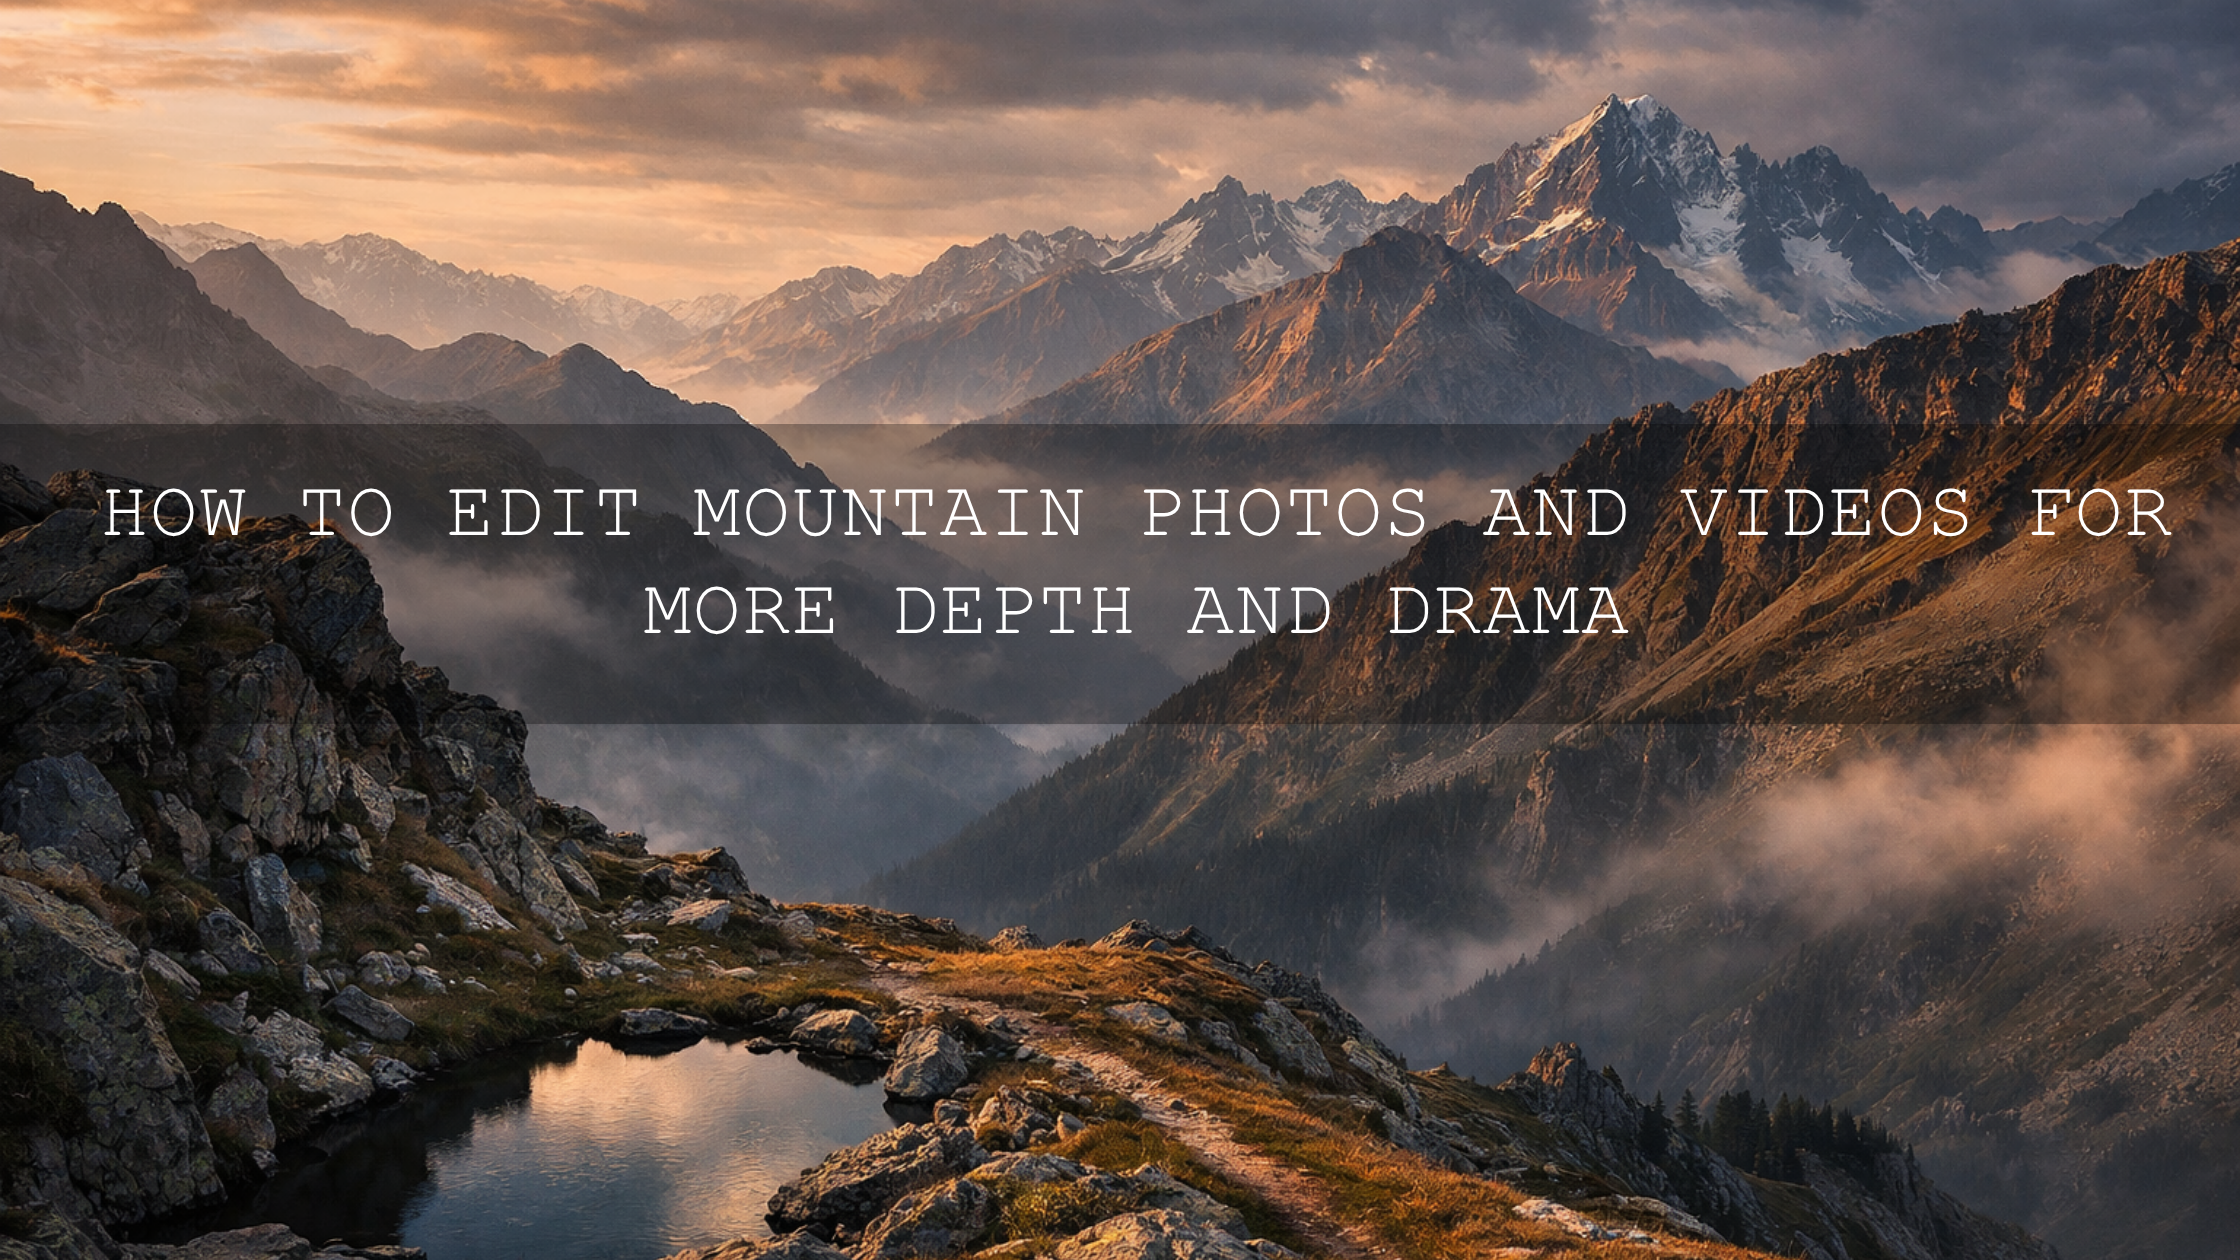
When a Moody Look Works Best in Travel Content
Moody travel editing is especially strong when the trip includes old streets, cloudy weather, reflective surfaces, mist, dusk, interiors, or emotional portrait moments. In those scenes, trying to make everything bright and cheerful often removes the atmosphere that made the location memorable in real life.
The trick is to keep the mood without killing detail. That is where Travel Moody Photo Edit Presets and the Professional Lightroom Presets for Landscape Photography collection can fit naturally into a travel workflow. They help you hold onto depth, texture, and emotional tone while still keeping the files clean enough for a modern blog and polished social feed.
Related Reading
- Edit travel photos for a cinematic feel in 2026
- City travel photography and editing tips for content creators
- Mastering white balance for natural colors
- How to install Lightroom presets quickly and easily
Edit Faster Without Losing Your Style
You do not need a complicated workflow to make your travel content feel premium. You need a repeatable one. Start with a clear aesthetic, correct the basics, use presets and LUTs as a foundation, protect realism with local adjustments, and then adapt the same master edits for each platform. That is what keeps your travel brand cohesive instead of scattered.
If you want a practical setup for both stills and motion, try Travel Cinematic Lightroom Presets or Travel Moody Photo Edit Presets for photos, then match them with Travel LUTs for Cinematic Look for footage. You can also browse the Cinematic LUTs collection for more grading options, and if you need help choosing the right workflow for your content style, visit the AAAPresets contact page. Buy 3, Get 9 FREE makes it easier to build a matching toolkit instead of mixing random looks from different places.
What is the best way to keep travel photos and videos consistent across platforms?
Use one core visual direction for the whole trip, then adapt crops and sequencing for each platform instead of re-editing every file from scratch.
Should I use presets for travel photography or edit everything manually?
The strongest workflow is usually a mix of both. Use presets for speed and consistency, then make manual adjustments for exposure, white balance, masking, and crop.
Do LUTs work for travel videos in Premiere Pro?
Yes. LUTs are a fast way to create a consistent cinematic direction in travel footage, especially when you refine them inside Lumetri Color instead of relying on them as a final one-click result.
How do I keep skin tones natural in travel edits?
Start by correcting white balance, then reduce heavy orange or magenta shifts. Use local masking when needed so faces stay believable even if the background is more dramatic.
What kind of travel images work best on Pinterest?
Vertical images with clear subjects, strong atmosphere, clean composition, and a consistent color direction usually perform best because they feel aspirational and easy to save.
Written by Asanka — creator of AAAPresets (10,000+ customers).
Leave a comment
This site is protected by hCaptcha and the hCaptcha Privacy Policy and Terms of Service apply.