
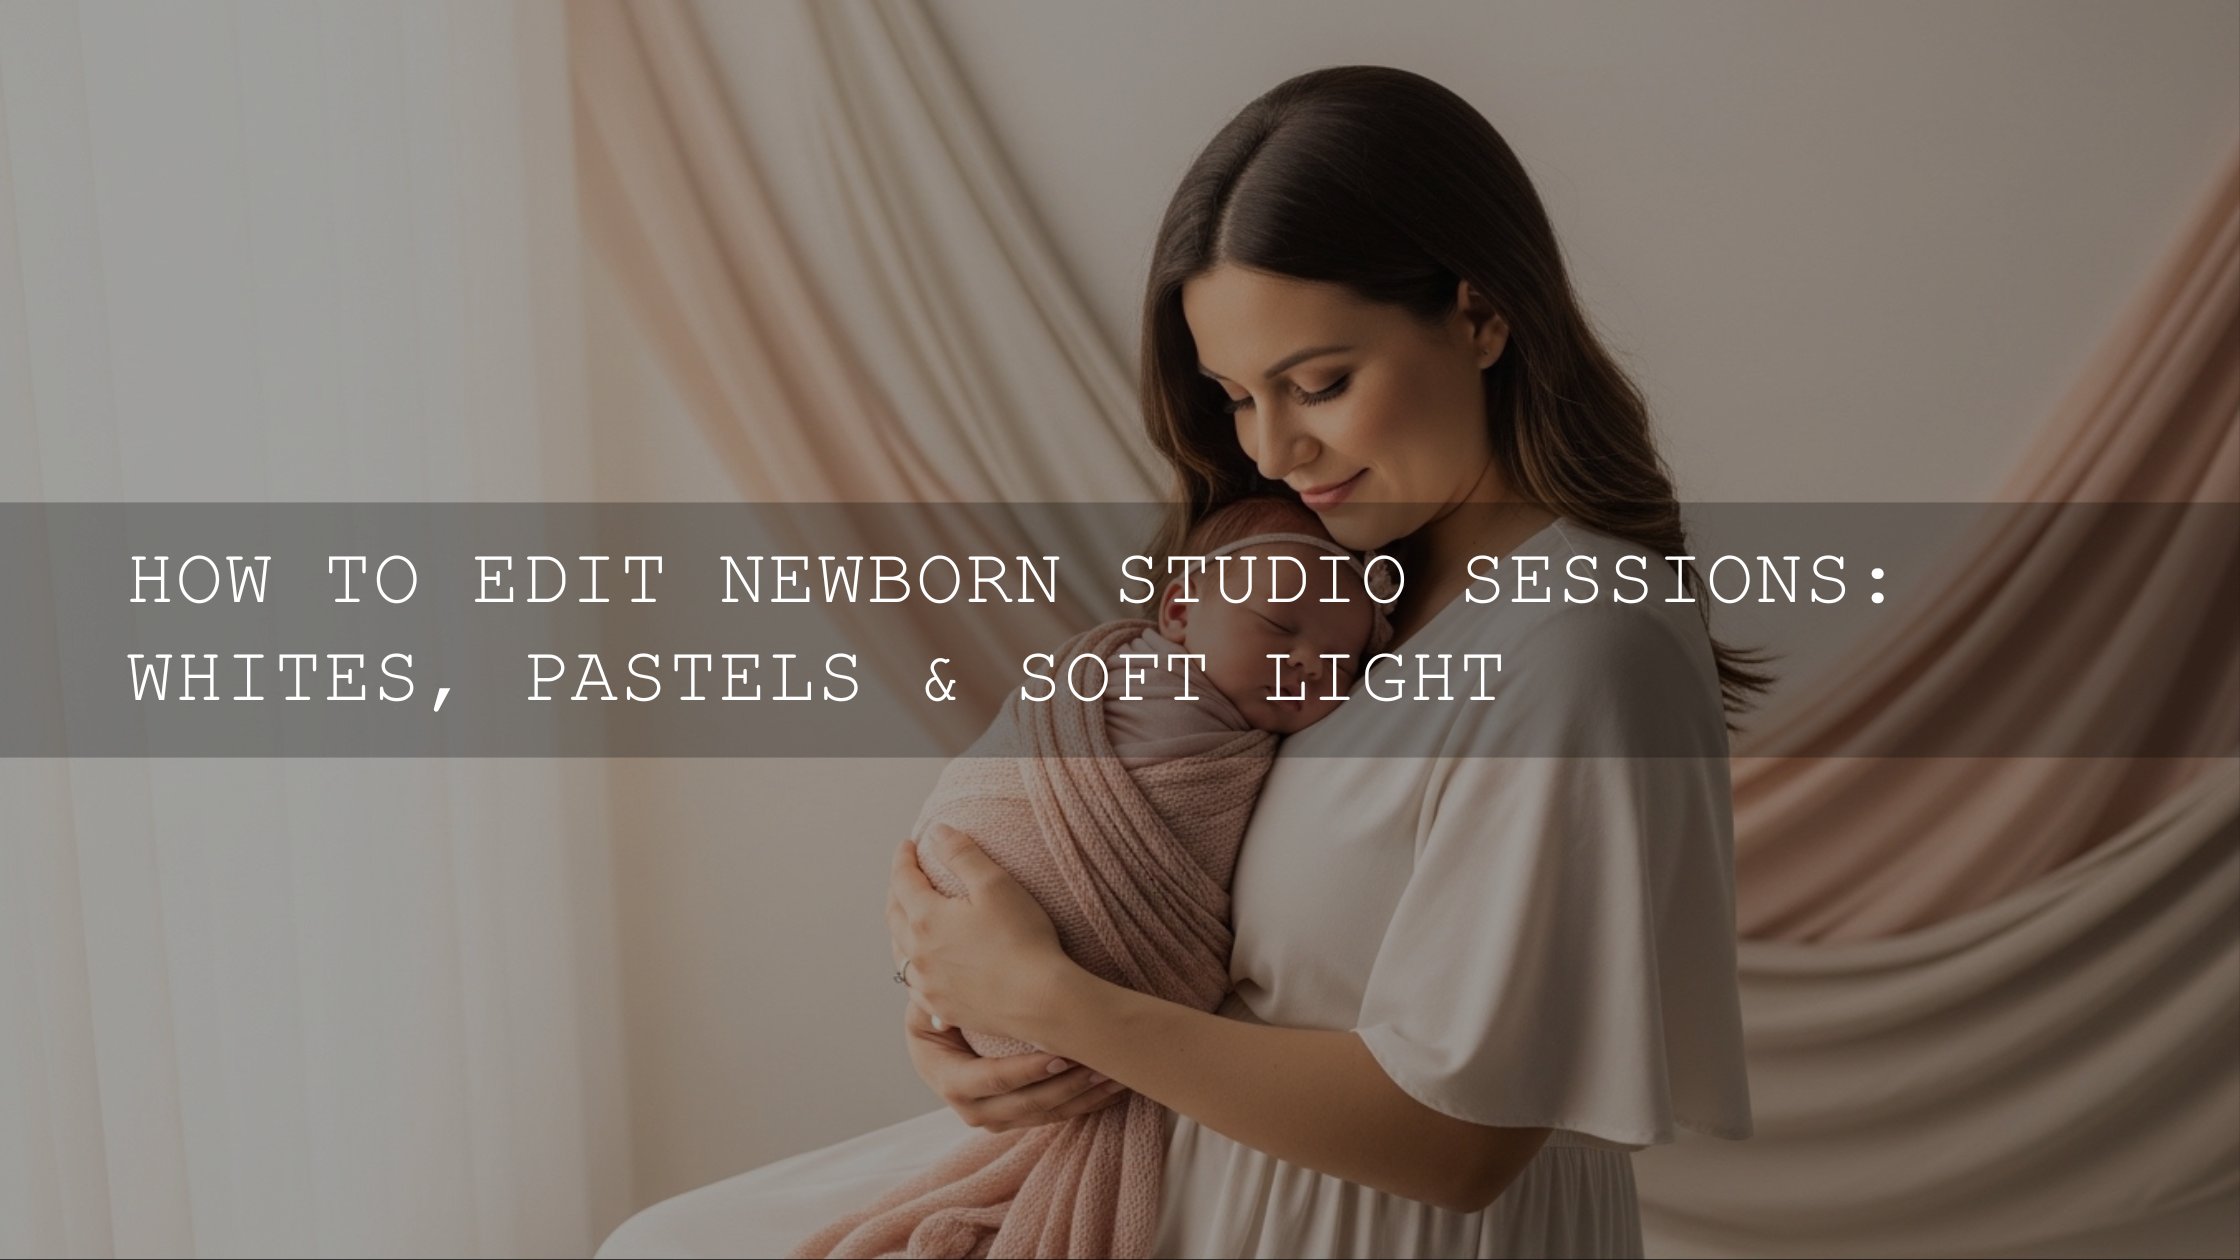
How to Keep Baby Skin Natural in Photos With Newborn Lightroom Presets
When you are editing baby portraits, newborn Lightroom presets can save time, but the real goal is not a heavy effect. It is soft color, natural baby skin tones, and a finished image that still looks like a real moment. Good baby photo editing should protect texture, calm down redness, and keep blankets, whites, and highlights clean. If you want Lightroom presets for newborn photography that help you get there faster, this guide breaks down what to do, what to avoid, and how to make every edit feel warm, gentle, and true to life.
If you want a fast starting point, try the 150+ First Years Baby & Newborn Lightroom Presets bundle and browse the Lightroom Presets for Lightroom Mobile & Desktop collection. It is a simple way to keep your newborn galleries soft and consistent, and you can build a full editing kit with our offer: Buy 3, Get 9 FREE.
Natural baby skin matters because babies already have the softness most photographers try to create in post. The tiny folds, the subtle flush in the cheeks, the softness of the forehead, and the slight changes in tone from light to shadow are part of what makes the portrait feel real. When those details are over-smoothed or pushed into orange, pink, or gray, the image quickly loses its warmth.
I have tested newborn Lightroom presets on softly lit home sessions and bright window-light setups, and the best edits always start the same way: preserve skin texture first, then shape the mood. I have also found that the strongest galleries are rarely the most edited ones. They are the ones where the skin still feels alive.
Why the “Plastic Skin” Look Happens
Most unnatural baby edits come from a few common mistakes:
- Too much texture removal or skin smoothing
- White balance that pushes skin too yellow, too magenta, or too blue
- Highlights that are so bright they erase detail in cheeks, blankets, and wraps
- Clarity, dehaze, or sharpening used too aggressively
- Using a preset as the final edit instead of a starting point
Here is why this matters: newborn skin is delicate and variable. One frame may look perfect, while the next needs a small white balance or exposure correction. A preset gives you direction, but the final realism comes from the small manual adjustments you make after it.
Presets vs Manual Editing for Newborn Photos
Both approaches matter. The strongest newborn workflow usually combines them.
When presets help most
- They give you a fast visual base for an entire gallery
- They help keep your editing style consistent from image to image
- They reduce repetitive work on exposure, contrast, and color mood
- They are especially useful when editing large family and newborn sessions
When manual edits matter most
- When one image has a different light source or white balance
- When the baby’s skin needs a gentler Temp or Tint correction
- When blankets, wraps, or backgrounds are clipping in the highlights
- When you want to protect texture while softening only a small area
A simple way to think about it is this: presets create consistency, manual edits create accuracy.
A Better Newborn Editing Workflow That Keeps Skin Real
If your goal is soft, clean, natural newborn skin, follow this order instead of jumping straight into heavy retouching.
1. Start with a clean base
Open the image and correct exposure before judging the preset. If the file is too dark, skin can turn muddy. If it is too bright, skin can lose shape and detail. In Adobe apps, the most reliable first checks are white balance, exposure, highlights, and shadows. Adobe’s Camera Raw guide to white balance and tonal adjustments is a great reference for getting that first pass right.
2. Apply a newborn preset as your starting point
This is where a newborn-specific preset shines. Instead of forcing a dramatic portrait look onto a baby photo, use tools designed for soft skin, clean whites, and calm contrast. The Lightroom Presets for Newborn Photography pack is especially useful when you want a gentle edit without losing natural tone.

3. Fix white balance before anything else
Skin tone issues are usually white balance issues first. If a baby looks too pink, too yellow, or slightly gray, adjust Temp and Tint before touching HSL or stronger tools. Adobe also explains this well in its Lightroom Classic white balance workflow. For newborn photos, small moves usually work better than big ones.
- If the skin looks too yellow, cool the Temp slightly
- If the skin looks too blue, warm it a little
- If the skin looks too green, add a touch of magenta
- If the skin looks too magenta, reduce Tint gently
4. Pull back highlights to protect cheeks, wraps, and whites
Bright blankets and window light can easily trick you into overexposing newborn images. Lowering Highlights and Whites slightly often restores detail without making the image dull. This is one of the easiest ways to keep the photo soft instead of harsh.
5. Use local masks instead of global smoothing
If one area needs help, edit that area only. A gentle mask on a forehead hotspot or a bright cheek is far safer than applying a global smoothing effect to the entire image. Adobe’s guide to masking in Lightroom Classic is useful if you want more precise local control.
6. Add style last, not first
Once the skin is realistic, then you can shape the final mood. Warmth, creamier whites, or a slightly airy finish can all look beautiful on newborn photos. But style should sit on top of a correct file, not hide an incorrect one.
The Best AAAPresets Options for Soft Baby Skin and Newborn Sessions
If you want a faster workflow without sacrificing realism, these are the strongest matches for this type of editing.
150+ First Years Baby & Newborn Lightroom Presets
The 150+ First Years Baby & Newborn Lightroom Presets bundle is ideal when you want variety across a full baby gallery. It gives you multiple soft directions to work from, which is helpful when one session includes close-ups, family frames, milestone shots, and detail photos. This is a strong choice if you want flexibility without losing a newborn-safe look.
First Years Baby & Newborn Lightroom Presets
The First Years Baby & Newborn Lightroom Presets set is a good fit if you want a smaller collection that still covers the essentials. It works well when you want to move quickly, keep the workflow simple, and fine-tune just a few sliders after applying the preset.

Lightroom Presets for Newborn Photography
The Lightroom Presets for Newborn Photography pack is especially useful when you want soft, creamy tones, controlled whites, and natural skin color with less guesswork. It is one of the best options when the goal is a calm, airy newborn finish.

If you also want more options for portraits beyond newborn sessions, the Portrait Photography Lightroom Presets collection is worth browsing. It is useful when your shoot includes parents, siblings, or wider family portraits alongside newborn close-ups.
Pro Tips for Natural Baby Skin Tones in Lightroom
- Shoot for soft light first. Window light with diffusion usually gives you better skin than harsh direct light, and that means less correction later.
- Keep redness believable. Some warmth in cheeks is natural. The goal is balance, not total removal.
- Use Texture and Clarity carefully. Too much can make baby skin look dry or sharp in an unnatural way.
- Watch neutral fabrics. White wraps and cream blankets tell you quickly if your edit has gone too yellow or too pink.
- Zoom out and zoom in. Up close, you check texture. Zoomed out, you judge whether the skin feels natural in the whole frame.
- Use color theory when needed. If skin starts shifting too warm or too cool, Adobe Color harmony tools can help you think more clearly about balance and complementary color influence.
A Simple Before-and-After Mindset for Better Baby Photo Editing
Before editing, ask: what is the problem in this image? Is it brightness, color cast, uneven skin, or just lack of consistency with the rest of the gallery?
After editing, ask: does this still look like a baby, in real light, with real skin?
That question keeps your workflow honest. In one newborn session I edited recently, the biggest improvement did not come from adding a stronger preset. It came from lowering highlights on the blanket, warming the file slightly less than I first wanted, and reducing the temptation to smooth every tiny patch of skin. The final image felt softer, truer, and far more emotional.
What to Do if a Newborn Preset Still Looks Wrong
Sometimes the preset is not the problem. The file, camera profile, or lighting conditions are. If you run into that, these internal guides can help you troubleshoot quickly.
- Read our guide to fixing indoor lighting when presets look wrong if your session was shot under mixed indoor light.
- Use our article on making one preset work across different camera brands if your color shifts between cameras.
- Check our walkthrough on fixing presets after an update if an older favorite suddenly behaves differently.
- If you need a more complete newborn workflow, read our soft, gentle newborn editing guide.
- If you are new to importing presets, start with how to install Lightroom presets or the mobile-specific guide for DNG presets in Lightroom Mobile.
Related Reading
- Editing newborn photos with soft, gentle tones
- Why presets look bad indoors and how to fix them
- How to make one preset work across Canon, Sony, Nikon, and more
- How to install Lightroom presets the easy way
Keep the Edit Soft, Real, and Easy to Repeat
The best newborn photos do not need perfect skin. They need honest color, gentle light, and an edit that respects the softness already in the frame. A strong preset can absolutely help, but the magic comes from using it with intention. Correct white balance first, protect highlights, avoid heavy smoothing, and make only the adjustments that the photo truly needs.
If you are ready to edit faster while keeping skin natural, start with the 150+ First Years Baby & Newborn Lightroom Presets bundle, explore the Lightroom Presets for Newborn Photography pack, and browse the Lightroom Presets for Lightroom Mobile & Desktop collection for more editing options. If you want to know more about the brand behind the tools, visit About AAAPresets. And if you need help choosing the right pack, you can always contact us. Build your set your way and take advantage of Buy 3, Get 9 FREE.
FAQ
Do newborn Lightroom presets make baby skin look fake?
Not when they are used correctly. A good newborn preset should act as a starting point, then you fine-tune white balance, highlights, and skin color to keep the result natural.
What is the best setting to fix baby skin that looks too red?
Start with white balance and Tint before touching stronger color tools. A slight Temp or Tint correction often fixes redness more naturally than aggressive HSL moves.
Should I smooth baby skin in Lightroom?
Only very lightly, if at all. Most newborn portraits look better when you preserve real skin texture and use local masks only where needed instead of smoothing the whole image.
Are these presets good for Lightroom Mobile and Desktop?
Yes. Several AAAPresets newborn products are designed for Lightroom Mobile and Desktop workflows, which helps keep your editing consistent across devices.
What if the same preset looks different on different photos?
That is normal. Light source, camera profile, exposure, and white balance all affect the result. Apply the preset first, then correct the individual image so the skin still looks realistic.
Written by Asanka — creator of AAAPresets (10,000+ customers).
Leave a comment
This site is protected by hCaptcha and the hCaptcha Privacy Policy and Terms of Service apply.