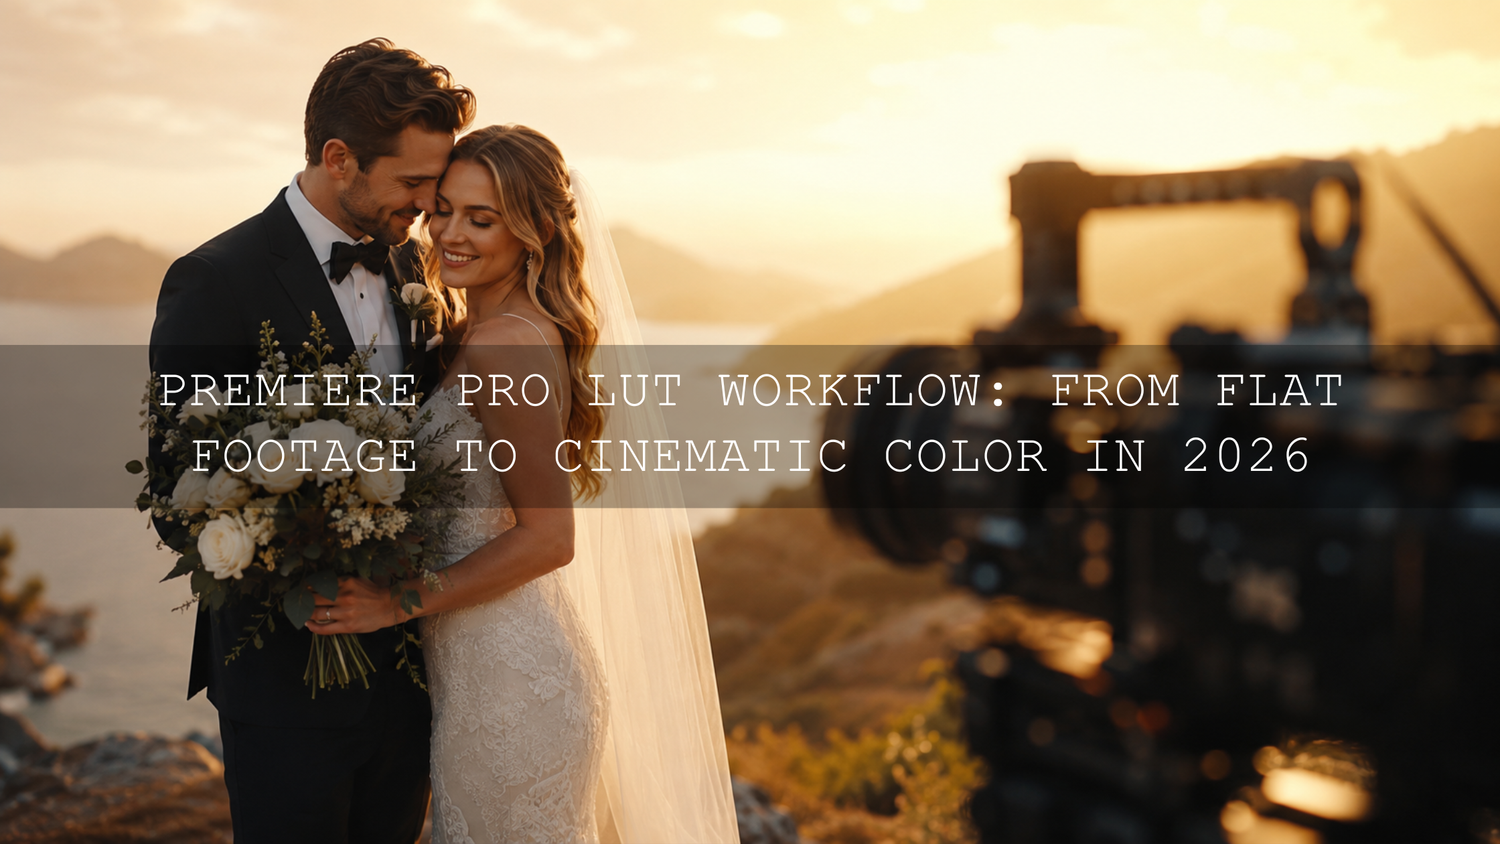
Premiere Pro LUT Workflow: From Flat Footage to Cinematic Color in 2026
A reliable Premiere Pro LUT workflow begins long before you apply a cinematic look. Log, RAW, and flat-profile footage may initially appear grey, low-contrast, and lifeless, but that image contains valuable highlight, shadow, and color information. The goal is to transform that flexible starting point into balanced Rec.709 footage before using creative LUTs, Lumetri Color, curves, and secondary corrections to shape the final mood.
Here’s why this matters: a creative LUT cannot repair badly exposed footage, incorrect white balance, clipped highlights, or an improperly configured color space. It simply remaps the color information it receives. When you correct first and grade second, your LUT enhances the image instead of exaggerating its problems.
Ready to experiment with different cinematic styles after balancing your footage? Explore the 700+ Cinematic Video LUTs bundle or browse the complete cinematic LUT collection for Premiere Pro, DaVinci Resolve, Final Cut Pro, and more. Try these LUTs today with the Buy 3, Get 9 FREE offer.
Why Flat Footage Is More Useful Than It Looks
Flat footage is designed to preserve information rather than look finished inside the camera. A Log profile compresses a wide range of brightness values into an image that can initially look faded. That extra flexibility becomes valuable when you need to recover a bright sky, preserve detail in a white dress, lift a dark interior, or balance footage captured under difficult lighting.
The washed-out appearance is therefore not a problem that needs to be hidden immediately. It is a starting point that needs to be interpreted correctly.
Imagine a wedding ceremony recorded in Log. The bride is standing near a bright window while the groom is positioned farther inside the room. A standard profile might produce either clipped window detail or underexposed faces. Log footage can retain more of both areas, giving you greater control during color correction.
However, flat footage is not automatically better in every situation. It still needs to be exposed carefully, recorded at a suitable bit depth, and transformed into the correct working or output color space. Underexposed Log footage can reveal significant noise when lifted, while an incorrect transform can create harsh contrast or unusual colors.
Understand Technical LUTs and Creative LUTs
One of the most important parts of a professional Premiere Pro LUT workflow is understanding that not every LUT serves the same purpose.
Technical LUTs
A technical LUT converts footage from one known color space or gamma curve into another. A common example is converting Sony S-Log3, Canon Log, Panasonic V-Log, or another camera profile into Rec.709 for standard dynamic range delivery.
This type of LUT is intended to normalize footage. It should produce a reasonably neutral image rather than a dramatic movie look.
Creative LUTs
A creative LUT changes the mood and visual character of footage. It may introduce warm highlights, cooler shadows, muted greens, film-inspired contrast, faded blacks, rich skin tones, or a stylized teal-and-orange palette.
Creative LUTs usually perform best after the footage has been normalized and balanced. For a deeper explanation of how different LUT structures work, read the guide to 3D LUTs versus 1D LUTs.
Pro tip: Do not apply a camera conversion LUT and an automatic color-management transform that perform the same conversion. That can create a double transform, resulting in excessive contrast, crushed shadows, clipped highlights, and oversaturated colors.
Set Up Color Management Before Applying a LUT
Modern versions of Premiere provide more comprehensive color-management controls than older LUT-only workflows. Before grading, confirm the source color space, sequence color setup, working color space, and intended output.
Adobe’s overview of Color Management in Premiere explains how source media, sequence settings, working color spaces, and output color spaces interact.
For a typical SDR project intended for websites, social platforms, or standard client delivery, Rec.709 is usually the expected output. HDR projects require a deliberately configured HDR sequence and matching export color space. Do not grade an HDR sequence and export it as SDR without an intentional tone-mapping or conversion plan.
Before continuing, check the following:
- Camera profile: Confirm whether the media is Log, RAW, HLG, Rec.709, or another format.
- Automatic detection: Determine whether Premiere has already recognized and transformed the footage.
- Sequence color setup: Make sure it matches your intended SDR or HDR delivery.
- Monitoring: Enable appropriate display color management and avoid judging color only through an incorrectly configured display.
- LUT requirements: Verify which input color space the technical or creative LUT expects.
Step-by-Step Premiere Pro LUT Workflow
Let’s break the complete process into a repeatable order. The hierarchy is simple: interpret, normalize, correct, match, grade, refine, and export.
1. Confirm the Source Color Space
Begin by identifying how the footage was recorded. Do not select a conversion LUT based only on the camera brand. One camera may offer several profiles, and a LUT created for S-Log3 will not correctly transform footage recorded in HLG or a standard Rec.709 profile.
When multiple cameras were used, organize clips by camera model and picture profile. This makes it easier to apply the correct input transform and prevents accidental mismatches later.
For multi-camera projects, the guide on using LUTs for color matching between cameras explains how to create a more consistent foundation before applying a shared creative look.
2. Normalize Log or RAW Footage
If Premiere is managing the media automatically, inspect the result before adding another transform. If you are following a manual workflow, apply the correct manufacturer conversion LUT or input transform to move the footage into the expected working space.
The normalized image should look natural, but it does not need to look cinematic yet. At this stage, check whether highlights have become clipped, shadows have dropped too deeply, or saturation appears unusually strong. These symptoms often indicate an incorrect input profile or a duplicate conversion.
3. Correct Exposure and White Balance
Use Lumetri Color’s Basic Correction controls to establish a clean baseline. Adjust temperature, tint, exposure, highlights, shadows, whites, and blacks while watching the scopes.
A practical correction order is:
- Correct white balance using a neutral object, skin tone, or known reference.
- Adjust overall exposure without immediately adding heavy contrast.
- Recover highlights where usable detail remains.
- Open shadows carefully without revealing excessive noise.
- Set the black and white points while preserving the intended mood.
- Adjust saturation only after the tonal balance is reasonably stable.
Do not rely entirely on the Program Monitor. Your eyes adapt quickly, and room lighting can influence how bright, warm, or saturated an image appears. Adobe’s guide to displaying Lumetri Scopes shows how waveform, parade, histogram, and vectorscope views can support more objective decisions.
4. Match the Clips Before Creating the Look
A creative LUT will not automatically make mismatched shots consistent. Before applying the look across a sequence, balance clips so that similar subjects have comparable exposure, white balance, contrast, and saturation.
Choose one strong shot as the reference. Then match surrounding clips to that reference using the waveform, RGB Parade, and visual comparison. This is particularly useful for interviews, weddings, events, music videos, and projects filmed over several hours as daylight changes.
Pro tip: Match the important subject before matching the entire frame. In a portrait or interview, consistent skin is usually more important than making every background object identical.
5. Apply the Creative LUT
Once the footage is normalized and balanced, open Lumetri Color’s Creative section and select your LUT through the Look menu. Creative LUTs can also be installed for easier reuse across future projects. The full process is covered in the guide to installing and using LUTs in Premiere Pro, DaVinci Resolve, and Final Cut Pro.
Do not assume that 100% intensity is the correct setting. Start lower and gradually increase the amount until the look supports the scene without overpowering it. Many cinematic LUTs feel more natural somewhere between a subtle blend and full intensity, depending on the source footage.
When I test a new LUT on wedding footage, I first check the bride’s dress, facial highlights, dark suits, and green backgrounds. Those areas quickly reveal whether a look is clipping important detail, shifting skin, or making foliage unnaturally fluorescent.
6. Separate Clip Corrections from the Global Look
Adjustment layers are useful, but they should not replace individual clip correction. A strong workflow separates local technical fixes from the overall creative treatment.
- Individual clips: Correct exposure, white balance, camera differences, and shot-specific problems.
- Adjustment layer: Apply a shared creative LUT or broad finishing treatment across related clips.
- Additional clip-level Lumetri effect: Repair any shot that still needs special treatment after the global grade.
This structure gives you consistency without forcing every shot through identical correction values. It also allows you to change the creative look across an entire scene without rebuilding each clip.
7. Refine Contrast with Curves and Color Wheels
After applying the LUT, use curves and color wheels for controlled refinement. Avoid automatically creating a strong S-curve because the LUT may already contain contrast.
Use the RGB curve to make small tonal adjustments, and use individual red, green, and blue curves only when you understand the color shift they introduce. The Color Wheels can help you adjust shadows, midtones, and highlights independently.
For example, a travel scene may benefit from slightly cooler shadows and warmer highlights, but the adjustment should remain subtle. Extreme opposing colors can quickly make an image feel artificial.
8. Protect Natural Skin Tones
Skin is often the first place viewers notice an unsuccessful grade. Use the vectorscope as a reference, but remember that real skin tones vary greatly in brightness and saturation. The skin-tone indicator is a directional guide, not a rule that every complexion must occupy the same position.
If a LUT makes skin too orange, red, magenta, or desaturated, reduce the LUT intensity first. Then use HSL Secondary controls or curves to isolate and refine the affected range.
Avoid creating an overly narrow key. Hair, cheeks, lips, shadows, and highlights contain natural variation, and an aggressive selection can produce visible edges or patchy movement.
9. Review the Grade in Motion
A frame that looks excellent while paused may reveal problems during playback. Watch the complete scene and look for noise, flickering keys, exposure jumps, clipped channels, skin-tone changes, and inconsistent LUT intensity.
Also inspect the grade at full resolution when possible. Heavy compression or low-resolution preview modes can hide banding, noise, and fine color artifacts.
Presets and LUTs vs Manual Color Editing
LUTs and manual grading are not competing methods. The strongest workflow combines their advantages.
Where LUTs Are Strongest
- Creating a consistent visual direction quickly
- Testing several moods before committing to a grade
- Maintaining a recognizable style across a series
- Reducing repetitive creative adjustments
- Providing a polished starting point for beginners and professionals
Where Manual Editing Is Strongest
- Correcting exposure and white balance for individual clips
- Matching footage from different cameras or lighting conditions
- Recovering highlights and managing shadow detail
- Protecting skin tones and specific brand colors
- Solving local problems that a global LUT cannot recognize
The most efficient approach is to use manual controls for technical accuracy and a LUT for creative direction. The LUT gets you closer to the intended style; manual refinement makes that style fit the actual footage.
A Realistic Before-and-After Example
Consider an outdoor wedding scene recorded in Log near sunset. The ungraded clip has low contrast, muted colors, a bright sky, and slightly cool skin tones.
Before the creative LUT: The footage is transformed correctly, exposure is raised slightly, white balance is warmed, the sky is protected, and the couple’s faces are matched across the sequence.
After the creative LUT: Warm highlights add romance, greens become softer, shadows gain gentle depth, and overall contrast becomes more cinematic. The LUT is reduced slightly to protect the white dress and natural complexion.
Final refinement: HSL Secondary is used for a small skin adjustment, the highlight wheel is warmed subtly, and the final clips are checked together for consistency.
For this type of project, the 150+ Wedding LUTs for Final Cut, Premiere Pro, and Resolve provides multiple starting points for romantic, clean, warm, and cinematic wedding grades.
Common LUT Mistakes to Avoid
Applying a Creative LUT Directly to Untreated Log Footage
A LUT designed for Rec.709 footage may produce severe contrast and color problems when applied directly to Log. Always confirm the LUT’s intended input.
Using the Wrong Camera Conversion
A conversion LUT is profile-specific. Matching the camera brand is not enough; the gamma and gamut must also match.
Correcting Every Shot with an Adjustment Layer
A global adjustment cannot solve different exposure and white-balance problems across individual clips. Correct clips separately before adding the shared look.
Using Excessive LUT Intensity
More intensity does not necessarily create a more cinematic result. It often produces clipped channels, oversaturated skin, unnatural skies, or crushed shadows.
Ignoring the Scopes
A monitor can be misleading, especially in a bright room or on an uncalibrated display. Use the waveform, RGB Parade, and vectorscope alongside visual judgment.
Expecting One LUT to Fit Every Scene
A bright exterior, mixed-light interior, night scene, and studio interview may need different LUTs or different intensity settings. Read more about these problems in common LUT mistakes and how to fix them.
Exporting Graded Footage Without Losing the Look
Before exporting, confirm that the sequence output color space matches the intended delivery. For a standard SDR project, this will commonly be Rec.709. For HDR, use the required Rec.2100 format and verify the platform’s delivery specifications.
Choose a suitable delivery format, match the intended resolution and frame rate, and use an appropriate bitrate for the content and destination. Highly detailed motion, film grain, water, foliage, and low-light footage generally require more data than simple talking-head content.
Render at Maximum Depth can help retain color precision and reduce banding in smooth gradients when supported by the selected format. Use Maximum Render Quality when scaling between resolutions, particularly when converting 4K footage to a smaller output. Adobe’s reference for Premiere video export settings explains how these options affect quality and processing.
Always watch the exported file rather than approving the project from the timeline alone. Check it on more than one suitable display and inspect gradients, shadows, skin tones, motion, and transitions for unexpected changes.
For platform-specific considerations, continue with the guide to exporting videos after applying LUTs for Instagram, YouTube, and TikTok.
Related Reading
- What LUTs are and how they work
- How to install and use LUTs in major video editors
- The difference between 3D LUTs and 1D LUTs
- How to color-match footage from different cameras
- Common LUT mistakes creators should avoid
Frequently Asked Questions
Should I color-correct before or after applying a LUT?
Perform the main technical correction before applying a creative LUT. Normalize the footage, fix white balance and exposure, and match the clips first. After applying the LUT, make smaller refinements to compensate for the look.
Where should I apply a LUT in Premiere Pro?
Technical input LUTs belong in the appropriate input or normalization stage. Creative LUTs can be applied through Lumetri Color’s Creative section. A shared creative look may be placed on an adjustment layer, while shot-specific corrections should remain on individual clips.
Why does my LUT make Log footage look too dark?
The LUT may expect a different camera profile, the footage may be receiving two transforms, or the clip may have been underexposed. Confirm the recorded gamma and gamut, inspect Premiere’s color-management settings, and verify the LUT’s intended input.
Should a creative LUT always be used at 100% intensity?
No. LUT intensity should be adjusted according to the footage and creative goal. Lowering the amount often protects skin tones, highlight detail, saturation, and shadow texture while retaining the intended style.
Can one LUT be used across an entire project?
A shared LUT can create a consistent overall mood, but each clip still needs individual correction. Different cameras, locations, exposure levels, and lighting conditions may also require different LUT strengths or alternate looks.
Build a Faster and More Consistent Color-Grading Workflow
The best LUT workflow is not built around a single button. It combines correct color management, accurate clip correction, thoughtful shot matching, creative LUT selection, restrained intensity, and careful final refinement.
Once this order becomes familiar, you can work faster without sacrificing quality. You spend less time fighting crushed shadows and unnatural skin tones and more time choosing the mood that supports your story.
Start exploring different cinematic directions with the 700+ Cinematic Video LUTs bundle, create bold film-inspired grades with the 120+ Cinematic Blockbuster Movie Look LUTs Pack, or browse more cinematic LUTs designed for Premiere Pro. Try these LUTs today — Buy 3, Get 9 FREE.
Written by Asanka — creator of AAAPresets (10,000+ customers).

Leave a comment
This site is protected by hCaptcha and the hCaptcha Privacy Policy and Terms of Service apply.