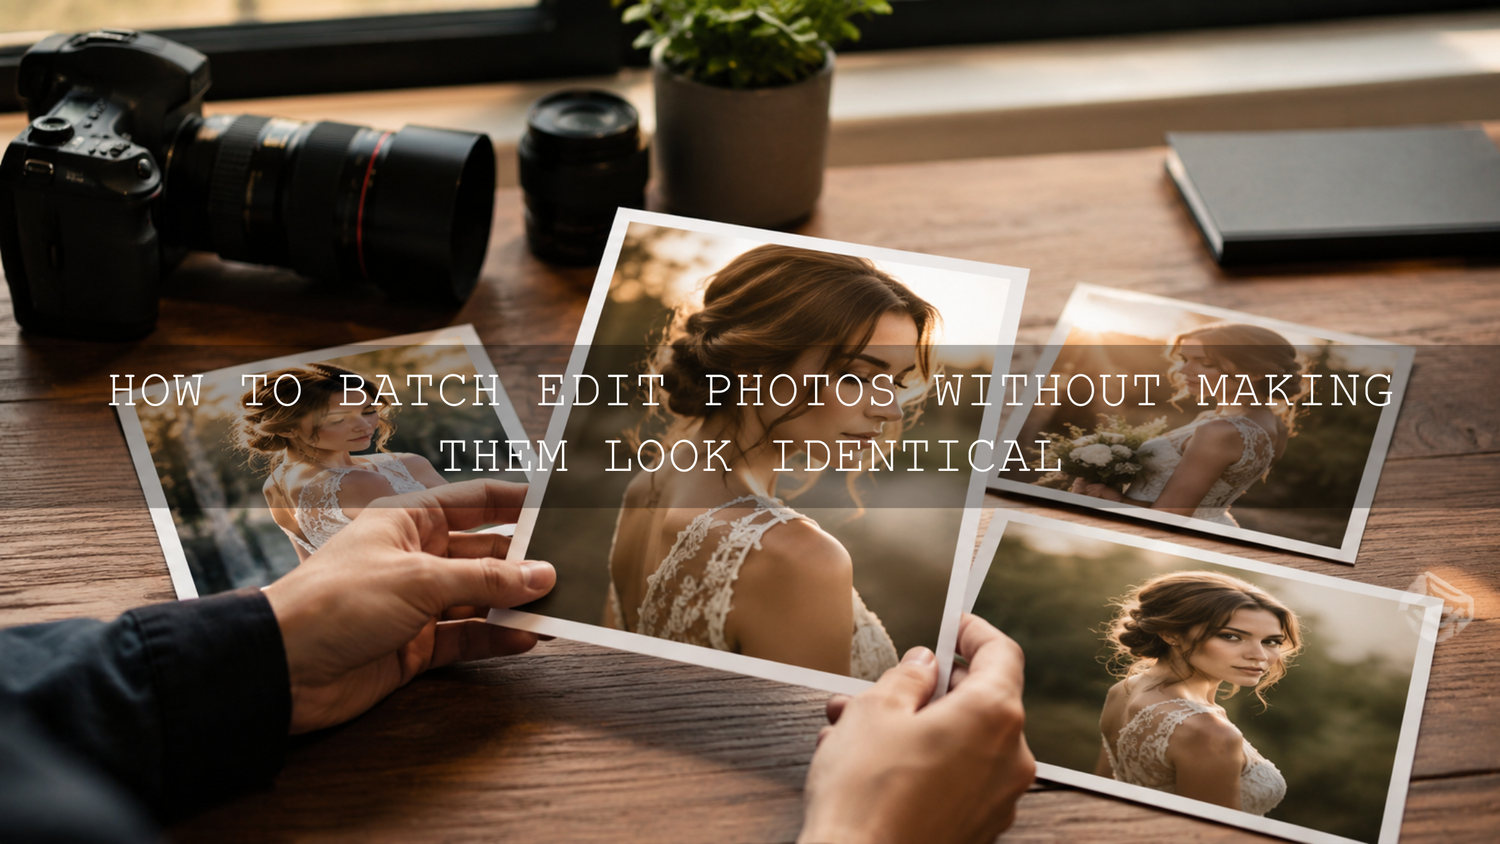
How to Batch Edit Photos Without Making Them Look Identical
Batch editing photos can transform an exhausting editing session into a fast, organized workflow. The challenge is keeping the gallery consistent without making every photograph look as though the same filter was pasted over it. Effective Lightroom batch editing creates a shared visual foundation while protecting the individual lighting, color, mood, and emotional value of each image.
Here is why this matters: consistency helps a wedding gallery, portrait session, travel collection, or social media feed feel professional. However, perfect uniformity can remove the natural differences that make each photograph interesting. The goal is cohesion, not duplication.
For a flexible starting point, explore the 1000+ Master Lightroom Presets Bundle or browse the complete Lightroom presets for mobile and desktop. Choose a look that suits the session, refine it on one reference photograph, and then synchronize the appropriate settings across similar images. Try these presets today, Buy 3, Get 9 FREE.
Why Lightroom Batch Editing Sometimes Creates Identical-Looking Photos
A preset is usually created from one set of editing decisions. It may include adjustments to white balance, contrast, highlights, shadows, HSL colors, tone curves, sharpening, grain, and color grading. When those exact values are applied to photographs captured under different conditions, the results naturally vary.
A warm preset that looks beautiful on a shaded portrait may make a sunlit photograph too yellow. Strong shadow recovery may help an indoor frame but flatten an outdoor image. A dramatic tone curve may improve a low-contrast scene while crushing detail in a photograph that already has deep shadows.
The problem is not batch editing itself. The problem is treating a preset as a finished edit instead of a starting point.
I tested this workflow on a mixed outdoor portrait set containing direct sunlight, open shade, backlighting, and golden-hour images. Applying one complete edit to every photograph produced several obvious outliers. Dividing the photographs into lighting groups and synchronizing only the suitable settings created a much more natural gallery.
The most common causes of repetitive-looking edits
- One preset is forced across different lighting conditions: Direct sunlight, shade, indoor light, and backlighting require different exposure and white balance corrections.
- Exposure is synchronized unnecessarily: Two images may need the same color style but completely different exposure values.
- Local masks are copied without review: A subject or background mask may not align correctly when the composition changes.
- Strong color grading is applied too early: Aggressive color shifts can overpower skin tones, clothing, skies, and location-specific colors.
- Every photograph receives the same crop: Consistent framing is useful, but identical crops can remove the visual rhythm of a gallery.
Build a Flexible Master Edit Before Synchronizing Settings
A master edit is the reference photograph from which your batch adjustments are copied. It should represent the lighting, subject, camera settings, and color conditions of the group as closely as possible.
Do not select the most dramatic image in the session. Choose a technically balanced photograph with clear skin tones, recoverable highlights, visible shadow detail, and typical lighting. This gives you a dependable foundation rather than an extreme example.
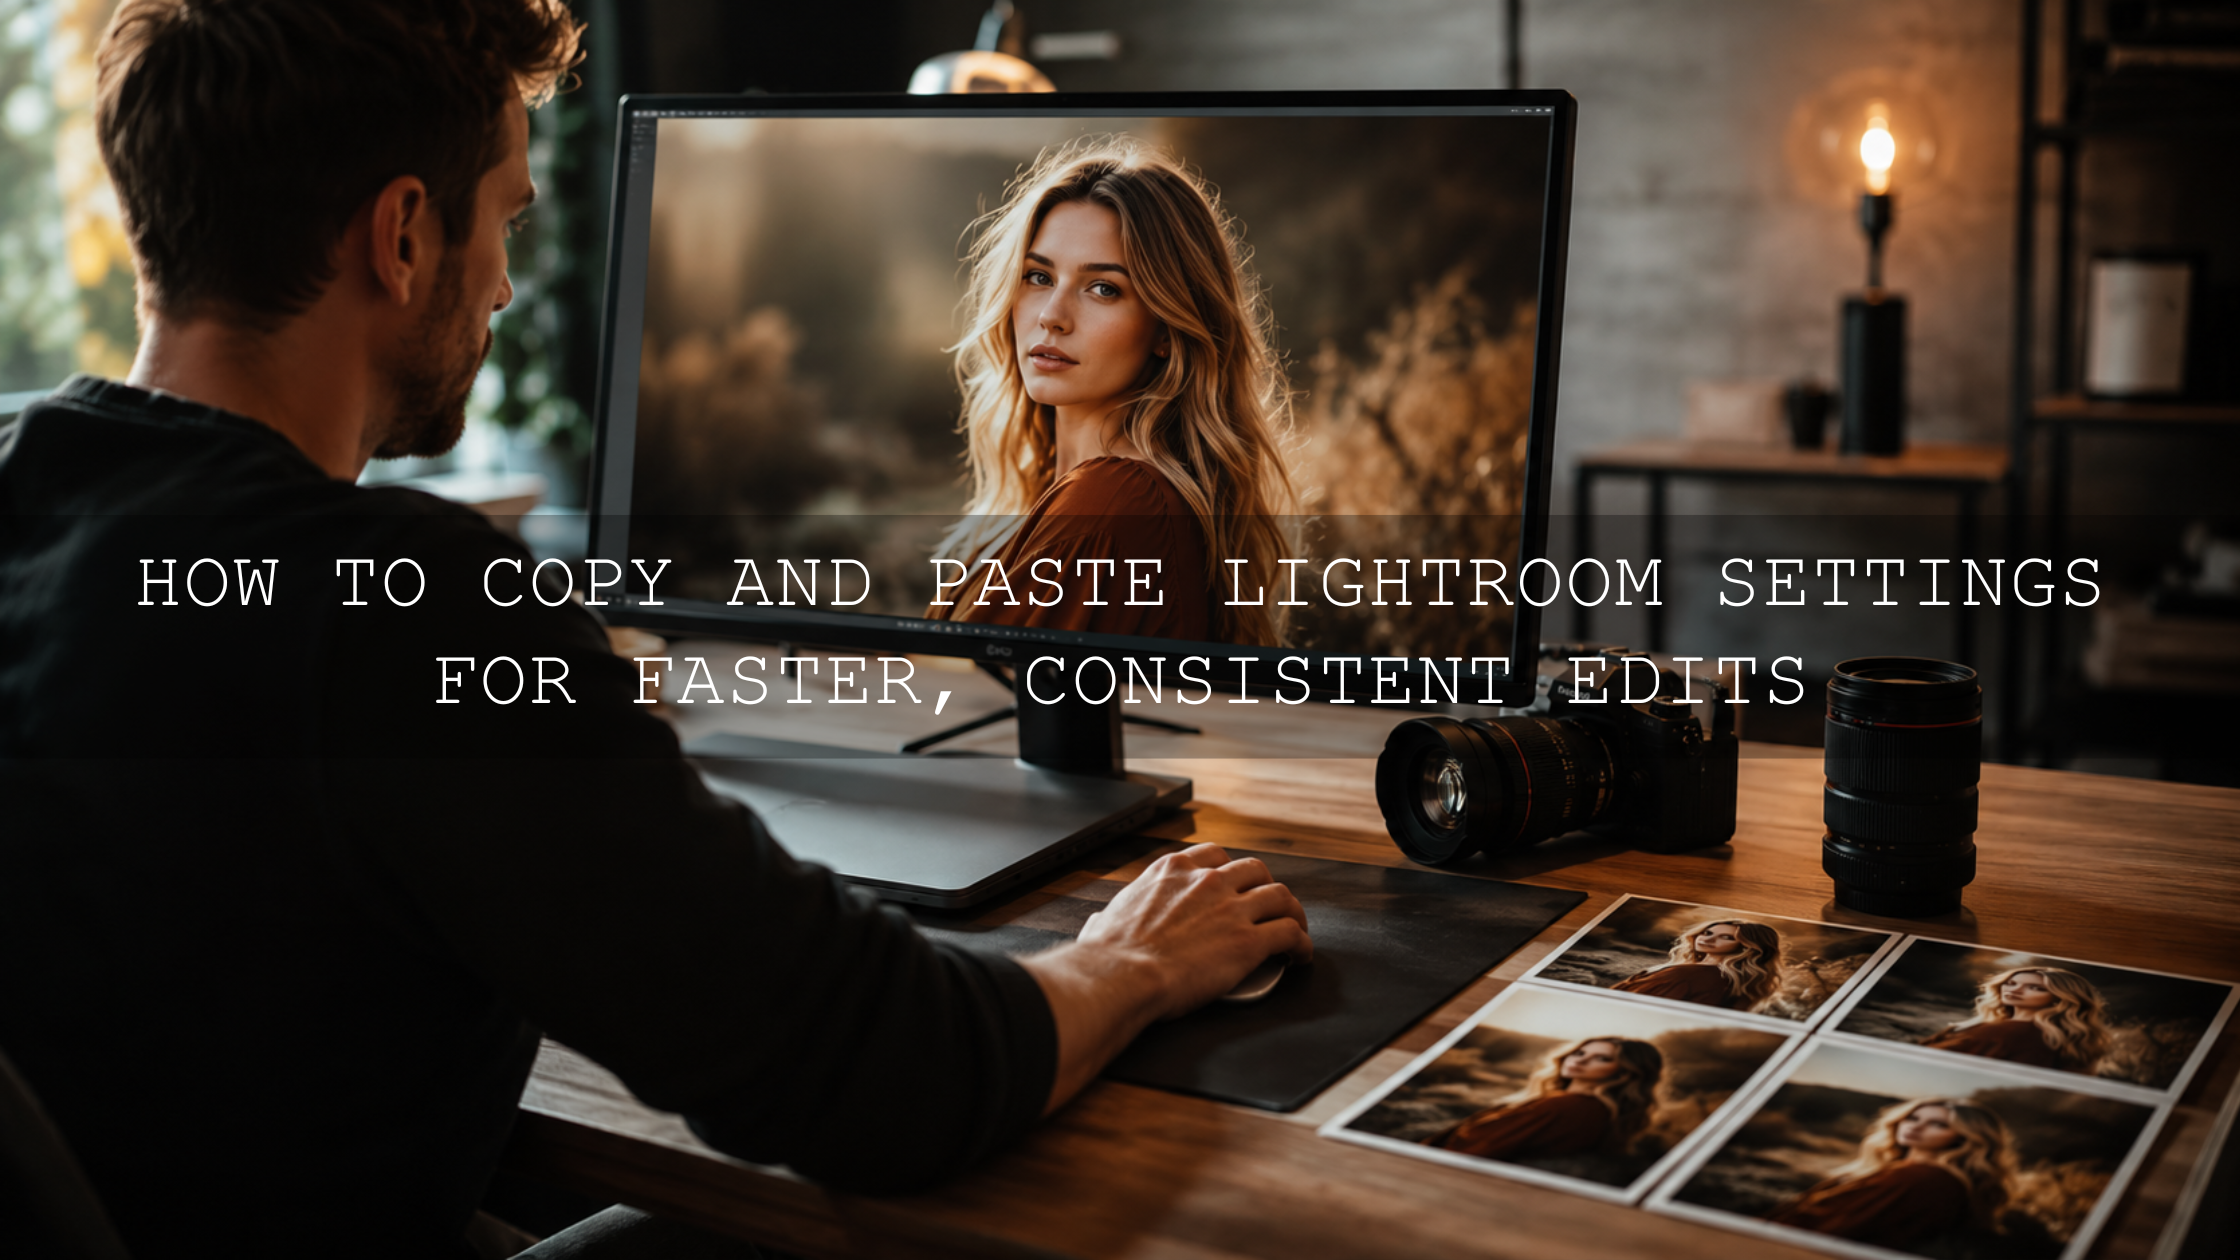
Adobe explains how to copy selected adjustments using Lightroom Classic's Synchronize Settings and Auto Sync controls. The important word is selected. You do not have to copy every available adjustment.
Settings that usually work well in a master edit
- Camera profile: Establishes the basic color and tonal interpretation.
- Contrast and tone curve: Creates a shared tonal character across the group.
- HSL adjustments: Helps maintain a recognizable color palette.
- Color grading: Adds a consistent mood to highlights, midtones, and shadows.
- Lens corrections: Provides a technically clean starting point when photographs were captured with the same lens.
- Sharpening and noise reduction: These can be synchronized when ISO values and subject details are reasonably similar.
Settings to synchronize carefully
- White balance: Copy it only when the light source is consistent.
- Exposure: Review each photograph because brightness can change even within a few seconds.
- Highlights and shadows: Adjust these according to the dynamic range of each frame.
- Transform and crop: Composition and camera angle may vary.
- Healing and removal edits: Dust spots may synchronize well, but scene-specific removals usually do not.
- Local masks: Recalculate or inspect them after synchronization.
For a clear explanation of temperature, tint, highlights, shadows, whites, blacks, and color controls, review Adobe's guide to image tone and color in Lightroom Classic.
Group Similar Photographs Before Batch Editing
One of the most effective ways to avoid identical-looking photographs is to stop treating the entire shoot as one batch. Divide it into smaller groups based on the conditions in which the photographs were captured.
Useful grouping categories
- Lighting: Direct sun, open shade, window light, flash, candlelight, or mixed indoor light.
- Location: Preparation room, ceremony, garden, reception venue, street, beach, or studio.
- Subject: Close-up portraits, full-body portraits, groups, landscapes, products, or detail photographs.
- Camera or lens: Different cameras and lenses may produce noticeably different color and contrast.
- ISO range: High-ISO photographs often need different noise reduction and sharpening.
For example, a wedding should rarely be edited as one enormous batch. Preparation photographs may have soft window light, the ceremony may contain bright outdoor highlights, and the reception may include colored LEDs or warm artificial lighting. Each section needs its own reference image and refined base edit.
The 150+ Wedding Lightroom Presets Bundle provides different starting looks for ceremonies, portraits, receptions, and changing light. The presets can help establish visual continuity, but exposure and white balance should still be adjusted for each lighting group.
Presets vs Manual Editing
Using presets for batch editing
- Creates a strong starting point quickly.
- Helps maintain a recognizable color palette.
- Reduces repetitive tone-curve and HSL work.
- Makes it easier to test different creative directions.
- Works especially well when photographs are grouped by lighting.
Editing every photograph manually
- Provides complete control over individual frames.
- Works well for hero images and complex commercial photographs.
- Can become slow and inconsistent across a large gallery.
- May lead to small color differences when hundreds of photographs are edited over several days.
The most practical approach combines both methods. Use a preset or master edit to complete roughly the shared portion of the work, and then use manual adjustments to finish each photograph. This preserves speed without sacrificing individuality.
My preferred workflow is to apply the preset first, correct exposure and white balance second, and add local adjustments last. This order prevents unnecessary masking work on an image whose global tones are still changing.
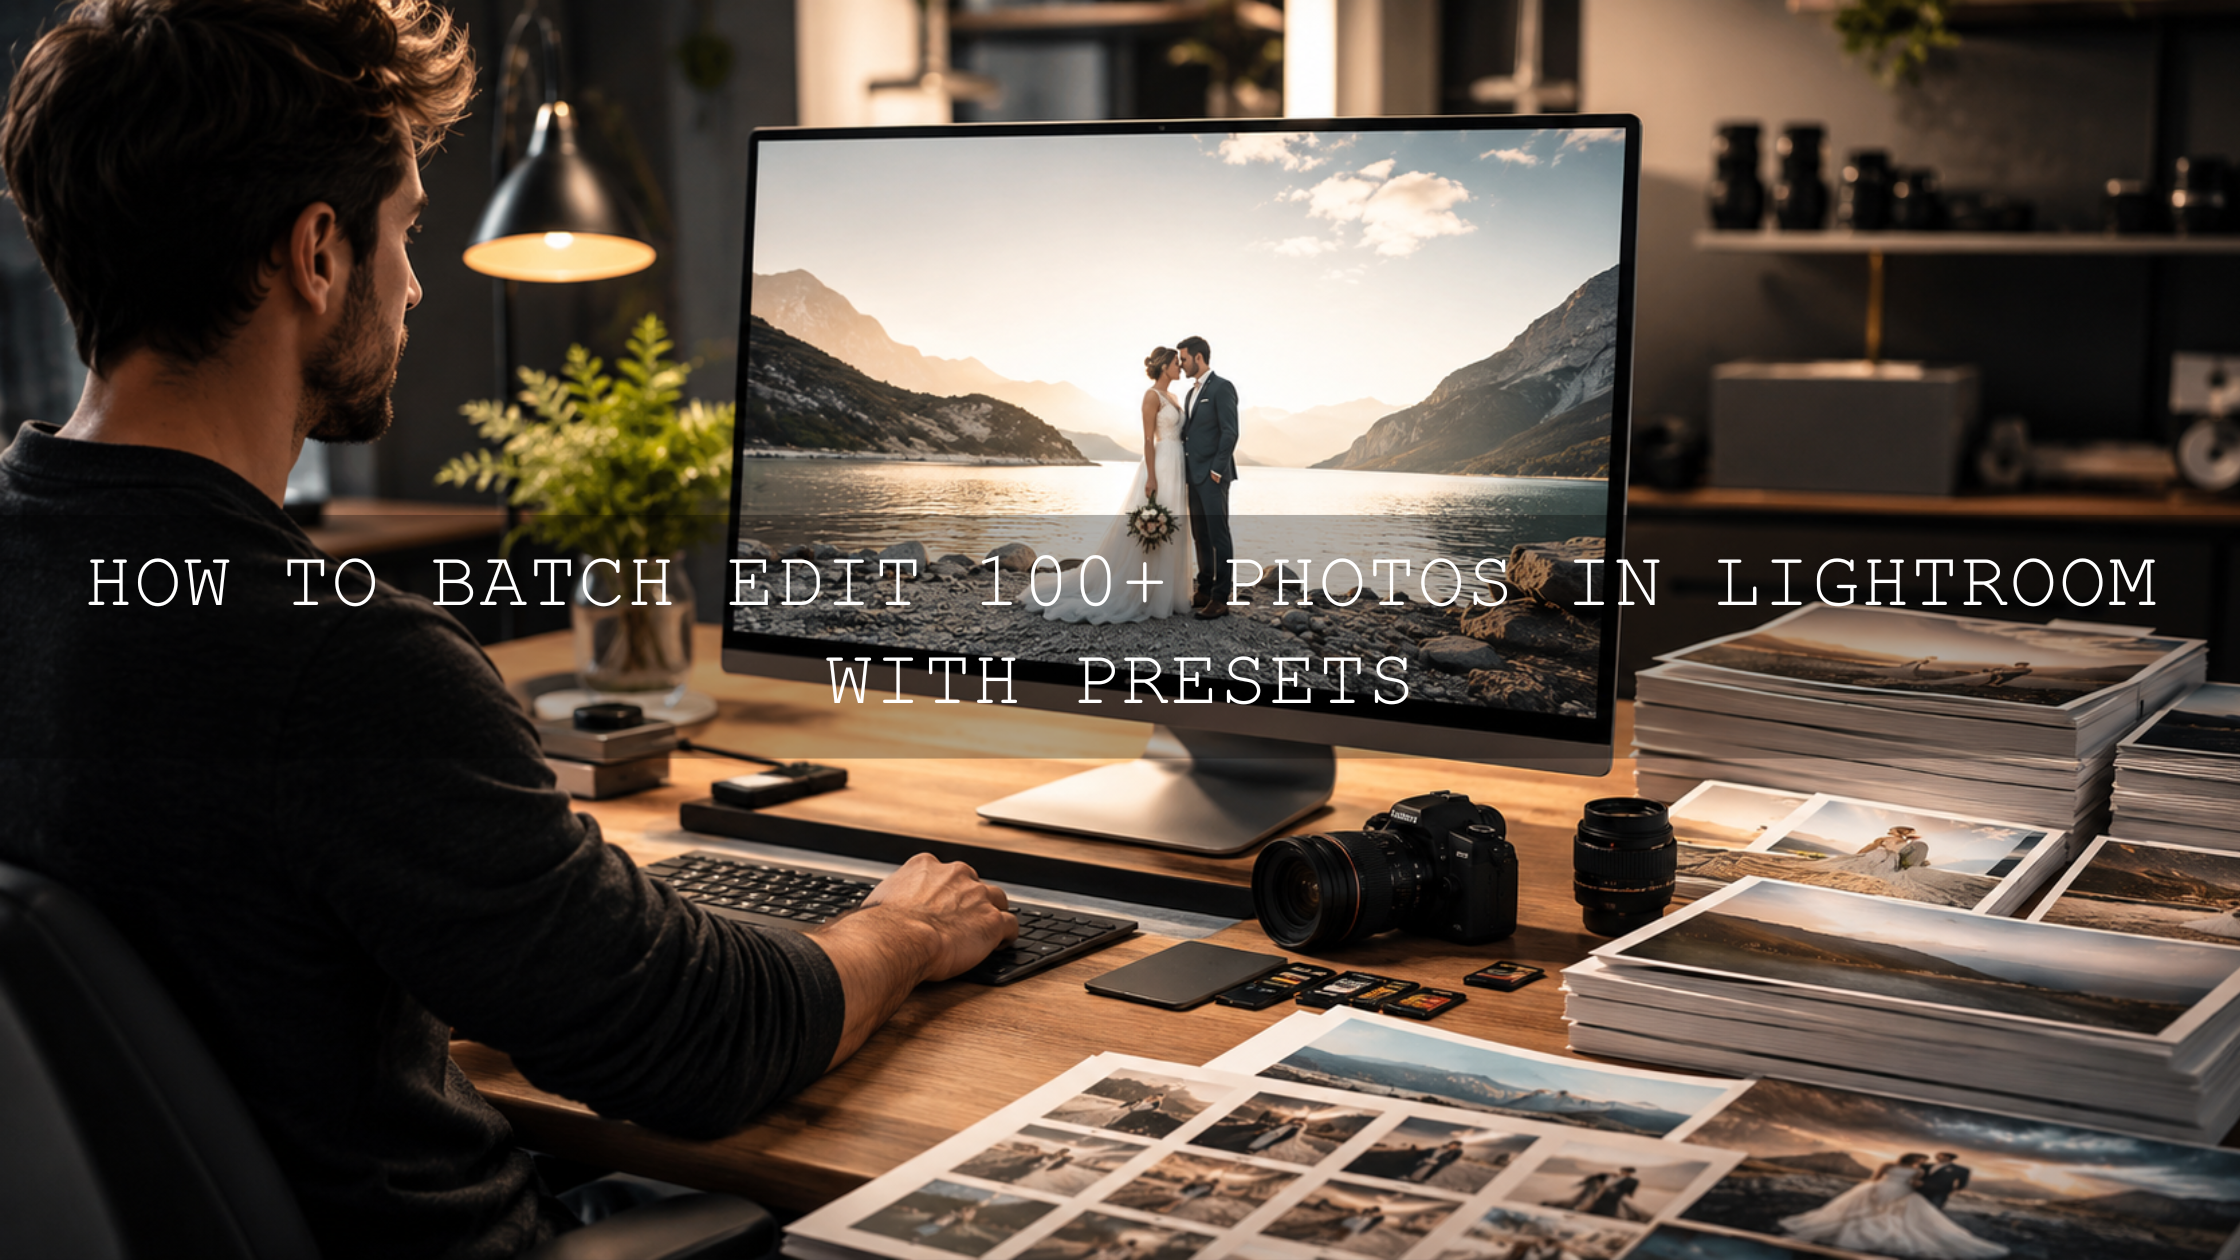
For another real workflow example, read the case study on editing 100 photos in under 30 minutes with presets.
A Step-by-Step Lightroom Batch Editing Workflow
1. Cull the photographs first
Remove blurred frames, accidental duplicates, missed expressions, test shots, and photographs that do not contribute to the story. There is little value in carefully editing images that will never be delivered or published.
2. Divide the remaining photographs into lighting groups
Create groups that are visually similar. A group may contain 20 shaded portraits, 40 indoor reception photographs, or 12 backlit golden-hour frames. Smaller, accurate groups produce better results than one large, inconsistent batch.
3. Choose a representative reference photograph
Select an image with typical exposure, important colors, and a clearly visible subject. For portraits, make sure the face and skin tones are easy to evaluate.
4. Apply a suitable preset
Choose a preset that supports the existing light instead of fighting it. The AI-Optimized Skin Tone Safe Pro Portrait Lightroom Presets are a useful starting point for portrait sessions where consistent but believable skin color is essential.
For outdoor sessions with warm directional light, the AI-Optimized Aesthetic Golden Hour Lightroom Presets can establish a warm cinematic foundation without requiring you to build the complete color style from zero.
5. Correct the reference photograph
After applying the preset, refine the image in this order:
- Correct white balance and tint.
- Set overall exposure.
- Recover important highlight detail.
- Open shadows only as much as necessary.
- Check skin tones and important product colors.
- Adjust contrast and the tone curve.
- Review sharpening, noise, and lens corrections.
6. Synchronize only the shared adjustments
Select the reference photograph and the other photographs in its group. Copy the settings that define the look, but leave exposure, crop, healing, and masks unchecked when they vary between frames.
Pro tip: If the photographs were captured in burst mode with almost identical framing and exposure, you can synchronize more settings. For images captured several minutes apart, use a more selective synchronization.
7. Complete a fast individual correction pass
Move through the group and check only the controls most likely to vary:
- Exposure
- White balance and tint
- Highlight recovery
- Shadow depth
- Skin color
- Crop and straightening
- Noise in dark areas
This pass should be fast because the creative color style is already established.
8. Add local adjustments for individuality
Local adjustments prevent a batch-edited gallery from feeling flat or repetitive. Lightroom can create masks for subjects, skies, backgrounds, people, objects, and landscape elements. Adobe's official guide to masking in Lightroom explains how these selections can be refined with Add and Subtract controls.
- Brighten a face that falls into shadow.
- Reduce a distracting background.
- Recover detail in a bright sky.
- Add subtle texture to clothing or architecture.
- Warm the subject while keeping the environment neutral.
- Apply gentle dodging and burning to guide the viewer's eye.
Keep these adjustments subtle. A local edit should direct attention without making the mask obvious.
How to Use AI Tools Without Losing Creative Control
AI-assisted selections can save time when photographs contain complex hair, busy backgrounds, skies, or groups of people. They are particularly useful after the global batch edit has been completed.
However, AI should remain an assistant. Review every important mask, especially around hair, clothing, reflective surfaces, and overlapping subjects. A technically accurate selection can still produce an edit that feels unnatural when the exposure or texture adjustment is too strong.
You can learn more about efficient mobile workflows in the guide to AI-optimized presets in Lightroom Mobile.
Practical Example: Outdoor Portrait Session
Imagine a late-afternoon portrait session containing 120 photographs. Some were captured in open shade, some with direct sunlight, and others during golden hour.
- Cull the session: Reduce the collection to the strongest 75 photographs.
- Create three groups: Open shade, direct sunlight, and golden hour.
- Edit one reference photograph per group: Correct exposure, skin tone, contrast, and color.
- Apply a portrait preset: Use the same general style across the three groups, but refine each master edit for its lighting.
- Synchronize color and tonal settings: Avoid copying exposure when brightness changes.
- Review each frame: Correct white balance, highlights, shadows, and crop.
- Add masks selectively: Brighten a shaded face, darken an overly bright background, or enhance rim light around the subject.
- Review the gallery in Grid view: Look for photographs that appear too warm, dark, saturated, or contrast-heavy.
The finished gallery will share a recognizable warmth and tonal style, but the shaded portraits will remain soft, the sunlit frames will retain highlight detail, and the golden-hour images will preserve their natural glow.
How to Review a Batch-Edited Gallery
Individual photographs can look excellent in Loupe view while feeling inconsistent when viewed beside the rest of the collection. Always finish with a gallery-level review.
- Use Grid or Survey view to compare neighboring photographs.
- Look for sudden changes in brightness or white balance.
- Check whether skin tones remain believable throughout the set.
- Identify repeated crops that make the gallery feel static.
- Temporarily switch to black and white to compare luminosity without color distractions.
- Review important images at full size for masking errors, noise, and excessive sharpening.
This process is especially important when developing a consistent social feed. The guide to editing influencer content for a consistent Instagram feed explains how to create a shared visual identity without removing the character of each image.
Related Reading
- Why a versatile Lightroom presets bundle improves editing consistency
- How to edit 100 photographs quickly with Lightroom presets
- How to preserve true-to-life colors while editing photographs
- Using AI-optimized presets in Lightroom Mobile
- How to install Lightroom presets on your device
Create Consistency Without Removing Individuality
Successful batch editing is not about forcing one finished edit onto an entire gallery. It is about creating a reliable foundation and then responding to the unique needs of each photograph.
Group similar images, build a balanced master edit, synchronize only the shared settings, and finish with individual exposure, white balance, crop, and masking adjustments. This approach delivers the speed of Lightroom batch editing while preserving natural light, accurate skin tones, emotional variety, and visual storytelling.
Start with the versatile 1000+ Master Lightroom Presets Bundle, explore specialized looks in the Portrait Photography Lightroom Presets collection, and refine each preset to suit the actual photograph. Try these presets today, Buy 3, Get 9 FREE.
Frequently Asked Questions
What is batch editing in Lightroom?
Batch editing is the process of applying selected adjustments from one reference photograph to multiple photographs. You can synchronize color, contrast, tone curves, sharpening, and other settings while leaving image-specific controls unchanged.
Should I synchronize exposure across every photograph?
No. Synchronize exposure only when the photographs were captured under nearly identical lighting and camera settings. In mixed lighting, adjust exposure individually while keeping the shared color style consistent.
Why does the same Lightroom preset look different on each photo?
Photographs vary in exposure, white balance, camera profile, subject color, dynamic range, and lighting. A preset applies the same adjustment values, but those values interact differently with every original image.
Can Lightroom masks be synchronized across multiple photos?
Yes, but every mask should be reviewed after synchronization. AI-powered masks may need to be recalculated, while brush, gradient, and scene-specific masks may not align correctly when the subject or composition changes.
How do I keep skin tones consistent during batch editing?
Group portraits by lighting, correct white balance before making strong color adjustments, and inspect orange, red, and yellow tones in the HSL controls. Finish by comparing several faces together in Grid or Survey view.
Written by Asanka — creator of AAAPresets (10,000+ customers).
Leave a comment
This site is protected by hCaptcha and the hCaptcha Privacy Policy and Terms of Service apply.