

Should you expose for highlights or shadows? In most high-contrast digital photographs, protect the bright areas where you need real detail, while giving the main subject enough exposure to avoid excessively noisy shadows. But the subject and the intended look matter more than a universal rule. A textured white wedding dress deserves different treatment from a backlit portrait with an intentionally white background.
The practical goal is to record the tones you cannot afford to lose. This guide explains how to make that choice in-camera, use highlight warnings and the histogram, and refine a RAW image in Lightroom without expecting editing software to rebuild information the sensor never captured.
Highlights vs. Shadows: What Are You Protecting?
Highlights are the lighter parts of a photograph, such as clouds, white clothing, bright skin, and sunlit walls. Shadows are its darker parts, such as hair, dark clothing, and the shaded side of a face. A camera's dynamic range is the difference between the brightest and darkest scene detail it can record usefully in one shot.
If a bright area overwhelms the sensor's recording range, it can become clipped: subtle differences disappear into the same maximum value. Dark areas can also lose useful separation or become so noisy that lifting them produces a poor result. The exact limits depend on the camera, ISO setting, scene contrast, and file format. If you are still learning these controls, start with our guide to exposure and camera metering.
There is one important distinction: a white area in an edited JPEG or camera preview does not necessarily prove that every corresponding RAW sensor value is clipped. Some RAW files have additional highlight information that the preview does not show. If all RAW channels carrying important highlight texture are saturated, that original detail is lost. If only some color channels are clipped, partial recovery may still be possible.
When to Expose for the Highlights
Favor highlight protection when losing bright texture would ruin the photograph. This often means setting a slightly darker exposure than the camera initially suggests, then adjusting shadows in the RAW editor if they contain useful data.
- Wedding photography: Keep folds, stitching, and other details visible in a bright dress, especially next to darker suits.
- Landscapes: Preserve cloud structure and bright snow where they are important to the scene.
- Sunsets and silhouettes: Expose for the colorful sky and allow the foreground subject to become dark when its outline is the point of the image.
- Brightly lit skin: Protect important facial highlights from losing tonal transitions and color.
Do not protect every bright pixel at any cost. The sun, bare lightbulbs, and tiny sparkling reflections may naturally appear featureless white. Underexposing the entire photograph to save a small reflection can leave the important subject unnecessarily dark. Think about which details the viewer needs, not whether the histogram ever reaches its right edge.
When to Expose for the Shadows or the Main Subject
Give the darker subject more exposure when its detail is the reason for the photograph and the bright background is expendable. Imagine a person standing indoors beside a sunlit window. If the expression and eyes matter more than the outdoor view, exposing for the face can be the better decision, even if the window goes white.
- Backlit portraits: Prioritize visible facial detail when a dark face would undermine the photograph. A reflector, fill flash, or a change in position may help preserve both face and sky.
- Indoor and stage photographs: Prioritize the performer or person rather than every bright fixture in the background.
- High-key photographs: Allow an intentionally white background to clip while protecting the subject's important edges and textures.
A common mistake is to classify silhouettes as shadow-priority exposures. It is usually the opposite: to create a strong silhouette, expose for the bright background and deliberately let the subject fall into darkness. For a related preparation workflow, see our backlit photography guide.
How to Choose the Right Exposure in Camera
- Choose the essential detail. Ask whether the photograph fails if the sky, skin, white dress, or dark subject loses texture. Decide that before changing settings.
- Set the creative controls first. Choose an aperture for the depth of field and a shutter speed that records motion as intended. Use a suitably low ISO when light and motion allow, but do not sacrifice a sharp subject merely to keep ISO low.
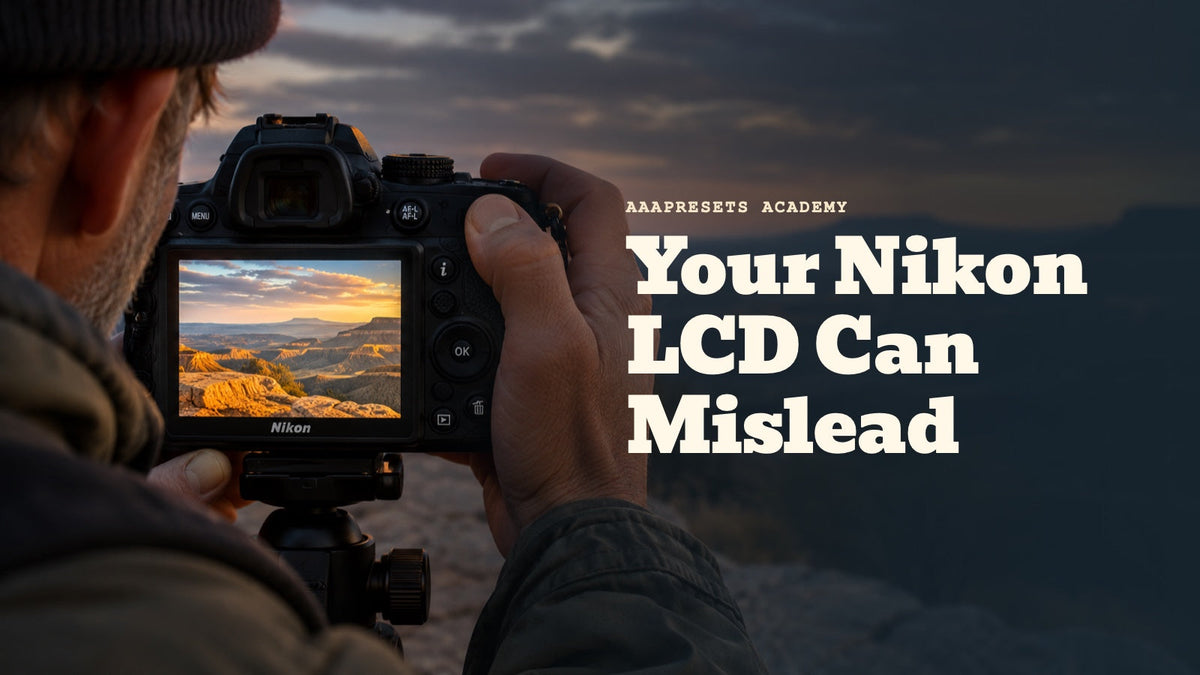
- Take a test exposure. Use your camera's meter as a starting point, then review the important parts of the frame instead of judging brightness only by the rear display.
- Check the histogram and highlight warnings. The right side represents lighter tones; the left side represents darker tones. Blinkies or zebra warnings, if available, help locate bright areas at risk. An RGB histogram can also reveal color-channel clipping that a simple brightness histogram may hide.
- Make a small correction and check again. If important highlights are clipping, adjust shutter speed or aperture, or use exposure compensation in an automatic exposure mode. Lowering a raised ISO may also help, depending on the camera. If the subject is too dark and the bright background can be sacrificed, increase its exposure. Watch for blur or depth-of-field changes when adjusting camera settings.
- Change the light when one exposure is not enough. For a stationary landscape, bracket several exposures for an HDR blend. For a portrait, add fill light or change the angle. If an extreme scene exceeds the camera's dynamic range, some compromise may be unavoidable.
The Nikon guide to reading a camera histogram explains why this display is especially useful in difficult light. Remember that most in-camera histograms and warning overlays reflect a processed preview rather than a direct measurement of RAW sensor values, so use them as guides, not infallible clipping tests.
Expose to the Right (ETTR) Is Not the Same as Underexposing
Expose to the right, or ETTR, means recording as much useful light as the scene and camera settings permit without clipping important highlights. When achieved by gathering more light, such as with a longer shutter speed, ETTR can improve the shadow signal relative to noise. Raising ISO alone does not gather additional light. It does not mean making every image bright, or allowing important whites to blow out.
For example, if you are photographing a still landscape on a tripod at low ISO, you may be able to use a longer shutter speed to capture more light while retaining the clouds. You can then adjust the rendered brightness in Lightroom. In a moving portrait, a longer shutter speed may introduce blur, making that approach a poor trade. The Cambridge in Colour exposure-techniques guide explains ETTR's advantages and its risk of channel clipping.
Two errors are worth avoiding: deliberately making every RAW file dark because shadows supposedly recover perfectly, and pushing exposure upward simply to force the histogram toward the right. The best exposure is the one that preserves the important detail while respecting motion, depth of field, noise, and the intended appearance.
How to Recover Highlights and Shadows in Lightroom
For a RAW photograph in Lightroom Classic, open the Develop module and use the Basic panel. In Lightroom desktop, use the corresponding Light controls in the Edit panel. The exact layout differs between apps and versions, but the key tonal adjustments follow the same general purpose.
- Set overall Exposure. Make the important subject reasonably bright without immediately flattening the scene.
- Adjust Highlights and Whites. Reduce them if bright textures are too harsh or the edited result is clipping. Check whether actual detail appears, rather than assuming a darker gray patch means lost texture was restored.
- Lift Shadows carefully. Brighten the areas that matter, but inspect them at a closer zoom level for noise, banding, and unnatural color.
- Set Blacks deliberately. Retain deep tones where they support the mood. Not every shadow needs to show detail.
- Use a mask when necessary. If a face needs brightening but the sky does not, adjust the subject locally rather than lifting the whole photograph.
- Review clipping and noise. Lightroom's histogram clipping indicators can show which parts of the current edit reach its limits. Adjust or apply noise reduction cautiously when lifted shadows need cleanup.
Adobe documents the Lightroom Classic tone controls and clipping indicators. A RAW file may retain some recoverable information even when its initial rendering looks clipped, but completely missing scene detail cannot be recreated faithfully from an actually saturated sensor region. Likewise, a very dark RAW capture can lack enough clean signal for attractive shadow recovery.
Where Lightroom Presets Fit Into the Workflow
A preset changes the starting edit; it does not change the exposure recorded by the camera. The same preset can brighten one photograph too much while leaving another too dark because lighting, white balance, RAW rendering, and camera profiles differ. For difficult files, establish a workable tonal balance, apply the look, then recheck Exposure, Highlights, Shadows, and Whites.
If you prefer a natural, brighter finish with controlled-looking highlights, the Bright and Clean Lightroom Presets offer eight preset looks supplied in XMP and DNG formats. They are creative editing starting points, not a fix for clipped RAW data. You can also browse the AAAPresets Lightroom preset collection for different looks. The site's Buy 3, Get 9 FREE offer applies when you add 12 packs to the cart and pay for three, but manual exposure refinement still matters.
If a preset makes the picture too bright, our guide to correcting overexposed preset edits explains how to approach the problem without throwing away the intended color style.
A Practical Rule to Remember
Protect important highlights when you need their texture; give your main subject enough exposure when its shadow detail matters more than the background. Make silhouettes by exposing for the bright backdrop, not the dark figure. Whenever possible, shoot RAW, inspect the histogram and warnings, and capture enough useful light without clipping the parts of the scene that must retain detail.
When neither choice gives you a workable image, improve the lighting or capture multiple exposures rather than expecting an editor or preset to solve a scene that could not fit into one recording.
Written by Asanka — creator of AAAPresets, serving more than 10,000 customers.


Leave a comment
This site is protected by hCaptcha and the hCaptcha Privacy Policy and Terms of Service apply.