
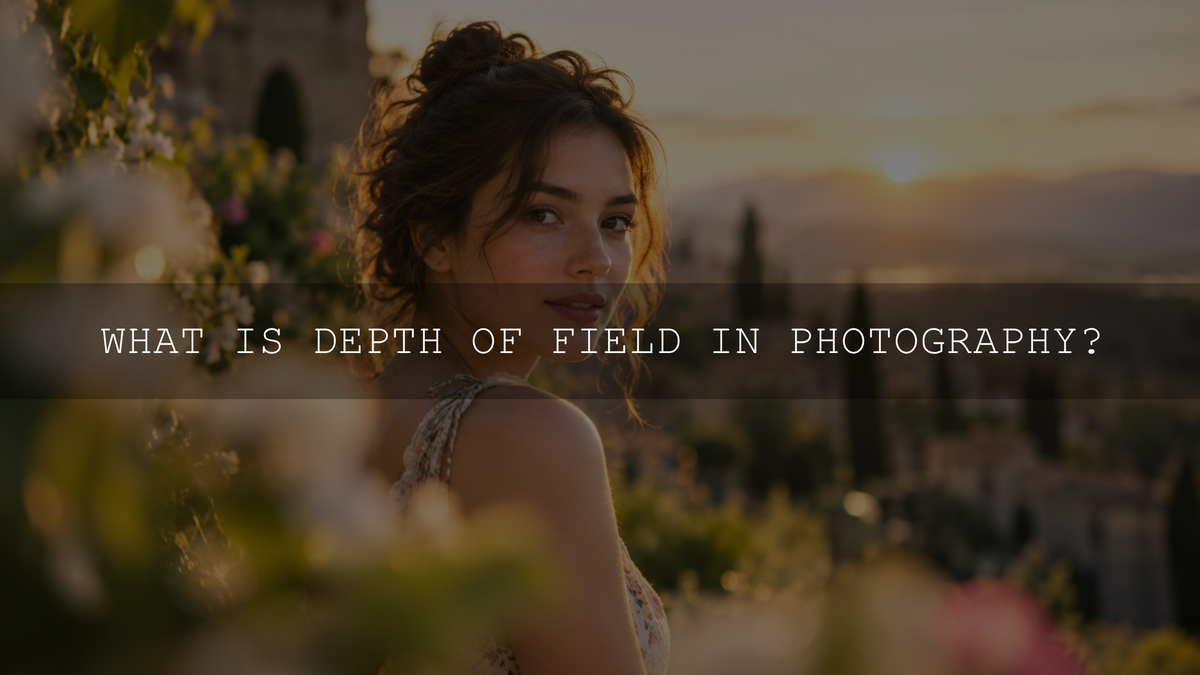
Depth of field in photography describes the range of distances that appears acceptably sharp in an image. A shallow depth of field keeps only a relatively narrow area sharp, while a deep depth of field keeps a much larger part of the scene looking sharp from front to back.
The most important controls are aperture and focusing distance, while focal length, framing, camera format, and subject placement can also change the result. Once you understand how those factors interact, depth of field becomes a creative decision rather than something that happens by accident.
What Is Depth of Field in Photography?
Depth of field, often shortened to DoF, is the distance between the nearest and farthest parts of a scene that appear acceptably sharp in the finished photograph.
Only the exact plane on which the lens is focused is theoretically at maximum focus. Objects slightly in front of and behind that distance can still look sharp enough to the viewer, creating what photographers call the depth of field.
The phrase acceptably sharp matters because the transition from sharp to blurred is gradual rather than an abrupt boundary. How sharp something appears can also depend on image size, viewing distance, resolution, and how closely the photograph is inspected.
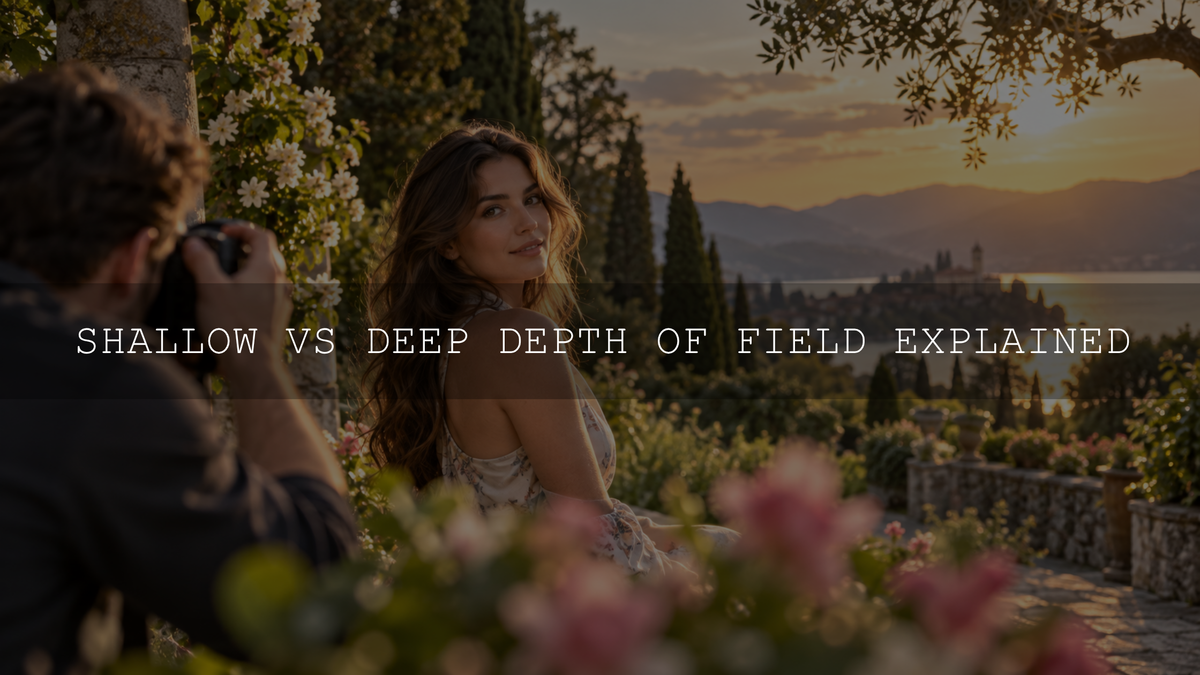
Shallow vs Deep Depth of Field
A shallow depth of field means only a relatively small range of distances appears sharp. It is commonly used when you want to isolate a portrait, animal, flower, product, or other subject from its surroundings.
A deep depth of field means a much larger range appears acceptably sharp. This is often useful for landscapes, architecture, interiors, travel scenes, and photographs where several subjects at different distances need to remain clear.
- Shallow depth of field: a narrow zone appears sharp while areas in front of and behind it become progressively softer.
- Deep depth of field: a wider range of the scene appears acceptably sharp.
Neither is automatically better. The right choice depends on what information the photograph needs to show and where you want the viewer's attention to go.
What Controls Depth of Field?
Aperture
Aperture is one of the easiest ways to change depth of field. It is represented by f-numbers such as f/1.8, f/2.8, f/5.6, f/8, and f/11. If those numbers are still unfamiliar, the AAAPresets guide to f-stops and aperture explains how they work.
- A wider aperture with a lower f-number, such as f/1.8 or f/2.8, generally produces shallower depth of field.
- A narrower aperture with a higher f-number, such as f/8 or f/11, generally produces deeper depth of field.
That does not mean you should always use the widest possible aperture for portraits or the smallest possible aperture for landscapes. Aperture also changes exposure, and extremely shallow depth of field can make accurate focus harder. Very small apertures can introduce diffraction that reduces fine-detail resolution.
Focusing Distance
How close you focus is another major factor. As you focus closer to the camera, depth of field becomes shallower. As the focusing distance increases, depth of field generally becomes deeper.
This is why close-up and macro photography can have extremely thin depth of field even when the lens is stopped down. A flower photographed from very close range may have only a small portion of its petals acceptably sharp, while the same lens and aperture focused much farther away can provide considerably more depth of field.
Focal Length and Framing
Focal length also affects depth of field, but the relationship is more complicated than simply saying that telephoto lenses always create shallow depth of field.
If camera position, aperture, and focusing distance stay the same, a longer focal length generally produces shallower depth of field than a shorter focal length. However, photographers often move farther away when switching to a longer lens so the subject stays the same size in the frame. Once framing and camera distance change together, the difference in total depth of field can become much smaller.
Longer focal lengths are often used from farther away to keep a subject the same size in the frame. That combination changes the perspective and can make the background appear larger in the composition, which often increases the impression of background blur even when the total depth-of-field difference is smaller than expected. For practical photography, think about focal length, camera distance, and composition together rather than treating focal length as an isolated depth-of-field control.
Camera Format
Sensor or film format can influence the depth-of-field result when you compare photographs with equivalent framing.
When full-frame and APS-C cameras are used to create an equivalent field of view and framing at the same f-number, the larger format generally makes shallower depth of field easier to achieve. Matching the same composition on full frame often involves using a longer focal length than on APS-C, which changes the depth-of-field result.
This does not mean smaller-sensor cameras cannot produce strong background blur. Aperture, focusing distance, focal length, and subject-to-background distance can still create significant separation. For a fuller comparison, see full frame vs APS-C cameras.
Subject-to-Background Distance
The distance between your subject and the background does not define the depth of field itself, but it has a major effect on how blurred the background looks.
If a portrait subject is standing directly against a wall, that wall may remain relatively recognizable even at a wide aperture. Move the person several meters away from the same wall and the background can become much softer without changing the aperture.
This is one of the most useful techniques for getting better subject separation when your lens does not have an extremely wide maximum aperture.
How to Get a Shallow Depth of Field
To make a subject stand out against a softer foreground or background, combine several techniques rather than relying on one extremely wide aperture.
- Choose a relatively wide aperture.
- Move closer to the subject when the composition allows it.
- Increase the distance between the subject and the background.
- Use a focal length and camera position that give you the framing you want.
- Place focus carefully on the most important part of the subject.
For a single-person portrait, a setting somewhere around f/2 to f/4 can be a useful starting range on many cameras and lenses. You may choose a wider aperture when you deliberately want very shallow focus, or stop down further when the face is angled, several people must remain sharp, or the subject is moving toward or away from the camera.
Do not assume that owning an f/1.4 lens means every portrait should be photographed at f/1.4. The maximum aperture is an option, not a requirement.
How to Get a Deep Depth of Field
When you need foreground, middle-distance, and background elements to remain acceptably sharp, start by deciding which parts of the scene genuinely need to be included in the sharp zone.
- Use a moderately narrow aperture such as f/8 or f/11 as an initial setting.
- Avoid placing the camera unnecessarily close to an important foreground object.
- Focus deliberately rather than automatically focusing on the most distant object.
- Check the closest and farthest important details in image playback.
- Stop down farther only if additional depth of field is actually required.
For many daylight landscapes, f/8 or f/11 provides a sensible starting point, but these are not universal settings. A scene containing a rock thirty centimeters from the lens and mountains at infinity creates a much greater depth-of-field challenge than a scene where every important object is far from the camera. The AAAPresets guide to aperture for landscape photography explores that trade-off in more detail.
Where Should You Focus for a Landscape?
There is no dependable rule that says you should always focus exactly one-third of the way into a landscape. The ideal focus distance changes with focal length, aperture, camera format, the nearest important object, and the amount of acceptable sharpness required.
For a straightforward scene, focus somewhere within the important subject area and inspect both near and distant details at magnified playback. If the foreground is soft, adjust the focus position, stop the aperture down if appropriate, or reconsider whether the foreground needs to be that close to the camera.
For situations where you need to maximize the range that appears sharp toward infinity, a calculated hyperfocal-distance approach can be useful. However, it should be treated as a technique based on specific assumptions about acceptable sharpness rather than a universal focus point for every landscape.
Why f/16 or f/22 Does Not Automatically Make Everything Sharper
Closing the aperture generally increases depth of field, but greater depth of field and maximum optical detail are not the same thing.
At very small apertures, diffraction increasingly spreads light as it passes through the lens opening. That can reduce the finest recorded detail even though a larger range of distances falls inside the acceptable depth of field.
This does not mean f/16 or f/22 should never be used. If the photograph needs the extra depth of field, that trade-off may be worthwhile. The important point is to avoid choosing the highest f-number simply because it seems as though it must produce the sharpest photograph.
When Focus Stacking Is Better Than Stopping Down Further
Sometimes the distance between the nearest and farthest important details is too great for one exposure to render everything as sharply as you want.
Focus stacking solves this by recording several frames at different focus distances and combining the sharp areas into one finished photograph. It is particularly useful for static landscapes, macro subjects, products, and other scenes that do not change significantly between frames.
Focus stacking can let you use an aperture that provides good optical detail instead of stopping down farther than necessary purely to increase depth of field.
The technique is less suitable when important subjects are moving between frames because changing positions can make the final composite difficult to blend cleanly.
Depth of Field for Portraits and Groups
For an individual portrait, the eye or face is normally the most important focus target. Very wide apertures can look beautiful, but the closer you are to the subject, the less margin you have for focus errors.
If the person's face is turned away from the camera, one eye may be noticeably farther away than the other. In that situation, stopping down from something like f/1.4 or f/1.8 to f/2.8 or f/4 may give you a more useful sharp zone while still keeping the background soft.
Groups usually require more depth of field because faces may be positioned at different distances. Settings around f/5.6 or f/8 can be reasonable starting points for many arrangements, but group depth, camera distance, focal length, and focus placement matter more than the number of people alone. For a dedicated workflow, see the guide to choosing aperture for group photos.
Depth of Field for Macro and Close-Up Photography
Depth of field becomes especially shallow at close focusing distances. This means a macro photograph can have extremely limited front-to-back sharpness even when photographed at a moderate or narrow aperture.
If only one detail needs attention, that shallow depth of field can become part of the composition. When an entire flower, insect, product, or other three-dimensional subject needs to appear sharp, a narrower aperture or focus stacking may be more useful.
Depth of Field vs Bokeh
Depth of field and bokeh are related, but they do not mean the same thing.
Depth of field describes the range of distances that appears acceptably sharp.
Bokeh describes the visual character of out-of-focus areas, including how a lens renders highlights, shapes, edges, and transitions in the blur.
Two photographs can have similarly shallow depth of field but noticeably different-looking backgrounds because different lenses render out-of-focus detail differently.
Common Depth-of-Field Mistakes
- Shooting every portrait wide open: the widest aperture may provide less sharpness range than the subject requires.
- Using f/22 automatically for landscapes: additional depth of field can come with increased diffraction.
- Thinking aperture is the only control: focusing distance, focal length, framing, and subject-to-background separation also matter.
- Confusing background blur with depth of field: the amount and appearance of blur outside the sharp zone are related to, but not identical to, depth of field.
- Using one-third focusing as a fixed landscape rule: appropriate focus placement depends on the actual scene and equipment.
- Ignoring shutter speed: stopping down reduces the light passing through the lens, which may require a slower shutter speed or higher ISO.
- Checking only the full-screen camera preview: magnify important near and far details when focus accuracy matters.
A Simple Depth-of-Field Workflow
Instead of memorizing a different f-number for every photography genre, use this process in the field:
- Decide what needs to be sharp. Start with the subject and story rather than the amount of blur you want.
- Choose your composition and focal length. Decide how large the subject should appear and how much environment should be included.
- Choose an aperture. Start wide when isolation matters and narrower when several distances must remain sharp.
- Place focus deliberately. Prioritize the most important detail rather than allowing the camera to choose randomly.
- Make a test frame. Magnify the areas that actually matter.
- Adjust if necessary. Change aperture, camera distance, subject position, focus position, shutter speed, or ISO according to what the test image shows.
This approach is more dependable than treating settings such as f/1.8 for portraits or f/16 for landscapes as fixed rules. If you also need to balance the brightness trade-offs created by aperture changes, review how aperture, shutter speed, and ISO work together.
Can Lightroom Fix Incorrect Depth of Field?
Editing can improve exposure, white balance, contrast, color, local detail, and edge definition, but it does not change the optical depth of field that was recorded at capture.
Current Lightroom desktop versions also include AI Sharpen, which Adobe describes as a generative AI feature that can reduce blur and recover apparent detail in blurry images. It can improve some soft or out-of-focus photographs, but generated or reconstructed detail is not the same as having captured the intended subject sharply in the original exposure.
The same principle applies to Lightroom presets. A preset can provide a useful color and tonal starting point, but it does not change which scene distances were inside the captured depth of field. Good focus placement and an appropriate depth of field therefore remain the most dependable starting point.
Depth of Field Is a Creative Choice
Depth of field is not simply a portrait effect or a technical camera setting. It determines which parts of a scene receive visual emphasis and which details become less prominent.
Use a shallow depth of field when selective focus supports the subject. Use a deeper depth of field when the environment or several distances are important to the photograph. Then balance aperture, focusing distance, focal length, composition, shutter speed, and ISO around that decision.
The most useful habit is simple: decide what must be sharp first. Once that is clear, choosing the appropriate depth of field becomes much easier.
Written by Asanka — creator of AAAPresets.

Leave a comment
This site is protected by hCaptcha and the hCaptcha Privacy Policy and Terms of Service apply.