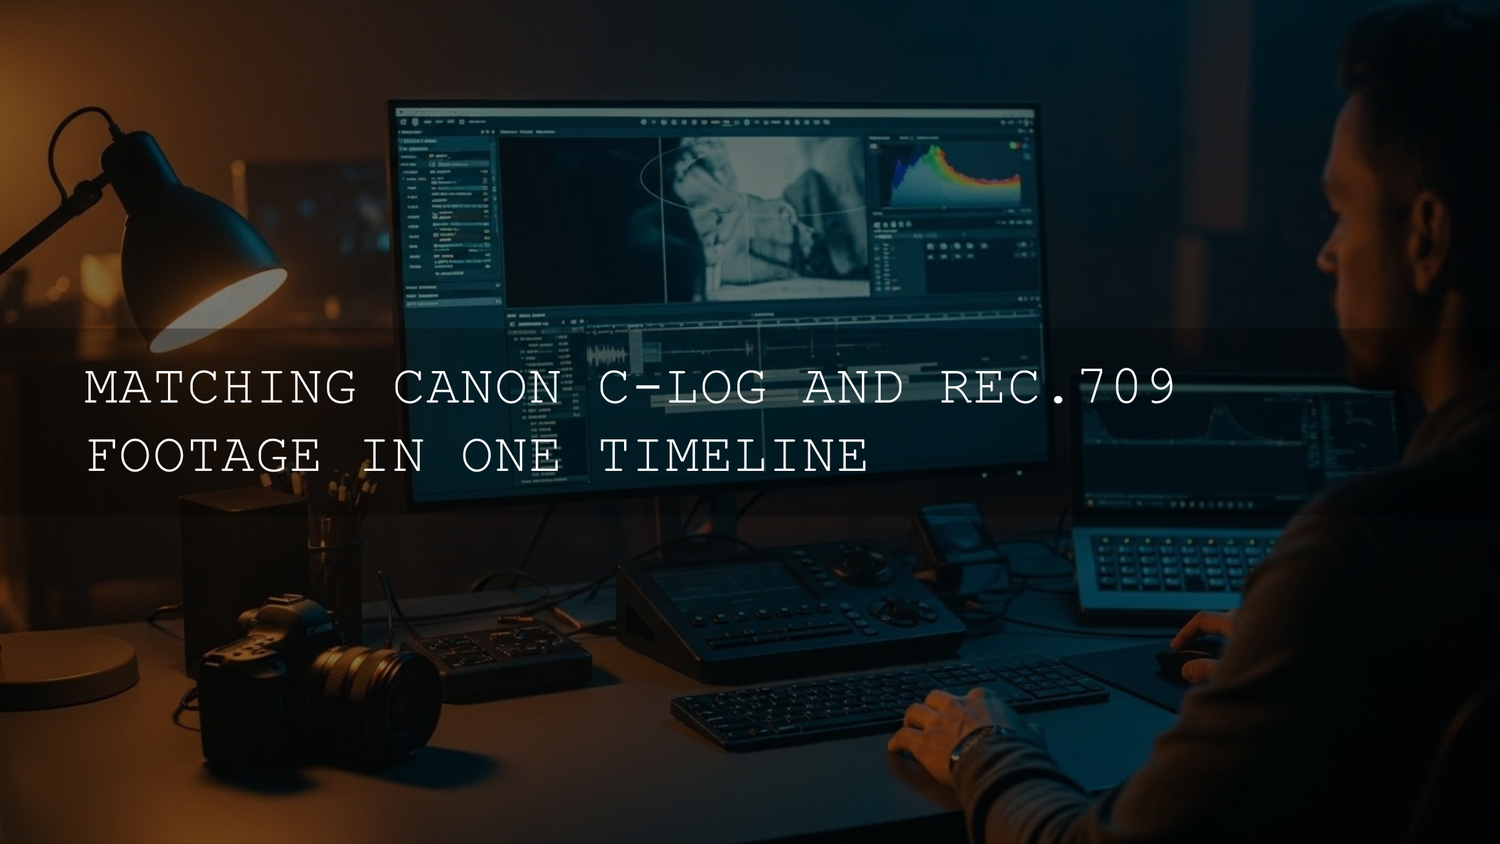
Canon C-Log to Rec.709 Color Matching: How to Make Mixed Footage Look Like One Camera
Matching Canon C-Log to Rec.709 on the same timeline can feel intimidating at first. One clip looks flat and gray, the next already has contrast and punch, and the cut between them can scream “different camera settings.” The good news is that color matching between C-Log3 and standard Rec.709 is usually a workflow problem—not a talent problem. With the right mix of technical conversion, smart scope checks, and a few fast tweaks in DaVinci Resolve or Premiere Pro, you can make both formats sit in the same visual world.
If you want a faster starting point for this kind of mixed-log workflow, you can build a reliable toolkit with the 700+ Cinematic Video LUTs For Your Next Project and browse the broader Cinematic LUTs Pack collection for Premiere Pro, DaVinci & Final Cut. If you’re ready to test multiple conversion and creative looks on real Canon clips, you can Buy 3, Get 9 FREE when you add 12 to your cart.
Why C-Log and Rec.709 Don’t Naturally Match
Think of these two formats as different “languages” for your sensor data.
- C-Log / C-Log3 is designed to preserve dynamic range. It looks low-contrast and desaturated because it’s protecting highlight and shadow detail for later grading.
- Rec.709 is the standard display-target look for HD. It’s already shaped to look “finished” on most screens, which means it has less room to stretch before highlights clip or shadows crush.
When you mix them, the simplest goal is to get both clips into the same display space before you chase creative style. That typically means converting the C-Log first, then matching exposure/white balance/saturation across the scene.
LUTs vs Manual Matching: Which Gets Better Results?
This is the most common question I see from editors trying to unify mixed camera timelines.
- LUTs are faster and give you a predictable baseline—especially for Canon log conversion.
- Manual grading is what makes the match believable. It’s how you fix the last 10–20% that LUTs can’t guess: mixed lighting, auto white balance drift, and slightly different exposure choices on set.
If you want a deeper breakdown of this decision, check LUTs vs Manual Color Grading for a practical comparison that aligns well with real-world multi-format edits.
Step 1: Start With the Right Canon Technical LUT
Your first job is not to make things cinematic. Your first job is to make things comparable.
Canon provides official conversion options, and using a correct technical LUT for your exact profile (C-Log vs C-Log2 vs C-Log3) is the cleanest way to avoid weird contrast roll-offs or oversaturated skin. You can reference Canon’s official LUT support resources for accurate baseline transforms.
Once you apply the correct conversion LUT, your C-Log footage should land close to a standard Rec.709 look—still not perfectly matched scene-to-scene, but no longer “flat and lifeless.”
Pro tip
Apply the technical conversion before any creative LUT. A creative LUT on unconverted log often creates harsh contrast and odd colors that are hard to fix later.
Step 2: Use Color Management When You Want More Accuracy
LUTs are excellent, but color management can be even cleaner for complex projects.
- DaVinci Resolve: Use Color Space Transform (CST) or DaVinci YRGB Color Managed. Set input to your Canon log/gamut and output to Rec.709 Gamma 2.4 (or your delivery target). For official capability context, see Blackmagic’s DaVinci Resolve color overview.
- Premiere Pro: Lumetri + proper color management settings can keep your transforms consistent across mixed sources. Adobe’s overview of color management and Lumetri Color is a good official reference point.
This approach often reduces the “LUT lottery” feeling because the transforms are mathematically aligned with your input and output settings.
The Practical 2025 Workflow for Matching C-Log and Rec.709
Here’s the repeatable method I use when I’m cutting mixed Canon timelines—especially for event and short-film edits where some angles were shot log and others weren’t.
- Group your footage into C-Log/C-Log3 and Rec.709 bins.
- Pick a reference shot (your best-exposed, most neutral clip from the key scene).
- Convert all C-Log clips using the correct Canon technical LUT or CST.
- Normalize exposure across both types of clips using scopes.
- Lock white balance by correcting for any warm/cool drift.
- Match contrast so your black point and highlight roll-off feel consistent.
- Adjust saturation last in small increments until skin and natural colors line up.
- Apply your creative look (if needed) consistently to the whole scene.
- Review cuts in sequence—not just per-clip—because perceived differences often appear only in motion.
How to Match Inside Premiere Pro (Fast + Clean)
Once your C-Log is converted, keep your steps simple:
- Use Basic Correction for exposure and white balance alignment.
- Use Curves for gentle contrast shaping.
- Use Color Wheels for targeted shadow/midtone/highlight cleanup.
- Rely on Waveform + Vectorscope to confirm your eyes aren’t being tricked by lighting changes.
If you want a broader log foundation for Premiere, this internal guide pairs well with Canon workflows: Grading LOG footage in Premiere Pro (S-Log, C-Log, V-Log).
And for a hands-on LUT placement breakdown, you can also reference this step-by-step LUT workflow in Premiere Pro.
How to Match Inside DaVinci Resolve (CST + Node Logic)
Resolve is excellent for this task because you can separate the “technical” and “creative” stages cleanly.
- Node 1: CST or technical Canon LUT (Log → Rec.709).
- Node 2: Primary correction (exposure, WB).
- Node 3: Match contrast and saturation.
- Node 4: Optional creative look.
If you’re building your LUT ecosystem for Resolve, Best LUTs for DaVinci Resolve in 2025 can help you choose styles that won’t destroy skin tones after log conversion.
A Real-World Example: Wedding Highlights With Mixed Profiles
I tested this exact Canon C-Log3 and Rec.709 matching approach on a wedding shoot where the ceremony was captured in C-Log3 for highlight protection, but the fast-moving reception coverage was shot in Rec.709 for speed. After a clean C-Log3-to-Rec.709 conversion, the biggest differences came down to white balance drift and slightly hotter midtones on the Rec.709 clips.
The fix was simple: lower midtone exposure on the Rec.709 angles, match saturation to the converted log shots, and use the vectorscope to keep skin tone angles consistent. The final timeline cut smoothly, and the audience never noticed there were two profile strategies in play.
Common Mistakes That Make the Match Fail
- Using the wrong log variant LUT (C-Log instead of C-Log3).
- Applying a creative LUT before the technical transform.
- Trying to “push” Rec.709 too far to match log latitude.
- Ignoring scopes and relying only on the viewer.
- Not matching white balance first, which creates stubborn hue shifts later.
When You Should Soften the Rec.709 Instead of Pushing It
Sometimes the best match is not to make Rec.709 “as flexible as log.” It’s to gently bring it into the same neighborhood by reducing contrast or slightly lowering saturation.
This approach is especially useful for:
- fast turnaround brand edits
- event timelines with mixed lighting
- multi-camera shoots where one angle was used as a quick safety shot
Recommended AAAPresets Tools for Canon Log Workflows
If your goal is a consistent, high-end look across mixed Canon profiles, a broad and flexible LUT library helps you move faster without sacrificing control.
- 700+ Cinematic Video LUTs For Your Next Project for wide coverage across lighting styles and genres.
- 120+ Cinematic Blockbuster Movie Look LUTs Pack when you want stronger stylized options after your technical transform.
- 150+ Wedding Video LUTs for soft, skin-safe looks that intercut well with Canon footage in real events.
You can also browse the curated Premium LUTs for Premiere Pro collection or the Cinematic LUTs for DaVinci Resolve collection depending on your main editing environment.
Related Reading
- Matching Sony and Canon camera colors in 2025
- How to use LUTs for color matching between cameras
- Step-by-step guide to using LUTs in Premiere Pro
- Cube LUTs vs Power Grades in DaVinci Resolve
If you’re using AAAPresets tools inside client projects, it’s also worth reviewing AAAPresets file licenses so you choose the right option for your workload.
FAQ
Do I need to convert Canon C-Log before matching it with Rec.709?
Yes. A clean technical conversion (LUT or CST) gets both clips into the same display space so your manual matching is faster and more accurate.
Is Canon C-Log3 easier to match than C-Log?
C-Log3 often provides a very balanced starting point for modern Canon cameras, but the key is using the correct LUT or color-managed input settings for your exact profile.
Should I match by eye or with scopes?
Use both. Your eyes judge mood, but scopes verify exposure and saturation alignment objectively, especially across different lighting conditions.
What’s the fastest way to get a consistent look across mixed Canon footage?
Convert C-Log to Rec.709 first, match white balance and exposure to a reference shot, then apply a gentle creative LUT to the whole scene for cohesion.
Can I use one creative LUT on both C-Log and Rec.709 clips?
You can, but it works best after the log clips are properly converted. Applying the same creative LUT to unconverted log and native Rec.709 usually causes mismatched contrast and skin tones.
Written by Asanka — creator of AAAPresets (10,000+ customers).
Leave a comment
This site is protected by hCaptcha and the hCaptcha Privacy Policy and Terms of Service apply.