
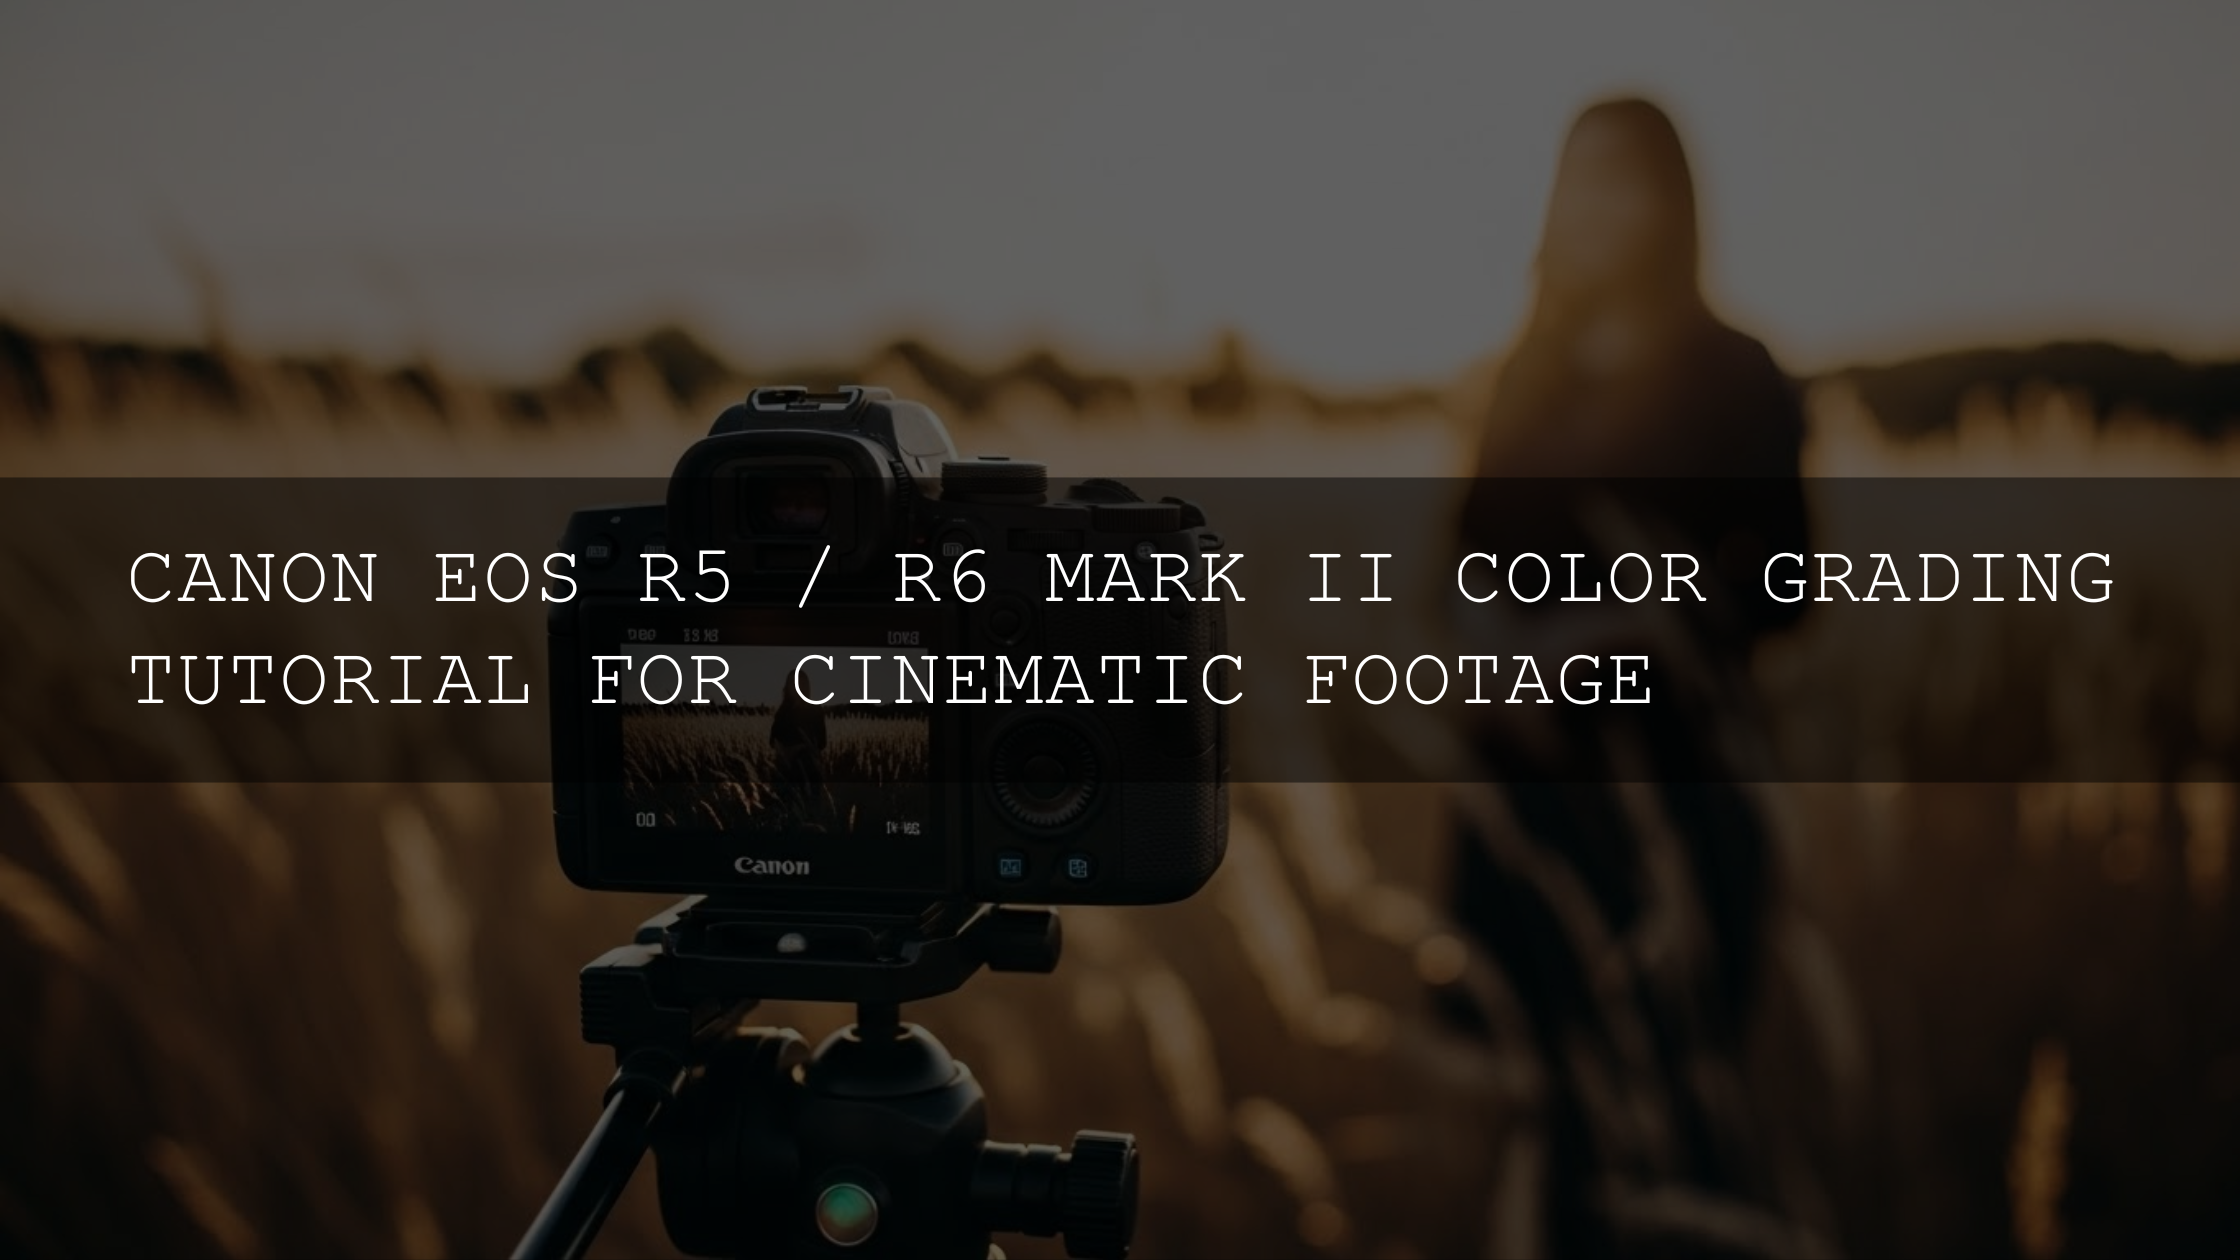
Canon C-Log3 Color Grading: Turn Flat Footage into a Cinematic Image
If you’ve ever dropped Canon C-Log3 footage onto your timeline and thought, “Why does this look so gray and lifeless?”, you’re not alone. Canon C-Log3 color grading is all about turning that flat, low-contrast image into a rich, cinematic picture while protecting your highlights and shadows. In this guide we’ll walk step-by-step through a modern workflow for grading Canon C-Log3 in DaVinci Resolve, Adobe Premiere Pro, and other NLEs, using both Canon C-Log3 LUTs and manual grading so you can decide which balance works best for your style.
Along the way, you’ll see practical examples (weddings, talking heads, drone shots), a clear comparison of C-Log3 LUTs vs manual grading, and simple node or layer structures you can copy directly into your own projects. If you want to skip a lot of trial and error, you can also pair this workflow with ready-made video LUT packs designed for cinematic color — they give you a strong starting point, then you tweak from there. To make that even easier, you can download the 700+ Cinematic Video LUTs pack and browse the wider Video LUTs collection — and remember, you can Buy 3, Get 9 FREE when you add any 12 packs to your cart.
Why Canon C-Log3 Is So Powerful for Color Grading
Instead of baking in a finished look like a standard picture profile, Canon C-Log3 captures a very wide dynamic range: more detail in bright highlights and deep shadows, plus extra color information that you can shape later in grading. Canon designed C-Log3 to offer highlight handling and color that sits between the ultra-flat Canon Log 2 and the original Canon Log, giving you flexible grading latitude with less noise in the shadows.Straight out of camera it looks flat and desaturated, but that’s by design — think of it as a digital negative, not a finished image.
C-Log3 becomes especially useful when:
- You’re shooting high-contrast scenes (backlit windows, harsh sun, stage lights).
- You want to match multiple Canon bodies that all support C-Log3.
- You plan to push the grade into strong looks (teal & orange, moody low-key, pastel, etc.).
Canon even provides official 3D LUTs that convert Canon Log 2 / Canon Log 3 to various targets like Rec.709, HLG, PQ and Canon 709, so you can get a technically correct base image quickly before you start styling.
Step 1: Set Up Your Project for Canon C-Log3 Color Grading
Before you touch any wheels or LUTs, make sure the project itself is solid. A clean setup saves you hours later.
- Ingest and organize footage. Create folders for each shoot day, scene, and camera. Tag clips that share the same lighting (for example, “ceremony daylight”, “reception tungsten”, “interview window light”), so you can grade in logical groups.
- Decide your delivery color space. Are you delivering in standard Rec.709 (most YouTube and web content), or do you need HDR (Rec.2100 HLG or PQ) for modern TVs? Decide this now so your color management is correct from the start.
- Label C-Log3 clips clearly. If you mix log and non-log footage, rename or label your C-Log3 clips so you never accidentally apply the wrong LUT or interpretation.
When I graded a wedding film shot entirely in C-Log3, I learned the hard way that a messy project is brutal once you’re 500 clips in. A 10-minute organizing session at the start saved me from hunting for that one exact wide shot of the couple’s first dance later on.
Step 2: Color Management and Interpreting Canon C-Log3 Footage
Color management is the bridge between what your Canon camera captured and what your monitor shows. If this bridge is wrong, every adjustment will feel unpredictable.
In DaVinci Resolve, the modern approach is to use color-managed workflows like DaVinci YRGB Color Managed or ACES. You set your input color space (Canon Log 3 / Canon Cinema Gamut, or the closest available), your timeline space, and your output (Rec.709, Rec.2100, etc.). Resolve then handles proper transforms between them, so your tools behave consistently. For more detail, you can dive into Blackmagic’s DaVinci Resolve color management overview or the official advanced color training materials.
In Adobe Premiere Pro, you’ll typically:
- Open the Color workspace.
- Select your C-Log3 clips and set their Source Clip Color Management so Premiere knows they’re Canon Log 3.
- Use the Lumetri Color panel (Basic Correction + Creative + Curves) to normalize and style the image, optionally with input LUTs for C-Log3.
Adobe’s official tutorials on the Lumetri Color panel, like how to use the Lumetri panel for color workflows in Premiere Pro, are worth a quick skim so you understand what each section is doing under the hood.
In Final Cut Pro, you’ll set the library or project color space, then assign a Canon Log conversion LUT at the clip level or via an adjustment layer. The idea is the same: tell the software “this is C-Log3” so it can map it correctly to your viewing color space.
Step 3: Using Canon C-Log3 Transform LUTs as a Base
Transform LUTs (or IDTs in color-managed setups) are the technical layer that turns C-Log3 into something more familiar, like Rec.709. These are not your “final look” LUTs — they’re the starting point that gets your image into the right ballpark.
You have three main options:
- Official Canon LUTs. Canon provides LUTs that convert Canon Log 3 to 709 / HLG / PQ and other variants. These are designed to reproduce Canon’s intended contrast and color as a baseline.
- Color-managed transforms. In DaVinci Resolve Color Managed or ACES, you set your input as Canon Log 3 and let Resolve handle the math instead of dropping a LUT on the first node.
- Third-party technical LUTs. Some LUT packs include separate “technical” LUTs for Canon C-Log3 that just normalize the image without adding a heavy creative look.
Personally, I like using Resolve’s color management for the main transform and reserving LUTs for creative styling. On one drone sunset shot in C-Log3, I found that a clean transform plus a subtle cinematic LUT gave me much more control than stacking multiple random LUTs on top of each other.
Step 4: Build a Clean Technical Grade
Once your footage is correctly interpreted and transformed, it’s time for a clean, technical grade — no “crazy” color yet, just getting the image to a natural, balanced place.
A simple node or layer stack might look like this:
- Noise reduction (if needed). Apply gentle temporal NR on a first node (or adjustment layer) for noisy high-ISO clips.
- Exposure and contrast. Use lift/gamma/gain (or curves) to place your blacks, midtones, and highlights where they belong. Watch scopes: aim to keep skin tones in a healthy zone instead of eyeballing everything.
- White balance and tint. Adjust temperature and tint so neutral objects (white shirts, gray cards, concrete) sit neutral. In Lumetri, this lives in Basic Correction; in Resolve, you might use the Offset wheel plus temperature/tint controls.
- Global saturation. Add just enough saturation to make the image feel alive, but avoid oversaturating shadows or highlights at this stage.
If you’re grading a whole scene, do this base correction on a hero shot, then copy it to the rest of the clips in that lighting setup and fine-tune. That’s how you keep everything consistent instead of grading every clip from scratch.
Step 5: Shape Skin Tones and Local Contrast
Canon C-Log3 is known for pleasing skin tones when handled correctly, which is a big reason so many filmmakers love it for weddings, interviews, and portraits. After your base correction, zoom in on skin tones:
- Isolate skin with a qualifier/mask. In Resolve, use an HSL qualifier and a soft power window around the face. In Premiere, use an HSL Secondary in Lumetri.
- Refine color. Push skin slightly warmer or cooler depending on the mood. Keep saturation modest; too much saturation in skin is an easy giveaway of over-grading.
- Add local contrast. A subtle S-curve or midtone detail adjustment can bring out texture in faces without making them crunchy.
On a recent talking-head video shot in C-Log3, I spent more time dialing skin tones than anything else. Once the skin felt right and consistent between camera angles, the entire piece suddenly looked “high-end”, even though the rest of the grade was quite simple.
Step 6: Add Your Creative Canon C-Log3 Look (LUTs or Manual Grade)
Now it’s time for style — the part everyone loves. You can either build your look manually or use C-Log3 LUTs as a foundation.
Manual creative grading:
- Use curves to create a softer or punchier contrast curve (crush a little black, bring down highlights, lift shadows for a filmic fade).
- Shift hues subtly in the midtones and shadows (cooler shadows, slightly warmer midtones).
- Add targeted saturation — for example, boosting blues and cyans for sky/water, while keeping skin controlled.
Using Canon C-Log3 LUTs creatively:
- Apply a cinematic LUT on a separate node/layer after your technical correction.
- Reduce LUT intensity (for example, 20–60%) so it enhances your grade instead of taking over.
- Counter-balance any strong shifts the LUT introduces (for example, if it pushes skin too magenta, adjust on a node after the LUT).
If you want a tested starting point, you can experiment with cinematic LUT packs specifically tuned for log footage. For example, you might use a cinematic video LUTs pack on top of your Canon C-Log3 base grade and then tweak per project. To explore more options for different genres — weddings, travel films, short films and more — check out the full Video LUTs collection on AAAPresets and build your own toolkit around your favorite looks.
C-Log3 LUTs vs Manual Grading: Which Is Better?
There’s no single right answer here — it’s about how you like to work.
Canon C-Log3 LUTs – Pros:
- Very fast to apply a consistent look across a big project.
- Great for editors who aren’t full-time colorists.
- Useful for client previews and quick social cuts.
Canon C-Log3 LUTs – Cons:
- Less flexible if the LUT is too aggressive or stylized.
- May not fit every lighting condition perfectly.
- Stacking multiple LUTs can quickly break the image.
Manual grading – Pros:
- Ultimate control over contrast, color, and mood.
- Easier to match mixed lighting or tricky scenes.
- Helps you understand what’s actually happening to the image.
Manual grading – Cons:
- Takes longer to learn and apply.
- Consistency across big projects can be harder without solid workflows.
In practice, many filmmakers use a hybrid approach: technical transform + subtle creative LUT + manual fine-tuning. If you want to go deeper on building your own looks from scratch, you can also read an article like how to create custom LUTs in Premiere Pro and combine those techniques with your C-Log3 workflow.
Real-World Canon C-Log3 Workflows
Here are three example workflows you can copy and adapt to your own shoots.
1. Wedding highlight film (mixed lighting)
- Use Canon C-Log3 on all cameras to keep dynamic range high during ceremonies and receptions.
- In Resolve, enable Color Management with Canon Log 3 as input and Rec.709 as output.
- Build a scene-referenced technical grade for the ceremony, then reuse it for different angles.
- Add a soft, warm cinematic LUT at 30–40% intensity to unify the entire film.
- Fine-tune skin tones using qualifiers and power windows.
When I tested this workflow on a low-light reception, I was able to keep detail in the white wedding dress while still seeing texture in the groom’s black suit — something that would have clipped heavily in a standard profile.
2. YouTube talking head (simple setup)
- Shoot in Canon C-Log3 with consistent key light and background practicals.
- In Premiere Pro, interpret clips correctly as C-Log3, then normalize using an input LUT or Color Management.
- Apply Basic Correction in Lumetri to set exposure and white balance.
- Use a cinematic LUT or manual grading for a subtle, polished look that matches your channel branding.
- Save the final look as a preset so every new episode is just a few clicks away.
3. Drone and landscape footage
- Shoot wide establishing shots in C-Log3 to protect bright skies and dark foregrounds.
- Normalize with Canon’s official C-Log3-to-709 LUT or a color-managed transform.
- Use curves and HSL tools to separately control sky color and ground color.
- Apply a filmic LUT tuned for landscapes (soft contrast, rich greens and blues).
- Finish with a gentle vignette and a slight push to saturation in the midtones.
If you’re also shooting Sony alongside Canon, you can look at something like a guide on the best LUTs for Sony S-Log3 to see how to match different camera systems within one project.
Common Canon C-Log3 Grading Mistakes (and Fixes)
-
Problem: Footage still looks flat and gray.
Fix: Check your color management or transform LUT. If C-Log3 isn’t being converted to Rec.709 (or your target space), your image will stay log-looking. -
Problem: Skin tones look strange after applying a LUT.
Fix: Lower LUT intensity and add a node after the LUT just for skin adjustments. Use HSL qualifiers to isolate skin and gently nudge hue/sat. -
Problem: Noise appears when you push the grade.
Fix: Expose C-Log3 slightly brighter in camera (ETTR) and apply noise reduction at the start of your node chain, especially for shadowy shots. -
Problem: Clips don’t match between scenes.
Fix: Grade scene by scene, not clip by clip. Choose a hero shot for each scene, match everything to that shot, then move on.
If you’re ready to build a repeatable Canon C-Log3 color grading workflow, it helps to have a small toolkit of reliable looks. You can start with a couple of cinematic LUT bundles, then expand as you discover the styles you love. Try combining the 700+ Cinematic Video LUTs pack with broad tools like the 1000+ Master Lightroom Presets bundle for your still photography, and explore the full Lightroom presets collection to keep your photo and video color consistent across your brand.
For installation help, you can always refer back to an internal guide like How to Install LUTs in Premiere Pro and DaVinci Resolve, or explore related color-focused articles such as color grading APS-C cameras for a pro look.
Is Canon C-Log3 better than a standard picture profile?
For serious color grading, yes. Canon C-Log3 captures much more dynamic range and color information than a standard profile, giving you far more flexibility in post. The trade-off is that you must grade it, whereas a standard profile is closer to “ready to go” but easier to clip highlights or crush shadows.
Do I have to use a Canon C-Log3 LUT, or can I grade manually?
You don’t have to use a LUT. You can either normalize C-Log3 using Canon’s official LUTs or color management and then build your look manually, or you can apply a creative LUT on top of a basic technical grade. Many filmmakers use a hybrid approach: transform + subtle LUT + manual tweaks.
What’s the best software for Canon C-Log3 color grading?
DaVinci Resolve is extremely popular because of its powerful color management and node-based workflow, but Adobe Premiere Pro and Final Cut Pro can also handle C-Log3 very well. The “best” choice is usually the one that fits your editing workflow and that you’re comfortable with.
How should I expose Canon C-Log3 for easier grading?
A common approach is to expose slightly to the right (brighter than you would for Rec.709) without clipping important highlights. This keeps noise down in the shadows and gives you more information to work with when you pull the exposure back in grading. Always check your histogram, zebras, and waveform when possible.
Can I match Canon C-Log3 with footage from other brands?
Yes. If all cameras are shooting log, you can normalize each one into a common color space (for example, Rec.709 via color management or brand-specific technical LUTs) and then use comparison views and scopes to match contrast and color. It takes a bit of time, but it’s absolutely doable.
Written by Asanka — creator of AAAPresets (10,000+ customers).
Leave a comment
This site is protected by hCaptcha and the hCaptcha Privacy Policy and Terms of Service apply.