
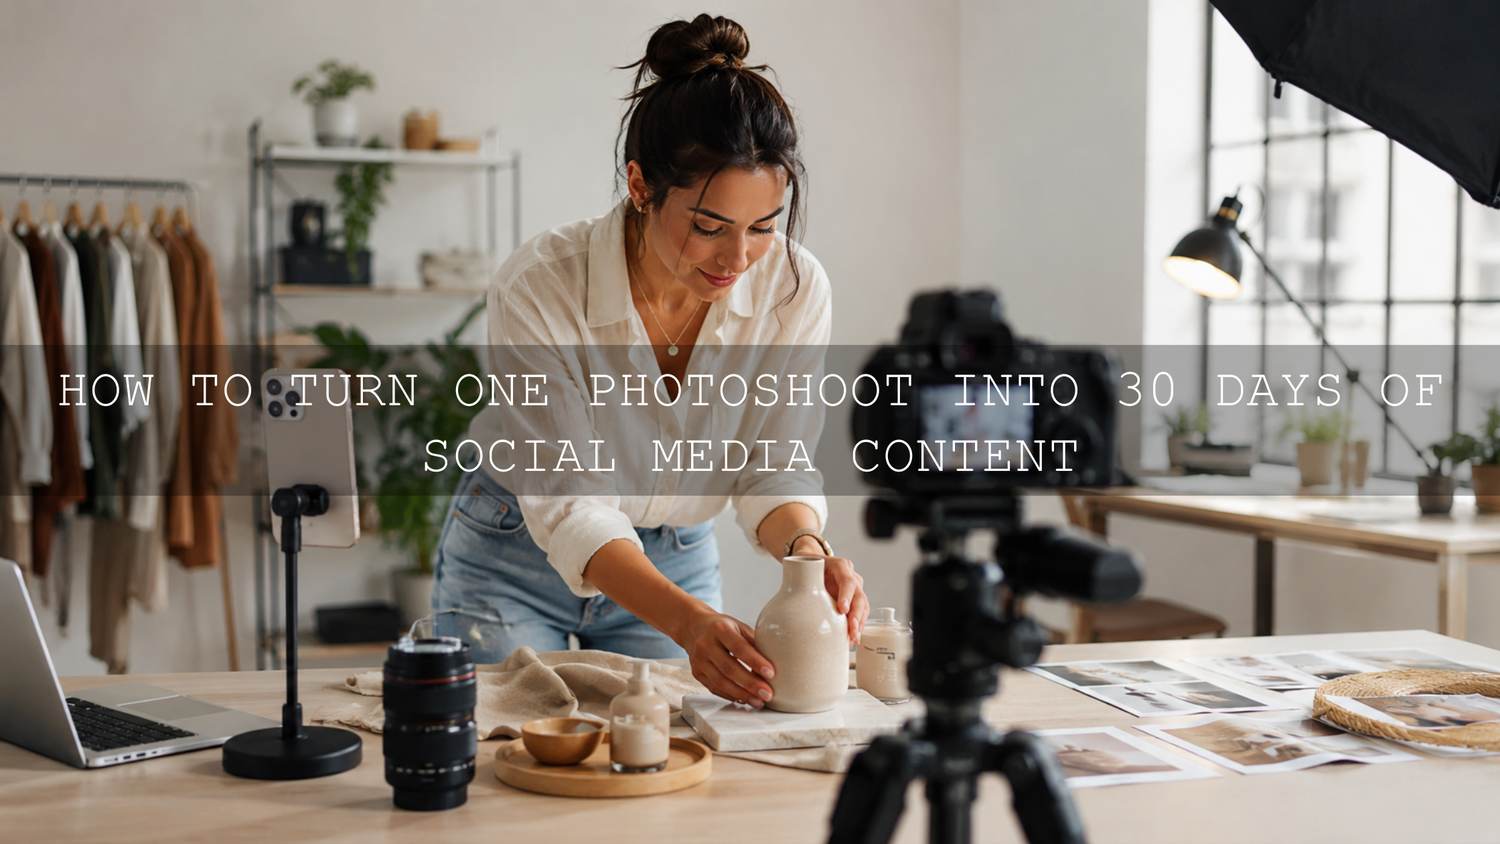
One well-planned photoshoot can produce a month of social media content, but only when you plan the messages, formats, and visual variety before the camera comes out. The goal is not to create 30 nearly identical portraits. It is to build a flexible library of hero images, educational visuals, short video clips, detail shots, behind-the-scenes moments, and sales assets.
This workflow shows how to turn one photoshoot into 30 days of content without making your feed repetitive. You will plan the shoot around content pillars, capture each scene in several useful formats, organize and edit the files consistently, and map the finished assets into a practical 30-post calendar.
Start With the Content Plan, Not the Camera
Before choosing outfits or locations, decide what the content needs to communicate. A balanced monthly plan usually needs four types of posts:
- Education: Tips, explanations, tutorials, checklists, and answers to common questions.
- Trust: Your process, real behind-the-scenes moments, approved testimonials, case studies, and examples of your work.
- Personality: Your values, routines, opinions, workspace, and relatable moments.
- Offers: Product demonstrations, service explanations, objections, use cases, and clear calls to action.
Write five to eight post ideas under each pillar. This gives every photo or clip a purpose before you shoot it. It also prevents a common problem: finishing the day with a large gallery of attractive images but no clear idea how to use them.
A Simple 30-Asset Planning Model
As a planning example, five distinct scenes can produce six useful assets each:
- One wide photo
- One close portrait or product photo
- One detail shot
- One short vertical video clip
- One behind-the-scenes clip
- One image with negative space for text
That creates 30 potential assets from five scenes. The exact number will vary, and you do not need to publish every day. The more important goal is to leave the shoot with enough variety to support a full month of useful posts.
Build a Shot Matrix for Every Scene
A normal shot list tells you what to photograph. A shot matrix also tells you how each setup should be captured. Repeat the following variations for every important outfit, product, location, or activity.
Hero Images
Capture clean, high-quality portraits or product images that clearly represent the brand. Use them for introductions, pinned posts, launches, announcements, profile updates, and strong calls to action.
Process and In-Action Images
Photograph the work being done rather than only the finished pose. Examples include editing, packing an order, preparing equipment, speaking with a client, demonstrating a product, writing notes, or reviewing a project. These assets make educational and trust-building posts easier to create.
Details and Flat-Lays
Capture hands, tools, screens, packaging, materials, clothing details, notebooks, products, and workspace elements. Detail shots are useful when the caption carries most of the message or when you need a visual break between portraits.
Short B-Roll Clips
Record simple movements for several seconds at a time: walking into the frame, opening a laptop, arranging products, adjusting a camera, typing, turning toward the light, or interacting naturally with the workspace. Keep the movement slow and repeatable so the clips are easier to trim and combine later.
Images With Negative Space
Ask the photographer to leave clean space above, beside, or around the subject. These compositions are easier to use for carousel covers, Reel covers, quotes, tips, announcements, and promotional graphics without placing text over a face or important product detail.
Candid Transitions
Keep shooting between formal poses. Walking to the next setup, laughing after a mistake, checking the shot list, changing props, or resetting the scene can produce natural behind-the-scenes content.
Prepare the Shoot for Variety
- Choose the monthly themes. Decide which topics, offers, launches, and frequently asked questions need content.
- Select a small set of visual variations. Use several outfits, layers, props, backgrounds, or activity changes that still belong to the same brand style.
- Match props to real posts. Bring only items that support a planned story, tutorial, product demonstration, or service explanation.
- Plan multiple crops. Capture vertical compositions for short-form video and Stories, tighter portraits for feed posts, and a few wider images for websites, banners, or blog content.
- Group similar scenes. Shoot all desk scenes together, then product scenes, then lifestyle scenes. This reduces setup changes and helps maintain consistent lighting.
- Create a must-have list. Complete essential launch, product, profile, and campaign assets before experimenting with optional ideas.
Capture More Content Efficiently During the Shoot
Efficiency comes from changing one variable at a time. After taking the main photo, keep the lighting and location while changing the crop, pose, prop, camera angle, or movement. A single desk setup, for example, can become a portrait, an overhead flat-lay, a typing clip, a close-up of tools, a carousel cover, and a behind-the-scenes Story.
For each major setup, capture both still photographs and motion. Record a clean version, a candid version, and a version with space for text. Also take a few neutral expressions and gestures that can support educational or problem-focused captions, not only smiling promotional posts.
Check the shot list during the session instead of relying on memory. Mark completed scenes and note any missing formats. This is especially important for video because it is easy to finish a shoot with many photos but too few clips for Reels or TikToks.
Organize the Files Before Writing Captions
Do not leave hundreds of files in one camera-roll folder. Create a simple structure that reflects how the assets will be used:
- Hero portraits
- Education and process
- Products or services
- Details and flat-lays
- Vertical B-roll
- Behind the scenes
- Promotions and calls to action
Remove obvious duplicates, flag the strongest options, and keep a few alternate crops or expressions. Rename final files with the topic or intended post, not only the original camera number. When the content calendar is ready, you should be able to find the correct asset without scrolling through the full shoot again.
Edit a Consistent Look Without Making Every Photo Identical
Adobe explains that Lightroom presets apply predefined adjustment settings, which may include changes to exposure, contrast, saturation, and color grading. Treat a preset as a repeatable starting point, then refine each photograph for its lighting and subject.
After applying a preset, check these areas in order:
- Exposure: Correct images that are too bright or too dark before judging the overall style.
- White balance: Fix unwanted yellow, blue, green, or magenta shifts, especially when the shoot uses mixed indoor and window light.
- Skin tones and product color: Protect accurate, believable color rather than increasing saturation across the entire image.
- Highlights and shadows: Recover important detail without flattening the photograph.
- Crop and straightening: Prepare the final composition for its intended platform and text placement.
Presets can behave differently across photographs because exposure, white balance, camera profiles, lighting, and file type change the starting image. RAW files normally provide more editing flexibility than JPEG files, while JPEGs can still work well when the original exposure and color are already close. For a deeper explanation, read the RAW versus JPEG editing workflow and the guide to creating a cohesive Instagram brand with presets and LUTs.
For bright lifestyle, travel, food, street, and everyday creator photos, Vibrant Blogger Lightroom Presets includes eight preset looks supplied in both XMP and DNG formats. The pack is compatible with Lightroom desktop, Lightroom Mobile, Lightroom Classic, and Adobe Camera Raw. Use it as a consistent starting point, then fine-tune exposure, white balance, contrast, and vibrance for each scene.
Repurpose One Strong Asset in Several Ways
Repurposing should change the purpose or format, not simply repost the same image repeatedly. One strong portrait can support several pieces of content:
- A single-image post with a personal lesson
- A carousel cover for an educational checklist
- A Reel cover paired with related B-roll
- A Story with a poll or question box
- A quote graphic using a short original insight
- A real client testimonial used with permission
- A product or service call to action
Use alternate crops, supporting detail shots, and different caption angles so each post feels intentional. A useful asset library gives you options; it should not make the audience feel as though they are seeing the same post every day.
A 30-Day Content Map From One Photoshoot
Week 1: Establish the Brand
- Introduce the brand or person with a hero image.
- Share a behind-the-scenes Reel from the shoot.
- Explain one core value using a candid portrait.
- Show the workspace or tools with a detail shot.
- Correct a common misconception in your industry.
- Turn a process sequence into an educational carousel.
- End the week with a soft product, service, or newsletter call to action.
Week 2: Teach Something Useful
- Share one quick tip with an in-action image.
- Explain three common mistakes in a carousel.
- Post a short checklist using a negative-space photo.
- Create a simple demonstration Reel from B-roll.
- Answer a frequently asked question.
- Show the tools or materials used in the process.
- Summarize the week’s most useful advice in a saveable post.
Week 3: Build Trust and Connection
- Share a realistic day-in-the-life sequence.
- Explain a lesson learned from running the business or practicing the craft.
- Publish a genuine testimonial with the customer’s permission.
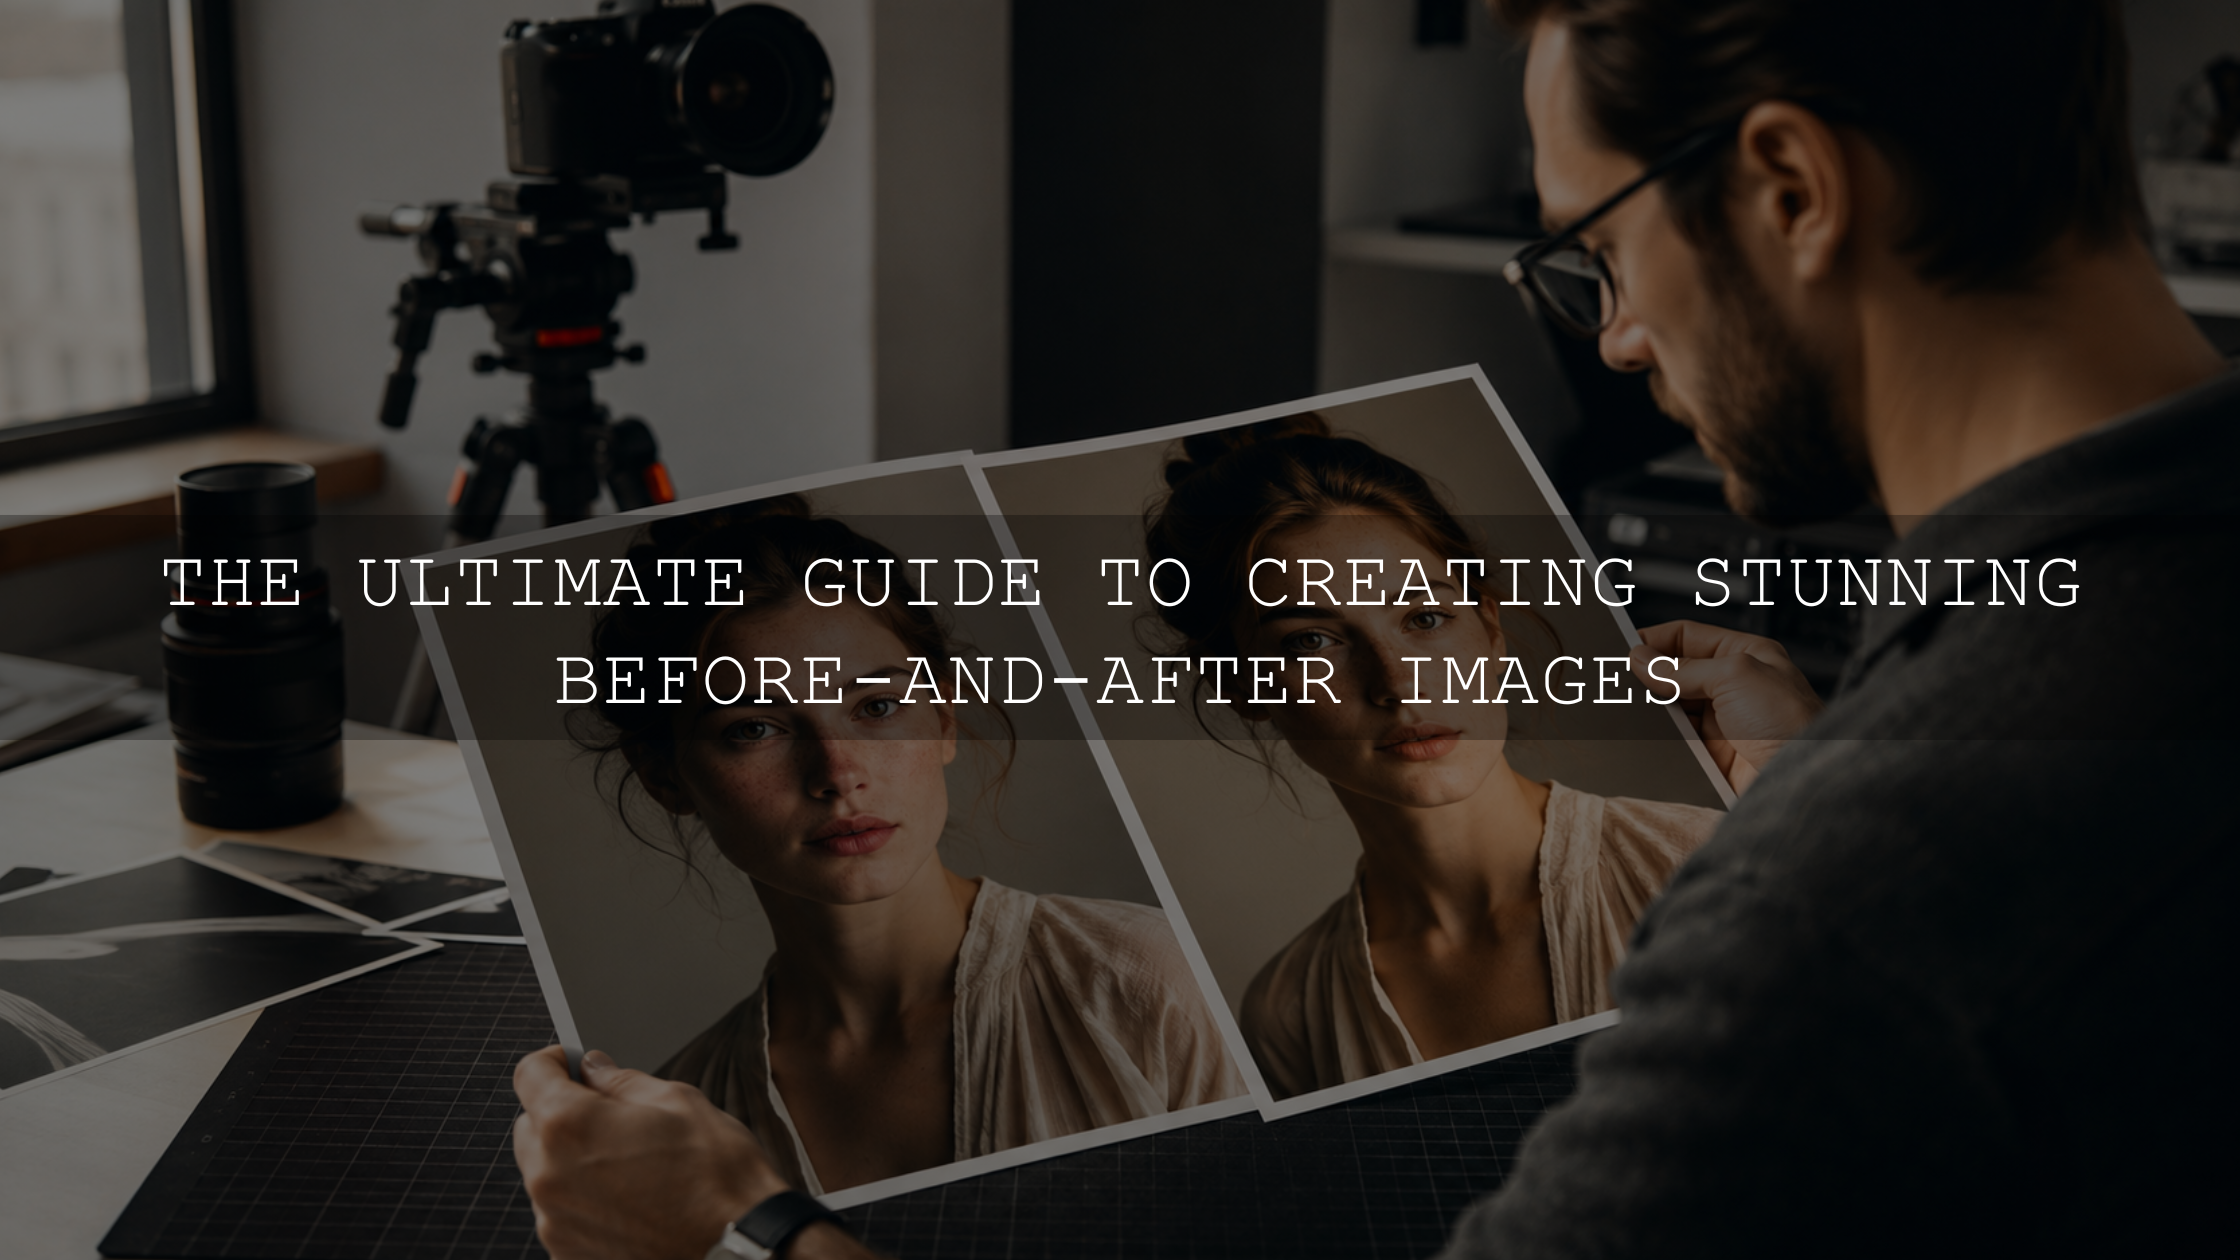
- Show a real before-and-after result or a transparent process comparison.
- Describe a common challenge and the steps used to solve it.
- Post a candid moment with a personal caption.
- Invite questions using a Story or Q&A post.
Week 4: Connect the Content to the Offer
- Explain what the product or service does.
- Show one practical use case.
- Answer a common purchase objection.
- Highlight a useful feature or detail.
- Compare two suitable options without exaggerating either one.
- Explain who the offer is for and who may not need it.
- Publish a clear, direct call to action.
Final Two Posts
- Share a monthly recap using several unused images or clips.
- Repurpose the strongest lesson into a new format, such as turning a Reel into a carousel or a carousel into a short video.
Use AI and Scheduling Tools Carefully
AI can help speed up the production stage after the shoot. It can generate caption angles, organize topic ideas, create first drafts, transcribe spoken clips, suggest hooks, or identify possible alternate crops. The final content should still be reviewed for accuracy, tone, and brand fit.
Do not use AI to invent testimonials, customer results, personal experiences, product capabilities, or before-and-after outcomes. Automation is most useful for repetitive publishing tasks, but time-sensitive posts should be checked again before they go live. Prices, promotions, launch dates, links, and availability can change after a month is scheduled.
Leave part of the calendar open for current events, customer questions, business updates, and spontaneous ideas. A prepared content library should reduce pressure without making the account feel disconnected from what is happening now.
Common Content-Batching Mistakes
- Shooting without content pillars: Attractive images cannot replace a clear message.
- Repeating one pose and background: Change angle, distance, activity, crop, and expression.
- Capturing only photos: Short-form video needs deliberate B-roll and movement.
- Forgetting text-safe compositions: Leave negative space for covers, tips, and announcements.
- Applying one edit without refinement: Check exposure, white balance, skin tones, and important product colors on every selected image.
- Making the entire month promotional: Balance offers with education, trust, and personality.
- Scheduling every post in advance: Keep room for relevant updates and audience feedback.
- Using other people without permission: Confirm that clients, staff, locations, and third-party material can be published.
When One Photoshoot Is Not Enough
A monthly batch shoot cannot replace every type of content. Live events, new products, seasonal changes, customer-generated material, current announcements, and reactive posts may require fresh assets. It is better to plan most of the month and keep a smaller flexible space than to force every future message to fit an older gallery.
The method also depends on the quality and diversity of the shoot. If every scene uses the same background, clothing, expression, and crop, 30 posts will quickly feel repetitive. Plan for multiple stories, not only multiple files.
Final Photoshoot Checklist
- Four clear content pillars
- At least 30 planned post angles
- A shot matrix for each scene
- Hero, process, detail, candid, and negative-space photos
- Short vertical B-roll clips
- Multiple crops and expressions
- Organized folders and clearly named final files
- A consistent editing baseline with individual corrections
- A 30-post calendar with educational, personal, trust, and offer content
- Open calendar space for timely posts
One photoshoot becomes a month of content when every setup is connected to a real message and captured in several useful formats. Plan the themes first, shoot for both stills and motion, organize the files by purpose, and edit them with a consistent but flexible visual direction. The result is a reusable content library that reduces repeated planning and setup work without making the brand feel repetitive.
To create a more consistent visual starting point, browse the Instagram Lightroom presets for content creators. AAAPresets also offers Buy 3, Get 9 FREE when 12 eligible items are added to the cart and only three are paid for.
Written by Asanka — creator of AAAPresets, serving 10,000+ customers.


Leave a comment
This site is protected by hCaptcha and the hCaptcha Privacy Policy and Terms of Service apply.