
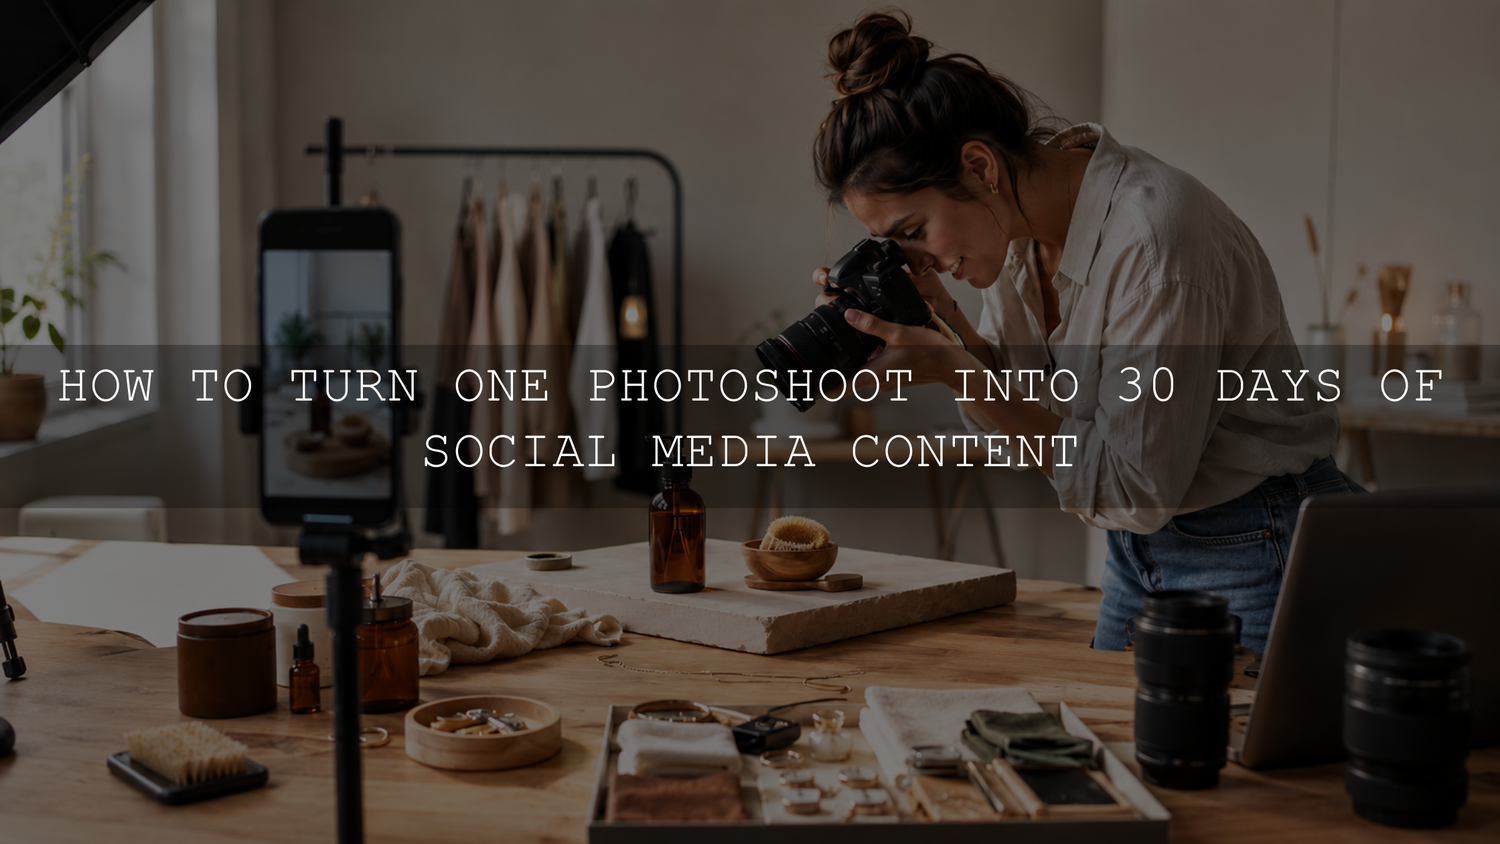
One well-planned photoshoot can support approximately one month of social media content when every scene is connected to a real message and captured in several useful formats. The goal is not to produce 30 nearly identical portraits. It is to create a flexible library of photographs, short video clips, details, behind-the-scenes moments and text-safe compositions that can be used for different purposes.
This workflow will help creators, photographers, freelancers and small businesses plan the shoot, capture meaningful variety, organize the files, create a consistent edit and distribute the finished assets across a practical 30-day content calendar.
One-Photoshoot Content Workflow at a Glance
- Define the messages, offers and questions the content must cover.
- Group those ideas into clear content pillars.
- Create a shot matrix for every important scene.
- Prepare outfits, products, props, locations and equipment.
- Capture each setup in several crops, angles and formats.
- Record short vertical video clips alongside the photographs.
- Back up and organize the original files before editing.
- Create a technically accurate editing baseline for each lighting setup.
- Repurpose the finished assets into different post formats.
- Map the content into a flexible monthly calendar.
Plan the Messages Before Planning the Photos
Begin with what the content needs to communicate. A large gallery is not useful when every image supports the same message. Write down the topics, customer questions, services, products, launches and brand stories you expect to discuss during the month.
A balanced plan can use four practical content pillars:
- Education: Tips, tutorials, checklists, explanations and answers to common questions.
- Trust: Your process, working environment, demonstrations, approved testimonials and examples of completed work.
- Personality: Values, routines, opinions, lessons, interests and relatable business moments.
- Offers: Product features, service explanations, use cases, objections and calls to action.
Create several post ideas under each pillar before building the shot list. This gives the photographer or creator a reason for every composition and reduces the chance of finishing the session with attractive images that have no clear marketing purpose.
Build a Shot Matrix for Every Scene
A normal shot list identifies what will be photographed. A shot matrix also defines the variations and formats required from each setup.
For every major scene, consider capturing:
- Wide photograph: Shows the complete setting and provides space for a website header, campaign graphic or text overlay.
- Medium hero photograph: Creates a strong feed post, profile image or promotional visual.
- Close-up: Highlights hands, tools, materials, product details or facial expressions.
- Action photograph: Shows the person using the product, creating the work or performing the service.
- Flat lay: Provides an overhead view of tools, products, packaging, notes or workspace details.
- Vertical clip: Records a short movement that can be used in a Reel, Story, TikTok or montage.
- Behind-the-scenes moment: Documents the setup, adjustments, preparation or interaction around the final photograph.
- Text-safe composition: Leaves uncluttered space where a headline, quotation or tip can be added later.
Capture both vertical and horizontal versions when the scene may be used across several channels. Cropping a horizontal photograph into a narrow vertical frame can remove important details, so the safest approach is to compose intentionally for each destination during the shoot.
Prepare the Shoot for Useful Variety
Variety does not require a completely different location for every post. Change a small number of visual elements while keeping the overall brand direction consistent.
- Use two or three outfits, layers or accessory combinations.
- Prepare props that support planned posts rather than adding random decoration.
- Choose several realistic activities, such as writing, editing, packaging, demonstrating or speaking with a client.
- Plan a mixture of standing, seated, moving and detail-focused scenes.
- Capture several expressions, including focused, relaxed, thoughtful and conversational moments.
- Remove unrelated background objects before beginning each setup.
- Schedule scenes according to the direction and quality of the available light.
Complete the essential website, launch, product and profile images before experimenting with optional ideas. This protects the most important deliverables if the schedule, weather, battery life or location access changes.
Capture More Without Rebuilding Every Setup
A practical approach is to change one variable at a time. After capturing the main photograph, keep the lighting and location while changing the camera distance, pose, prop, expression or movement.
For example, one desk setup could produce:
- A wide portrait with space for a headline
- A close photograph of the person working
- An overhead flat lay of the desk
- A detail photograph of the tools or product
- A vertical typing or editing clip
- A candid behind-the-scenes photograph
- A clean portrait for an educational post
- A second expression for a problem-focused caption
Check the shot matrix throughout the session instead of relying on memory. Mark completed photographs and video clips, then confirm that every important scene includes the required orientation and crop.
Organize and Back Up the Files Before Editing
Do not leave the entire session in one camera-roll or download folder. Copy the original files to a main storage location and create a second backup before formatting memory cards or deleting source files.
A simple folder structure could include:
- Original photographs
- Original video
- Audio
- Hero portraits
- Education and process
- Products or services
- Details and flat lays
- Behind the scenes
- Selected files
- Edited masters
- Platform exports
Use descriptive file names or ratings for the strongest selections. A name such as workspace-planning-tip-vertical-01 is more useful during scheduling than an unchanged camera file number.
Create a Consistent Editing Baseline
Visual consistency should not mean applying identical settings to every photograph. Divide the selected images into groups based on lighting conditions, camera, location or background. Create one accurate reference edit for each group before synchronizing appropriate settings.
Correct technical issues before adding the final creative style:
- Exposure
- White balance
- Highlight detail
- Shadow depth
- Skin tones
- Product-color accuracy
- Lens corrections
- Crop and alignment
A Lightroom preset can provide a repeatable starting point for contrast, color and tone, but each photograph may still need individual refinement. Adobe describes presets as predefined settings that apply adjustments to photographs and supports applying a preset to multiple selected photographs. The preset strength and other edit settings can still be refined afterward. Review Adobe’s current Lightroom preset workflow.
After choosing a visual direction, test it on photographs from different scenes. Check skin, white objects, brand colors, greens and highly saturated products before applying the look to the complete set.
Creators who want a reusable starting point for personal-brand and social photography can explore the Instagram Lightroom presets for content creators. Apply the selected look, then adjust exposure, white balance and important colors for each lighting setup.
Turn One Scene Into Several Posts
The same visual material can support several pieces of content when the message, format and viewer experience change.
- Direct showcase: Publish the strongest photograph with a useful caption that explains an idea, result, product or process.
- Educational carousel: Combine several photographs into a sequence that teaches a process, explains common mistakes or shows a progression.
- Behind-the-scenes post: Use the setup photographs or clips to explain how the work was produced.
- Story sequence: Crop details and short clips into several connected Story frames.
- Quotation graphic: Use a text-safe photograph behind a short original statement, lesson or verified client quotation.
- Short video montage: Combine vertical clips, details and selected still photographs into a brief visual sequence.
- Email or website asset: Reuse wide compositions as newsletter headers, blog covers, landing-page sections or campaign banners.
Repurposing should add a new reason to view the content. Changing only the caption while repeating the same crop, message and call to action can still make the feed feel repetitive.
A Practical 30-Day Content Map
Week 1: Introduce the Brand and Process
- Hero portrait or main product photograph
- Behind-the-scenes Story sequence
- Brand value or point-of-view post
- Workspace, tools or material detail
- Common misconception in your industry
- Process carousel
- Soft product, service or newsletter call to action
Week 2: Teach Something Useful
- Quick tip with an action photograph
- Three common mistakes carousel
- Checklist using a text-safe composition
- Short demonstration video
- Answer to a frequently asked question
- Tools or materials explanation
- Weekly advice recap
Week 3: Build Trust and Connection
- Day-in-the-life sequence
- Lesson learned while running the business
- Detailed explanation of the workflow
- Approved testimonial or result
- Problem-and-solution post
- Candid personal-brand photograph
- Behind-the-scenes video montage
Week 4: Demonstrate and Convert
- Product or service use case
- Feature or benefit explanation
- Objection-handling post
- Detailed close-up or texture post
- Before-and-after example when genuine evidence is available
- Frequently asked question carousel
- Product, service or collection recommendation
- Monthly lesson or reflection
- Preview of the next campaign or topic
These posts do not need to be published on 30 consecutive days. Adapt the calendar to your normal posting frequency and leave space for announcements, customer questions, live events and timely updates.
Keep Batched Content From Feeling Repetitive
Maintain a few recognizable brand constants, such as the overall color direction, typography, image quality and voice. Then vary the audience problem, opening hook, crop, format, visual detail and call to action.
For a more detailed approach, use the guide to batching social content without making every post look identical.
Common Content-Batching Mistakes
- Shooting before planning the messages: Attractive images cannot replace a clear content purpose.
- Capturing only one crop: A horizontal photograph may not work as a vertical Story or Reel cover.
- Repeating one pose and expression: Capture emotional and activity-based variety.
- Forgetting video: Deliberately record short movements and process clips during each setup.
- Creating too many promotional posts: Balance offers with education, trust and personality.
- Applying one edit blindly: Check exposure, white balance, skin and product colors on every selected photograph.
- Ignoring permissions: Confirm that people, private locations, client work, testimonials and third-party materials can be published.
- Scheduling the entire month rigidly: Leave room for relevant updates and audience feedback.
- Forcing an arbitrary asset count: Ten useful, differentiated assets are more valuable than 30 repetitive files.
When One Photoshoot Is Not Enough
A monthly batch session cannot replace every kind of content. Live events, new products, seasonal changes, customer-generated material, urgent announcements and spontaneous personal stories may require fresh photographs or footage.
The method also depends on meaningful visual variety. If every photograph uses the same background, clothing, crop and expression, the library will feel repetitive regardless of how the captions are written.
A practical hybrid system is to batch predictable educational, promotional and brand content while preserving open calendar space for timely material.
Final Photoshoot Checklist
- Clear monthly themes and content pillars
- Real post ideas connected to every planned scene
- A shot matrix for each setup
- Wide, vertical and close compositions
- Hero, action, detail, candid and text-safe photographs
- Short vertical video clips
- Several expressions and activity variations
- A must-have priority list
- Original-file backup
- Organized folders and descriptive file names
- A consistent editing baseline with individual corrections
- A flexible 30-day publishing map
Build a Reusable Content Library
One photoshoot becomes a month of content when every setup is connected to a useful message and captured in several appropriate formats. Plan the content pillars first, create a shot matrix, photograph both stills and motion, organize the files by purpose and edit them with a consistent but adjustable visual direction.
The result is not simply more files. It is a reusable content library that reduces repeated production work while giving the brand enough variety to remain useful, recognizable and flexible.
Related Reading
- Create a product launch campaign from one photoshoot
- Create matching photos, Reels and Stories from one shoot
- Plan photoshoots for Instagram, TikTok and Pinterest
Written by Asanka — creator of AAAPresets, serving 10,000+ customers.
===FINAL IMAGE RECOMMENDATIONS=== Missing essential original visuals: An original shot-matrix example showing one setup captured as a wide photograph, close-up, detail image and vertical clip. An original before-and-after comparison showing consistent editing across photographs captured under different lighting conditions. Recommended additions: Above the introduction — Add a landscape feature photograph showing a creator capturing both still photographs and vertical video during an organized brand shoot. Purpose: communicate the complete one-photoshoot workflow immediately. After “Build a Shot Matrix for Every Scene” — Add an original visual showing the wide, medium, detail, vertical and text-safe variations captured from one setup. Purpose: make the shot-matrix concept easier to apply. After “Create a Consistent Editing Baseline” — Add a genuine before-and-after comparison from the same production session. Purpose: demonstrate technical correction and consistent styling without implying that identical settings suit every photograph. Before “A Practical 30-Day Content Map” — Add an organized content-library visual containing portraits, details, flat lays, short video clips and platform exports. Purpose: connect the captured assets to the monthly publishing plan. ===FINAL AUDIT=== Root sitemap checked: https://aaapresets.com/sitemap.xml Child sitemaps checked: NONE — the root sitemap request returned a fetch/parsing failure, so its child sitemap URLs could not be reliably extracted or recursively inspected. Internal URLs checked: 5 — the Instagram presets collection and four related creator-workflow articles were found live through current public results. Links fixed: NONE — all internal links already use clean, descriptive, no-locale relative paths. Internal tracking removed: NONE Localized URLs normalized: NONE — localized versions appeared in public search results, but the publishable HTML already uses primary no-locale relative paths. External links fixed: NONE — the Adobe Lightroom presets documentation is live, current and supports the nearby explanation of predefined adjustments, batch application and adjustable preset strength. Unsupported claims removed or qualified: “The most efficient approach” was changed to “A practical approach.” The Lightroom preset explanation was rewritten to follow Adobe’s current documented terminology more precisely. “Serving more than 10,000 customers” was standardized to “serving 10,000+ customers,” matching the current public AAAPresets customer claim. Experience claims verified: NONE USED HTML issues corrected: Removed the Markdown HTML code fences from the publishable article. Confirmed that the body uses only paragraphs, H2 headings, H3 headings, ordered lists, unordered lists, list items, strong text and links. Confirmed that links retain only the href attribute. Confirmed that there are no classes, IDs, inline styles, scripts, CSS, JSON-LD, meta tags, empty paragraphs, empty headings, empty anchors or duplicated attributes. No image elements were supplied in the article body, so no existing image alt text or image source could be audited. Cannibalization finding: This article should update the existing live article rather than be published under a second URL. The supplied content strategy already identifies the existing article as targeting the same keyword, promise and informational intent. The current live result uses the same existing handle and substantially the same search intent. Remaining unresolved items: The root XML sitemap could not be recursively parsed, so a complete current inventory of products, collections, articles, pages and policy URLs could not be independently produced. The final HTTP redirect destinations and canonical tags of the five internal destinations could not be confirmed through the inaccessible root sitemap. The article does not yet contain an original shot-matrix demonstration or an original editing comparison. No verified first-hand AAAPresets content-batching observations were provided. Final score: 97/100 Requirements to reach 100/100: Successfully retrieve and recursively inspect the root sitemap and every child sitemap. Confirm the final HTTP status, redirect destination, canonical URL and indexability of every internal destination. Add an original shot-matrix visual created from one real photoshoot. Add an original before-and-after editing comparison from the same production session. Add a concise verified first-hand example or workflow observation from an actual AAAPresets content shoot.


Leave a comment
This site is protected by hCaptcha and the hCaptcha Privacy Policy and Terms of Service apply.