
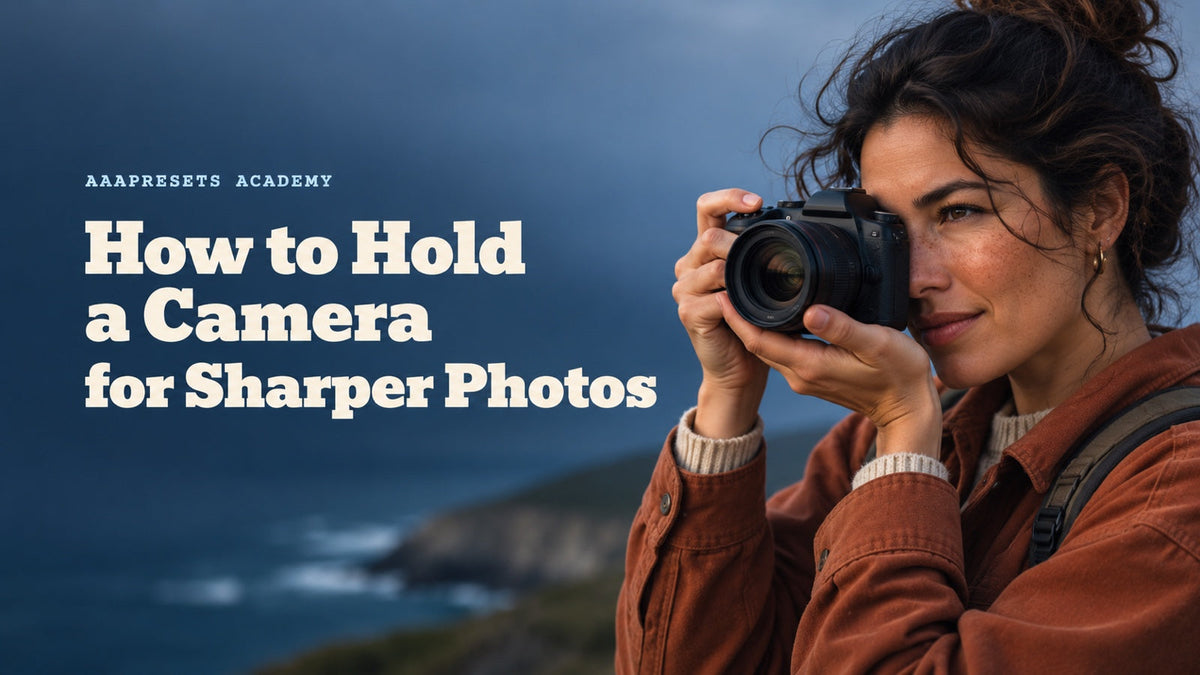
Have you ever looked at a freshly shot batch of photos, only to realize that half of them are just a little bit blurry? It is one of the most frustrating feelings in the world of photography. You thought you nailed the composition, the lighting was gorgeous, and the moment was pure magic, but when you zoom in on the back of your screen, everything is just slightly soft. Before you go blaming your gear, cursing your autofocus system, or convincing yourself that you need to spend thousands of dollars on a new lens, let us talk about the most likely culprit: your grip. Learning how to hold a camera correctly is an absolute game-changer, and the best part is that it does not cost a single penny.
The Natural Instability of Holding a Camera
Let us be real for a second. Our bodies are not statues. Even when you are standing completely still, you are breathing, your heart is beating, your blood is pumping, and your muscles are constantly making micro-adjustments just to keep you upright. When you slap a camera in your hands, every single one of those tiny movements gets transferred straight to the sensor. If your shutter speed is not fast enough to freeze that movement, that vibration translates directly into motion blur. Fixing your grip is all about creating a stable, tripod-like foundation using your own body so you can soak up those shakes before they ruin your shots.
Think about how sensitive modern high-resolution camera sensors are. With megapixel counts climbing higher every year, even the tiniest twitch is magnified when you view your images at one-hundred percent on a computer monitor. This is why mastering your physical connection to the camera is just as important as understanding exposure triangles, composition rules, or color grading.
The Two-Handed Technique
The cardinal sin of photography is holding a camera like a smartphone—arms fully extended out in front of you, shaking in the wind. That is a one-way ticket to Blurryville. Instead, you need to rely on a solid, time-tested two-handed approach.
- Your right hand should wrap firmly around the camera grip, with your index finger resting naturally right on the shutter button and your thumb resting comfortably near the back dials.
- Your left hand should come in from underneath the lens, cradling the weight of the barrel. This gives you precise control over both zooming and manual focusing while bearing the load of heavy glass.
- Keep your elbows tucked tightly against the sides of your torso. This creates a locked-in triangle shape with your arms, which is infinitely more stable than letting them flap out in the breeze.
When you let your elbows float in mid-air, gravity and muscle fatigue will quickly conspire against you, causing your arms to shake. Tucking your elbows into your ribcage transfers the weight of the camera down through your torso and into your hips and legs, which are much stronger and steadier than your upper arms.
Bring the Camera to Your Eye
If your camera has a viewfinder, use it! Pressing the rubber eyecup gently against your forehead or the bridge of your nose adds a crucial third point of contact to your body. When you shoot using just the rear LCD screen with your arms stretched out, you only have two points of contact (your hands), and they are moving independently. By bringing the viewfinder up to your face, you anchor the camera to your head. Combined with your tucked-in elbows, you suddenly have a remarkably rigid stabilization system built entirely out of your own skeleton.
Furthermore, shooting through an electronic or optical viewfinder blocks out ambient glare from the sun, allowing you to see your framing and focus plane much more accurately. It also forces you to concentrate entirely on the scene in front of you, cutting out visual distractions in your peripheral vision.
Stance and Posture Matter
Your upper body might be locked down tight, but if your lower body is wobbly, your photos are still going to suffer. Think of your stance as your foundation. Stand with your feet roughly shoulder-width apart to give yourself a wide, stable base. If you are shooting in a low-light situation where you need a slower shutter speed, try staggering your feet slightly—putting one foot forward and the other back—just like a martial artist or an archer would. Need even more stability? Drop down onto one knee, or lean your shoulder against a sturdy wall or a tree trunk. Mother Nature makes a fantastic impromptu tripod if you let her.
- Spread your feet to match the width of your shoulders for lateral stability.
- Keep your knees slightly soft and unlocked to absorb vibrations from the ground.
- Lean against a vertical wall, doorframe, or pillar when shooting at shutter speeds lower than your focal length reciprocal rule.
Breathing and Shutter Control
Even with the best stance in the world, a deep breath can throw your aim off at the exact wrong millisecond. Professional shooters often talk about breathing technique for a reason. Take a normal breath, let about half of it out, and then gently hold your breath for a couple of seconds while you press the shutter button. Speaking of pressing the button—do not jab it! Jabbing the shutter causes the front of the camera to dip down right as the exposure happens. Instead, gently squeeze the button as if you are slowly pulling the trigger on a firearm.
This might feel overly technical or dramatic at first, but once you build the muscle memory, it becomes second nature. It is especially critical when you are working with telephoto lenses, where even the slightest movement at the camera end translates into massive jumps at the distant end of your focal reach.
Shooting in Vertical Orientation
One of the biggest culprits of sudden blur is the dreaded vertical shot. When you flip the camera on its side, your body mechanics change completely, and many photographers instinctively lift their right elbow high up in the air like a chicken wing. This completely breaks your stabilization triangle. To keep your vertical shots sharp, try to keep your right elbow tucked down against your body, or rotate the camera so your right hand is actually on the bottom. Alternatively, investing in an L-bracket and a battery grip can make shooting in portrait orientation feel just as stable as landscape mode.
If you must shoot with your right hand on top in portrait orientation, try pressing your right upper arm firmly against the side of your chest to compensate for the lack of a traditional elbow tuck. Mindful body positioning will keep your vertical frames just as crisp as your horizontal ones.
When to Use a Strap for Extra Tension
Did you know your neck strap can actually double as a stabilization tool? If you are using a standard neck strap, you can loop it around your neck and push the camera outward away from your body until the strap becomes taut. This creates opposing tension between your hands and your neck, which helps dampen minor hand tremors. It is an old-school street photography trick that works surprisingly well when you are shooting handheld at slower shutter speeds.
Alternatively, a good wrist strap can allow you to keep a secure, relaxed grip on the camera body without worrying about dropping your precious gear while walking around. Tension management is all about finding creative ways to leverage your gear to fight gravity.
The Psychology of Staying Relaxed
While we want to be stable, there is a fine line between being stable and being tense. If you lock your muscles up so tightly that you are practically vibrating with strain, your micro-tremors will actually get worse, not better. Aim for a relaxed firmness. You want your muscles engaged enough to support the camera and absorb shock, but relaxed enough that you don't exhaust yourself after five minutes of shooting. Think of your body as a high-end suspension system on a luxury car: firm enough to handle the curves, but flexible enough to absorb the bumps along the way.
Conclusion
Mastering the physical act of holding your camera might feel a little awkward at first, especially if you are used to shooting wild and free with your arms out. But practice these techniques until they become second nature, and you will see an immediate, noticeable jump in your image sharpness. Your gear will thank you, your subjects will thank you, and most importantly, you will finally get those crisp, tack-sharp photos you have been chasing.


Leave a comment
This site is protected by hCaptcha and the hCaptcha Privacy Policy and Terms of Service apply.