
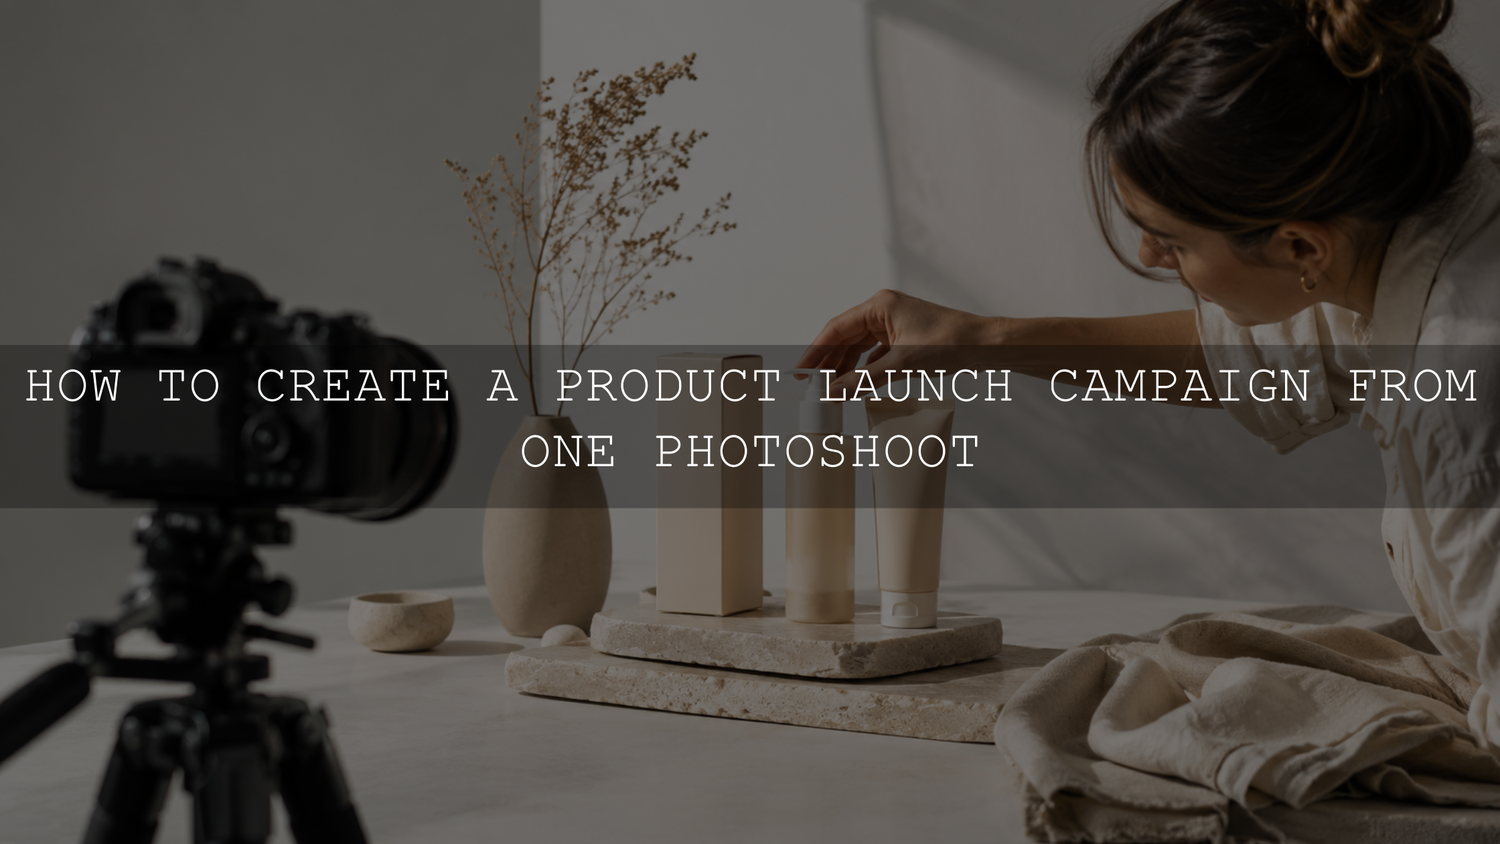
One well-planned product photoshoot can support an entire launch campaign when every setup is captured for several specific jobs: product pages, email, social media, advertising, education, retargeting and evergreen follow-up. The key is to decide what the campaign needs before the cameras roll, create accurate master edits, and release the finished assets in stages instead of using everything during launch week.
This workflow focuses on launch planning and phased publishing. It shows how to turn one product photoshoot into a flexible campaign library without relying on awkward crops, repetitive posts or unverified marketing claims. The exact number of usable assets will depend on the product, scenes, models, formats and production time available.
Plan the Campaign Before You Plan the Photos
Start with the customer journey, not a list of attractive poses. Write down where the content will appear and what each asset needs to help the customer understand or do.
- Attention: Hero images, teaser crops, campaign covers and short motion clips.
- Education: Demonstrations, materials, features, dimensions, care instructions and comparisons.
- Trust: Real processes, packaging, product details, approved reviews and behind-the-scenes content.
- Conversion: Product benefits, use cases, objection handling, variant images and clear calls to action.
Then list the destinations: the Shopify product gallery, collection page, homepage banner, launch email, Instagram carousel, Reels or Stories, Pinterest, blog content and paid advertising. Different placements need different compositions, even when they feature the same product.
For a broader capture and editing system, use the complete product photography workflow for small online stores as a technical companion to this campaign plan.
For a channel-specific capture sequence covering Shopify galleries, Instagram carousels and Reels, see the content-batching workflow for one product shoot.
Build a Content Matrix Instead of a Basic Shot List
A basic shot list names the subject. A useful content matrix also identifies the message, angle, action, orientation and destination. For every important product or scene, record:
- The product name, SKU, color or variant.
- The customer question or campaign message the asset should answer.
- The scene, prop, model and action required.
- The angle and crop: wide, vertical, square, detail or text-safe.
- The intended destination and call to action.
- Whether the asset is essential, useful or optional.
Capture a Complete Set of Visual Roles
Repeat the most relevant roles for each key product, rather than photographing the same hero pose dozens of times.
- Clean hero: A clear view for the product page, collection page and launch reveal.
- Alternate angles: Front, back, side, top, open or closed views where they help explain the item.
- Details: Texture, stitching, controls, ingredients, finish, labels or craftsmanship.
- Scale and fit: The product held, worn or placed beside something familiar.
- Product in use: A realistic action that demonstrates function or routine.
- Packaging and included items: What arrives and how it is presented.
- Text-safe composition: Clean negative space for an email headline, ad message or carousel title.
- Short motion clip: Opening, turning, pouring, fastening, applying or using the product.
- Behind the scenes: Styling, lighting, preparation and genuine production moments that support a relevant story.
Use a Simple Planning Model, Not a Content Guarantee
As a hypothetical planning example, five distinct setups could each produce six source assets: one wide hero, one vertical frame, one detail, one product-in-use image, one short clip and one text-safe or behind-the-scenes composition. That creates 30 potential source assets before they are combined into carousels, emails or videos.
This is a planning framework, not a promise that every shoot will produce 30 publishable posts. A smaller set of genuinely useful, varied assets is more valuable than a large gallery of near-duplicates.
Capture Each Important Setup for Multiple Placements
Before changing the lighting, model, product or location, capture the compositions that will be difficult to recreate later.
- Wide: Homepage banners, blog headers, email graphics and horizontal ads.
- Vertical: Stories, short-form video covers, Pinterest and mobile-first placements.
- Tight or square: Product details, carousel slides, thumbnails and standard feed posts.
- Text-safe: Extra space around the subject for future typography or buttons.
- Clean master: No price, date, discount or temporary campaign text baked into the image.
Avoid depending on one tightly framed photograph for every channel. A wide banner forced into a narrow vertical crop can remove a label, hand, face or product feature that gives the scene meaning.
Record simple movement while the setup is already built. Begin the clip before the action and continue briefly after it finishes so the editor has clean trimming points. Shopify product media can include images, videos and 3D models, although video and 3D display depend on theme support. Review Shopify's product media guidance before adding formats your storefront cannot present properly.
Create an Accurate Master Edit Before Creative Variations
A launch campaign should look consistent without making every image identical. Build one color-accurate reference edit for each lighting setup, then develop the creative style from that base.
- Choose a representative image. Select one frame that reflects the lighting and product colors of the group.
- Correct the technical foundation. Review camera profile, white balance, exposure, lens corrections, highlights and shadows.
- Protect product color. Compare important colors, labels and materials with the physical product or an approved reference.
- Apply the creative direction. Add the preset, contrast, tone curve or color treatment after the accurate base is established.
- Synchronize only matched images. Copy settings within the same lighting group, then inspect exposure, white balance, masks and crops individually.
- Create destination-specific versions. Keep the uncropped master and make separate crops and exports for the website, email, social and advertising.
Adobe describes Lightroom presets as predefined settings that can adjust exposure, contrast, saturation, color grading and other controls. Treat a preset as a repeatable starting point rather than a substitute for checking each photograph. Adobe's current Lightroom preset guide also documents applying presets to a batch.
The same preset can respond differently when exposure, white balance, camera profile, lighting or file type changes. RAW files generally provide more room for recovery and color correction, while a well-exposed JPEG can still work with gentler adjustments. The RAW versus JPEG editing workflow explains the practical differences, and the Lightroom batch-editing workflow covers grouping photographs before synchronizing settings.
For bright lifestyle, food, travel and colorful product scenes, Vibrant Blogger Lightroom Presets includes eight XMP preset items for Lightroom desktop, Lightroom Classic and Adobe Camera Raw, plus eight DNG preset items for Lightroom Mobile. The pack supports RAW and JPEG files on Mac and Windows. Use each look as an adjustable base, then refine exposure, white balance, product color and vibrance for the actual scene.
Build a Reusable Asset Library, Not Only Finished Posts
Keep the master files separate from temporary campaign graphics. A clean photograph can be reused for a future email, seasonal guide or new ad; a flattened image containing an expired price or launch date has a much shorter useful life.
A practical folder structure could be:
- 01 Originals
- 02 Selects
- 03 Accurate Master Edits
- 04 Website and Shopify
- 05 Email
- 06 Social Stills
- 07 Vertical Video
- 08 Advertising
- 09 Evergreen Reserve
- 10 Releases and Usage Records
Name files by meaning rather than leaving only the camera number. A structure such as product-sku-scene-angle-destination-version makes the correct asset easier to find. For example: canvas-bag-cb02-lifestyle-front-email-v1.jpg.
Store approved model, location and third-party usage records with the project. When uploading images, add brief alt text that describes what is visibly present instead of repeating a keyword list. Shopify's alt-text guidance recommends concise, descriptive wording. Before final delivery, use the Shopify and Pinterest image export guide to create separate destination-ready files.
Release the Product Launch Campaign in Five Phases
Phase 1: Teaser and Curiosity
Use partial views, textures, packaging details, silhouettes and brief behind-the-scenes clips. The purpose is to establish the campaign mood and create curiosity without showing every hero asset. Keep claims accurate; mystery should come from composition, not misleading information.
Phase 2: Launch and Reveal
Release the clearest hero images across the product page, homepage, email and primary social channels. Keep the product, message and visual treatment recognizable as people move from a social post to the store. Use secondary angles and short clips to expand the reveal instead of repeating one image everywhere.
Phase 3: Education and Use Cases
After the first reveal, answer the questions that can delay a purchase. Use close-ups for materials and construction, scale images for size or fit, product-in-use scenes for function, and packaging photographs for included items. One lifestyle image can support several pieces of content when each version answers a different question.
Phase 4: Trust, Retargeting and Objection Handling
Use verified reviews, approved customer content, transparent process images, product details and frequently asked questions. Never invent a testimonial to complete a layout. When retargeting a visitor who viewed a particular variant, use an image that accurately represents that exact color or version rather than a similar-looking substitute.
Phase 5: Evergreen Follow-Up
Hold back several strong, date-neutral assets for newsletters, seasonal guides, restock announcements, educational posts and later advertising tests. As a planning starting point, reserve several of the most flexible images so the campaign does not exhaust its visual library during launch week. Adjust the reserve to the brand's normal publishing frequency and actual asset count.
Repurpose by Changing the Asset's Job, Not Only Its Crop
A single product-in-use photograph can become several useful assets when the message and format change:
- A wide, clean website banner introducing the product.
- A text-safe email header supporting the launch message.
- A carousel cover leading into a feature explanation.
- A vertical Story crop paired with a demonstration clip.
- A retargeting ad addressing one verified objection.
- A blog or Pinterest visual supporting an educational topic.
- A product-page lifestyle image showing context and scale.
The goal is coordinated variation, not publishing the identical file with the same caption on every channel. Preserve consistent product color and campaign mood while adapting the composition, message and call to action to the destination.
Common Product Photoshoot Repurposing Mistakes
- Shooting without deliverables: Attractive photographs do not automatically answer customer questions or fit campaign placements.
- Capturing only one orientation: A tightly framed horizontal hero may not survive a vertical crop.
- Changing every variable at once: Organize the production by lighting setup and change crop, prop, action or distance systematically.
- Applying one edit blindly: Review exposure, white balance, skin tone, product color, masks and crop on each selected frame.
- Over-grading the product: Creative color should not make a customer expect a different material, finish or shade.
- Baking temporary text into the only master: Preserve a clean version without dates, prices or discount codes.
- Forgetting movement: A few deliberate clips are more useful than trying to manufacture every short video from still photographs.
- Using unverified social proof: Publish only genuine reviews, experiences and results with appropriate permission.
- Publishing everything immediately: Protect useful assets for education, retargeting and evergreen follow-up.
- Ignoring usage records: Keep the relevant model, location, music and third-party permissions connected to the campaign files.
When One Photoshoot Is Not Enough
One session cannot replace every future content need. New products, revised packaging, seasonal environments, live events, genuine customer content, restocks and time-sensitive announcements may require fresh photography or video.
The method also depends on meaningful variety. If every asset uses the same background, crop, product position and lighting, a long campaign will feel repetitive even when the files are technically different. Plan several visual stories and customer questions rather than simply aiming for a high image count.
Final Product Launch Photoshoot Checklist
- Campaign goals, audience questions and publishing destinations.
- A content matrix with attention, education, trust and conversion roles.
- Hero, alternate-angle, detail, scale, lifestyle and packaging images.
- Wide, vertical, tight, text-safe and clean-master compositions.
- Short product actions and relevant behind-the-scenes clips.
- A priority order that protects essential assets if the schedule runs late.
- One accurate reference edit for every lighting setup.
- Individual checks for exposure, white balance, skin tone and product color.
- Separate master files, channel exports and temporary promotional graphics.
- A five-phase release plan with an evergreen reserve.
A product photoshoot becomes a launch system when every setup has a purpose, every master edit protects the real product, and every campaign phase answers a different customer need. Plan the destinations first, capture flexible variations while the set is active, and preserve clean files that can continue working after launch week.
For additional editing styles for feed posts, creator imagery and lifestyle campaigns, browse the Instagram Lightroom presets for content creators. AAAPresets also offers Buy 3, Get 9 FREE when 12 eligible products are added to the cart and only three are paid for.
Written by Asanka — creator of AAAPresets.

Leave a comment
This site is protected by hCaptcha and the hCaptcha Privacy Policy and Terms of Service apply.